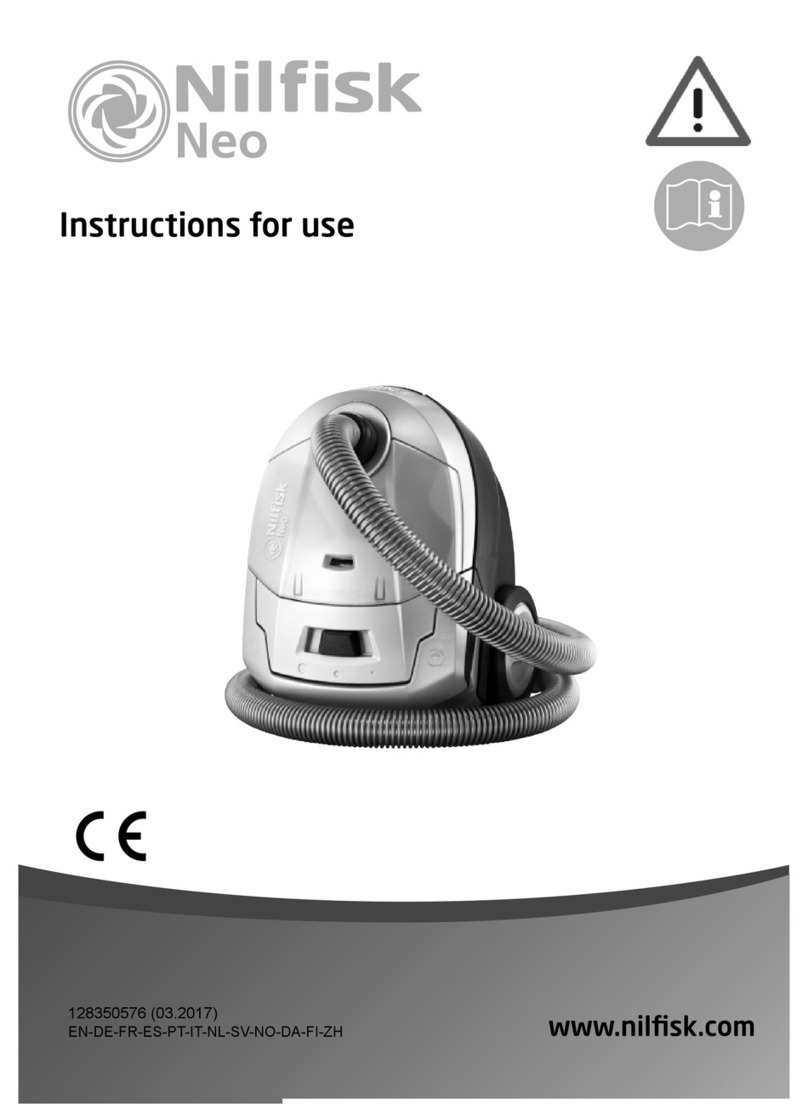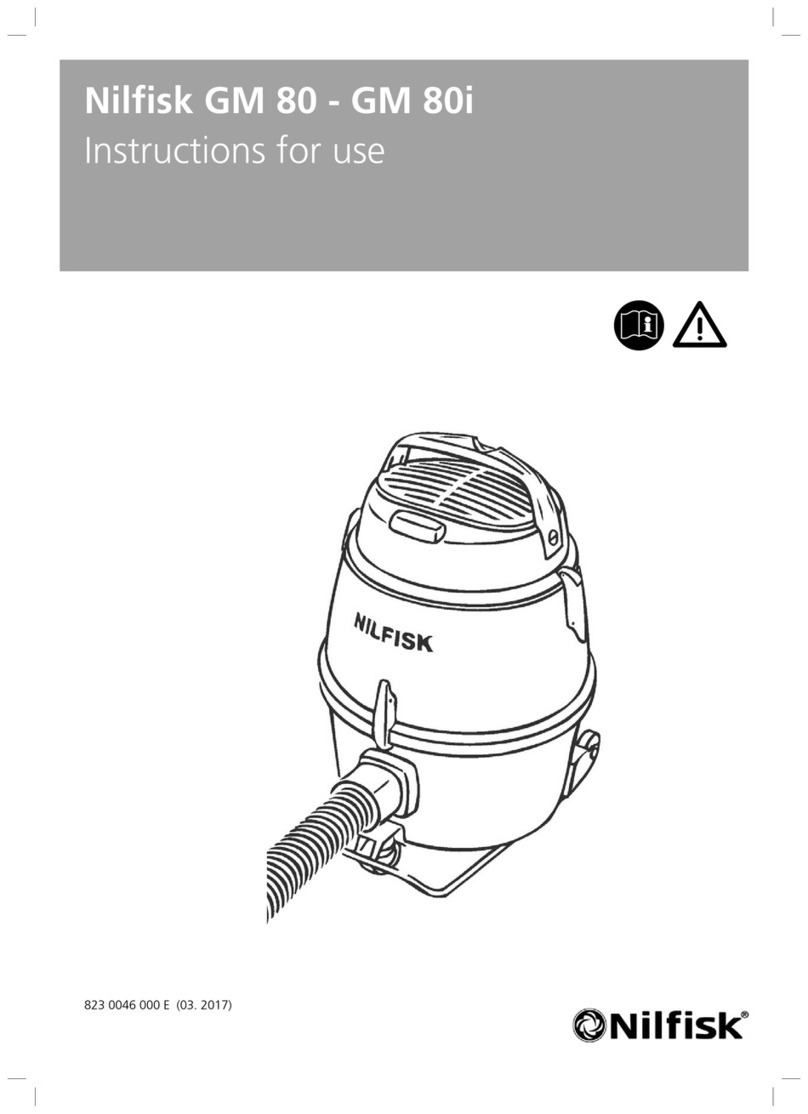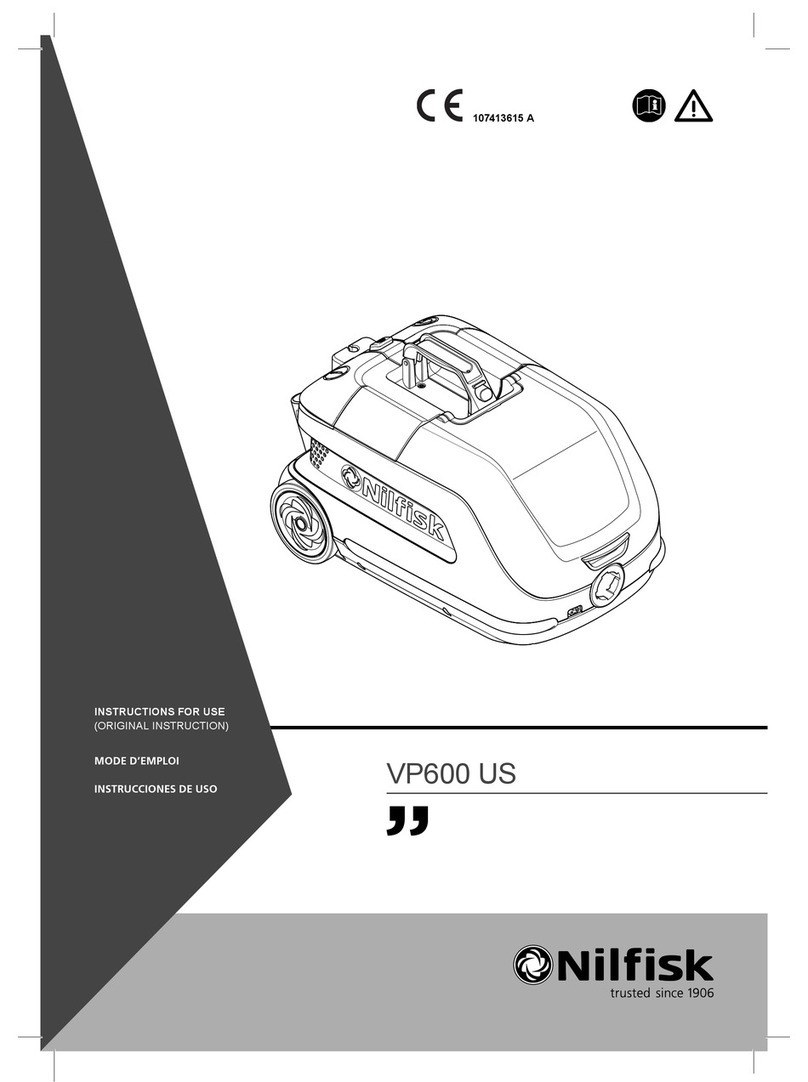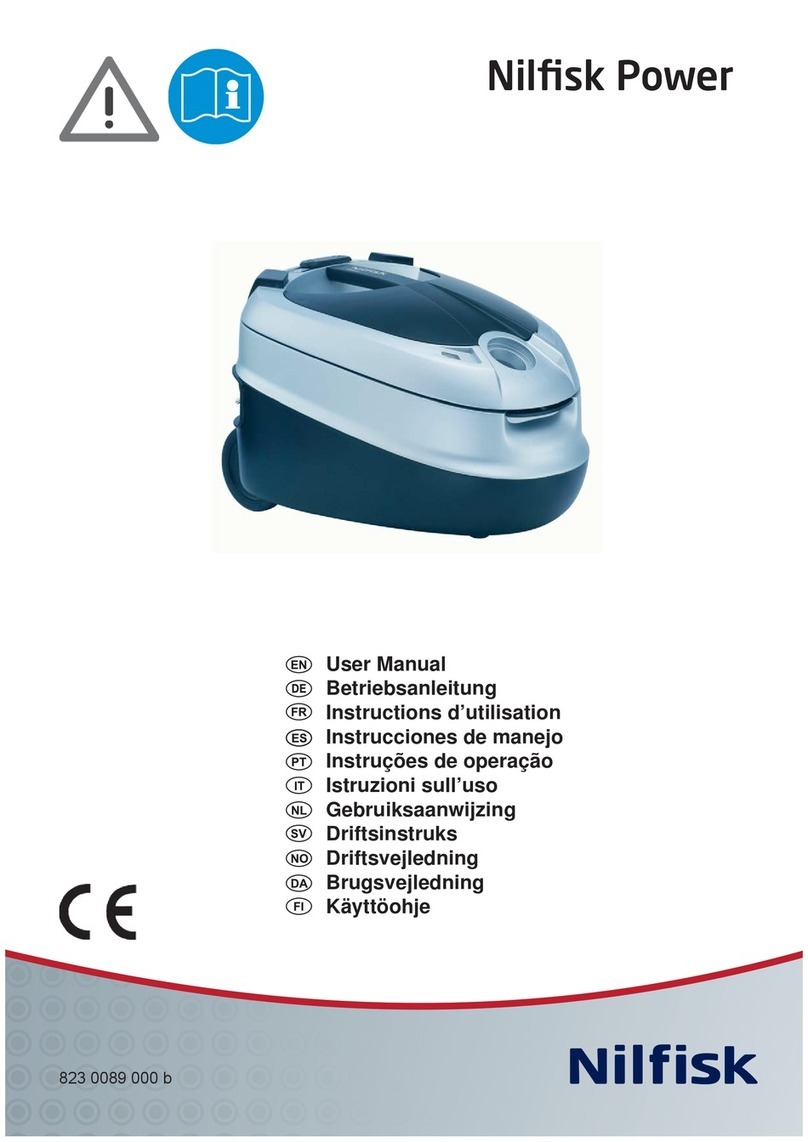
Assembly and Operation of Machine (continued)
NOTE: Unplug the machine before servicing, emptying or assembling.
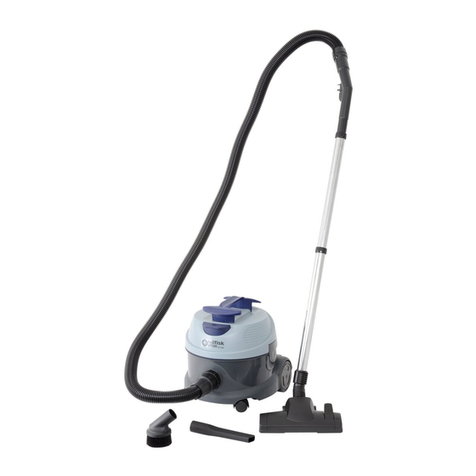
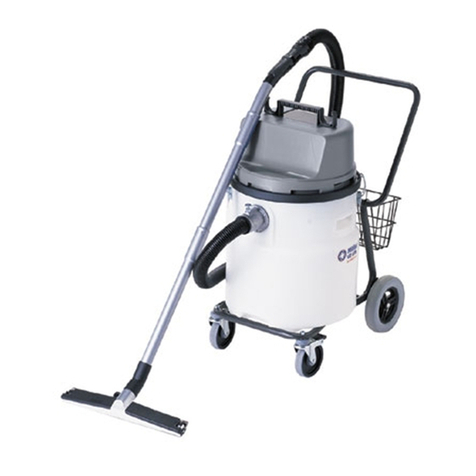
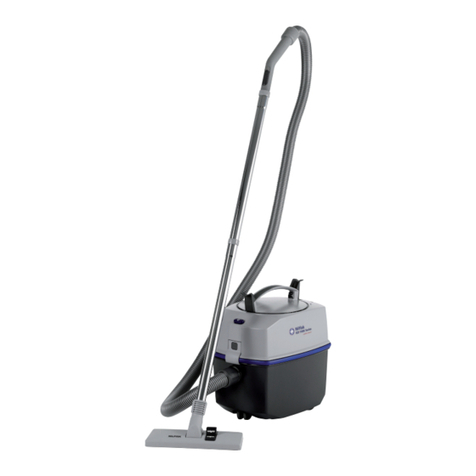
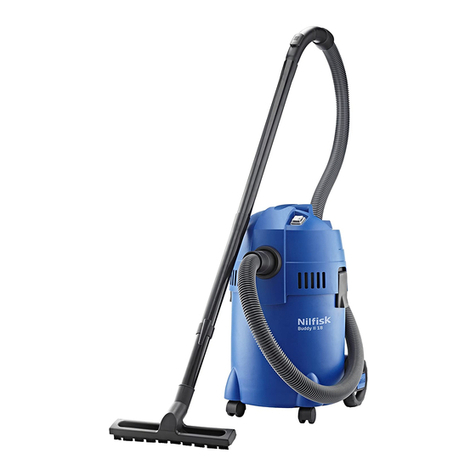
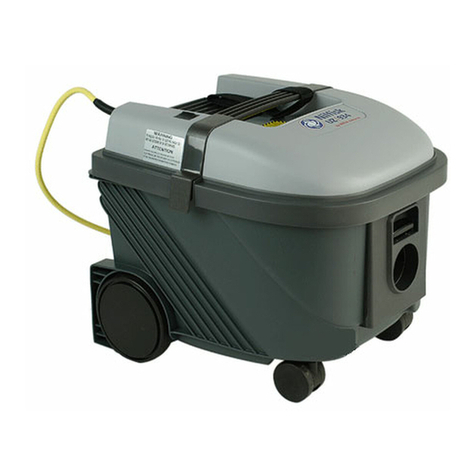
Connect the suction hose to the tank by pushing the hose coupling directly into the machine’s inlet.
The hose should click into place. To remove the hose, press the release button at the top of the
inlet and pull the hose straight out. Slide one of the extension tubes over the hose handle and
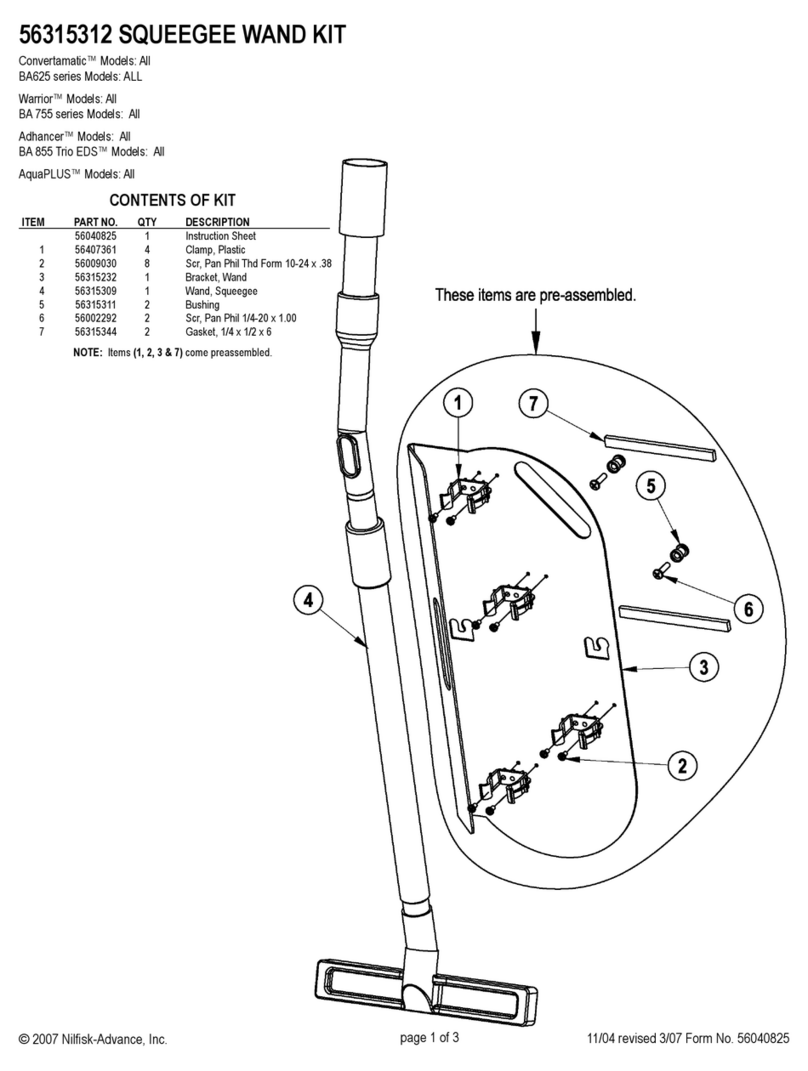
slide the other tube over the end of the first tube. Select the appropriate insert for the floor tool and
lock the insert in place using the red sliding tabs on top of the floor tool. Plug the extension tube
into the neck of the floor tool and press the assembly together.
The height of the machine’s handle is adjustable. Loosen the locking screws on each side of the
handle and adjust height to the desired position. Tighten the screws to secure the handle in place.
Make sure the power switch(es) are off (indicated by position “0”) before connecting the machine to
its power source. Plug the power cord into a suitable electrical outlet. Turn the machine ON by
pressing the power switch(es) to the position marked “I”.
Wet Pick up
This machine is equipped with a float that shuts off the airflow through the machine when the
maximum liquid level is reached. A noticeable change in sound level will occur when the float has
actuated. This will be accompanied by a sudden loss of suction power. When this occurs, turn the
machine off.
Emptying the Container
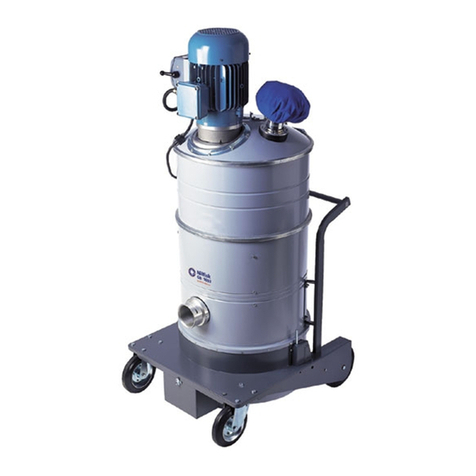
Release the latch on each side of the motorhead and lift the motorhead off of the container.
Remove the main filter and/or float chamber (if equipped). Place one foot behind the rear wheel of
the machine to prevent the machine from moving while emptying. Grasp the handle at the bottom
of the tank and tilt the container backwards to empty. Clean or replace the filters if necessary
before reinstalling. Replace the motorhead onto the container and secure in place using the
latches.
NOTE: Inspect and clean the float system after each use to insure that the float is working
properly. Use a chemical defoaming agent when picking up water containing foaming detergents.
Use only a defoamer recommended by the detergent manufacturer.
Cleaning the Main Filter
The main filter is washable. To clean the filter, remove it from the machine and shake off all excess
debris. Wash the filter gently in water. A mild detergent can be used. Allow the filter to dry
thoroughly before collecting dry materials. To reduce drying time, replace the filter inside the
machine and turn the vacuum on. The air from the vacuum motor will help to dry the filter.
The foam filter on the float chamber is also washable. Shake off any loose debris and wash the
filter gently in water.
The HEPA filter is not washable and no maintenance should be performed on the HEPA filter.
Once the HEPA filter becomes clogged it should be disposed of in accordance with federal (EPA,
OSHA), state and local regulations.
