Nippon Genetics FastGene GelPic LED Box User manual
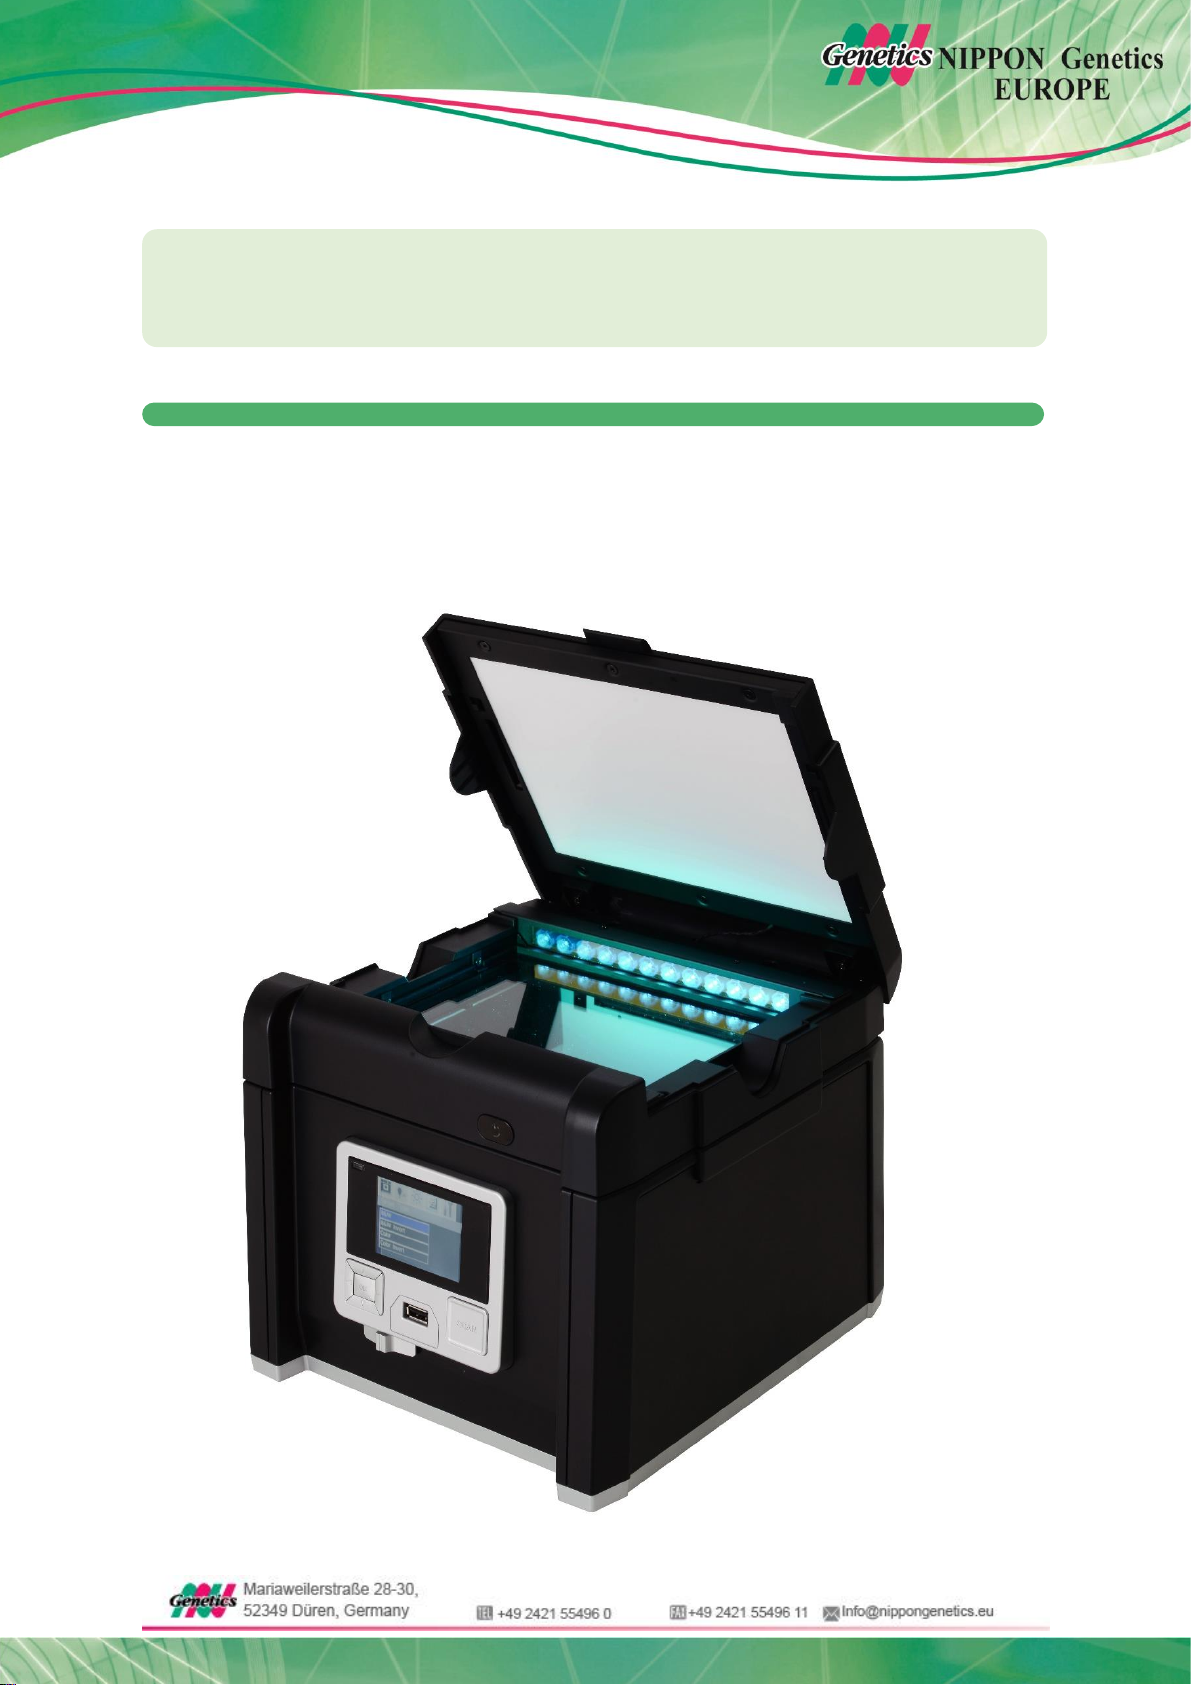
FastGene®Blue/Green GelPic LED Box
Cat. No. GP04LED
2
CONTENT
1. SAFETY INFORMATION.....................................................................................
2. WARRANTY.........................................................................................................
3. REGULATORY NOTICE......................................................................................
4. IMPORTANT NOTICE.........................................................................................
5. SPECIFICATION..................................................................................................
6. NOMENCLATURE...............................................................................................
7. INITIAL STEP.......................................................................................................
8. SCANNING AN AGAROSE GEL.........................................................................
9. EXTRACTION OF DNA FROM AGAROSE GELS..............................................
10. SCANNING A COLORIMETRIC STAINED GEL.................................................
11. SCANNING WESTERN BLOT MEMBRANE / PETRI DISHES...........................
12. CONNECTING AN EXTERNAL MONITOR OR PROJECTOR...........................
13. CONNECTING A MITSUBISHI P95D THERMAL PRINTER...............................
14. CONTROL MENUS..............................................................................................
A 1. MENU I (LIVE MODE)..............................................................................
A 2. MENU II (PLAYBACK MODE)..................................................................
15. CONTACT DETAILS............................................................................................
3
3
3
4
4
5
6
7
8
9
10
11
12
13
13
14
15

3
1. SAFETY INFORMATION
Please read carefully the following notes to be able to properly use the FastGene®Blue/Green
GelPic LED Box Imaging System.
Please wear the appropriate personal protective equipment.
Using FastGene®Blue/Green GelPic LED Box will normally not injure eyes, skins, and
samples. However, prolonged exposure of human naked eyes with light irradiation in
the blue spectrum may increase the probability of suffering from retina diseases.
Therefore, we recommend using the amber filter included in the box, when handling
the FastGene®Blue/Green GelPic LED Box with an open lid.
2. WARRANTY
The FastGene®Blue/Green GelPic LED Box is warranted against defects in materials and
workmanship for 1 year. In case of any defects occurring in the instrument or accessories
during this warranty period, Nippon Genetics Europe will repair or replace the defective parts
at its discretion without charge.
The following defects, however, are specifically excluded:
•Defects caused by improper operation.
•Repair or modification done by anyone other than Nippon Genetics Europe or an
authorized agent.
•Damage caused by substituting alternative parts.
•Use of fittings or spare parts supplied by anyone other than Nippon Genetics Europe.
•Damage caused by accident or misuse.
•Damage caused by disaster.
•Corrosion caused by improper solvent or sample.
For any inquiry or request for repair service, contact Nippon Genetics Europe or your local
distributor. Please send a message containing information about the model and serial number
of your instrument.
3. REGULATORY NOTICE
IMPORTANT: This Nippon Genetics Europe instrument is designed and certified to meet
safety standards and EMC regulations. Certified products are safe to use when operated in
accordance with the instruction manual. This instrument must not be modified or altered in any
way. Alteration of this instrument will:
•Void the manufacturer’s warranty
•Void the safety and EMC certification
•Create a potential safety hazard
Nippon Genetics Europe is not responsible for any injury or damage caused by the use of this
instrument for purposes other than those for which it is intended, or by modifications of the
instrument not performed by Nippon Genetics Europe or an authorized agent.
4
4. IMPORTANT NOTICE
Please read the installation instruction carefully before installing the FastGene®Blue/Green
GelPic LED Box Imaging System. This instrument is meant for use only by specialized
personnel that know the health risks associated with blue/green light radiation and with
reagents that are normally used with this instrument. Please use the amber filter for your own
protection!
5. SPECIFICATION
Imaging Capturing Unit
Sensor
CMOS Sensor
Resolution
9 Mega Pixels
Exposure Time
0.2~ 2 sec (11 scales)
Image Storage
USB flash drive
View Area
16 x 10.5 cm (fixed lens)
Lens and Filter
Filter Turret
Manual-Driven, 2 position
Emission Filter
520 nm Amber Filter
Lighting
Blue/Green Light
Peak at ~505 nm Cyan LED Light
Epi White Light
LED White Light
White Back Light
LED White Light Panel
Interface
Display
Build-in 2.7” TFT LCD
USB out
2 x 2.0
(Mitsubishi P95D thermal printer and USB flash drive)
VGA out
Resolution: 800 x 600 and 1024 x 768
General Info
Power
AC Adaptor, 12V/4.16A
Dimension (W x H x D)
230 x 230 x 254mm (9.05 x 9.05 x 10 in)
Gel Tools
Shovel, Amber View Shield, Gel Tray, USB-Stick
Weight
3.2Kg (7.05 lb)
Certification
CE, FCC
5
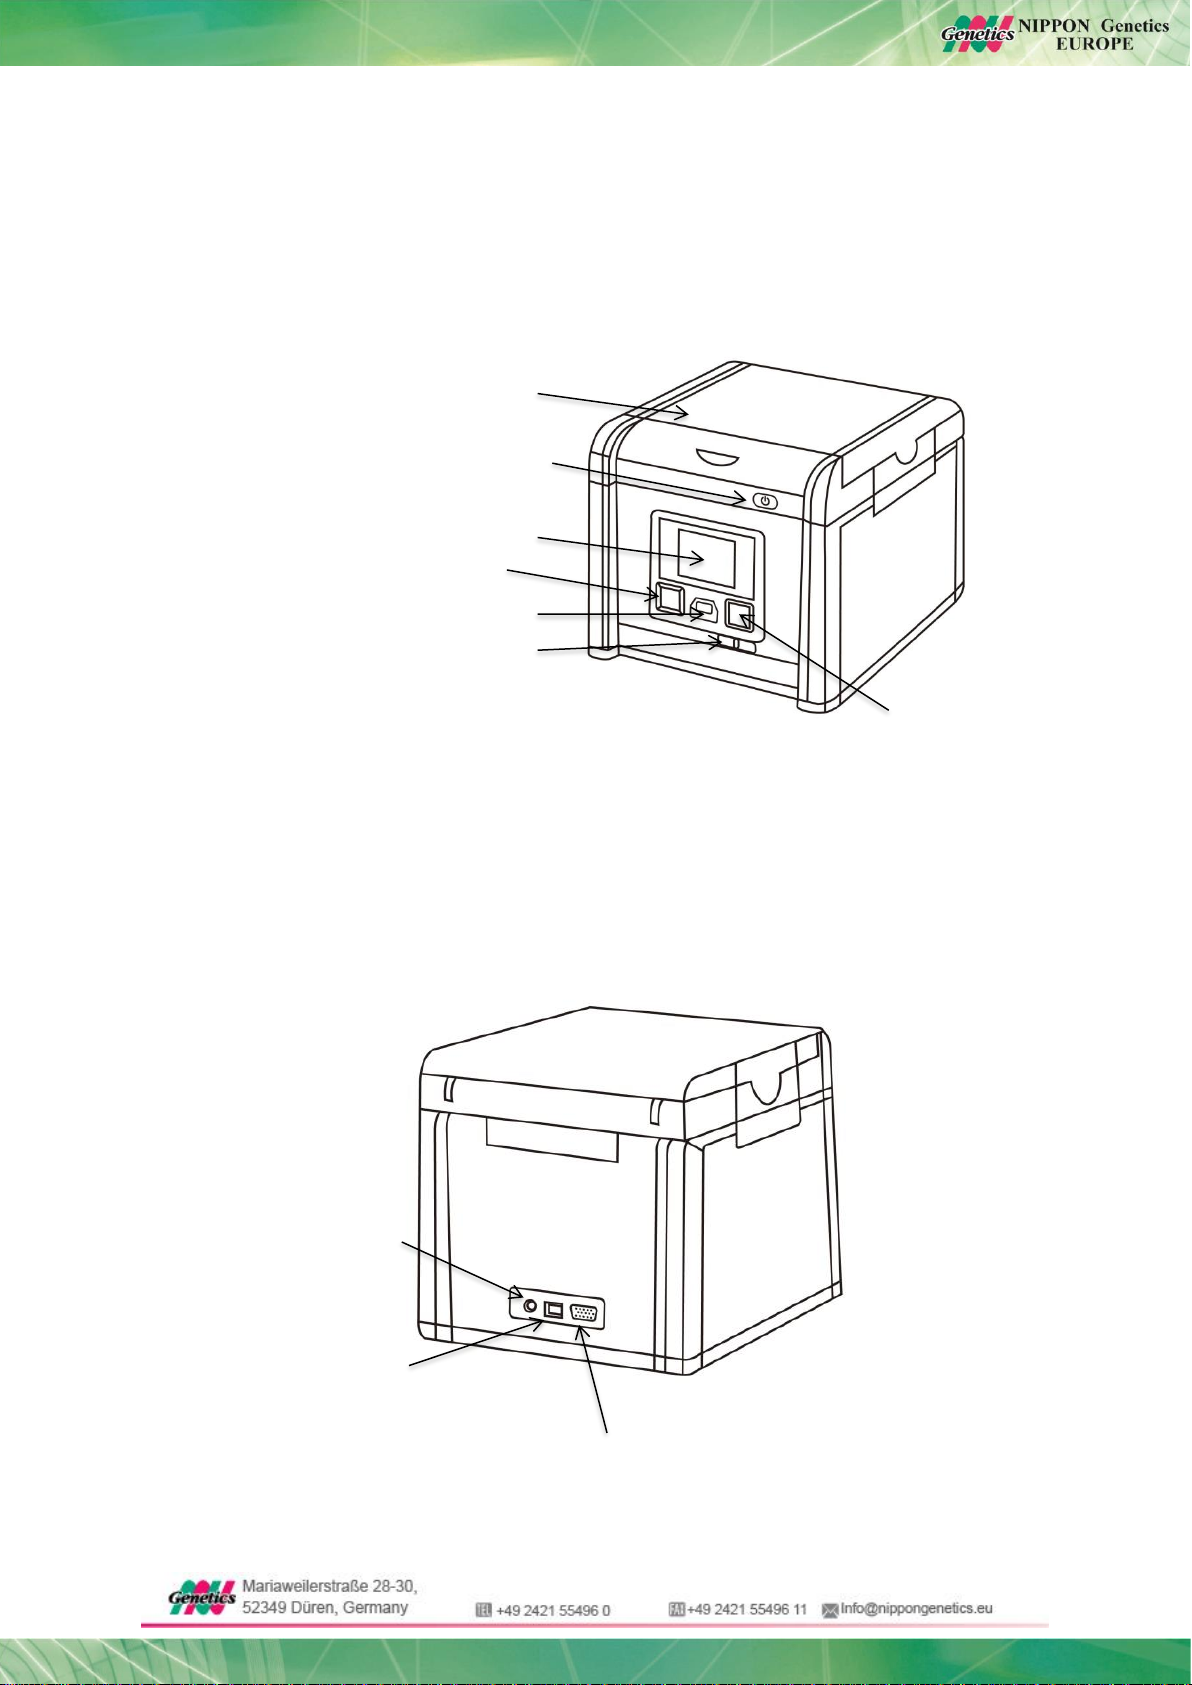
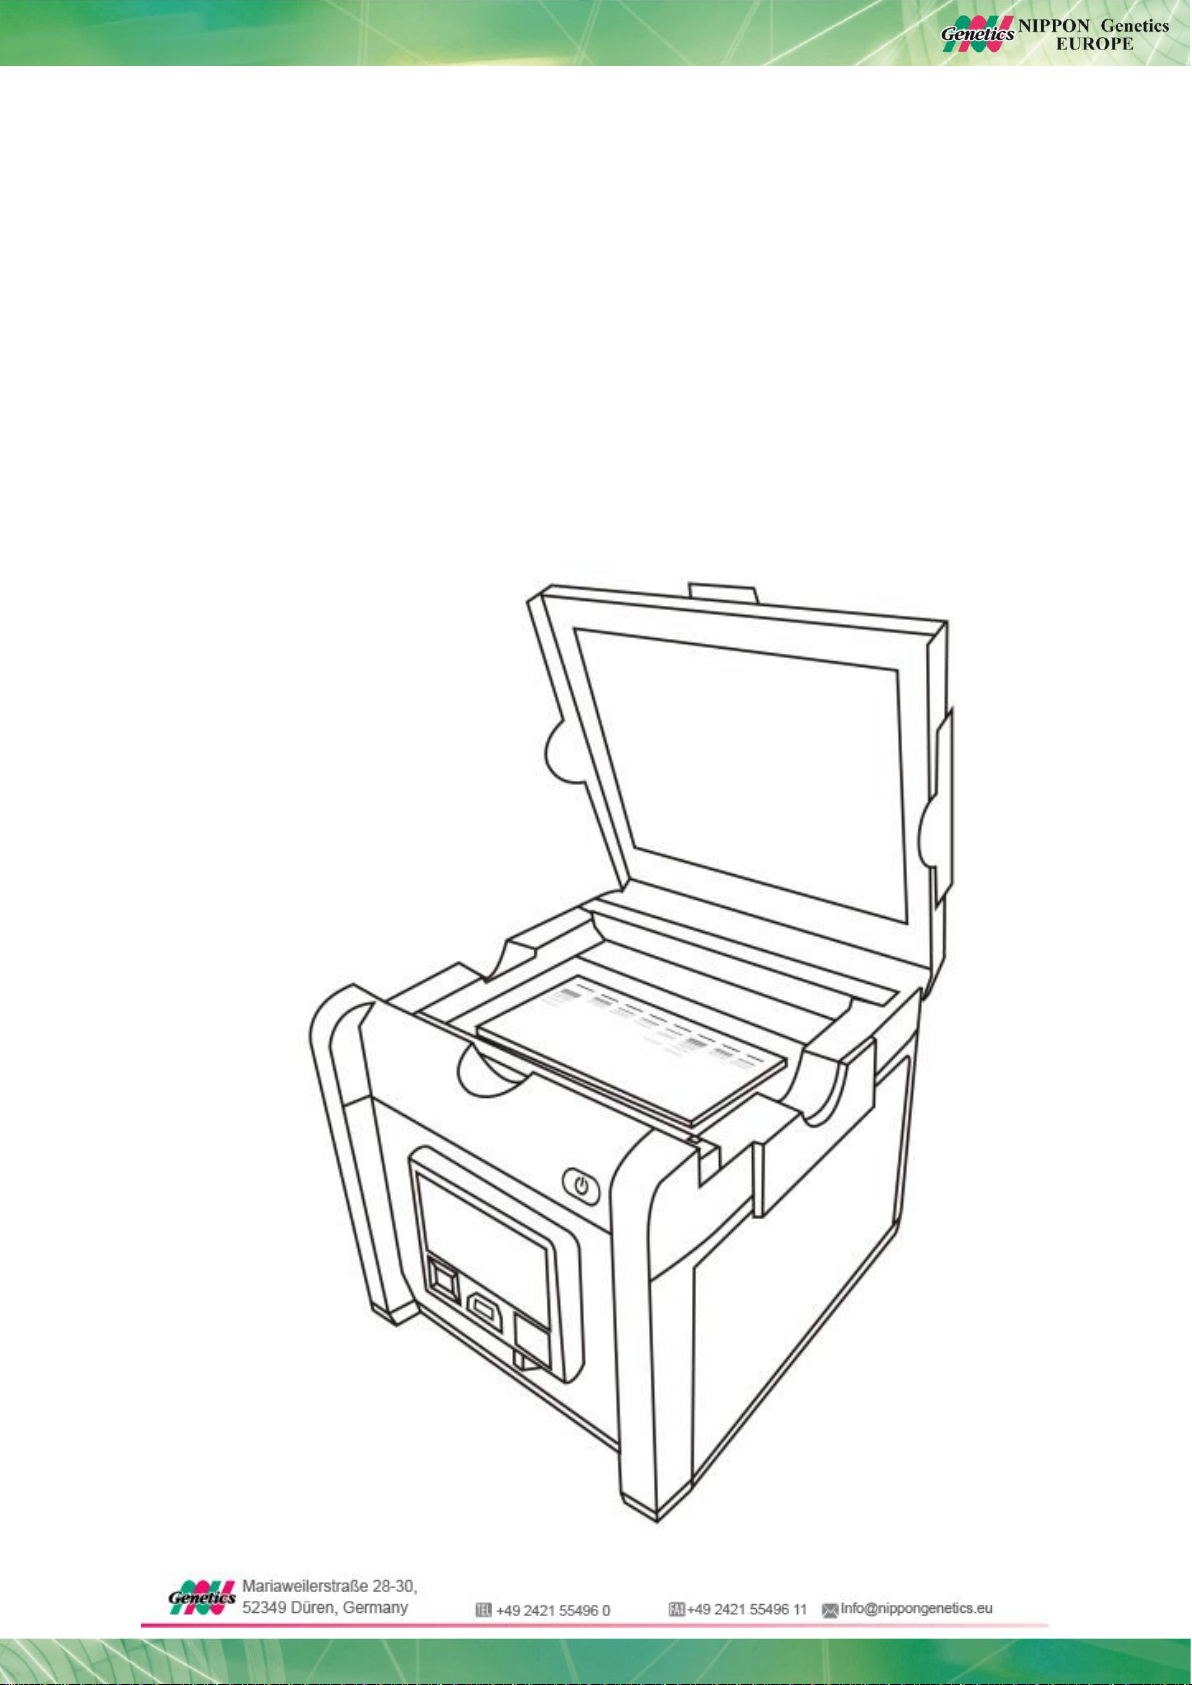
6. NOMENCLATURE
Front
Back
Up/Down, Left/Right, OK button
USB 2.0 Port
Scan button
Cyan Light/White Light selection switch
Power Button
LCD display
Upper lid
USB 2.0 port for
thermal printer P95DE
DC power
VGA Out Port
6
7. INITIAL SETUP
I. Remove all tapes that hold items in place for shipping.
II. Place the FastGene®Blue/Green GelPic LED Box unit on a flat surface.
III. Connect the included AC adapter to the back of the unit then plug into an electrical
outlet.
IV. Push the power button.
V. Insert the USB flash drive.
VI. Initiate the desired application (see sections 8 to 11).
7
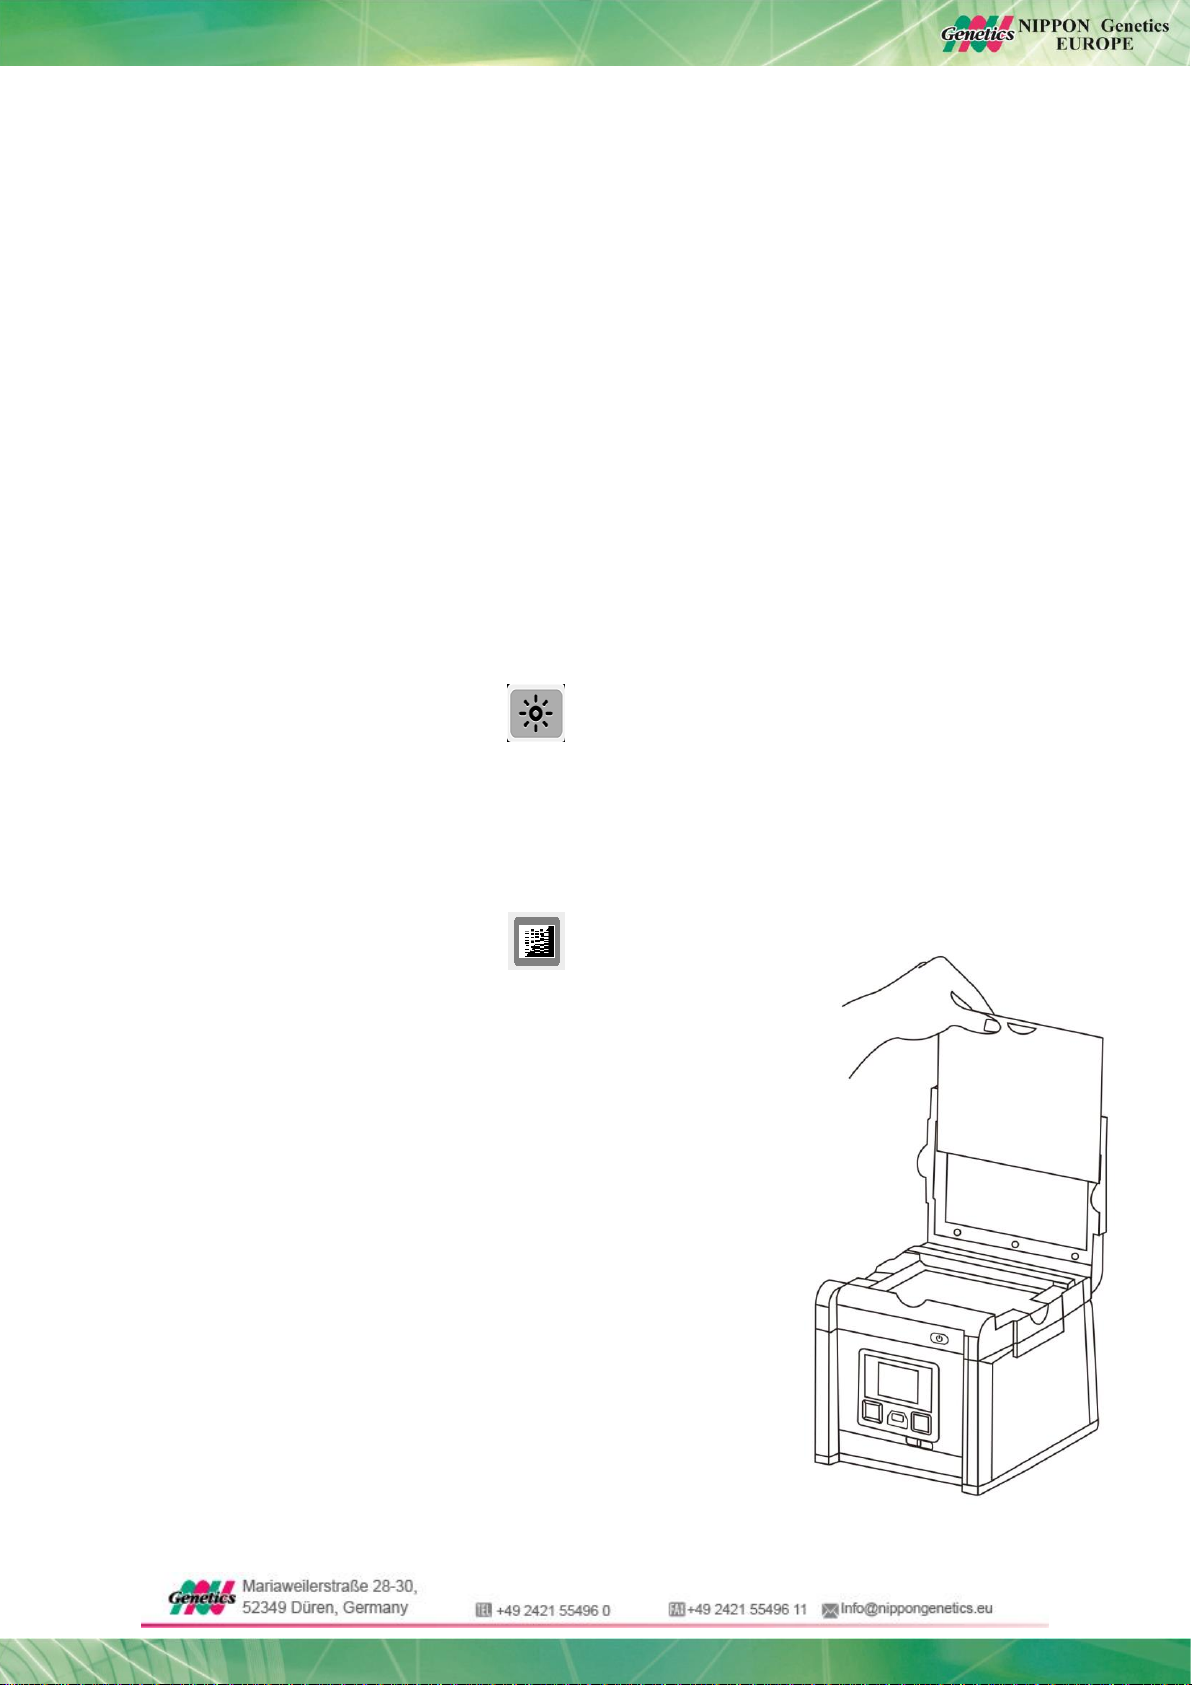
8. SCANNING AN AGAROSE GEL
Open the lid of the FastGene®Blue/Green GelPic LED Box.
I. Slide the black velvet sheet into the groove of the lid to cover the white light area of the
lid (see figure below).
II. Place the gel tray with the agarose gel on to the view area and close the lid.
Note: the view area is water-proof. Hence, the usage of the gel tray is not obligatory.
III. Slide the Light Selection Switch on thefront side of the instrumentto choose the cyan
light source.
IV. A live image of the gel will be shown on the display.
Remark: Image adjustment and scanning is only possible in the “live view”mode. If the following
described icons are not shown at the menu bar after pressing OK button please refer to section 14/A.2
to switch between “playback mode” and “live view” mode.
Image Adjustment (Exposure)
I. Press the OK-button to activate the menu.
II. Use left or right keys to select icon.
III. Use up and down key to select the desired exposure value (-5 to +5).
IV. Press the OK button to confirm the exposure value.
V. Wait until the image exposure is adjusted.
Image Adjustment (BW/BW-invert)
I. Press the OK-button to activate the menu.
II. Use left or right keys to select icon.
III. Use up and down key to select the desired BW-option.
IV. Press the OK button to confirm your selection.
V. Wait until the image is adjusted.
Image Recording
I. Press SCAN button, green LED will flash and “Saving,
don’t remove USB” will be displayed on the screen. The
scanned image will automatically save to the USB flash
drive. “Printing Yes/No” option will be displayed on the
screen if a thermal printer is connected to the FastGene®
Blue/Green GelPic LED Box.
Scanning of the gel sample is now complete.

8
9. EXTRACTION OF DNA FROM AGAROSE GELS
FastGene®Blue/Green GelPic LED Box is equipped with an amber filter shield to filter the blue/green
excitation light enabling the extraction of DNA from the agarose gel.
I. Open the lid to its maximum opening and the blue/green light will automatically turn off.
Note: Light bleaches the DNA dye. The light is switched off to avoid excessive bleaching.
II. Position the central opening of the amber filter shield on the hanging tab. After hanging
the filter on lid, make sure the two bent areas are placed against the lid.
III. Turn on and off the blue/green LED by pressing “Scan button”.
IV. Excise the DNA.
Filter shield hanging tab
Amber Filter Shield

9
10. SCANNING A COLORIMETRIC STAINED GEL
I. Open the lid of the FastGene®Blue/Green GelPic LED Box.
II. Remove the black velvet sheet from the inside of the lid.
III. Place the gel tray with the protein gel on to the view area and close the lid.
Note: the view area is water-proof. Hence, the usage of the gel tray is not obligatory.
IV. Slide the Light Selection Switch on the front side of the scanner to select the white
light source for stained gel scanning.
V. Selecting Transmitted Mode:
a. Press OK button to activate the menu.
b. Use left or right keys to select icon.
c. Use up and down keys to select “White Back Light”.
d. Press the OK button to confirm.
e. A live image of the gel will be shown on the display.
Remark: Image adjustment and scanning is only possible in the “live view”mode. If the following
described icons are not shown at the menu bar after pressing OK button please refer to section 14/A.2
to switch between “playback mode” and “live view” mode.
Image Adjustment (Exposure)
I. Press the OK-button to activate the menu.
II. Use left or right keys to select icon.
III. Use up and down key to select the desired exposure value (-5 to +5).
IV. Press the OK button to confirm the exposure value.
V. Wait until the image exposure is adjusted.
Image Adjustment (Color option)
I. Press the OK-button to activate the menu.
II. Use left or right keys to select icon.
III. Use up and down key to select the desired Color-option.
IV. Press the OK button to confirm your selection.
V. Wait until the image exposure is adjusted.
Image Recording
I. Press SCAN button, green LED will flash and “Saving, don’t
remove USB” will be displayed on the screen. The scanned
image will automatically save to the USB flash drive.
“Printing Yes/No” option will be displayed on the screen if
the Mitsubishi P95D thermal printer is connected to the
FastGene®Blue/Green GelPic LED Box.
Scanning of the gel sample is now complete.
Built-in White light plate
10
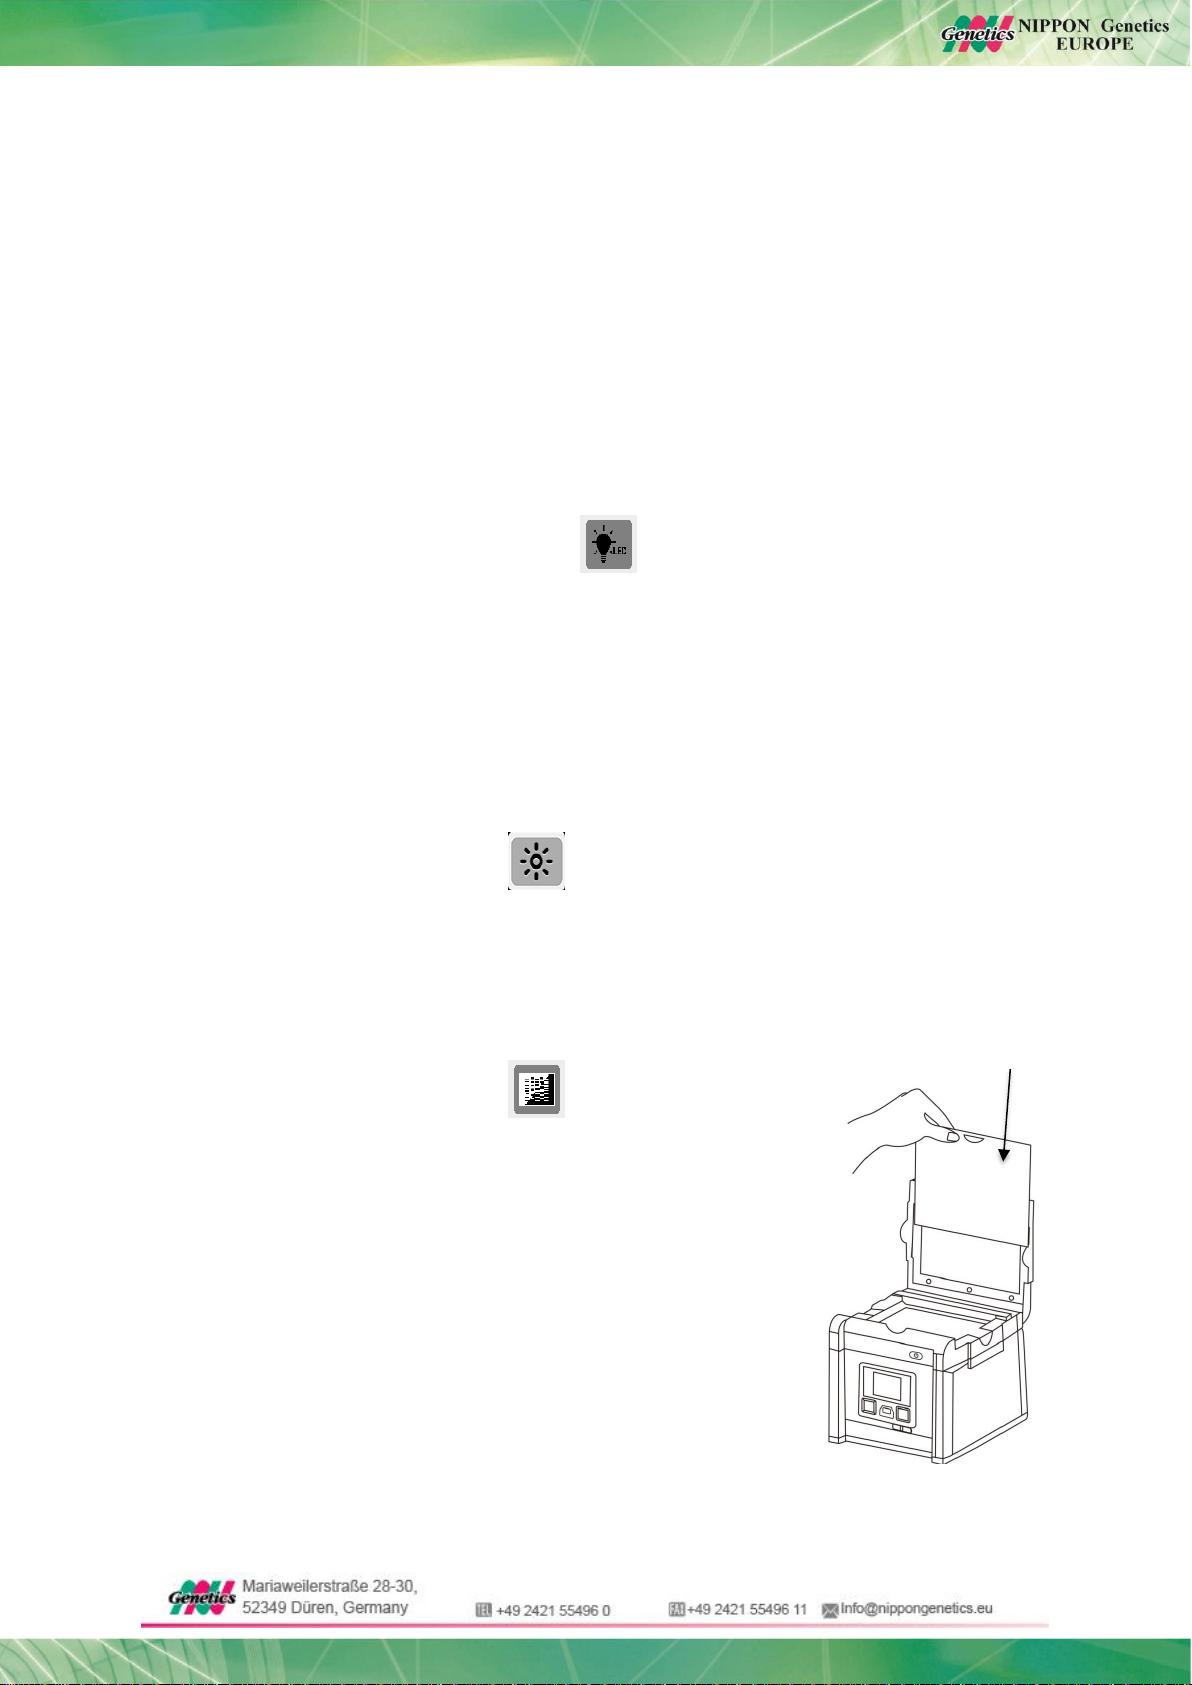
11. SCANNING WESTERN BLOT MEMBRANE / PETRI DISHES
I. Open the lid of the FastGene®Blue/Green GelPic LED Box.
II. Slide the black velvet sheet into the groove of the lid to cover the white light area of the
lid.
III. Place the gel tray with the membrane/petri dish on to the view area and close the lid.
Note: the view area is water-proof. Hence, the usage of the gel tray is not obligatory.
IV. Slide the Light Selection Switch on the front side of the scanner to select the white
light source for stained gel scanning.
V. Selecting Epi Light Mode:
a. Press OK button to activate the menu
b. Use left or right keys to select icon.
c. Use up and down keys to select “White Epi”.
d. Press the OK button to confirm.
e. A live image of the gel will be shown on the display.
Remark: Image adjustment and scanning is only possible in the “live view”mode. If the following
described icons are not shown at the menu bar after pressing OK button please refer to section 14/A.2
to switch between “playback mode” and “live view” mode.
Image Adjustment (Exposure)
I. Press the OK-button to activate the menu.
II. Use left or right keys to select icon.
III. Use up and down key to select the desired exposure value (-5 to +5).
IV. Press the OK button to confirm the exposure value.
V. Wait until the image exposure is adjusted.
Image Adjustment (Color option)
I. Press the OK-button to activate the menu.
II. Use left or right keys to select icon.
III. Use up and down key to select the desired Color-option.
IV. Press the OK button to confirm your selection.
V. Wait until the image exposure is adjusted.
Image Recording
I. Press SCAN button, green LED will flash and “Saving, don’t
remove USB” will be displayed on the screen. The scanned
image will automatically save to the USB flash drive.
“Printing Yes/No” option will be displayed on the screen if
the Mitsubishi P95D thermal printer is connected to the
FastGene®Blue/Green GelPic LED Box.
Scanning of the sample is now complete.
“Epi” mode is to scan the western blot membranes or
petri dishes. The black velvet sheet reduces the
background.
Black velvet sheet
11
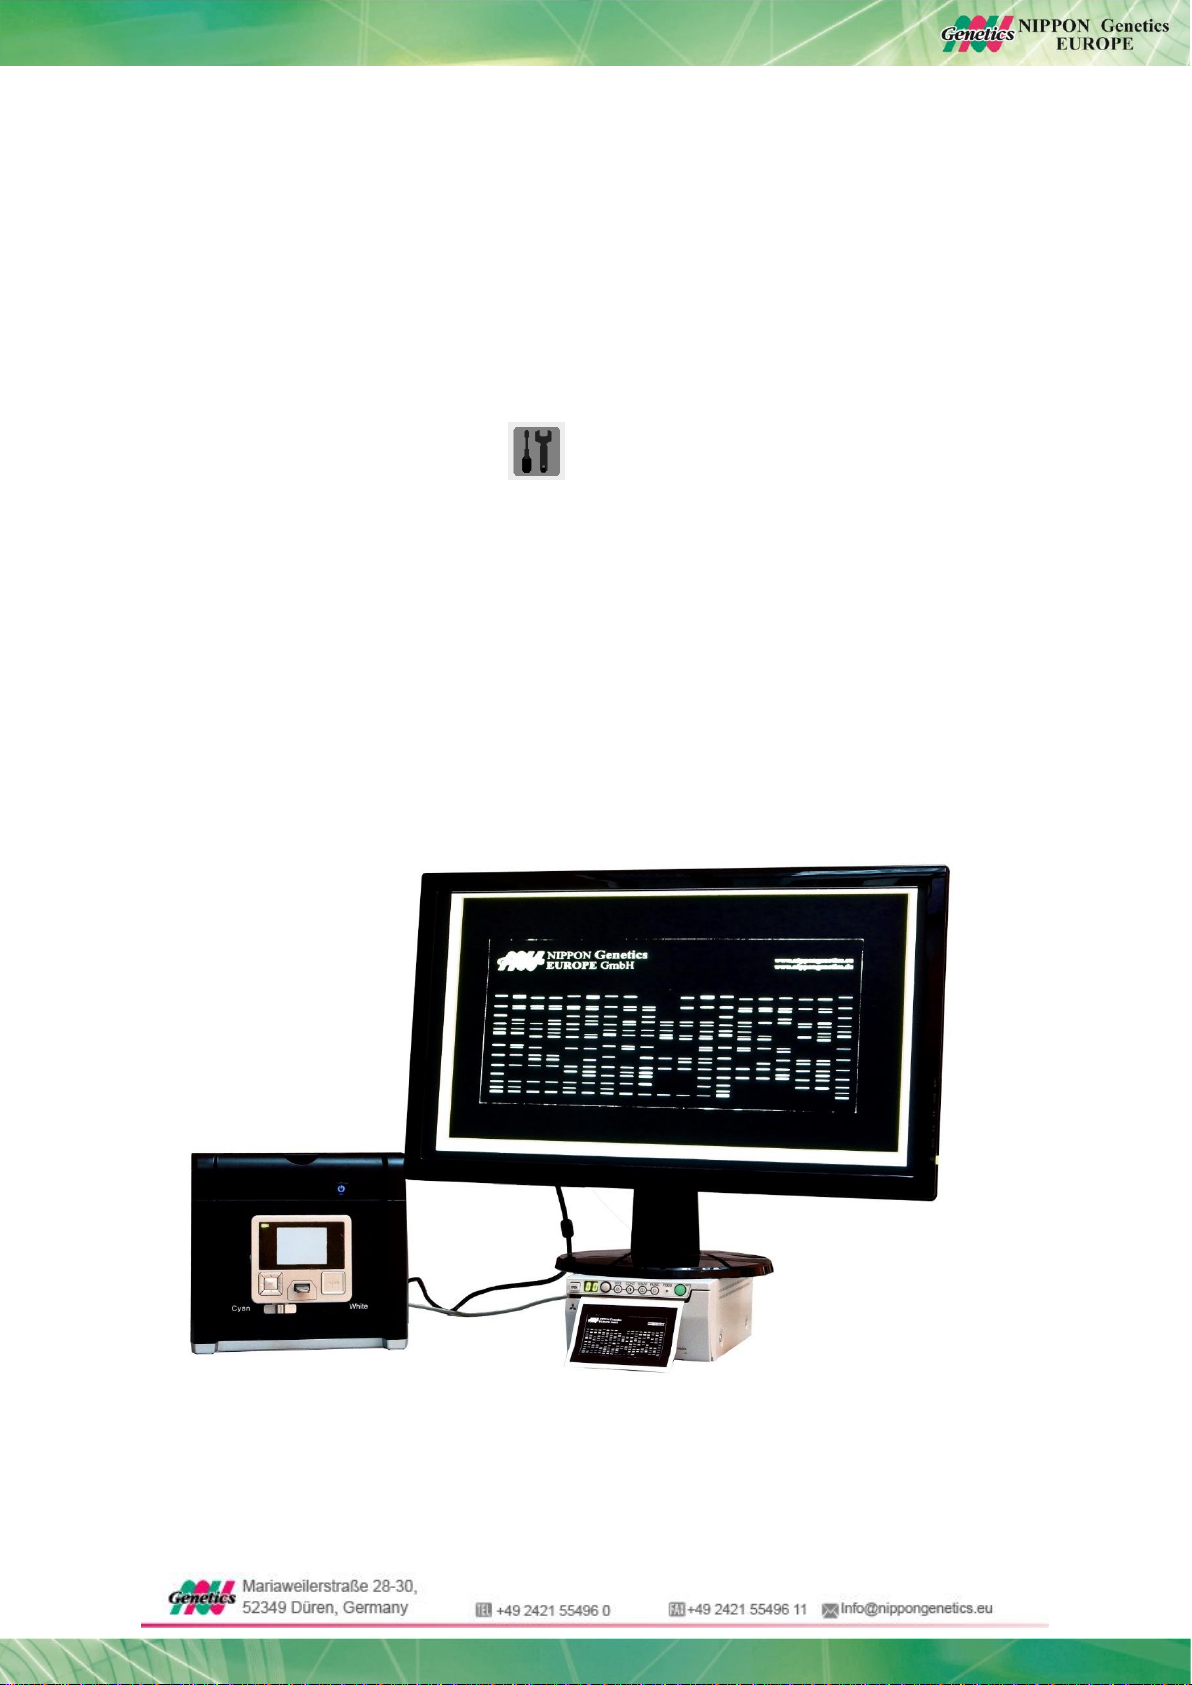
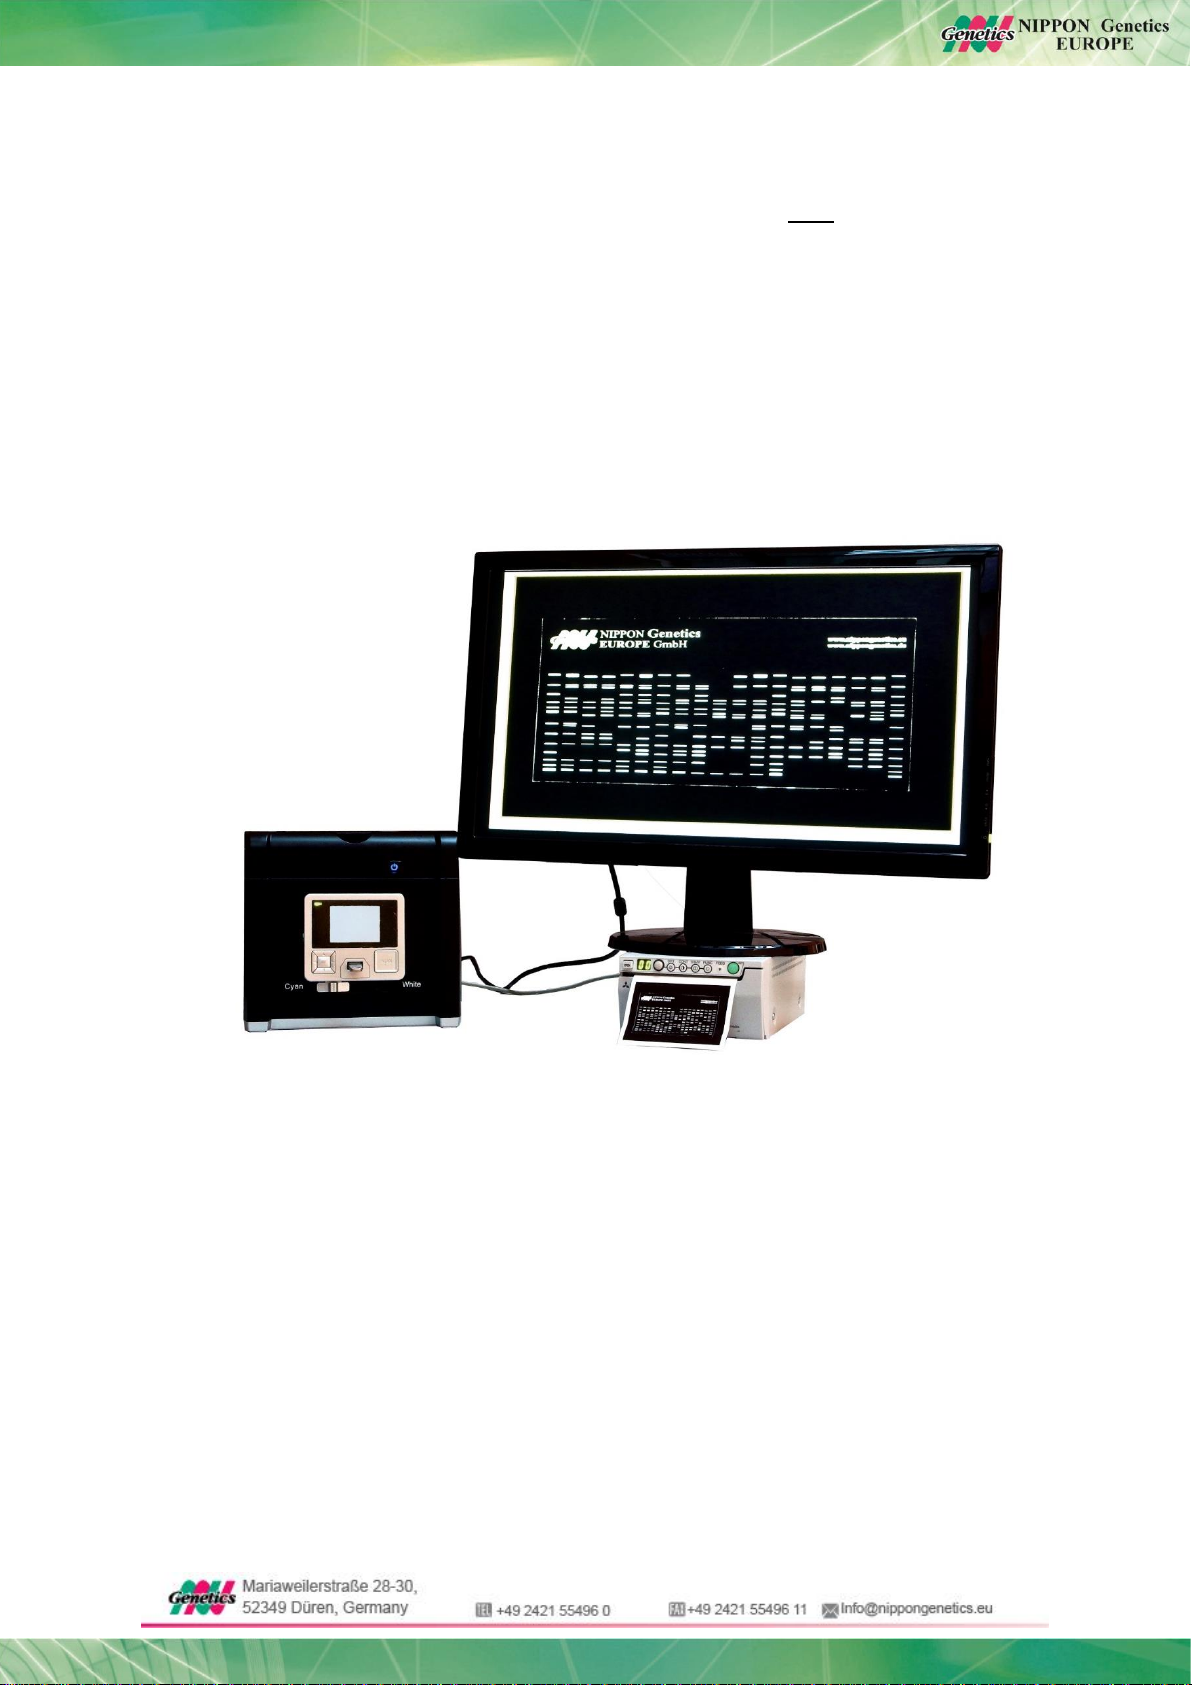
12. CONNECTING AN EXTERNAL MONITOR OR PROJECTOR
Images from the scanner can be displayed on a monitor using the VGA-out port.
I. Set the monitor to VGA mode (see monitor documentation for details).
II. Connect the VGA cable (not included) to the video port of the monitor and of the
FastGene®Blue/Green LED GelPic Box.
III. Press the OK-button to activate the menu.
IV. Use left or right keys to select icon.
V. Use up and down key to select the option “Display” and press the OK-button to
confirm.
VI. Use up and down key to select the option “VGA”and press the OK-button to confirm.
VII. Wait until the image is shown on the external monitor and press the OK button within
10 seconds again to confirm the connection to the external monitor.
12
13. CONNECTING A MITSUBISHI P95D THERMAL PRINTER
I. ConnecttheUSB cable (not included) tothe USB port atthe back side of the FastGene®
Blue/Green GelPic LED Box and to the Mitsubishi P95D Thermal Printer.
II. Scan an image and follow the instructions shown on the display.
13
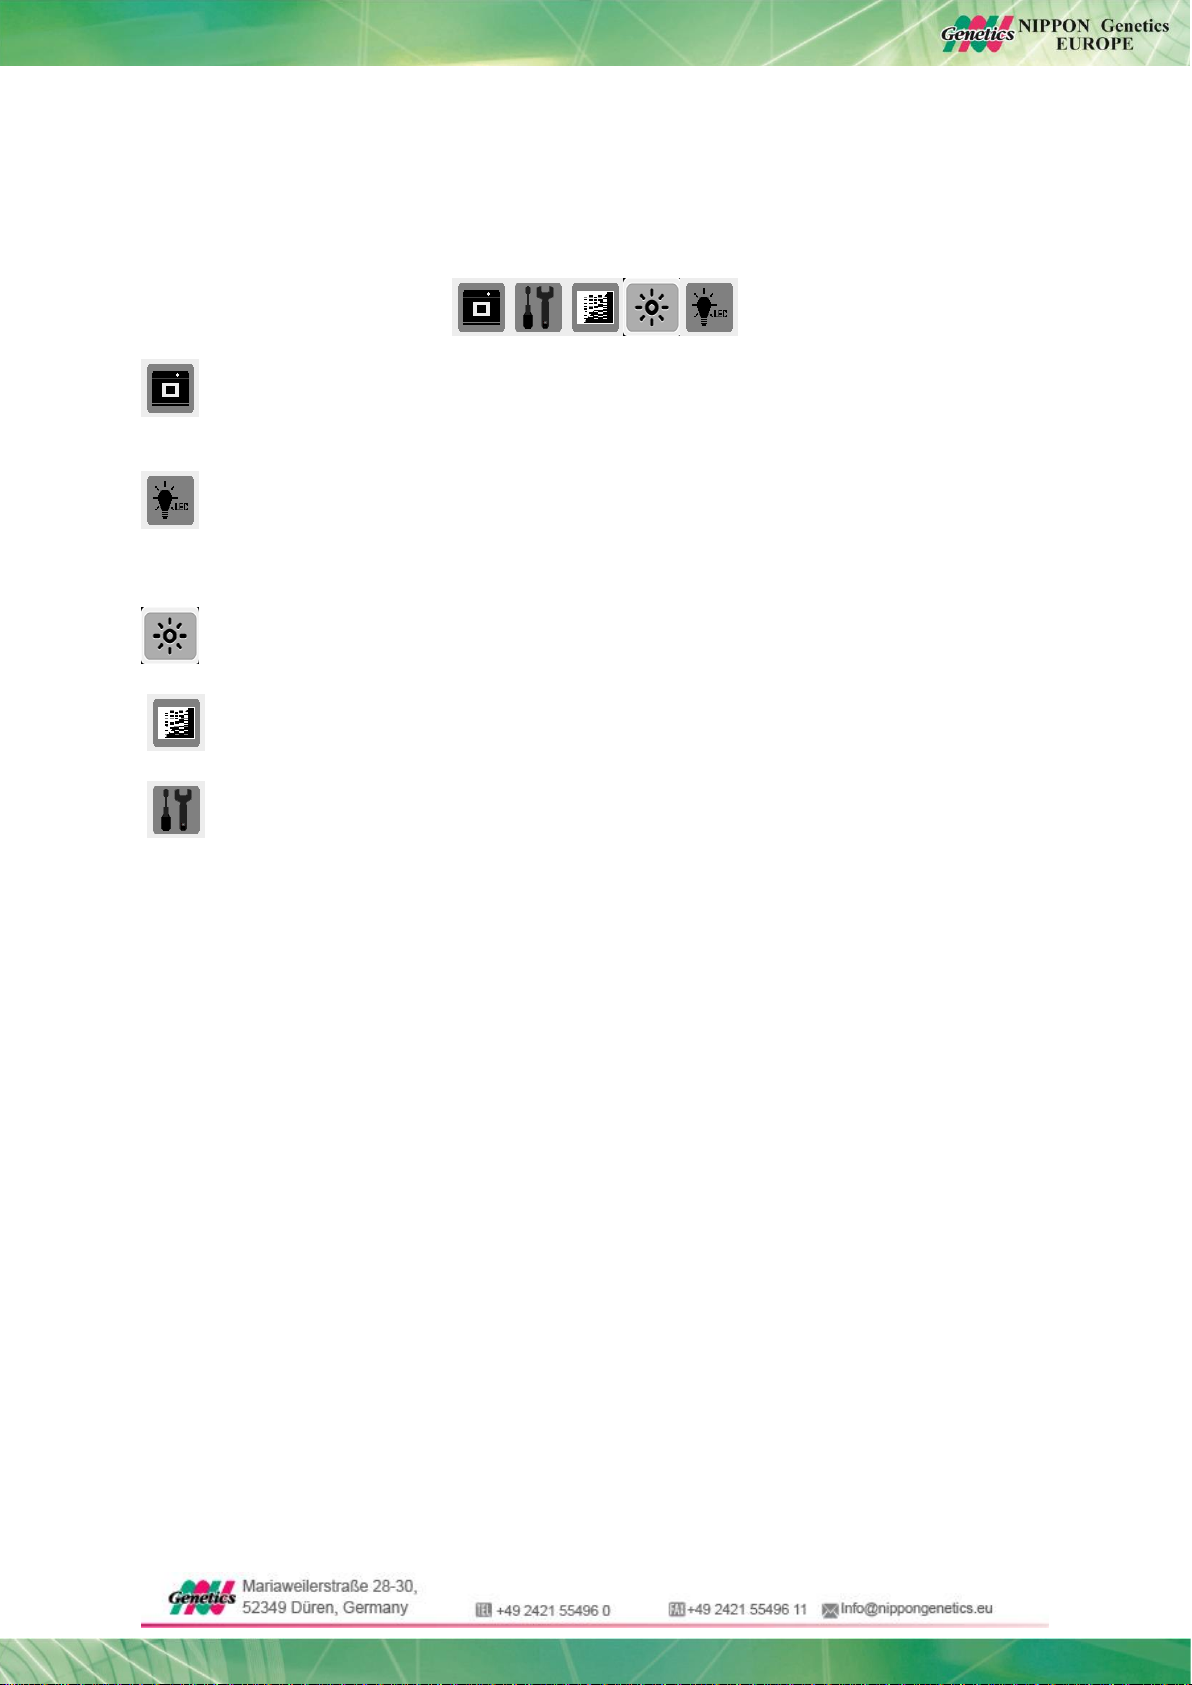
14. CONTROL MENUS
A 1. Menu I (LIVE MODE)
Press the OK-button to activate the menu.
Live mode Icon: Use left or right keys to select the icon and press OK to switch to
playback mode.
LED Lighting Mode: Use left or right keys to select the icon and use the up or down
key to select Transmitted or Epi light source. Press the OK button to confirm.
Note: this mode is available only when white light application is selected.
Exposure Mode: Use left or right keys to select the icon and use the up or down key
to adjust the exposure value in this mode. Press the OK button to confirm.
B/W or Color Switch Mode: Use left or right keys to select the icon and use the up or
down key to select a color option. Press the OK button to confirm.
Setup mode: Use left or right keys to select the icon and use the up or down key to
select a setting and press OK to activate it:
I. LCD: Dark, Normal, Bright
II. Display: LCD, VGA
III. Video Output: 800 x 600, 1024 x 768
IV. Save Format: TIF, JPG, BMP (“JPG” is default setting)
V. Setup/File Name: 6 characters combination
VI. Quick View: 1 sec, 2 sec, 3 sec, off (“2 sec” is default setting)
VII. Slide Show Interval: 2 sec, 3 sec, 5 sec, 10 sec (“3 sec” is default setting)
VIII. Power Save: 1 min, 3 min, 5 min, 10 min (“1 min” is default setting)
IX. Language: English, Japanese
X. Date: setup date yyyy/mm/dd
XI. Time: setup time hh/mm/ss
XII. Reset: Yes, No. (YES Resets all current settings back to factory default)
XIII. About: F/W, S/W information, Update

14
A 2. Menu II (PLAYBACK MODE):
Press the OK-button to activate the menu.
Playback mode icon: Use left or right keys to select the icon and press OK to switch
to live view mode.
Auto Playback Mode: To automatically play the captured images one by one. Use left
or right keys to select the icon. Press the OK button to start autoplayback.
Edit Mode: To edit the captured images. Use left or right keys to select the icon and
use the up or down key select the options (rotate, flip or delete the captured image).
Press the OK button to confirm.
Preview Mode: To preview the captured images in a multi-image thumbnail panel
(1 x 1, 2 x 2 and 3 x 3 images). Use left or right keys to select the icon and use the up
or down key select the options. Press the OK button to confirm.
Set Up Mode: Same as the “Set Up Mode” functions in Menu I (live mode).

15

16
15. CONTACT DETAILS
Please contact us for additional information: info@nippongenetics.eu
Please contact our support: support@nippongenetics.eu
NIPPON Genetics EUROPE GmbH
Mariaweilerstraße 28-30
52349 Dueren
Germany
Fon: +49 2421 55496 0
Fax: +49 2421 55496 11
Other manuals for FastGene GelPic LED Box
1
Table of contents
Popular Medical Equipment manuals by other brands


ZOLL
ZOLL 731 Series Easy setup guide

Stryker
Stryker stair-pro 6251 Operation manual

Meridian Bioscience
Meridian Bioscience BreathID Smart quick start guide

TIDI
TIDI Posey Sitter On Cue instruction manual

Electromed
Electromed SmartVest Clearway instruction manual

Performance Tool
Performance Tool W2977 owner's manual