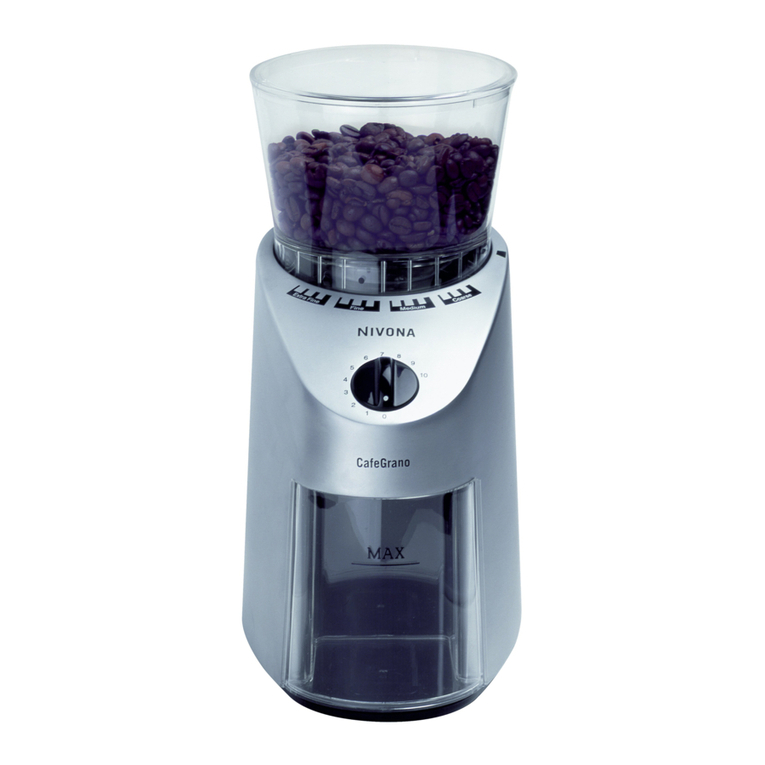
Nivona CafeGrano 120 User manual

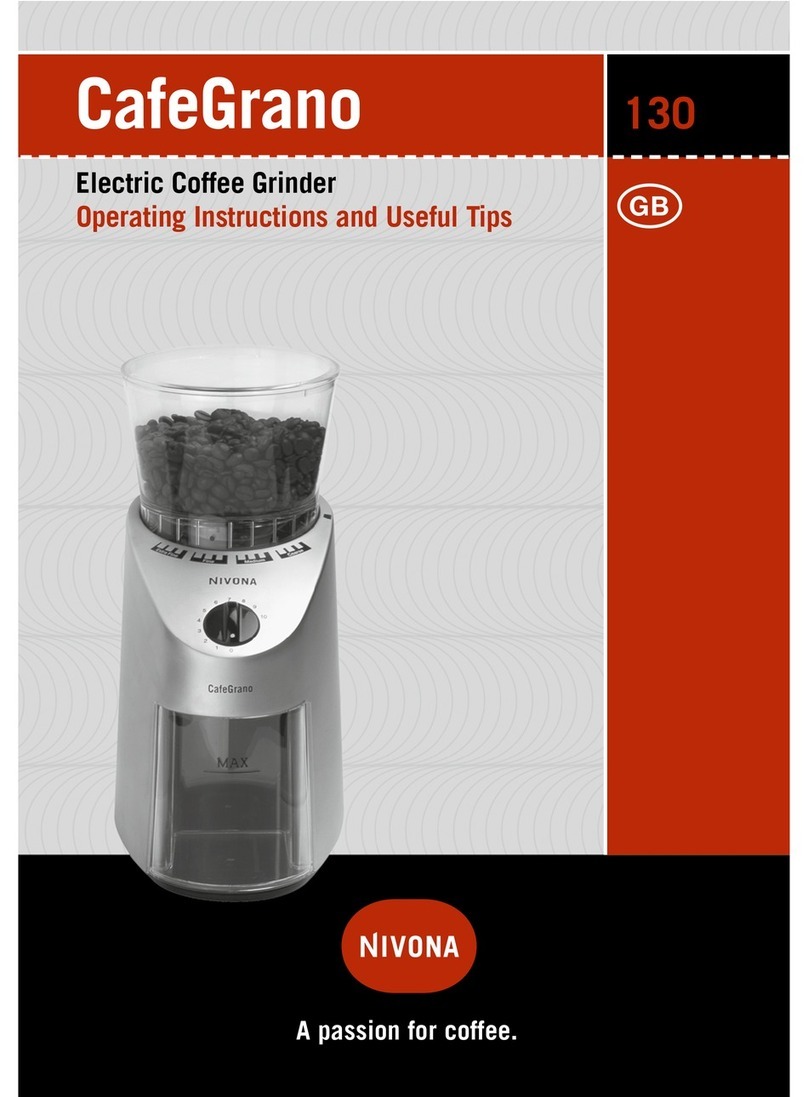
CafeGrano
Electric Coffee Grin er
Operating Instructions an Useful Tips
120
A passion for coffee.

2
Operating Instructions an Useful Tips
Dear Customer,
Congratulations and many thanks for choosing a high-quality
NIVONA product. To get the most out of your NIVONA machine,
please read this manual carefully before use. Please start by
reading the safety notes.
Please keep this manual in a safe place. You may want to use
it as reference guide or hand it on to any further users of your
machine.
Purchase made at
Place, date

3
Equipment
Bea co tai er lid
A
Rotati g bea co tai er
B
Gri der setti gs i dicator
C
Removable grou d coffee co tai er
E
Maximum fill level mark
F
Power cord storage compartme t
(u derside)
G
Co trol k ob for time / qua tity
selectio
D
G
A
B
C
D
E
F
2345
1

• Please read the complete
operating manual carefully
before use.
• The operating voltage must be
the same as the mains voltage.
Please note the sticker on the
underside of the machine.
• Keep the power cord away from
hot parts.
• Do not unplug the machine by
pulling on the power cord.
• Do not operate the machine if
the power cord or machine case
is damaged.
• Do not let children use the
machine without supervision.
• Do not place the machine on a
hot surface or near open flames.
• Never put water in the machine
or submerge the machine in
water.
• Do not fill over the max. mark
(risk of overheating).
• ake sure the machine is
switched off and unplugged be-
fore maintenance and cleaning.
• Give the machine enough time
to cool down after use before
carrying out cleaning or main-
tenance operations.
• ake sure the power cord does
not hang or lie where it may
cause disruption.
• Use the coffee grinder for grind-
ing roasted coffee beans only –
do not use with other foodstuffs.
Always make sure there is noth-
ing but coffee beans in the
beans container – otherwise the
guara tee will ot apply.
• This machine is not suitable for
individuals (including children)
with physical, sensory or mental
impairments, including indivi-
duals who do not have sufficient
experience or knowledge, unless
they are shown how to operate
the machine or initially super-
vised by someone responsible
for their safety.
➔If repair services are required,
including replacement of the
power cord, please send the
machine to the dealer from
whom it was purchased – or to
NIVONA Central Customer
Services.
Cautio : Electrical appliances
must be repaired by qualified per-
sonnel! Non-professional repairs
can expose the user to significant
risks. Liability for damages cannot
be accepted if the machine is
Security notices

5
used for any other than the inten-
ded purpose, incorrectly maintai-
ned or serviced.
CE – This machi e co forms to
the followi g EC guideli es:
• 73/23/EWG dated 19/02/1973
“Low Voltage Directive”, including
amendment 93/68/EWG.
• 89/336/EWG dated 03/05/1989
“E V Directive”, including
amendment 92/31/EWG.
Specificatio s
ains voltage: 230 V
Power input: 100 W
Note: Your coffee machine has a
cord storage compartment – if the
power cord is too long, any surplus
can be accommodated in the
storage area on the underside of
the machine to avoid accidents
(fig. 5).
... Security notices
Before you first use the machine,
please wipe all components with a
dry cloth. Then plug the machine
into the mains power supply.
Before use
U packi g a d assembli g the
machi e
Carefully unpack all the compo-
nents of the coffee machine and
wipe them with a dry cloth. ake
sure that the grinder mechanism
under the rubber seal contains no
substances, and that the rubber
seal is correctly fitted.
Place the bean container (fig. 1/B)
on the case so that the black dot
on the bean container is aligned
with the black mark on the right
side of the case.
Before turning the bean container,
put the lid on (fig. 1/A) – it is far
easier and more secure to turn the
bean container with the lid on.
Preparing the machine

6
Grin ing coffee
Preparatio a d i structio s for use
Please add just a few beans the
very first time you operate the
grinder.
This coffee grinder works with
conical grinding gear made from
hardened stainless steel and a
powerful dynamometric motor in
order to grind your beans to pre-
cisely the level of fineness you re-
quire. The grinding process is
relatively slow so that the beans
are exposed to minimal heat and
thus retain as much aroma as
possible.
The bean container and ground
coffee container are removable for
easy cleaning.
Gri der setti gs
The machine offers a total of 16
distinct settings for grind fineness
– almost infinitely variable.
Each of the 4 main settings is
subdivided into 4 sub-settings, so
that you can select any setting for
your coffee from extra-fine through
fine and medium to coarse (fig 2).
Preferences vary considerably, so
we recommend that you try out
various settings depending on the
coffee roast and your personal
taste.
Here are some basic hints to help
you find your ideal setting:
Coarse is particularly suitable if
you wish to make filter coffee by
hand.
Medium is recommended for use
in traditional boiler-style espresso
machines.
Fi e should be selected for use in
filter coffee machines or auto-
matic pump-pressure espresso
machines.
Extra-fi e is recommended for
making mocha or coffee by hand.
... Preparing the machine

7
Gri di g coffee
Grinding coffee is only possible
with the bean container on and if
any grinder setting has been
selected. If the grinder setting
indicator (fig. 2) is far right, the
grinder will not operate.
The machine allows you to select
the desired quantity of ground
coffee by setting a grinding time.
You can set the desired length of
time and therefore the quantity of
coffee by turning the control knob
on the front of the machine (fig. 3).
➔Add the desired bean variety to
the bean container.
➔ake sure that the ground cof-
fee container (fig. 4) is in position
and empty.
➔Turn the bean container to the
desired grinder setting between
extra-fine and coarse.
➔Then set the desired grinding
time / coffee quantity by turning
the control knob (fig. 3).
The grinding process then starts
automatically and immediately. It
is complete when the timer con-
trol knob reaches the ‘0’ position.
Tip: If you would like to stop the
grinding process before the time is
up, simply turn the bean container
(fig. 1/B) to the right through the
‘coarse’ setting until it blocks. The
grinding operation then stops
immediately, while the timer runs
on until it reaches the ‘0’ position.
It can be useful to stop the grind-
ing operation if you have set too
great a quantity of coffee or if
substances other than coffee have
got into the container and blocked
the grinding mechanism.
Helpful tips an notes
➔ake sure you never grind
coffee without the ground coffee
container.
➔Do not remove the bean con-
tainer if it still contains beans.
➔The finer the grinder setting,
the longer is needed to grind a
given quantity. For example, the
machine grinds more coffee in
20 seconds when set to coarse
than when set to fine.
➔We recommend that you do not
grind coffee for storage.
... Grin ing coffee

8
Always grind your coffee immedia-
tely before brewing to retain the
full aroma.
➔Tap the machine gently a cou-
ple of times before removing the
full ground coffee container – this
ensures that any ground coffee
left in the grinding mechanism
falls down into the container befo-
re it is removed.
➔Never fill the ground coffee
container over the “max.” mark.
Excess ground coffee can be
sucked back up into the grinding
mechanism, cause overheating
and damage the machine!
➔Do not grind for longer than
3 minutes without a break, as this
causes the machine parts to heat
up and some of the coffee aroma
will be lost.
➔If you find the coffee produced
by your coffee machine too thin,
or that it runs through too quickly,
select a finer grinder setting. If
the brewing process is too slow,
select a coarser setting.
➔Dark, oily beans require a grinder
setting 1 or 2 levels coarser.
If you clean your machine regularly,
it will last a long time. Please note
that you should clean your machine
more regularly if you use dark, oily
coffee beans than if you use light,
drier coffee beans.
➔Always unplug the machine be-
fore cleaning.
➔Never put water or other liquids
in the machine!
➔Remove the bean container and
clean the grinding chamber below
as often as possible with a paint-
brush or similar tool to prevent oily
coffee residues from building up
(to do this, please remove the upper
part of the grinding mechanism,
holding it by the rubber seal).
➔Please clean the seal between
the bean container and grinding
mechanism using a paintbrush or
similar tool.
➔Clean the outside of the machi-
ne with a damp cloth – please
ensure that all machine parts are
clean and dry before the next use.
➔You can remove the bean con-
tainer and ground coffee container
Cleaning
... Helpful tips an notes

9
NIVONA products are designed to
meet the highest quality standards.
However, if questions do arise
while you operate your machine,
we would like to hear from you.
Your support is essential to our
mission to further develop and
improve our products so that they
fully meet your needs.
Customer service
for easier cleaning. Please note
that the parts of your machine are
not suitable for the dishwasher!
Tip: If you grind on the finest sett-
ing, it is recommended that you
clean the grinding mechanism and
seal after every use.
Please consult the detailed
guarantee and customer service
conditions in the appropriate
information booklet.
Guarantee an customer service con itions
Electric and electronic
appliances often con-
tain valuable or harmful
materials which should
not be processed in the
same way as normal household
waste. If incorrectly processed,
they can harm human health and
the environment. Please therefore
do not put your machine in the
dustbin with normal waste.
Instead submit it to the “collection
point for the disposal and recycl-
ing of electric and electronic
appliances” provided by your local
council. You can obtain further
information from your local coun-
cil, the waste collection services
or the specialist retailer who sold
you the product.
Protecting the environment
... Cleaning

Nivona Apparate GmbH
Fritz-Haber-Straße 10
D-90449 Nürnberg
www.nivona.com
© 2008 by NIVONA
Table of contents
Other Nivona Coffee Grinder manuals
