NookBox RS-23ZBS User manual

1NookBox Installation Guide Room Sensor
Temperature Sensor
(RS-23ZBS)
Installation Guide

2NookBox Installation Guide Room Sensor
RS-23ZBS is a ZigBee Room Sensor. It features both temperature and humidity detection function to
monitor your home environments. The temperature and humidity information will be transmitted to the
coordinator in the ZigBee network and displayed on the Temperature Sensor’s LCD screen.
The Temperature Sensor utilizes ZigBee technology for wireless signal transmission. ZigBee is a wireless
communication protocol that is reliable and has low power consumption and high transmission eciency.
Based on the IEEE802.15.4 standard, ZigBee allows a large amount of devices to be included in a network
and coordinated for data exchange and signal transmission.
The Temperature Sensor serves as an end device in the ZigBee network. It can be included in the ZigBee
network to transmit signal upon activation, but cannot permit any other ZigBee device to join the network
through the Room Sensor.
Temperature Sensor
(RS-23ZBS)

3NookBox Installation Guide Room Sensor
Parts Identication
1. LCD Display
The LCD displays the following information:
• Temperature in Farenheit / Celcius setting
• Humidity RH%.
• ZigBee network connectivity ( icon).
• Low Battery status ( icon).
• LCD Backlight on: when function button is pressed.
2. Function Button
• Press the button once to:
Send a supervision signal with temperature/humidity info
Light up the LCD backlight for 10 seconds.
• Press and hold for 10 seconds then release to reset the Room Sensor
3. Base Screw (Open/Close Cover)
When the front cover is installed on the back cover, open the cover by loosen the
base screw and close it likewise.
4. Fahrenheit / Celcius Setting Jumper (JP1)
• If the jumper link is inserted between the top 2 pins, the LCD will display
the temperature in Celsius. (Factory Default)
• If the jumper link is inserted between the bottom 2 pins, the LCD will
display the temperature in Fahrenheit.
5. Battery Compartment
The Room Sensor is powered by two AA 1.5 V Alkaline batteries.
6. Back Cover
7. Wall Mounting Knockouts

4NookBox Installation Guide Room Sensor
Features
Temperature and Humidity Detection
• The device will transmit temperature and humidity signals regularly according to setting. The factory default interval is 10 minutes.
• When the temperature changes by +/- 2°C, or humidity changes +/- 10%,the Temperature Sensor will also transmit a signal.
• The change level required to trigger signal transmission is programmable using ZigBee Congure Reporting command
– Reportable Change parameter. The default values are:
Temperature: 200 for 2°C.
Humidity: 1000 for 10%.
• You can also press the Function Button once to transmit a temperature and humidity signal manually.
• The temperature detection range is about -10°C ~ 50°C.( 14°F ~ 122°F)
• The humidity detection range is about 10% ~ 90% RH
Battery and Low Battery Detection
• The Temperature Sensor uses two 1.5 V Alkaline batteries as its power source. The batteries are included in the package.
• The Temperature Sensor feature Low Battery Detection function. When the battery voltage is low, the Temperature Sensor will transmit
Low Battery signal to notify the user and display low battery icon on LCD.
• When changing batteries, after removing the old batteries, press the Function Button twice to fully discharge before inserting
new batteries.
Supervision
The Temperature Sensor will transmit a supervision signal along with the temperature and humidity signal to report its condition regularly.
The factory default interval is 10 minutes, which can be adjusted according to setting.

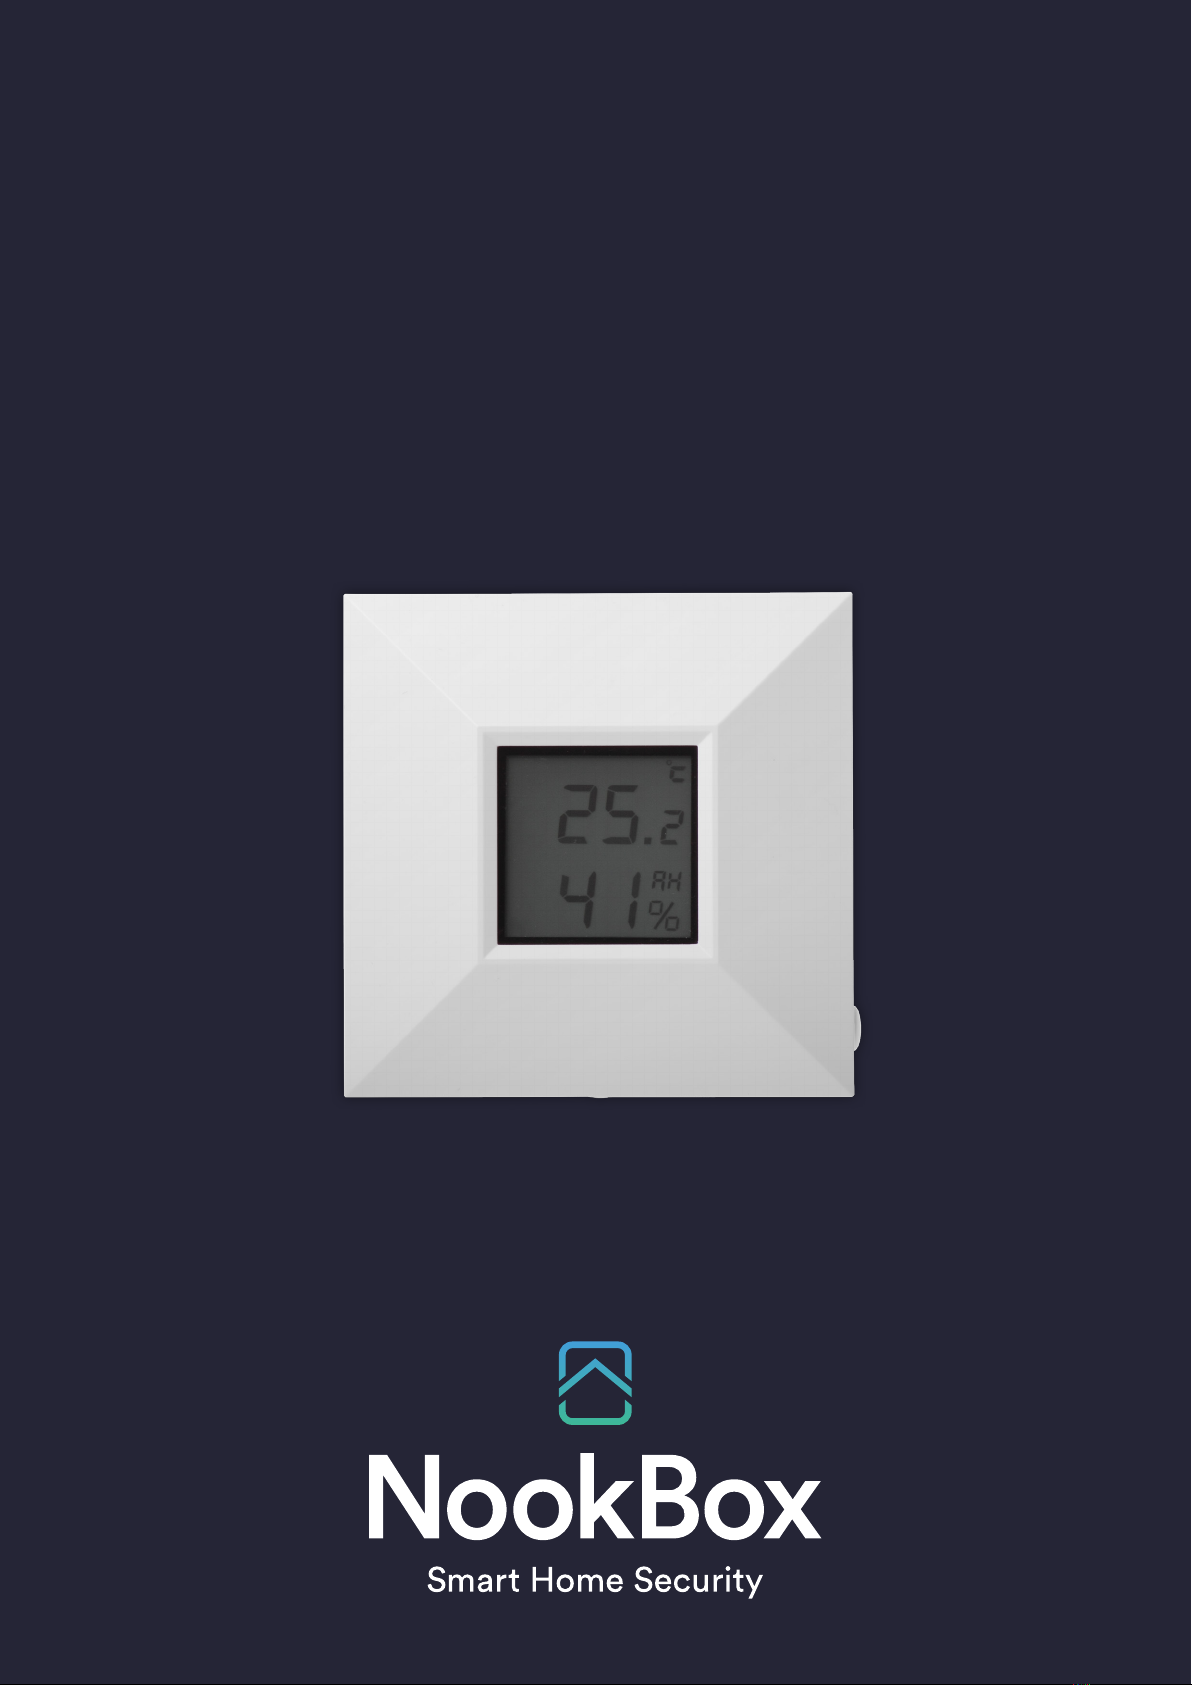
5NookBox Installation Guide Room Sensor
ZigBee Network Setup
ZigBee Device Guideline
ZigBee is a wireless communication protocol that is reliable and has low power consumption and high transmission eciency. Based on
IEEE802.15.4 standard, ZigBee allows a large amount of devices to be included in a network and coordinated for data exchange and signal
transmission.
Due to the fundamental structure of ZigBee network, ZigBee device will actively seek and join network after powering on. Since performing
a task in connecting network may consume some power, it is required to follow the instructions to avoid draining battery of a ZigBee device.
• Ensure your ZigBee network router or coordinator is powered on before inserting battery into the ZigBee device.
• Ensure the ZigBee network router or coordinator is powered on and within range while a ZigBee device is in use.
• Do not remove a ZigBee device from the ZigBee network router or coordinator without removing the battery from a ZigBee device.
Joining the ZigBee Network
As a ZigBee device, the Room Sensor needs to join a ZigBee network to transmit temperature and humidity signal.
Please follow the steps bellow to join the Room Sensor into the ZigBee network.
1. Insert the batteries into the battery compartment to power on the Room Sensor.
2. After powering up, press and hold the Function button for 10 seconds, then release it to join the network. Please make sure the
permit-join feature on the router or coordinator of your ZigBee network is enabled.
3. If the Room Sensor successfully joins a ZigBee network, the ZigBee network connectivity icon will be displayed on the LCD
4. After joining the ZigBee network, the Room Sensor will be registered in the network automatically. Please check your ZigBee coordinator,
system control panel or CIE (Control and Indicating Equipment) to conrm if joining and registration is successful.
5. After joining network and registration is successful, if the Room Sensor loses connection with the Control Panel or the Control Panel is
powered down, the ZigBee network connectivity icon on the LCD on the Room Sensor will go o in 1 or 2 minutes time.
6. If network joining and registration is unsuccessful, the ZigBee network connectivity icon will not be displayed. Please check your
ZigBee network coordinator, control panel or CIE setting to ensure the permit-join function is available, and then use the Factory
Reset function below to join the ZigBee network.
Removing Device from ZigBee Network (Factory Reset)
To remove the Room Sensor from current ZigBee network, the device must be put to Factory Reset to complete device removal. Factory
Reset function will clear the device of its stored setting information and prompt the Room Sensor to search for new ZigBee network.
Before removing device, make sure the Room Sensor is within current ZigBee network signal range
1. Press and hold the function button for 10 seconds, then release the button to reset Room Sensor.
2. Upon reset, the Room Sensor will clear current ZigBee network setting and transmit signal to ZigBee coordinator to remove itself from
current ZigBee network. It will then actively search for available ZigBee network again and join the network automatically.

6NookBox Installation Guide Room Sensor
Installation
Mounting the Temperatue Sensor
For best LCD display quality, the Temperature Sensor should be mounted at location about 5 above eye level height.
Screw mounting
When mounting with screw, make sure to only use screws provided in the package by original manufacturer,
as inappropriate screws may damage interior of the device.
1. Remove the front cover by using a screwdriver.
2. Break through the knockouts on the back cover.
3. Using the holes as a template, drill holes in the surface.
4. Insert the wall plugs if xing into plaster or brick.
5. Screw the back cover into the wall plugs.
6. Screw the front cover back on to the back cover.
Using Temperature Sensor with ZigBee Router
IMPORTANT NOTE
If the Temperature Sensor installation location is away from your system control panel and requires ZigBee routers to improve signal strength.
DO NOT use a ZigBee Router without backup battery. A ZigBee router without battery will be powered down during AC power failure
and the Room sensor connected to the router will lose connection with ZigBee network. You should plan your Room sensor installation
location using only ZigBee router with backup battery.

7NookBox Installation Guide Room Sensor
For more information visit:
www.getnookbox.com
Table of contents
Other NookBox Temperature Controllers manuals