1. INTRODUCTION | 3
TABLE OF CONTENTS
1INTRODUCTION .......................................................................... 5
Thank you! ........................................................................................................5
Features .............................................................................................................5
Nord Online ......................................................................................................5
About the User Manual ..............................................................................5
Reading the manual in PDF Format ...................................................................5
Restoring the factory presets.............................................................................5
OS upgrades.....................................................................................................5
Free sounds ......................................................................................................5
Custom samples ...............................................................................................5
Disclaimer..........................................................................................................5
2OVERVIEW......................................................................................... 6
The Piano 5 panel.........................................................................................6
Piano section – page 10 ....................................................................................6
Sample Synth section – page 13 .......................................................................6
Program section – page 15 ...............................................................................6
Effects section – page 18 ..................................................................................6
3GETTING STARTED................................................................. 7
Hooking it up...................................................................................................7
Panel controls .................................................................................................7
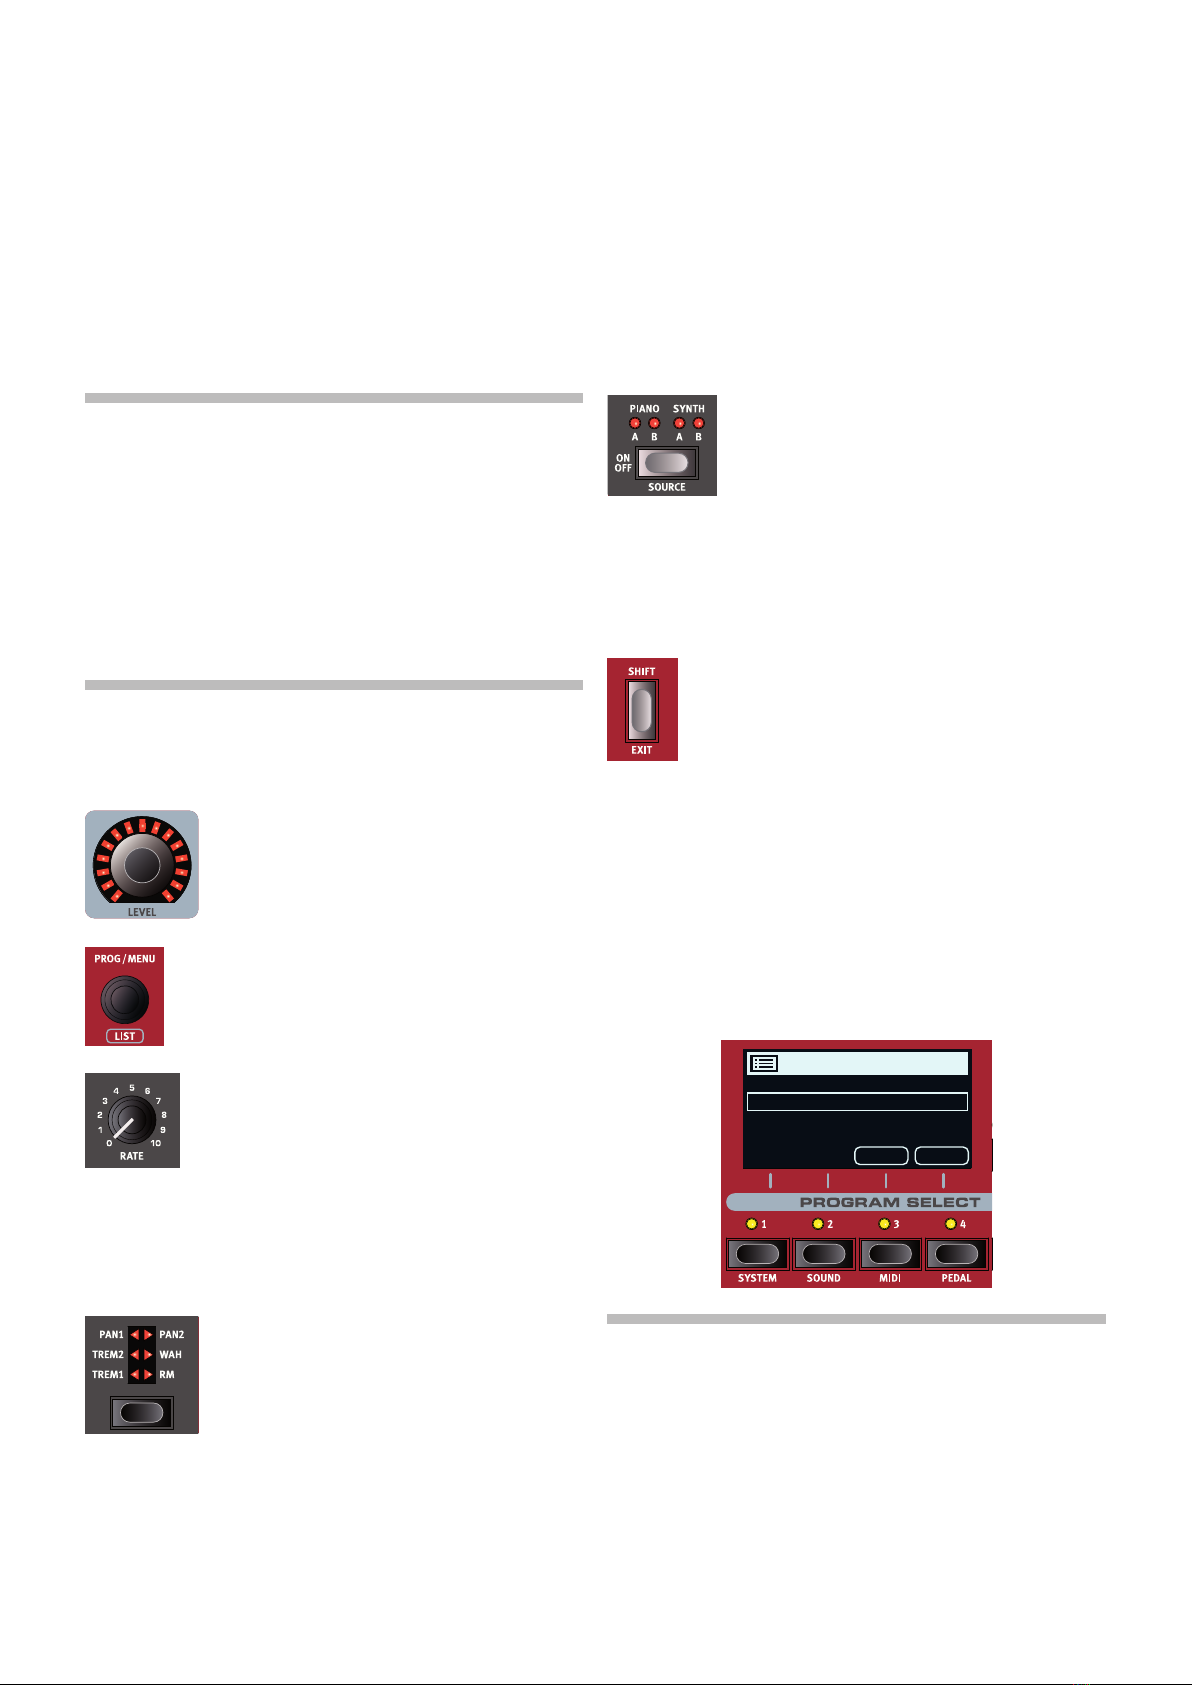
Dials and knobs.................................................................................................7
Buttons .............................................................................................................7
The Shift button ................................................................................................7
Soft buttons ......................................................................................................7
Programs...........................................................................................................7
Selecting a program ..........................................................................................8
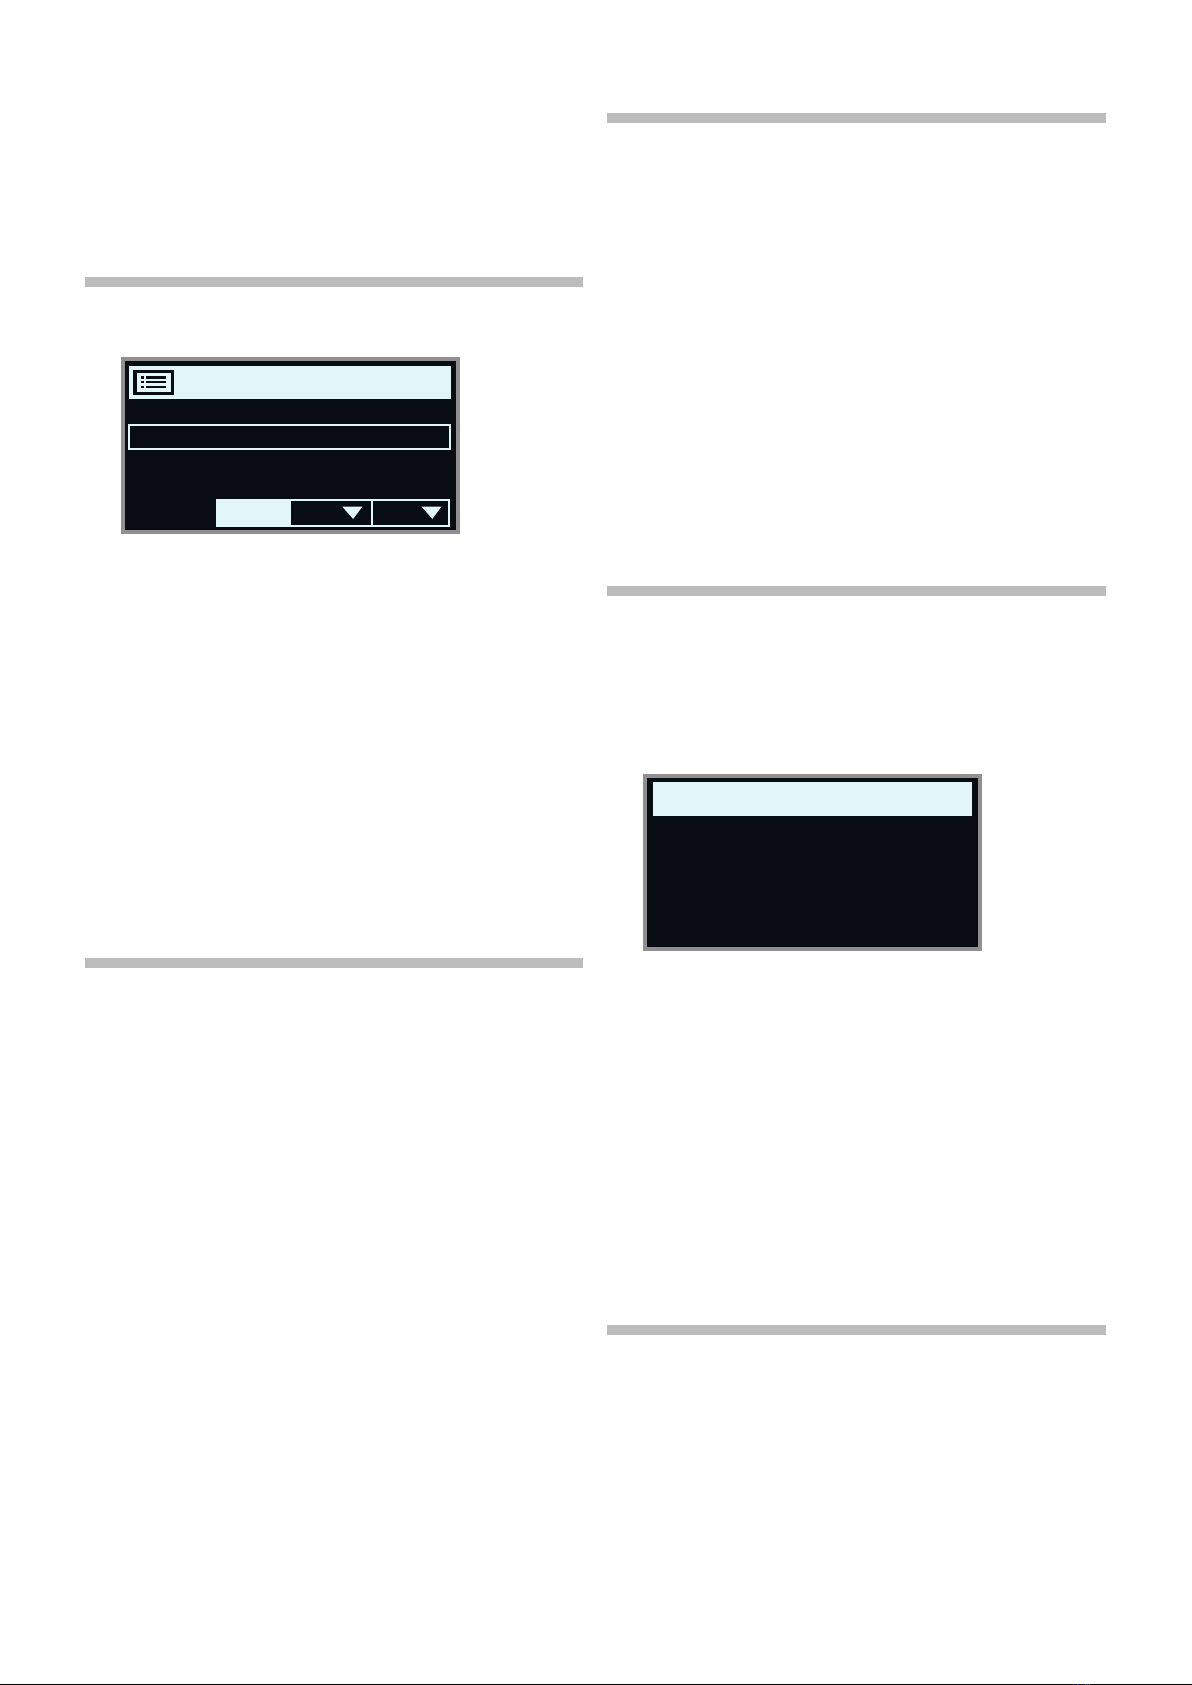
List view .............................................................................................................8
Editing a program..........................................................................................8
Selecting a new piano sound.............................................................................8
Memory Protection ......................................................................................8
Storing a program.........................................................................................8
Live Mode .........................................................................................................8
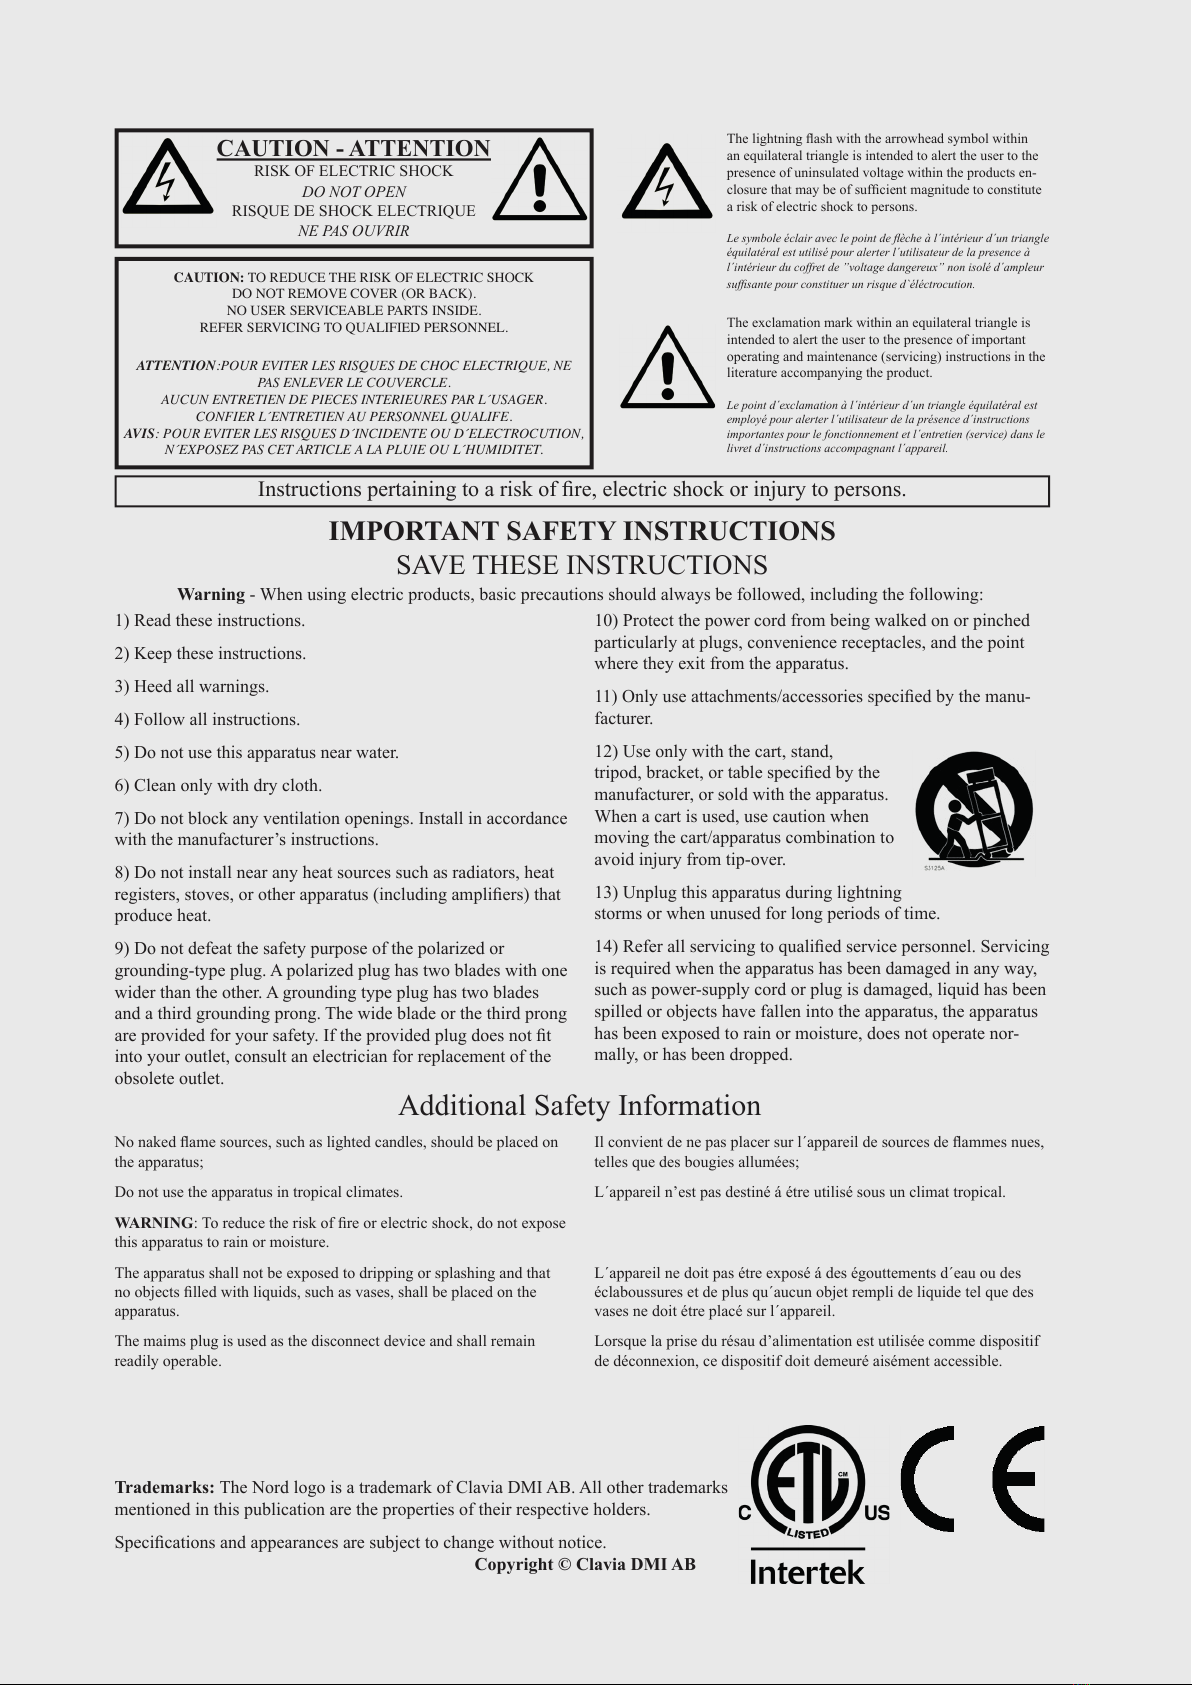
Activating effects ...........................................................................................9
Layering with Sample Synth ....................................................................9
Adding a second Piano sound...............................................................9
Creating a split................................................................................................9
Setting up a cross-fade (X-Fade)...................................................................9
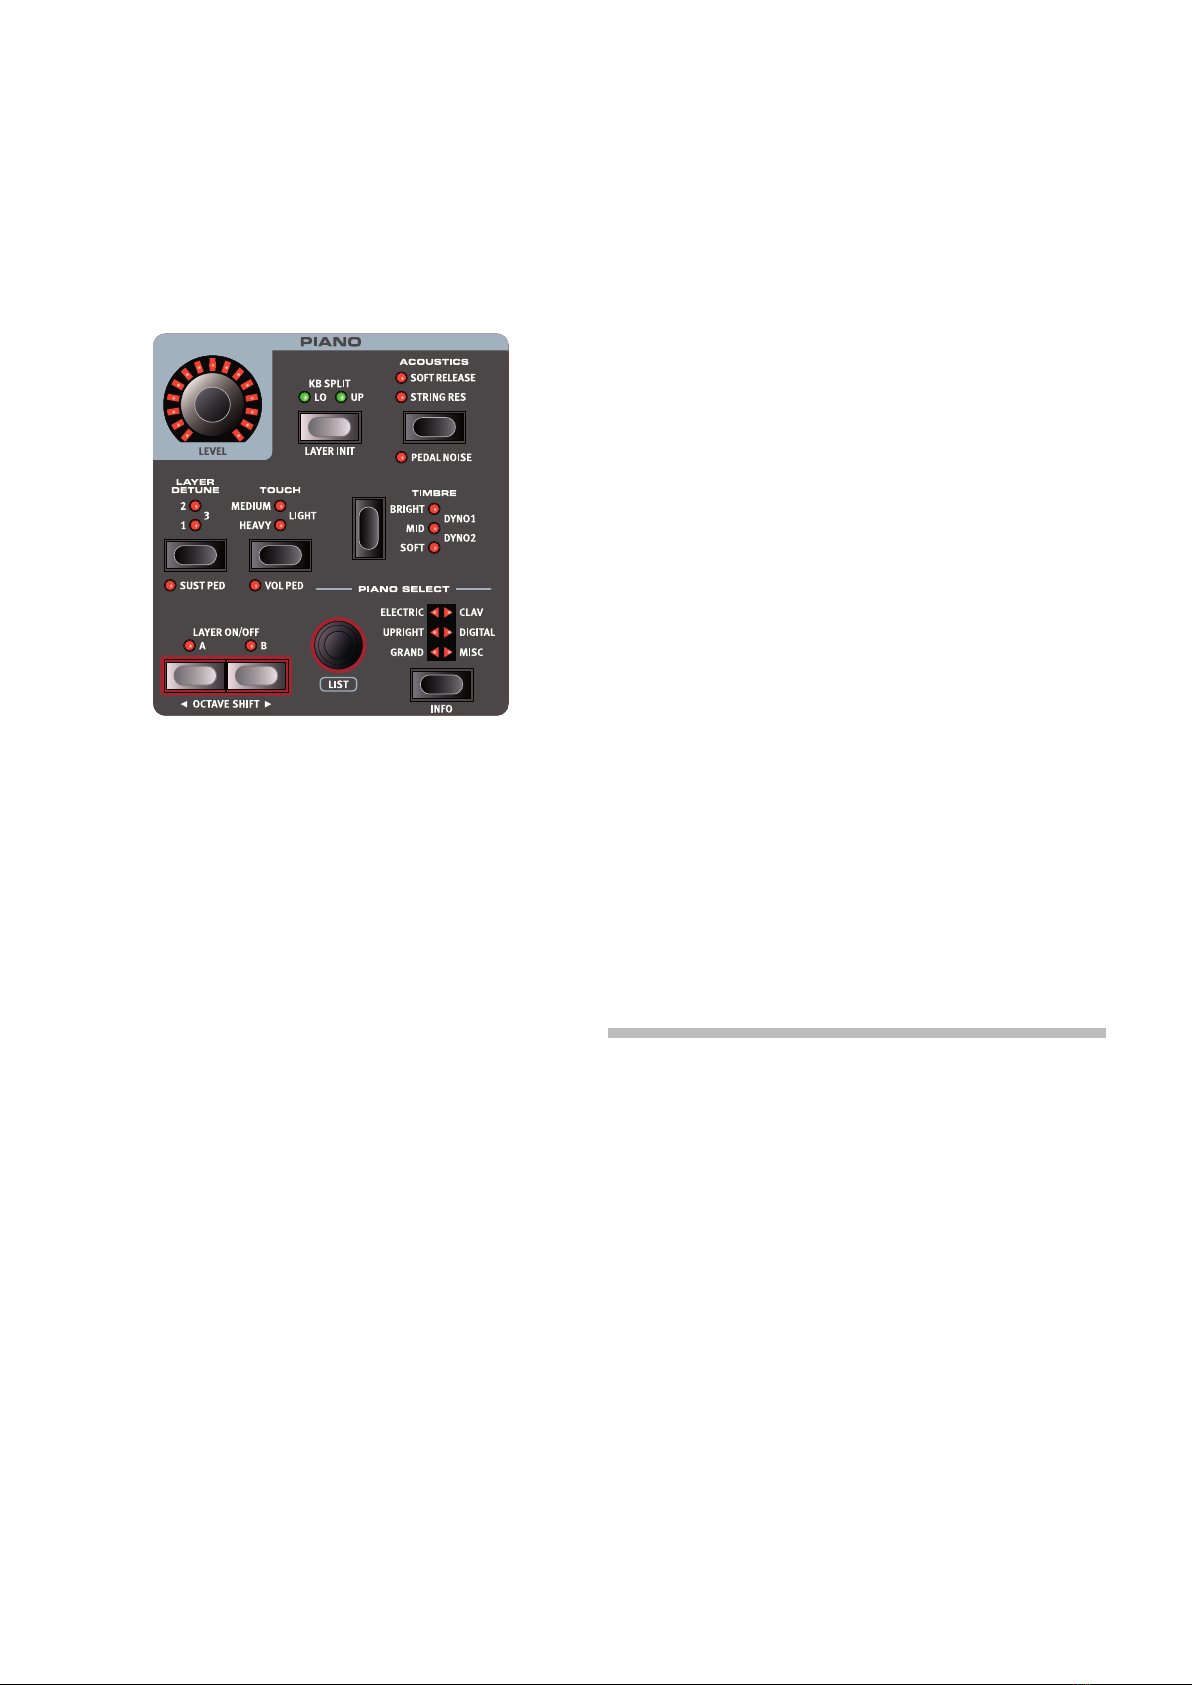
4PIANO.....................................................................................................10
Layer A and B buttons.....................................................................................10
Combining Layer A and B...........................................................................10
KB Split...........................................................................................................10
Layer Init.....................................................................................................10
Level ...............................................................................................................10
Octave Up/Down.............................................................................................10
Sustain and Volume.........................................................................................10
About the Piano sounds..........................................................................10
About Piano size .............................................................................................11
Piano Info ...................................................................................................11
Piano Select...................................................................................................11
Type and model...............................................................................................11
Layer Detune...................................................................................................11
String Res and Soft Release..................................................................12
String Resonance............................................................................................12
Soft Release....................................................................................................12
Nord Triple Pedal.........................................................................................12
Pedal Noise.....................................................................................................12
Half Pedaling ...................................................................................................12
Sostenuto........................................................................................................12
Soft Pedal .......................................................................................................12
Timbre...............................................................................................................12
Acoustic Piano Timbre settings........................................................................12
Electric Piano Timbre settings..........................................................................12
5SAMPLE SYNTH.........................................................................13
Layer A and B buttons.....................................................................................13
Combining Layer A and B...........................................................................13
KB Split...........................................................................................................13
Layer Init.....................................................................................................13
Level ...............................................................................................................13
Octave Up/Down.............................................................................................13
Sustain and Volume.........................................................................................13
About the Sample Synth .........................................................................13
Monophonic sample instruments.....................................................................13
Selecting a sample instrument.........................................................................14
Alphabetical Order ......................................................................................14
Shaping the sound .....................................................................................14
Dynamics ........................................................................................................14
Attack, Sustain and Decay/Release.................................................................14
Timbre.............................................................................................................14
Unison.............................................................................................................14
Vibrato ............................................................................................................14
6 PROGRAM........................................................................................15
Store ..................................................................................................................15
Storing a program ...........................................................................................15
Naming a program (Store As...) .......................................................................15
Prog View........................................................................................................15
Transpose On/Set.......................................................................................15
Mono...............................................................................................................16
KB split .............................................................................................................16
Choosing a split position .................................................................................16
Split X-Fade settings........................................................................................16
MIDI LED indicator......................................................................................16
Program dial...................................................................................................16
Program List, Abc and Cat ..............................................................................16
Numeric Pad navigation mode.........................................................................16
Live programs ...............................................................................................17
Panic...............................................................................................................17
Shift / Exit button.........................................................................................17
Program Select Buttons ..........................................................................17
What is a program?.........................................................................................17
Organize...........................................................................................................17
Enter the Organize view...................................................................................17
Swap two programs........................................................................................17
Move a program..............................................................................................17
7EFFECTS.............................................................................................18
Activating effects .........................................................................................18
Mod 1................................................................................................................18
Trem (Tremolo).................................................................................................18
Pan (Auto Pan) ................................................................................................18
RM (Ring Modulation) ......................................................................................19
Ctrl Ped...........................................................................................................19
Mod 2................................................................................................................19
Phaser 1 & 2 ...................................................................................................19
Flanger ............................................................................................................19
Chorus 1 & 2...................................................................................................19
Vibe.................................................................................................................19