SAFETY
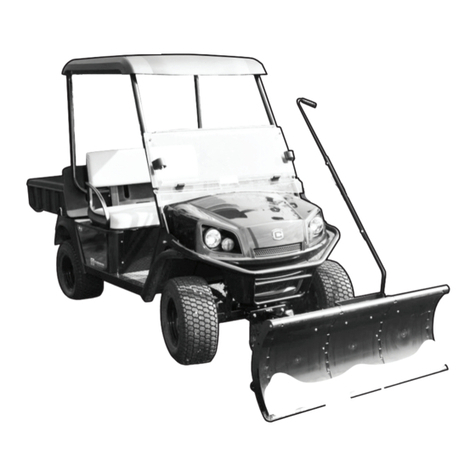
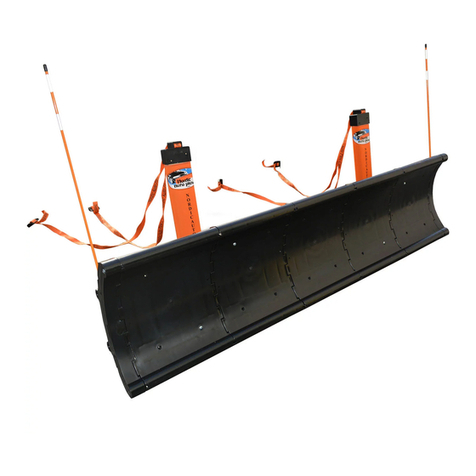
Read and understand the plow instructions,
Warranty & FAQ and Tips before use.
Scan the QRC instructional videos on the rst
page or watch the videos on our website before
use: www.nordicplow.com
Always instruct other users before they use
the plow.
OPERATION
Risk of Injury:
• Never allow children to handle the plow.
• Never allow anyone to walk beside or sit on
the plow when in use.
ª Never operate the plow over 2 to 3 mph.
Keep a slow steady speed.
• If you hit an obstruction, immediately stop
the vehicle and reverse direction.
STEP 1: To remove excess space that may exist
between the belly plate and the frame, add a nut
(part #38) to the clamp bracket (part #67) rst as
shown in “Picture A” before attaching.
The Belly Plate (part#65) must be rmly attached.
There should be no movement.
Scan the QR code on the cover to see a video tutorial.
STEPS 2: Initially, assemble these nuts and bolts
loosely by hand until you achieve the desired 7inch
(178mm) distance from the ground to the axle hole
as shown in steps 3 and 5.
STEP 4: Attach side brace (part #66) on each side of
the belly plate (part #65) and then fully tighten all bolts.
STEP 5: Slide spacers (part #40 & 41) onto the axle
(part #46) and in between the boot plates (part #63)
and spring pivot bracket (part #10) as shown.
STEP 6: The pitch of the blade is controlled by
changing the axle hole used in the spring pivot
bracket (part #10). The optimal angle is shown here
but you can change the angle to t your needs.
STEP 8: We recommend using a winch (not provided)
for raising and lowering the blade.
1-888-662-7569 (PLOW)
771 W. North Avenue West Chicago, IL 60185
www.nordicplow.com
INSTRUCTIONS FAQS& TIPS
2
