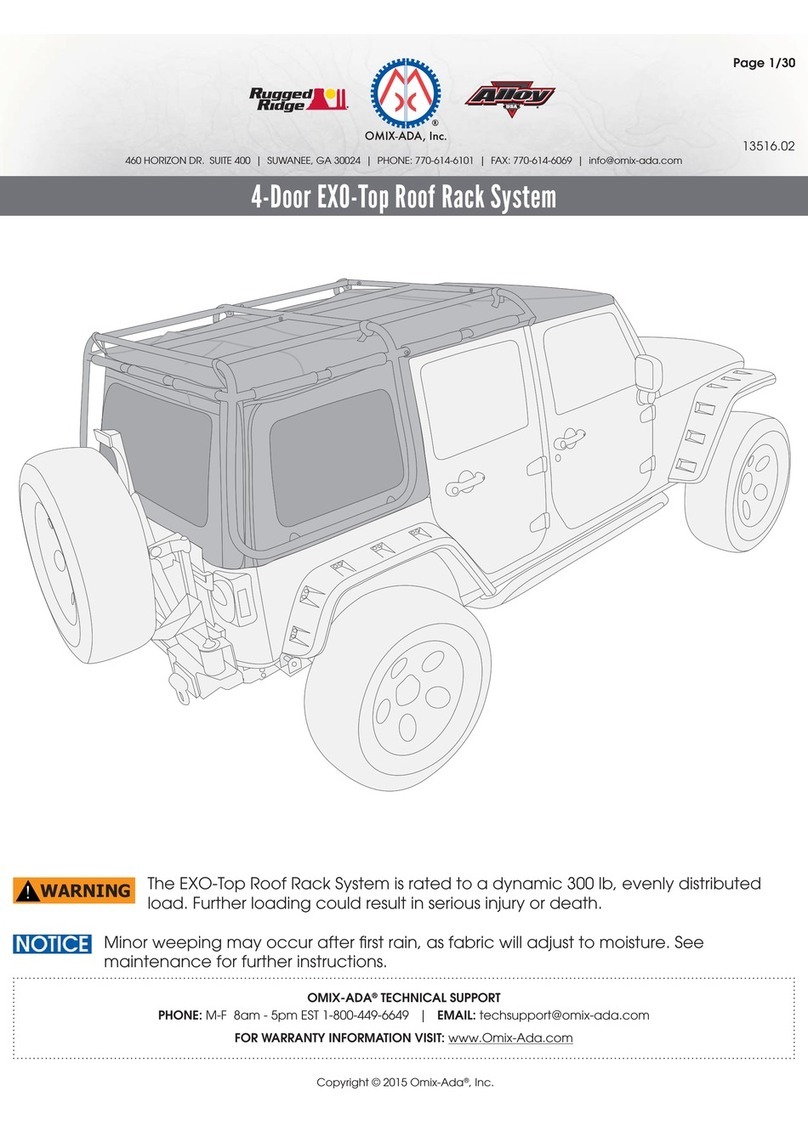
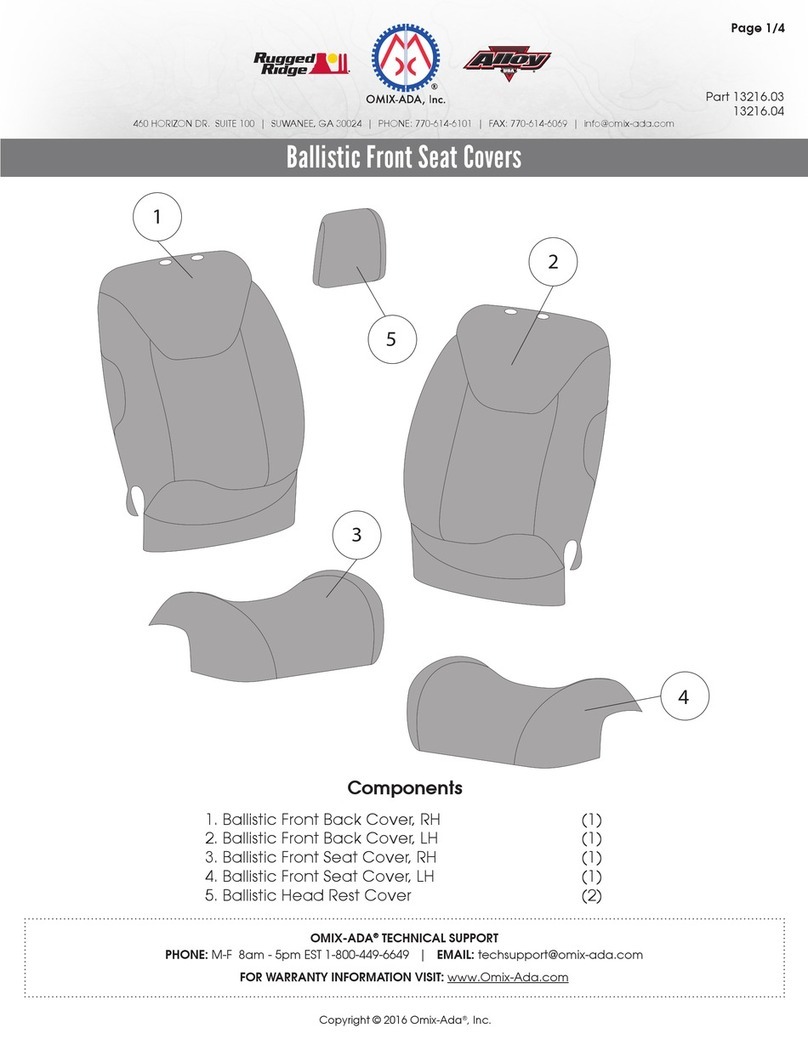
Omix-Ada Alloy Rugged Ridge X-Clamp User manual
Other Omix-Ada Automobile Accessories manuals
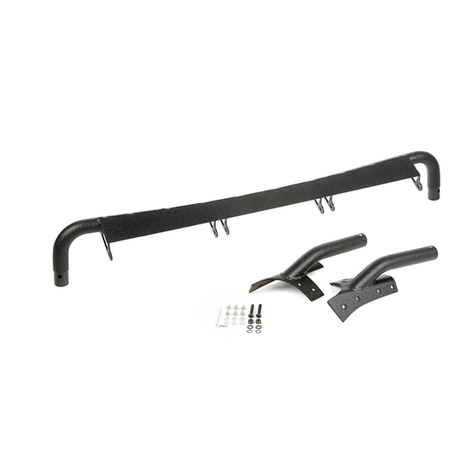
Omix-Ada
Omix-Ada 11232.25 User manual

Omix-Ada
Omix-Ada RUGGED RIDGE CJ User manual
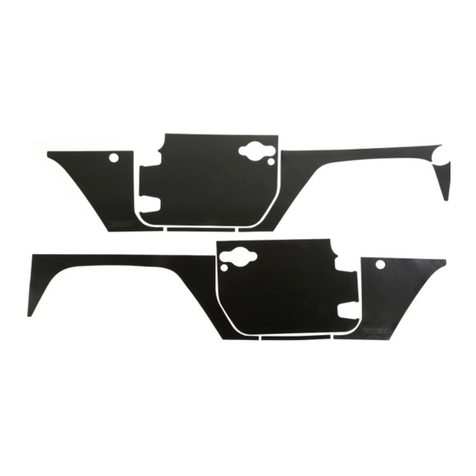
Omix-Ada
Omix-Ada Rugged Ridge 12300.52 User manual

Omix-Ada
Omix-Ada 11704.05 User manual
Omix-Ada
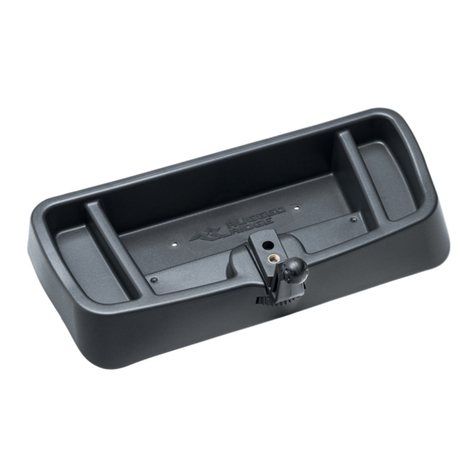
Omix-Ada Rugged Ridge Alloy 13551.18 User manual
Omix-Ada
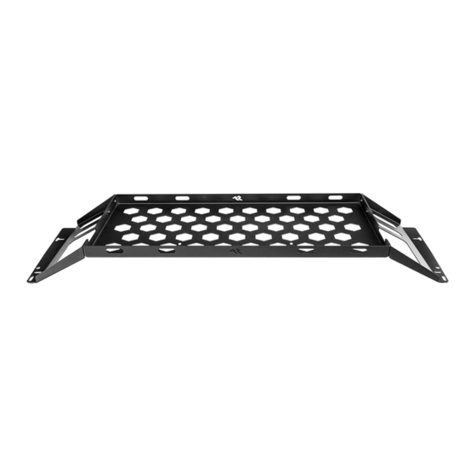
Omix-Ada Rugged Ridge 13551.41 User manual
Omix-Ada
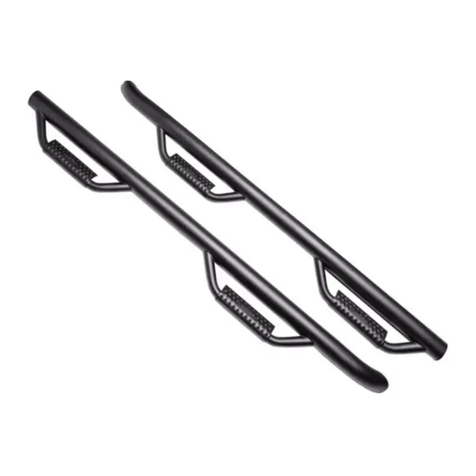
Omix-Ada Havoc Offroad HFB-06-003 User manual

Omix-Ada
Omix-Ada 13551.23 User manual
Omix-Ada
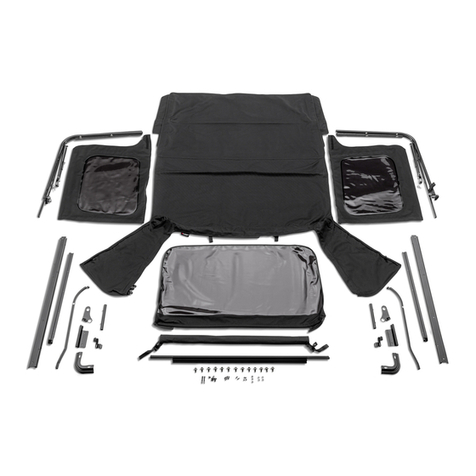
Omix-Ada Alloy RUGGED RIDGE 13782.35 User manual

Omix-Ada
Omix-Ada 13216.01 User manual
Popular Automobile Accessories manuals by other brands

ULTIMATE SPEED
ULTIMATE SPEED 279746 Assembly and Safety Advice

SSV Works
SSV Works DF-F65 manual

ULTIMATE SPEED
ULTIMATE SPEED CARBON Assembly and Safety Advice

Witter
Witter F174 Fitting instructions

WeatherTech
WeatherTech No-Drill installation instructions

TAUBENREUTHER
TAUBENREUTHER 1-336050 Installation instruction


