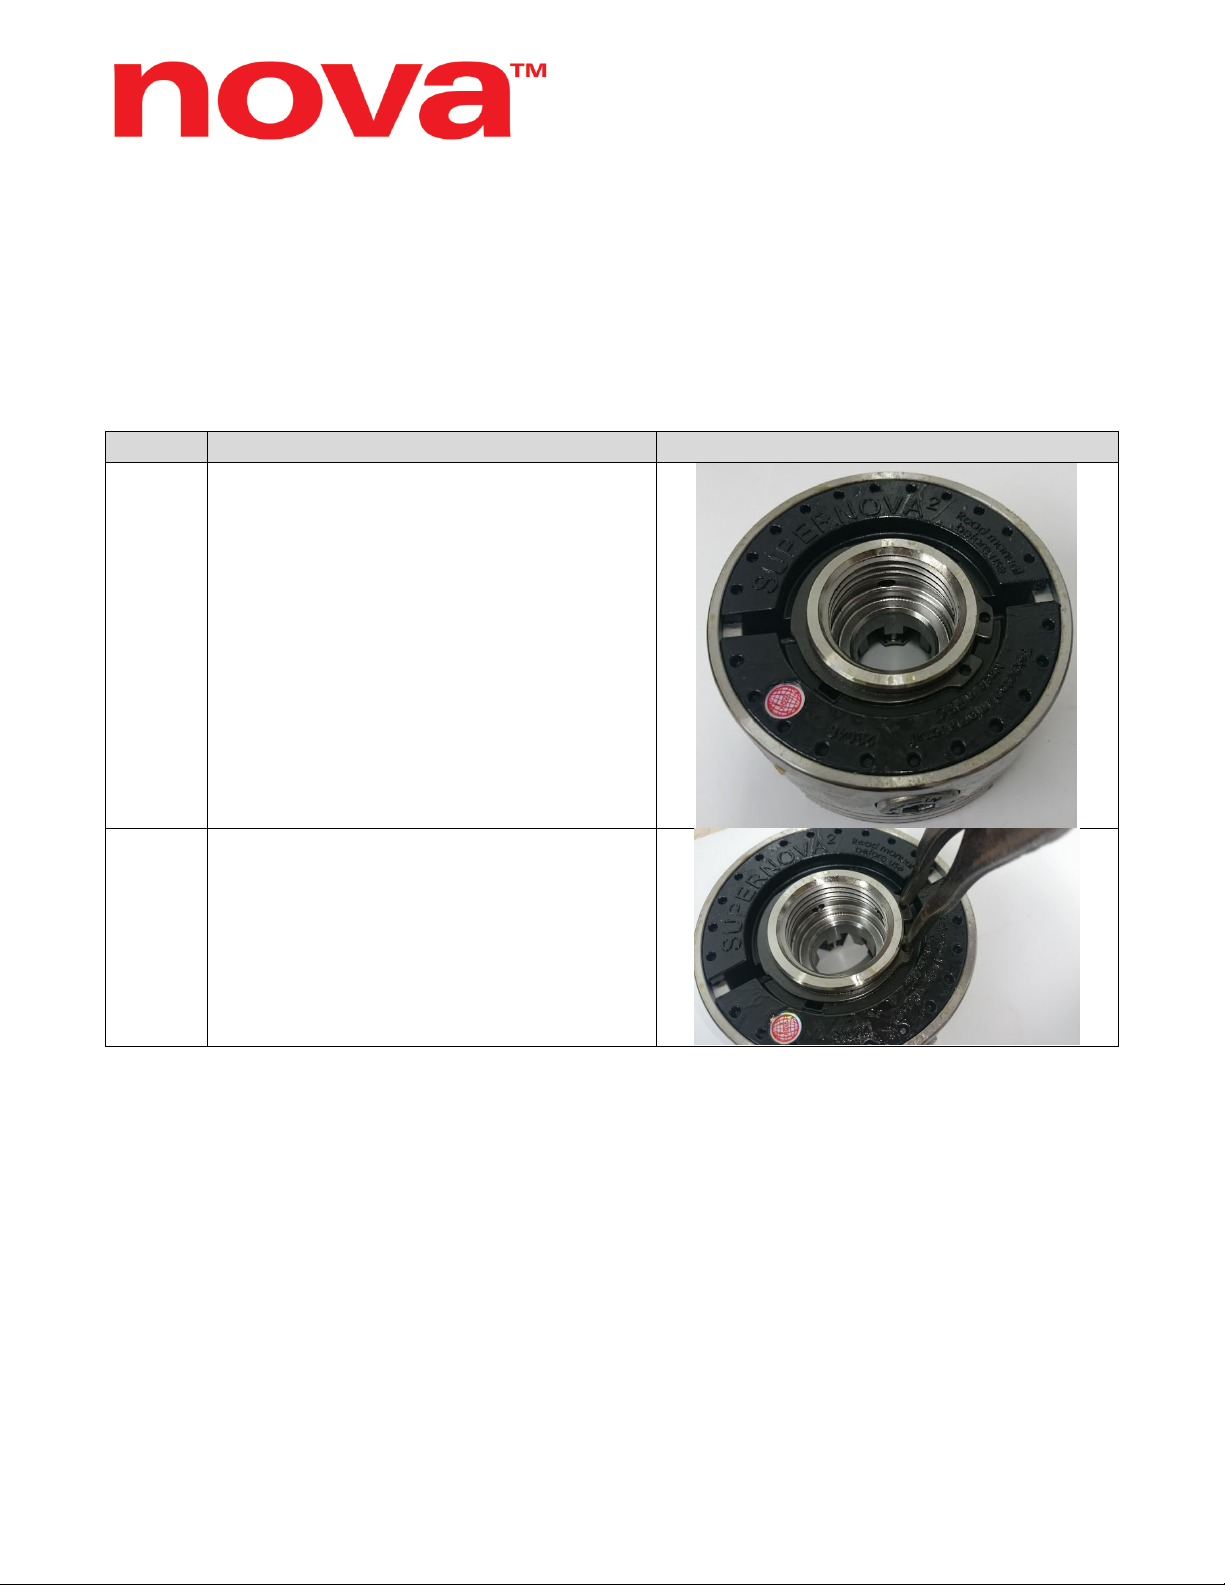
SuperNova2 – Disassembly
STEPS DESCRIPTION IMAGE
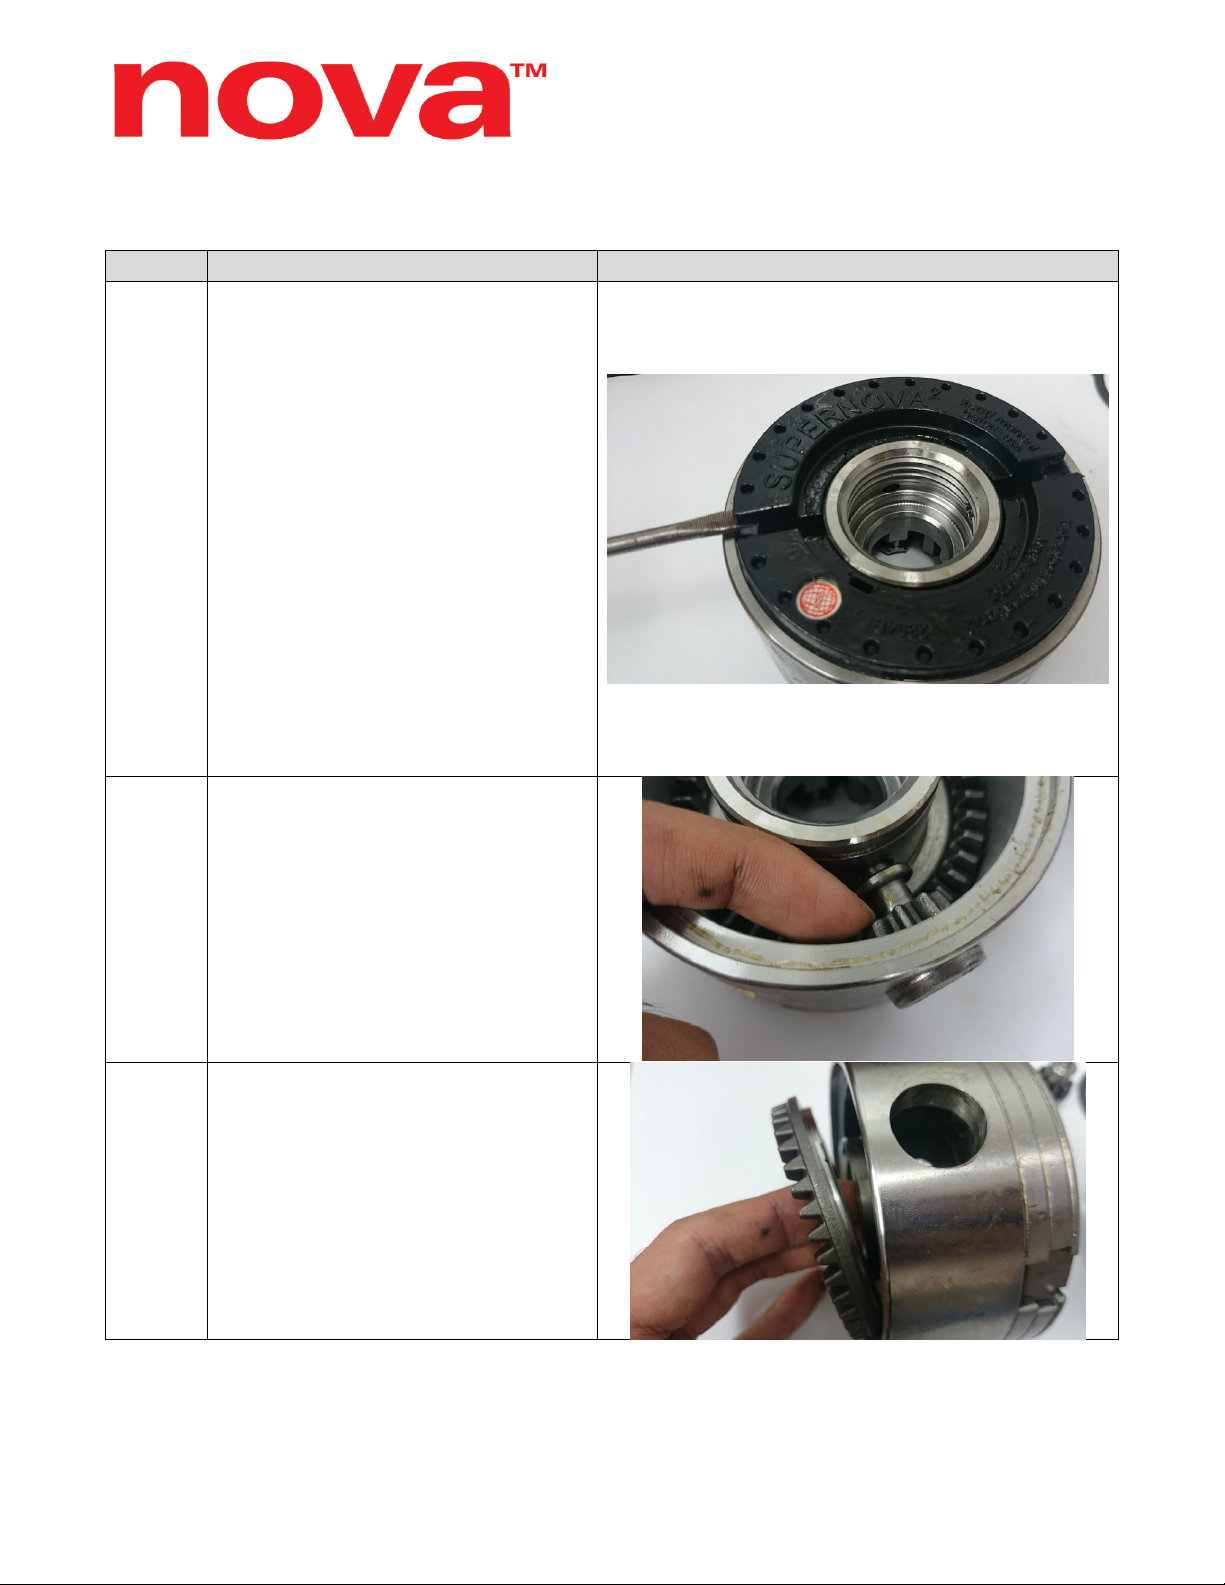
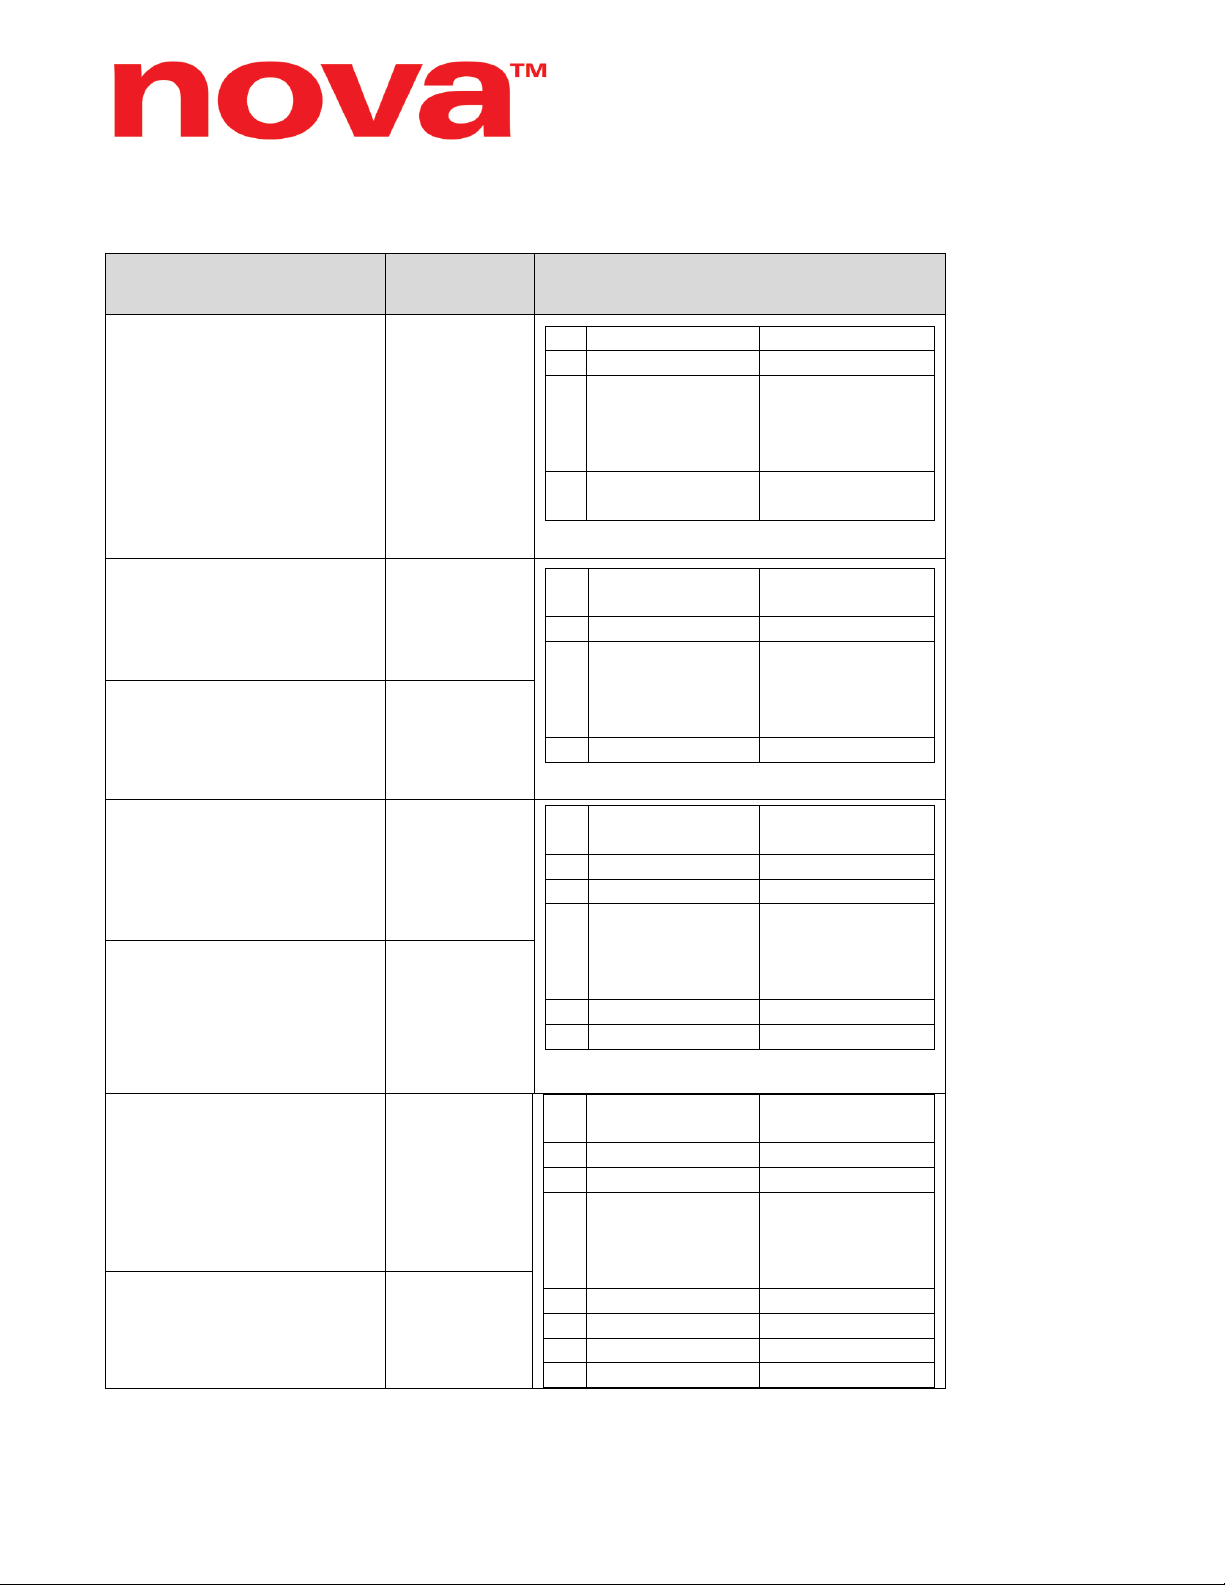
3.
Once retaining ring is removed, the
backing plate can be removed from
chuck body.
Option 1: When removing the
backing plate, use two flat-head
screw drivers to lift it straight out from
the chuck body.
Option 2: Or thread an insert into the
chuck (if chuck is an Insert type – not
direct thread) and use a soft mallet to
give it a sharp impact. This would
release the backing plate from the
chuck body.
NOTE: This step might be tricky as
the backing plate can be stuck onto
the chuck body with old lubricants.
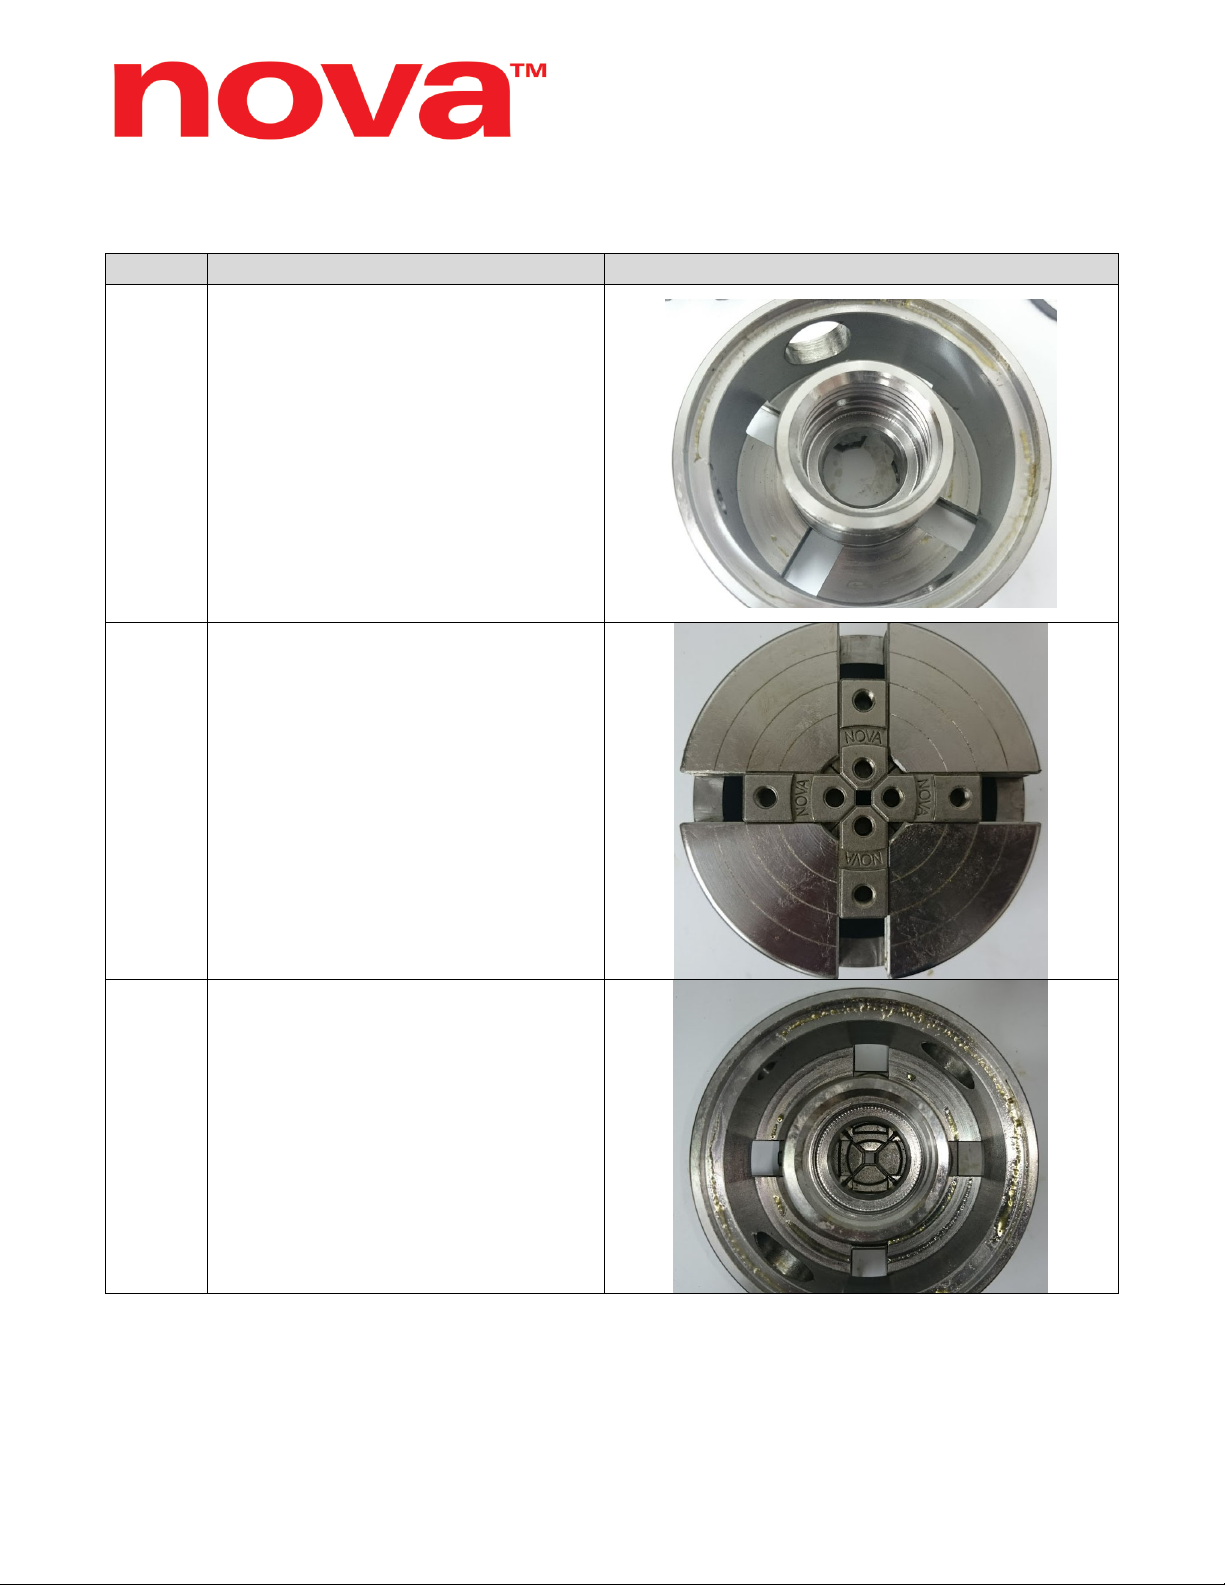
4.
Remove the pinion gears by pushing
them outwards.
This may require a bit of force as dirt
can get caught in the gaps.
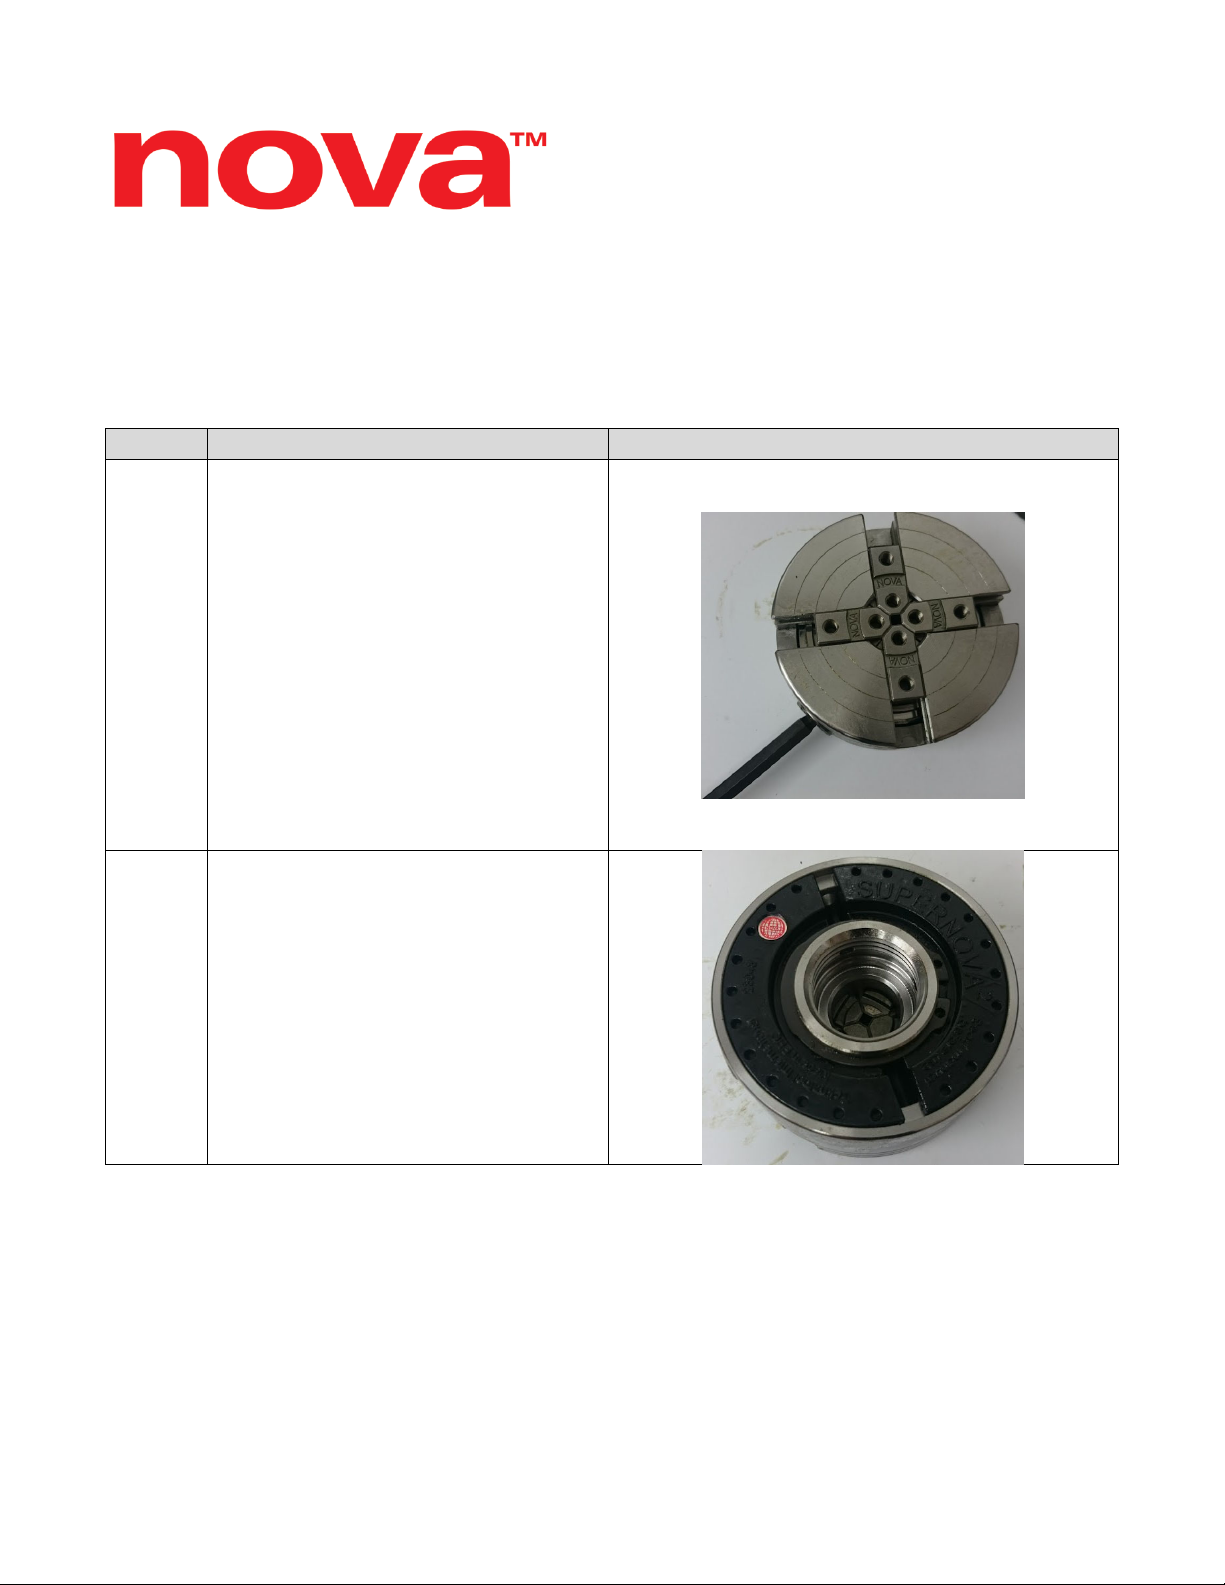
5.
Remove the scroll ring from the
chuck body. This should just slide out
but, if stuck, might need a bit of
tapping.
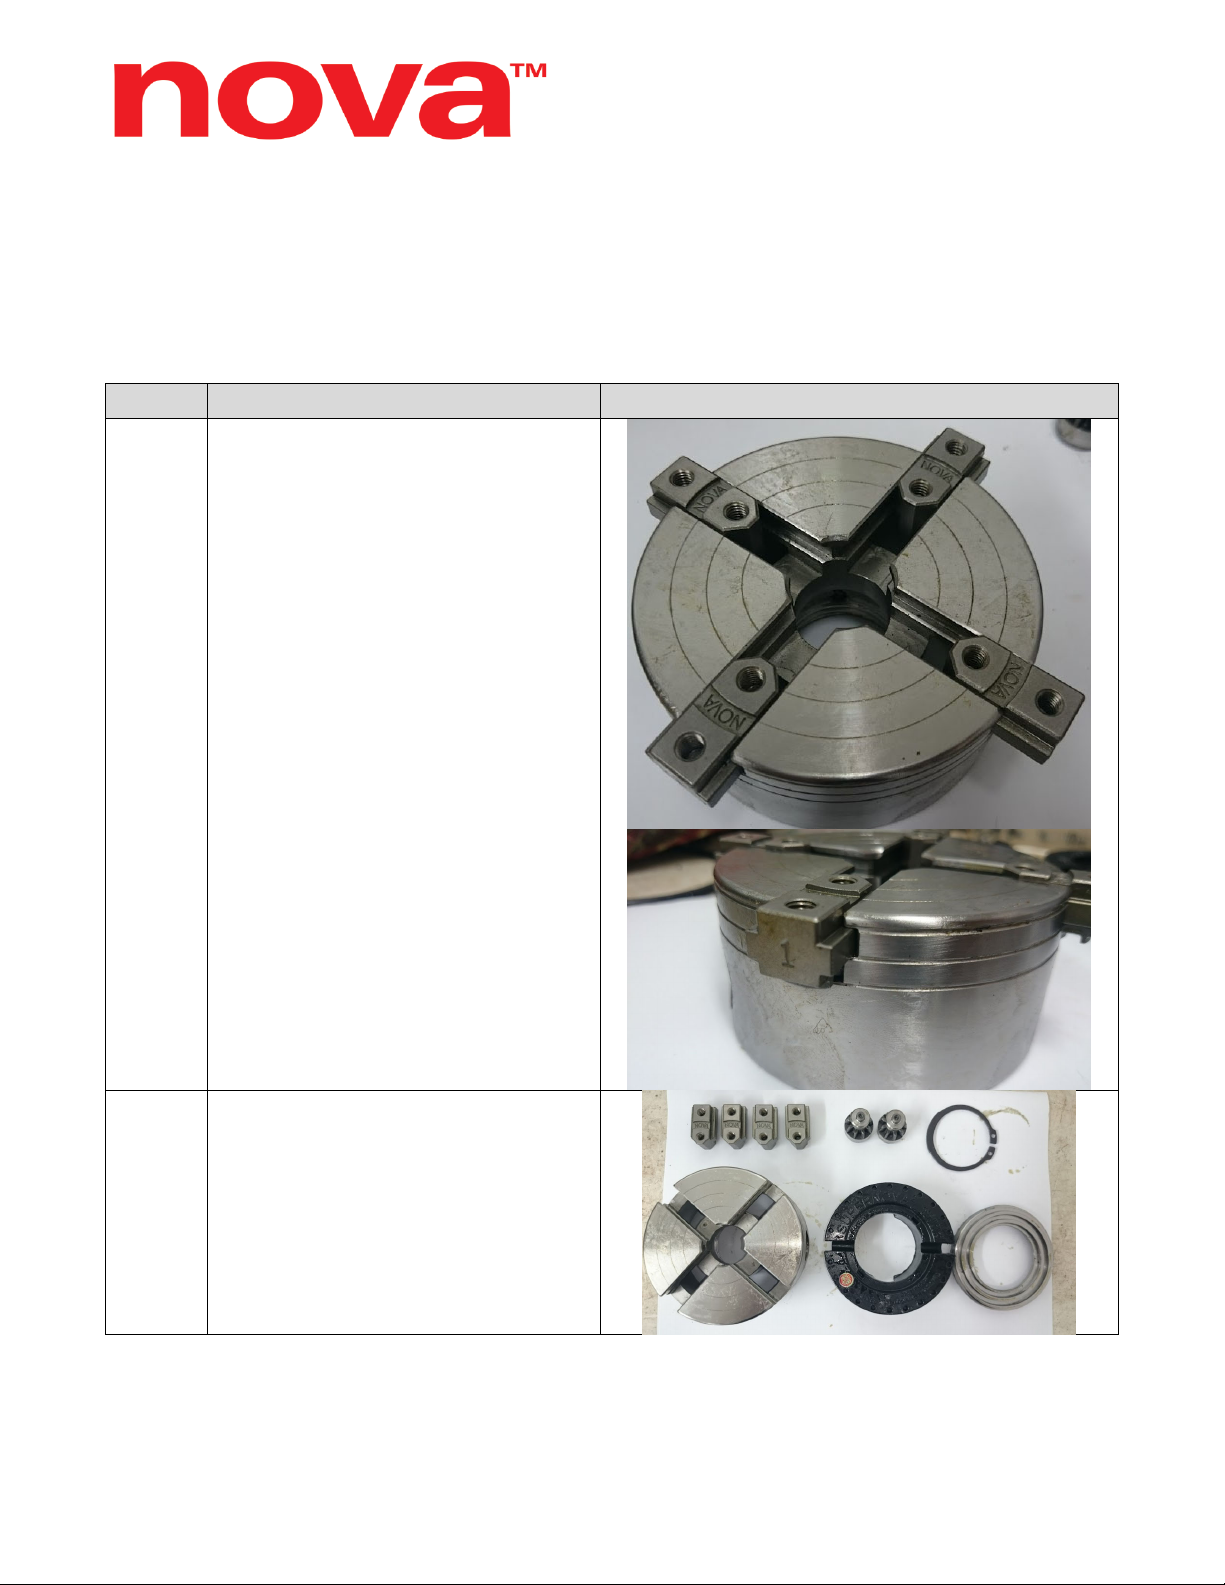
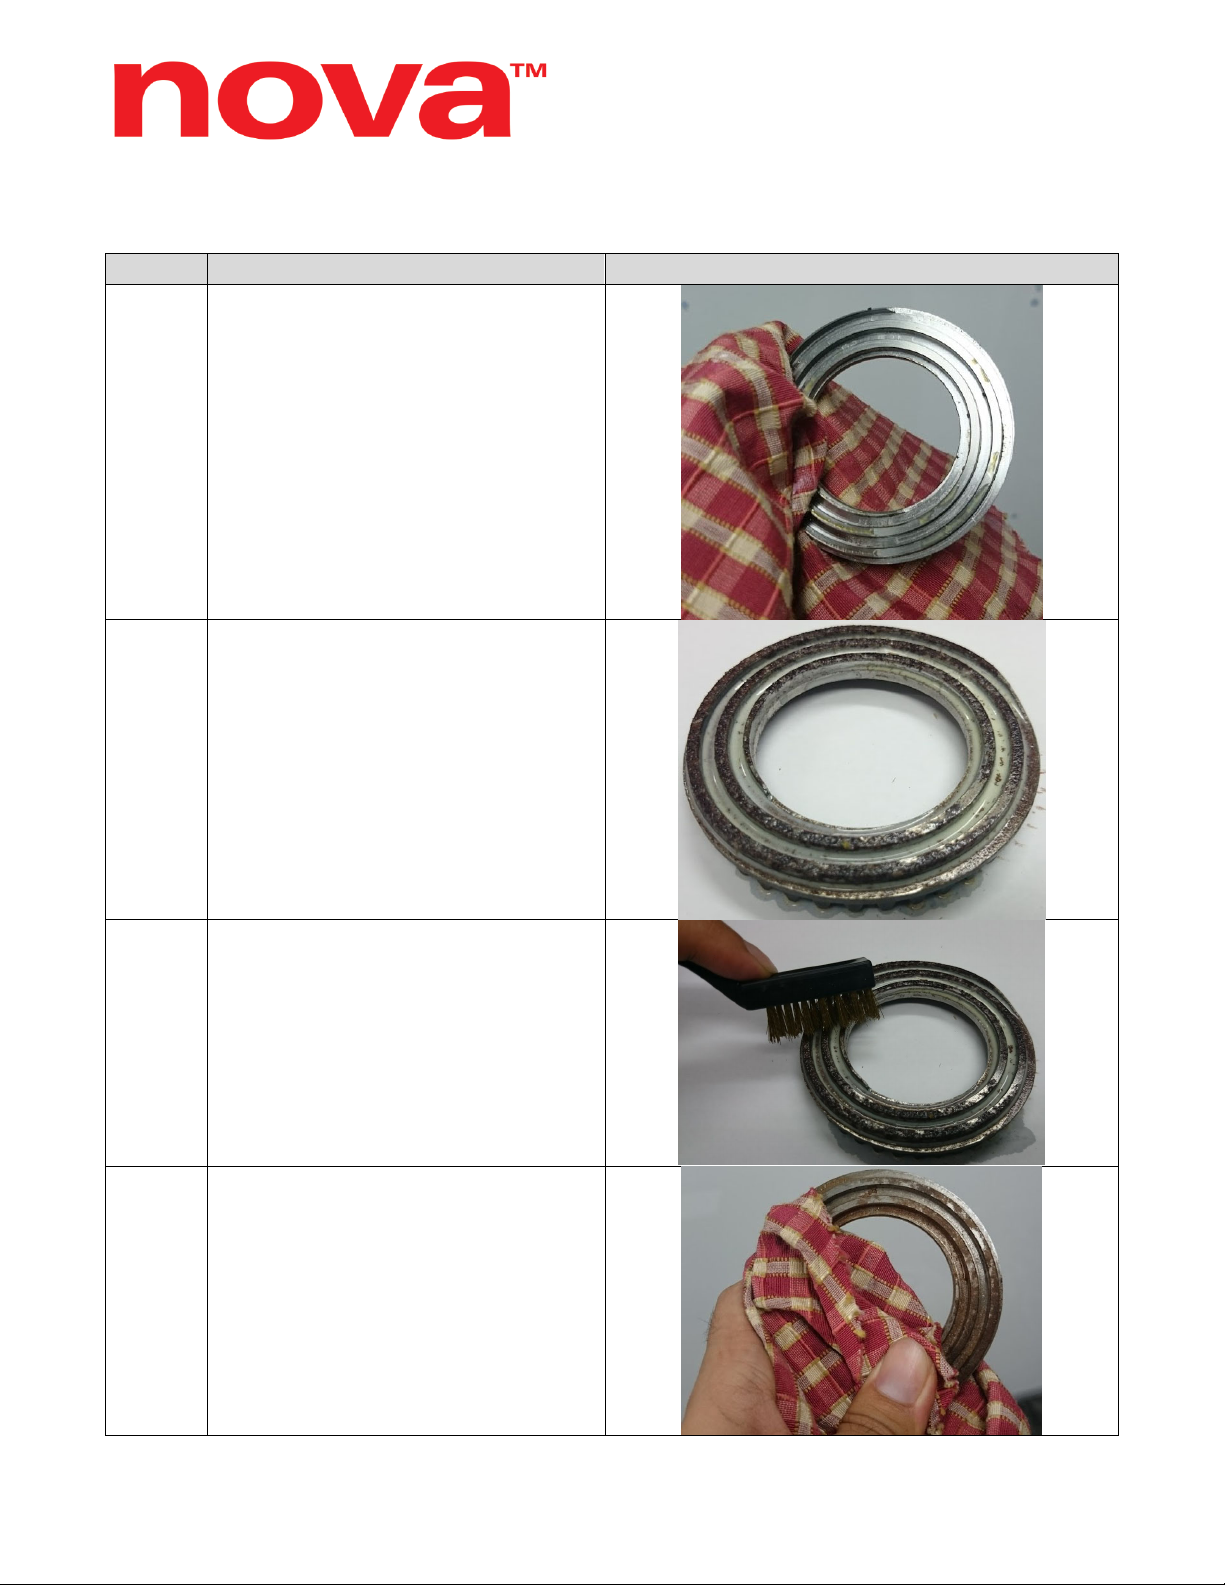
Continues to next page…
p.13