Nova INFINITY User manual

NOVA INFINITY™
Quick Change Jaw
Slide Upgrade for
existing NOVA
chucks
INSTRUCTION MANUAL
READ THIS MANUAL & YOUR NOVA CHUCK MANUAL CAREFULLY AND
BE THOROUGHLY FAMILIAR WITH
CHUCK OPERATIONS BEFORE USE
Updated 22 January 2014
120-0913-0091

WELCOME
Thank you for purchasing our NOVA Infinity Quick Change Jaw Slide Upgrade for existing NOVA Chucks.We are
confident it will help to both enhance and advance your woodturning. The NOVA Infinity Quick Change Jaw Slides
deliver a very versatile unit, with a wide range of work holding modes. It has a powerful grip while being very fast to
change accessories – enabling you to select just the right accessory jaw for your project. The new Quick change
profile means you now have access to some unique and exciting accessories, while still keeping your old NOVA
chuck technology and preserving the investment you have made in NOVA chuck accessories. .
The Infinity Quick Change Jaw Slide Upgrade combines the best features of our original NOVA Chucks (wide jaw
movement, quick two way grip) with the advantages of the latest technology and innovation from NOVA..
BENEFITS OF THE INFINITY QUICK CHANGE
JAW SLIDE UPGRADE
•Quickly and easily fit to your old NOVA chuck – ALL NOVA chucks from 2004 can be upgraded.
•Fast, easy to change out Accessory Jaws (around 25 seconds for a whole set, compared with 5-6mins that
it used to be with the old technology!)
•Give access to a large range of unique Quick Change jaw designs, with jaws to suit your project.
•Allows you to keep your existing NOVA chuck jaws and accessories (can choose to keep your old jaw
slides and replace into your chuck as required, or simply purchase an additional accessory, the Infinity
Retro Fit Kit (SKU8200) which enables you to use your favorite old NOVA Accessory jaws on the Infinity
Jaw Slides, without changing them out!)
120-0913-0092

Contact Teknatool
New Zealand
Teknatool International Ltd
Phone: (+64) 9 477 5600
Fax: (+64) 9 477 5601
Email: service@teknatool.com
Website: www.teknatool.com
United States
Teknatool Service Center
Phone: 727-954-3433
Free Phone: 1-866-748-3025
Free Fax: 1-866-748-4193
Email: service@teknatool.com
Website: www.teknatool.com
120-0913-0093

Contents
WELCOME ........................................................................................................................................................2
General Safety Rules.............................................................................................................................................5
Additional Safety Rules for Chucks ........................................................................................................................6
INFINITY Quick Change.........................................................................................................................................7
RETRO FIT KIT..................................................................................................................................................7
Required safety gear and tools...............................................................................................................................8
Removing your current chuck jaw slides.................................................................................................................9
Using the INFINITY Quick Change Jaws on the Chuck.........................................................................................18
Mounting and Un-mounting Add-On Jaws.........................................................................................................18
Mounting Add-On Jaws ....................................................................................................................................18
Un-mounting Add-on Jaws................................................................................................................................19
Maintaining the INFINITY Quick Change Upgrade Kit...........................................................................................20
General Maintenance .......................................................................................................................................20
Troubleshooting Guide.........................................................................................................................................21
NOVA Quick Change Infinity Jaw Slide Upgrade Kit Exploded View of Parts........................................................22
Teknatool Warranty..............................................................................................................................................23
© Copyright 2012-2014 by Teknatool International; All Rights Reserved. NOVA, Infinity are trademarks of Teknatool
International Ltd and may be registered. Patent Pending 603820.
The information and specifications contained herein are subject to change. Teknatool is not responsible for errors or
omissions herein or for incidental damages in connection with the furnishing or use of this information.
120-0913-0094

General Safety Rules
Warning! Failure to follow these rules may result in serious personal injury.
DANGER: THIS CHUCK IS CAPABLE OF CONTRIBUTING TO SERIOUS INJURY, AS WITH ANY OTHER POWERTOOL ACCESSORY, IF
USED IMPROPERLY ON THE LATHE. ONLY USE GENUINE NOVA CHUCKS, NOVA PARTS AND ACCESSORIES. USE OF ANY OTHER
CHUCK BRANDS OR PARTS ON OTHER CHUCK BRANDS MAY BE UNSAFE AND WILL VOID WARRANTY.
FOR YOUR OWN SAFETY, READ THE MANUAL
BEFORE OPERATING THE TOOL. Learn the machine’s
application and limitations plus the specific hazards
peculiar to it.
1. ALWAYS USE A FULL FACE SHIELD-Strongly
recommended (must comply with ANSI STANDARD
Z87.1 -USA) Everyday eye-glasses usually are only
impact resistant and safety glasses only protect eyes. A
full face shield will protect the eyes and face. Also use
face or dust mask if cutting operation is dusty.
2. WEAR PROPER APPAREL. Do not wear loose clothing,
gloves, neckties, rings, bracelets or other jewelry which
may get caught in moving parts. Non slip footwear is
recommended. Wear protective hair covering to contain
long hair.
3. USE EAR PROTECTORS. Use ear muffs for extended
period of operation. Use muffs rated to 103 DBA LEQ (8
hour).
4. DON’T USE IN DANGEROUS ENVIRONMENT. Don’t
use power tools in damp or wet locations, or expose them
to rain. Keep work area well lighted.
5. KEEP WORK AREA CLEAN. Cluttered areas and
benches invite accidents. Build up of sawdust is a fire
hazard.
6. KEEP CHILDREN AND VISITORS AWAY. All children
and visitors should be kept a safe distance from work
area.
7. MAKE WORKSHOP CHILDPROOF with locks, master
switches, or by removing starter keys.
8. GROUND ALL TOOLS. This tool is equipped with a three
prong plug, it should be plugged into a three hole
electrical receptacle. If an adapter is used to
accommodate a two-prong receptacle, the adapter lug
must be attached to a known ground. Never remove the
third prong.
9. MAKE SURE TOOL IS DISCONNECTED FROM
POWER SUPPLY while the motor is being mounted,
connected, or reconnected.
10. DISCONNECT TOOLS before servicing and when
changing accessories such as blades, bits cutters, etc.
11. AVOID ACCIDENTAL STARTING. Make sure switch is in
the Off position before plugging in power cord.
12. NEVER LEAVE MACHINE RUNNING UNATTENDED.
Do not leave tool unless it is turned off and has come to a
complete stop.
13. KEEP GUARDS IN PLACE and in working order.
14. USE RIGHT TOOL.
Do not use a toolor attachment to do a
job for which it was not designed. Wherever possible
stand to one side of the revolving wood
15. USE RECOMMENDED ACCESSORIES. The use of
improper accessories may cause hazards.
16.DON’T FORCE TOOL. It will do the job better and be safer
at the rate for which it was designed.
17. MAINTAIN TOOLS IN TOP CONDITION. Keep tools sharp
and clean for best and safest performance. Follow
instructions for lubricating and changing accessories.
18. NEVER STAND ON TOOL. Serious injury could occur if the
tool is tipped or if the cutting tool is accidentally contacted.
19. REMOVE ADJUSTING KEYS AND WRENCHES. Form a
habit of checking to see that keys and adjusting wrenches
are removed from tool before turning it on.
20. DON’T OVERREACH. Keep proper footing and balance at
all times.
21. DIRECTION OF FEED. Feed work into a blade or cutter
against the direction of rotation of the blade or cutter only.
22. ATTENTION TO WORK. Concentrate on your work. If you
become tired or frustrated, leave it for awhile and rest.
23. SECURE WORK. Use clamps or a vice to hold work when
practical. It’s safer than using your hand and frees both
hands to operate tool.
24. CHECK DAMAGED PARTS.
Before further use of the tool,
any part that is damaged should be carefully checked to
ensure that it will operate properly and perform its intended
function. Check for alignment of moving parts, binding of
moving parts, mounting, and any other conditions that may
affect its operation. Any damaged part should be properly
repaired or replaced.
25. DRUGS, ALCOHOL, MEDICATION. Do not operate tool
while under the influence of drugs, alcohol, or any
medication.
26. DUST WARNING. The dust generated by certain woods
and wood products can be injurious to your health. Always
operate machinery in well ventilated areas and provide for
proper dust removal. Use wood dust collectionsystems
whenever possible.
27. Ensure the jaw engaged in place before operating the
NOVA Infinity Quick Change.
Warning! ONLY use the NOVA Chuck handle supplied to tighten the jaws. DO NOT use longer arm hex
wrenches, ratchets, or other deviceswhich may over tighten and cause excessive and unnecessary torque.
It can be dangerous to over tighten, causing excessive stress on product and on the project itself. The
NOVA chuck handle supplied is sufficient to tighten the Infinity Chuck Jaws for normal turning operations.
120-0913-0095

Additional Safety Rules for Chucks
Warning! Failure to follow these rules may result in serious personal injury.
DO NOT MODIFY OR USE LATHE FOR USES OTHER THAN
FOR WHICH IT WAS DESIGNED.
1. SEEK INSTRUCTION. If you are not thoroughly familiar with
the operation of wood lathes, obtain advice from your
supervisor, instructor, or other qualified person. Instruction
from a qualified person is strongly recommended.
2. MAKE SURE WOOD is securely clamped in the chuck before
turning it on
3. EXAMINE WORK PIECE and glue joints before turning to
make sure it has no defects that would cause it to break when
turning.
4. CHECK SET-UP with power Off. Examine the set-up carefully
and rotate the work piece by hand to check clearance before
turning on power.
5. ADJUST TOOLREST close to the work piece. Before turning,
revolve the stock by hand to make sure it clears the rest. At
intervals, stop the lathe and readjust the toolrest.
6. DO NOT MAKE ADJUSTMENTS when the lathe or work
piece is turning. Make all adjustments with power Off.
7. TIGHTEN ALL CLAMP HANDLES on the headstock,
tailstock, and toolrest before operating lathe.
8. USE LOWEST SPEED when turning a new or unbalanced
work piece.
9. USE CORRECT SPEED for turning the wood blank as wood
speed will vary depending on diameter.
10. KEEP TOOL ON TOOLREST. Tools should remain on the
toolrest whenever the tool is engaged in contact with the work
piece.
11. DO NOT ROTATE CHUCK under power without wood being
gripped and securely tightened in the chuck.
12. USE CORRECT LATHE TOOLS. Do not use spindle turning
chisels for faceplate mounted work, and vice versa. Spindle
turning tools used for faceplate turning may grab the work piece
and pull the chisel from your control.
13. DO NOT POUND WORK PIECE into headstock drive (spur)
center while attached to the lathe when turning between centers.
Pound the drive center into the work piece with a soft mallet
before installing it between centers in the lathe.
14. DO NOT USE TAILSTOCK to drive work piece into the drive
(spur) center when turning between centers. Secure work
between centers with light pressure from the tailstock quill action.
15. FASTEN STOCK SECURELY BETWEEN CENTERS. Make
sure the tailstock is locked before turning onthe power.
16. NEVER LOOSEN TAILSTOCK spindle or tailstock while work
piece is turning.
ALWAYS WEAR EYE PROTECTION WHICH COMPLIES WITH
CURRENT ANSI STANDARD Z87.1 (USA). WE RECOMMEND
THAT A FULL FACE SHIELD BE USED AT ALL TIMES.
17. MAKE SURE CHUCK IS SECURED properly on lathe spindle.
Follow mounting instructions for your lathe for faceplates and
other spindle fixtures.
18. REVERSE OPERATIONS are primarily used for light sanding
and finishing operations. To use the chuck in reverse for light
sanding and finishing, the chuck needs to be locked to the lathe
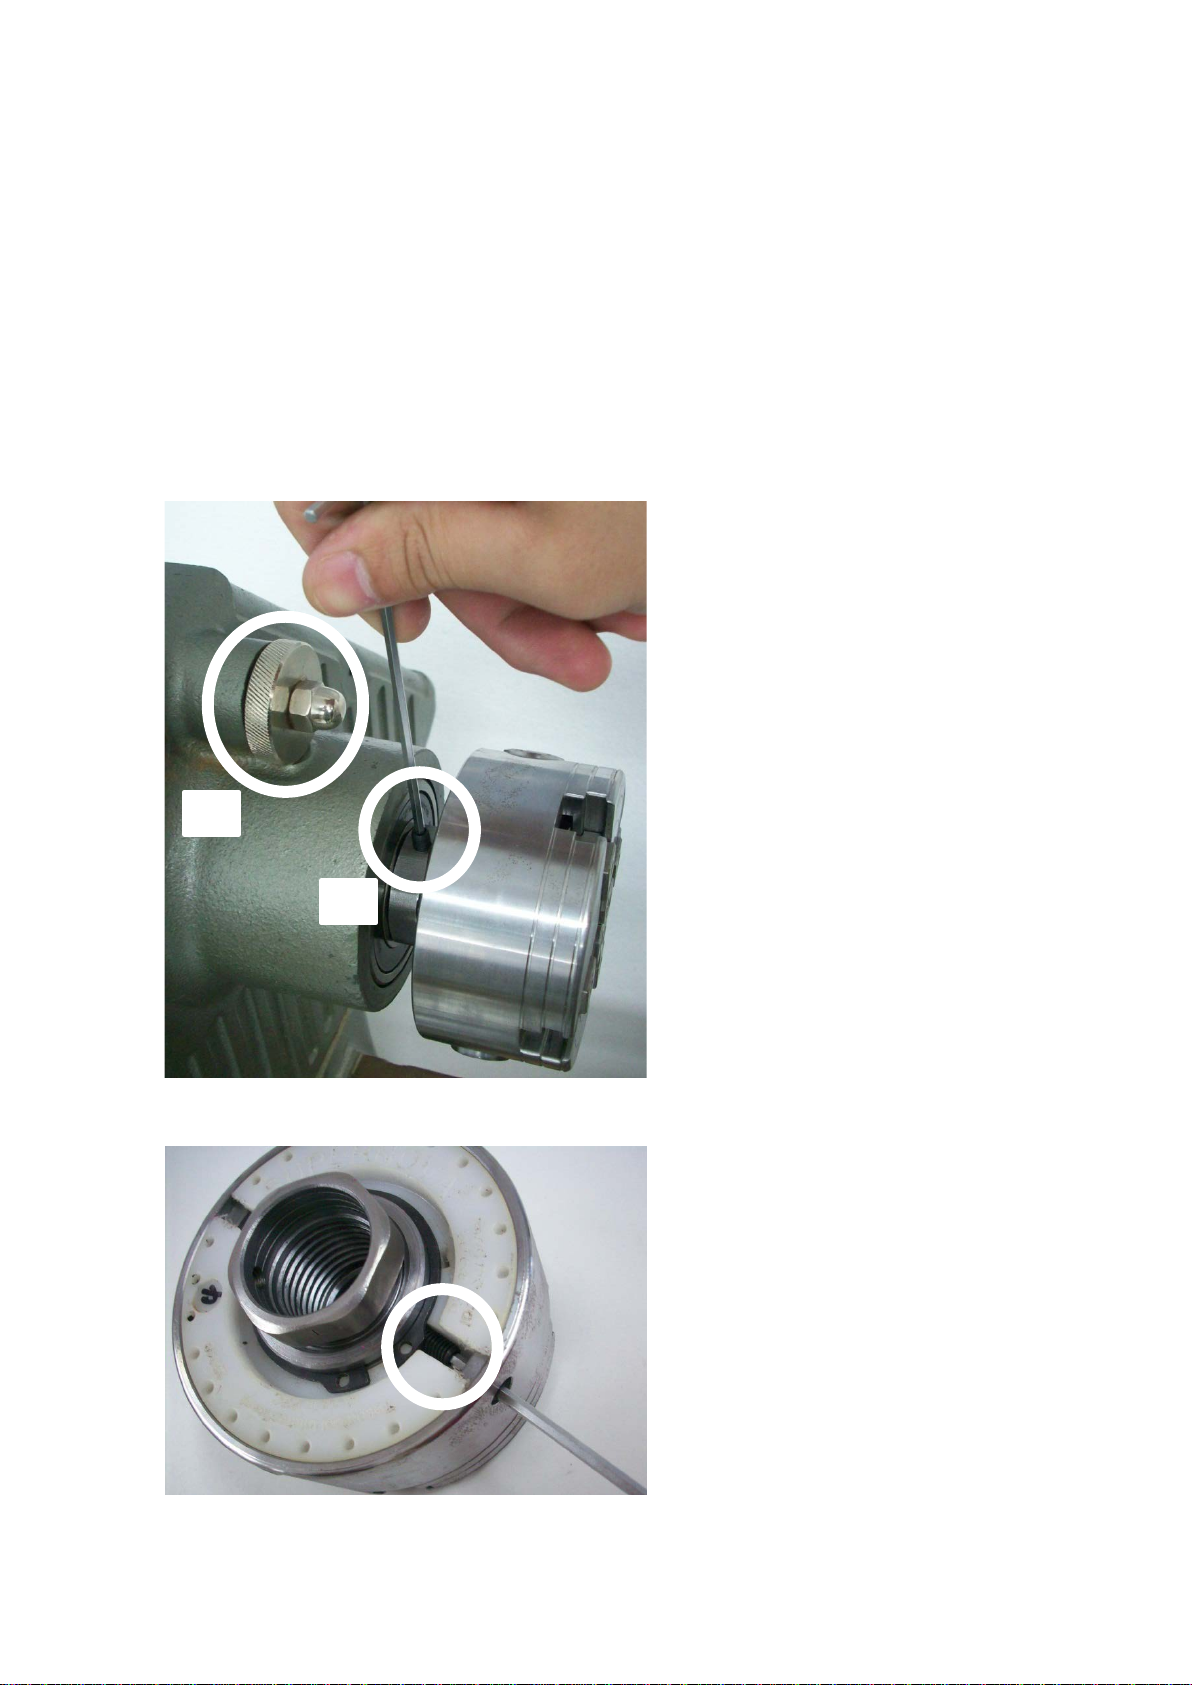
spindle, using the grubscrew provided. Before engaging in any
reverse operations, check the grubscrew is fully locked and in
place, according to instructions. Do not use the chuck in reverse
for turning.
19. DO NOT ROTATE CHUCK UNDER POWER WITHOUT WOOD
BEING GRIPPED.
20. EXCESSIVE SPEED IS A SERIOUS LATHE HAZARD.
ALWAYS TURN AT THE SLOWEST SPEED POSSIBLE. Speed
will vary with wood blank size. The larger the blank the slower
the speed. Consult your lathe manual or lathe information plate
for speed guidelines.
21. DO NOT ATTEMPT TO USE THE CHUCK UNLESS THE
LATHE SPEEDS ARE KNOWN, YOU MUST STRICTLY
FOLLOW THE MAXIMUM SPEED LIMITS SET OUT IN THE
OPERATING SECTION OF THIS MANUAL. DO NOT EXCEED
THEM UNDER ANY CIRCUMSTANCES.
22. DO NOT TURN IN REVERSE. Do not use these jaws in chucks
for reverse turning operations. Light reverse operations i.e.
sanding are allowed and speed is not to exceed 2,000rpm in
reverse.
23. EXAMINE WOOD CAREFULLY. ONLY MOUNT WOOD THAT
IS SOUND, if any cracks, splits, or weakness is found in wood -
DO NOT MOUNT ON CHUCK.
24. DO NOT MOUNT ANY WOOD THAT IS LIKELY TO BREAK UP
DURING TURNING (E.G. ROTTEN OR SPONGY WOOD). DO
NOT USE POORLY JOINTED/LAMINATED WOOD.
25. IRREGULAR OR OUT OF BALANCE STOCK needs to be
turned at the slowest possible speed until it is in balance.
26. MAKE SURE WOOD is clamped firmly. Follow mounting
instructions for different gripping modes and jaw types. In the
expansion mode do not use undue force or jaws may split the
wood.
27. DO NOT EXCEED MAXIMUM guidelines in this manual for wood
blank diameters/length set out in this manual for different modes
and jawtypes.
28. DO NOT USE WITH ANY COPYTURNER OPERATIONS
29. CHECK WOOD IS SECURELY HELD in chuck, before
operation. Check grip by vigorously wrenching wood blank back
and forth. If any loosening occurs, re-examine holding area for
adequate grip (Following mounting guidelines) and any damage
to holding area. Rotate manually to make sure of clearance
before switching power on.
30. WARNING FOR SAFE OPERATION. DO NOT EXTEND JAW
SLIDES BEYOND CHUCK BODY UNDER ANY
CIRCUMSTANCES
120-0913-0096

INFINITY Quick Change
Note that Inserts, accessory jaws etc are fully interchangeable between the NOVA Infinity, Nova, SuperNova, Titan
II and SuperNova2 Chucks. However, additional Retro Fit Kit (SKU 8200) will need to be purchased to use your
old NOVA chuck accessory jaws on the new NOVA Infinity Quick Change Jaw Slides.
ONLY USE GENUINE NOVA CHUCKS, NOVA PARTS AND ACCESSORIES. USE OF ANY OTHER CHUCK
BRANDS OR PARTS ON OTHER CHUCK BRANDS MAY BE UNSAFE AND WILL VOIDWARRANTY.
UPGRADE KIT
SKU 8100
Kit containing 4 Infinity Jaw Slides, enabling you to replace your old existing NOVA chuck jaw slides (Precision
Midi, G3, SuperNOVA2 with the Infinity quick change technology, giving you access to Quick Change technology
and all the exciting NOVA Infinity Quick ChangeAccessory Jaws.
SKU 8120
As above but for specifically for the NOVA Titan II Chuck.
RETRO FIT KIT
SKU 8200
Kit containing 4 jaw insert pieces, fitted to your Infinity Jaw slides, it enables you to fit your existing older NOVA
chuck accessory jaws to the Infinity jaw slides.
ACCESSORY JAWS
NOVA Infinity is a new system which offers innovative breakthroughs for chuck holding.
A quick change jaw key system fits to the Infinity Slides (patent app.) to form a powerful and secure ‘taper lock’
much stronger than the original jawscrew fastening system. Delivers more powerful holding with the big advantage
of jaws that can be changed out in less than 30 seconds.
The Infinity system also allows complete freedom in jaw design with no screw fastenings to limit jaw function.
The NOVA Innovation team were able to take a fresh look at jaw holding to help the woodturner to select the
appropriate jaw to enable the just the right shape and design for their work, no matter the size. A ‘freedom to
design’ was not possible with the original jaw series.
The Infinity jawseries approach is based around workholding solutions in areas such as bowl turning, spigot/tenon
turning, hollow forms, available in Bowl, Saw Tooth and Smooth Column Series.
CHUCKS
There are several models of the SuperNOVA2 Infinity Quick Change Chuck designed to meet various woodturning
requirements. Note that inserts, accessory jaws etc are fully interchangeable between the NOVA Infinity, Nova,
SuperNova, Titan, G3 and SuperNova2 Chucks. However, an Retro Fit (SKU 8200) will need to be purchased.
120-0913-0097

Required safety gear and tools
Required safety gear and tools:
1. Safety goggles,
2. Safety heavy duty work gloves,
3. Original NOVA grub screw Allen Key (3 mm Allen Key),
4. Standard chuck key (8 mm Allen key),
5. Original NOVA universal spanner,
6. 2 sets of flat head screw driver,
7. External circlip/snap ring plier with minimum expanded size of 1 3/4” external circlip, ~ 0.070" lug holes
8. Soft hammer.
Note:
The backing plate color of the chuck used in this guide was specially made in light color to give a better visual
understanding – normal backing plates are in Black.
An example of an appropriate set of External Circlips can be found here, http://www.amazon.com/Channellock-927-
8-Inch-Retaining-Plier/dp/B000TG80SY
1
2
3
4
5
6
7
8
120-0913-0098

Removing your current chuck jaw slides
Uninstalling current chuck and jaw slides
1. Rotates the lathe and ensure the machine is not connected to any power source before beginning the
uninstallation process.
2. Removing the chuck from the lathe.
- Turn the chuck until the grub screw is seen on upper position.
- Secure the chuck position by turning the spindle lock knob to ‘lock’.
- Use NOVA universal spanner to loosen the chuck by engaging it to the L-insert and turn it counter
clockwise.
3. Removing the L-insert (This step may not be required if the lathe is directly attached to the chuck)
- Undo the second grub screw on the chuck body,
1
2
120-0913-0099

- Carefully place the NOVA universal spanner and wear safety gloves before proceed.
- Hold the chuck securely by hand on wooden work bench (or other working table with safety mat
underneath) and to loosen the L-insert from the chuck, use soft hammer to apply torque onto the
spanner. After the L-insert has been loosened then it can beturned freely by hand.
4. Removing the circlip/snap ring
Note: Wear safety goggles and gloves before continuing on the following procedure.
- To avoid bouncing off circlip/snap ring, place fingers on the chuck and by using circlip/snap ring plier
expand the circlip/snap ring and lift it off from the backing plate.
120-0913-00910

5. Remove the plastic backing plate.
Screw in any Teknatool insert in the chuck thread. Engage the thread partially and tap on the back of insert
with a mallet. You will see that the backing plate starts to come off. Remove the backing plate
6. Remove two pinion gears.
7. Remove the scroll ring.
- By securely holding the chuck, jaw slides with one hand and anticipates the scroll ring will come off
with another hand, flip the chuck over so that the chuck is facing upwards. This action will naturally
make the scroll ring to drop onto your hand. Note: If the scroll ring is jammed inside, you would then
have to use a flat head screw driver to push the scroll ring down.
120-0913-00911

8. Remove all the jaw slides.
- By using your bare hand, slides the jaw slides out from the chuck.
Complete disassembled parts list:
1. Your original NOVA chuck,
2. Your original NOVA jaw slides,these will be replaced by the NOVA Infinity Quick Change Jaw Slides
3. Your original NOVA scroll ring,
4. Your original NOVA pinion gears,
5. Your original NOVA backing plate,(shown here in white, normally comes in black)
6. Your original NOVA external circlip/snap ring,
7. Your original NOVA Insert, and
8. Your original NOVA two grub screws and fibre washer.
1
2
3
4
5
7
6
8
120-0913-00912

Mounting your new INFINITY Quick Change
Upgrade Kit Jaws to your existing NOVA chuck
List of required parts for assembly:
1. Your original NOVA chuck,
2. NOVA Infinity Quick Change Jaw slides,
3. Your original NOVA scroll ring,
4. Your original NOVA pinion gears,
5. Your original NOVA backing plate,
6. Your original NOVA external circlip/snap ring,
7. Your original NOVA Insert, and
8. Your NOVA two grub screws and fibre washer
1
2
3
4
5
6
7
8
120-0913-00913

Assembly guides:
1. Before proceed to the installation steps, safety goggles and gloves should be worn accordingly.
2. Installation of the jaw slides.
- Insert the jaw slides from number 1 to 4 in clockwise order until they met each other in the middle and
forming square shaped hold in themiddle. Note: The jaw slide’s number can be found on the top side.
3. Installation of the scroll ring.
- Hold the installed jaw slides securely by your hand, flips the chuck upside down and showing the back
side of the chuck,
- Put the scroll ring intothe chuck with the scroll gear facing downwards, and
- Rotates the scroll ring counter clock wise direction until all the jaw slides engaged into place.
1
2
3
4
120-0913-00914

4. Installation of the pinion gears.
- Slide both pinion gears into the holes on the side of the chuck and ensure if it is engaging properly.
Note: if the gear couldn’t be inserted into place, then redo installation step 3 – installing the scroll ring.
- Before carrying on further to thenext step, the jaw slides should be visually inspected for the equal
distance between them. Properly installed jawslides will showsquare shaped holein the middle of the
chuck. Note: if the distance between the jaw slides are out of balance significantly,then redo step 2 –
installing the jaw slides.
120-0913-00915

5. Installation of the backing plate
- Hold the pinion securely in place and align the two slots on the backing plate to accommodate pinion
gears properly.
- Insert the backing plate into place and press it with hand until it sit flush with the back of the chuck.
6. Installation of the circlip/snap ring
Note: Wear safety goggle and gloves before continuingon the next following procedure.
- By using fingers, push the circlip/snap ring gently against the face of the backing plate, it also prevents
the circlip/snap ring from bouncing off.
- By using circlip/snap ring plier, expand the circlip/snap ring until it could slip into place.
120-0913-00916

7. Installation of the L-insert (This step may not be required if the lathe is directly compatible with the chuck)
- Screw the L-insert into place without tightening it.
- Insert the red plastic sleeve and insert the grub screw to secure the L-insert without tightening it up.
8. Installation of the chuck
- Ensure all the power connected to the lathe is disconnected properly.
- Engage the lock on the lathe body, and
- Install the chuck onto the lathe and turn it by hand until it is secured properly.
9. Securing the chuck
- Tighten the first grub screw installed on step 7 – installation of the L-insert properly.
- Insert the second grub screw on the L-insert and tightened it properly,
8
9
120-0913-00917

Using the INFINITY Quick Change Jaws on the
Chuck.
Mounting and Un-mounting Add-On Jaws
Please note that your particular Accessory Jaw may differ
from that which is depicted here. However the mounting
and un-mounting principal and steps are the same. They
need to be located and locked into the jaw slides of the
chuck. The same procedure outlined below must be
followed for all accessory jaws. IT IS IMPORTANT TO
LOCATE JAWS PROPERLY IN THE JAW SLIDES FOR
THE CHUCK TO FUNCTION SAFETY AND
ACCURATELY.
Mounting Add-On Jaws
1. Using the accessory Chuck Key SKU
8101, turn the chuck pinion gear
clockwise to open the jaws to their
outer most position (as in Figure 1).
IMPORTANT: Never leave the Chuck key
in the chuck when not in use!
Figure 1
Figure 2
2. Push in theLock Push Pin on the back of the Jaw Side
Using the pin in the end of the Chuck Key Handle to release
the locking mechanism (Figure 2).
Figure 3
3. With the Lock Push Pin fully
depressed in, position a desired
jaw on the left side of a free Jaw
Slide and slide the Jaw clockwise
in a circular motion into place in the
Jaw Slide. Remove the Pin holding
the lock push pin in and ensure the
jaw is securely locked in place.
(Figure 3).
Repeat for all remaining free Jaws.
120-0913-00918

Un-mounting Add-on Jaws
4. With the jaws opened to their
outermost position, push in the
Lock Push Pin on the back of the
Jaw Side using thepin in the end
of the Chuck Key Handle to release
the locking mechanism (Figure 4).
Figure 4
1. With the Lock Push Pin fully
depressed in, slide the Jaw anti-
clockwise in a circular motion Out
of the Jaw Slide. Remove the Pin
holding the lock push pin.
(Figure 3).
Repeat for all remaining Jaws.
NOTE: if the collet is not coming
out of the Jaw Slide, check the
Lock pin is fully depressed, if it
is and the jaw still can’t be
removed, lightly tap the jaw
anticlockwise out of the Jaw
Slide.
Figure 5
120-0913-00919

Maintaining the INFINITY Quick Change Upgrade
Kit
General Maintenance
CLEANING CHUCK:
Your NOVA chuck needs to be inspected periodically for build up of wood dust in the jaw slide area on the front
side. Wood dust build up can make the jaws difficult to move. To clean out the wood dust build up, the following
method can be used. Remove Jaw Slides. (First removing stop screwas explained in previous section) then using
a piece of wood (matchstick size) insert in the bottom of scroll and rotate scroll ring. This will scrape out the
accumulated wood dust.
120-0913-00920
Table of contents
Other Nova Industrial Equipment manuals
Popular Industrial Equipment manuals by other brands

Mayr
Mayr ROBA-takt Installation and operational instructions

FläktGroup
FläktGroup EQRB Installation and maintenance instructions

Woodward
Woodward easYgen-3000XT Series instructions

ABB
ABB ACS580-01 +C135 Series Original instructions

Siemens
Siemens 8MF1 Series operating instructions

Siemens
Siemens 3VL9000-4WL00 operating instructions