manuals.online logo
Brands
  1. Home
  2. •
  3. Brands
  4. •
  5. Novatech
  6. •
  7. Controllers
  8. •
  9. Novatech MC9200 Series Use and care manual

Novatech MC9200 Series Use and care manual

sales@novatech-usa.com
www.novatech-usa.com
Tel: (866) 433-6682 Fax: (866) 433-6684
Tel: (281) 359-8538 Fax: (281) 359-0084
72-900-30
72-900-30 Rev B
72-900-30 Rev C
(866) 433-6682 • (281) 359-8538 • [email protected] • www.novatech-usa.com
and Set Analog Output . . . . .
A
(866) 433-6682 • (281) 359-8538 • [email protected] • www.novatech-usa.com
....
I) Set ANALOG OUTPUT
Analog outputs are designed for interfacing with recorders, pumps and computers.
!!WARNING!!
controller could
be
damaged
and
void
warranty!
Analog outputs are
self
powered.
Do
not try to
externally
loop
power.
Externally
powered
outputs
will
damage
your controller!
The programmable option is an Isolated Proportional4-20 mA output,
designedto interfacewith an analog recorder,meteringpump or computer.
The outputis 4-20mA over a programmable range. For example,
if
the
analog input was pH, the output couldbe programmed to be 4 mA at 6.7
pH, the "LO RANGE"set point, and 20 mA at 8.2pH, the "HI RANGE"
set point".
Analog outputs require calibration upon initial start up. Calibration is re-
commended after changing scales or after factory reinitialization. For
accurate calibrationof the analog output,a milliamp meter is required.
Calibration
Note: LO
=
4 mA
HI =20 mA
TIP:
For help with
menu
locations,
please
refer to the
"Menu Map"
supplied
with your
controller.
1. Remove signal wires if installed and connect a milliamp meter
to output connections on daughter board. Observe proper polarity
(+/-).
Refer to Diagram 8, pg. 35, for connections. Note: The Diagram
reflectsa dual or 2 channelboard. Depending on your controller model,
there may be connectionsfor onlyone output.
2. SCROLL to CONFIGURE-D/A OUT SELECT under the
MAIN MENU-CONFIGURE menu. Press ENTER.
3. D/A OUT #1 PARAM will be displayed on the first line. The sec-
ond line will display system conductivity, pH, or ORP (depending
on model of your controller) to be monitored or controlled. If more
than one analog output is present, use the ARROW keys to display
the analog input to be tagged to analog output. Present analog
input is designated by an asterisk (*). Press ENTER.
4. Press ENTER and SCROLL DOWN to LO ADJUST. As indi-
cated on the display, use the ARROW keys to calibrate the
"lo"
mA
reading (4
mA
) on the external milliamp meter. Press ENTER
to enter the adjustment.
5. SCROLL DOWN to HI ADJUST.As indicated on the display,
use the ARROW keys to calibrate the "hi"
mA
reading (20
mA
) on
the external milliamp meter. Press ENTER to enter the adjustment.
6.
If
controller is equipped with the programmable option,
SCROLL DOWN to LO RANGE.As indicated on the display, use
the ARROW keys to set the "lo range" set point. Press ENTER to
enter the adjustment. SCROLL DOWN to HI RANGE.As indicat-
ed on the display, use the ARROW keys to set the "hi range" set
point. Press ENTER to enter the adjustment.
7. Press SCROLL DOWN for additional analog outputs to be set,
or press HOME repeatedly to return to MAIN MENU-CONFIGURE.
8. Remove milliamp meter and connect analog recorder, metering
pump or computer. Be sure to maintain proper polarity when con-
necting external devices!
Configure
D / A Out Select
D / A out #1 param
•
sys cond
D / A #1 lo adjust
ARROWS to change
D / A #1 hi
adjust
ARROWS to change
D / A #1 lo range
0
us/cm
D / A #1 hi range
5000
us/cm
16
(866) 433-6682 • (281) 359-8538 • [email protected] • www.novatech-usa.com
15A of 52
(866) 433-6682 • (281) 359-8538 • [email protected] • www.novatech-usa.com
J )
K)
(866) 433-6682 • (281) 359-8538 • [email protected] • www.novatech-usa.com

Other Novatech Controllers manuals

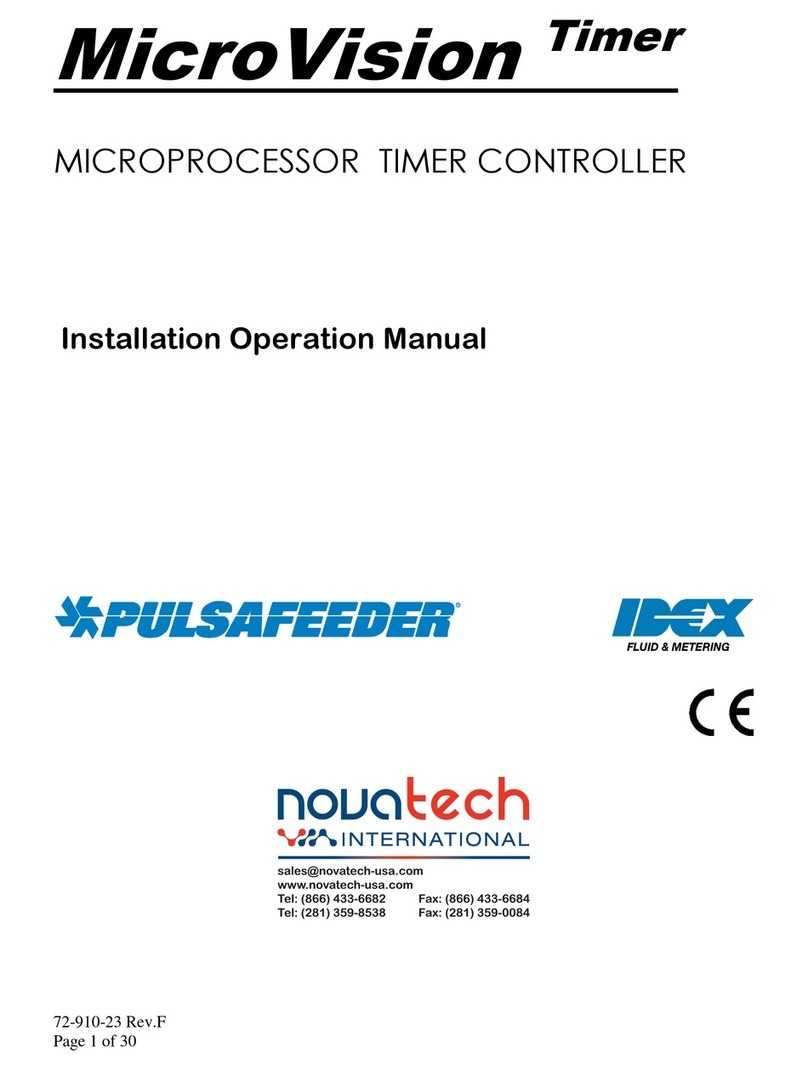
Novatech Pulsafeeder MicroVision Timer User manual

Novatech

Novatech Pulsafeeder MicroVision Timer User manual

Popular Controllers manuals by other brands

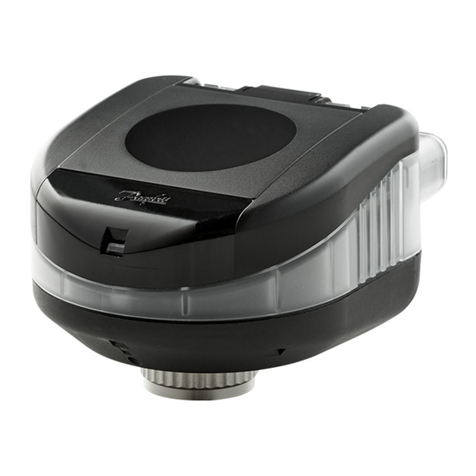
Danfoss NovoCon Series operating guide

Danfoss

Danfoss NovoCon Series operating guide

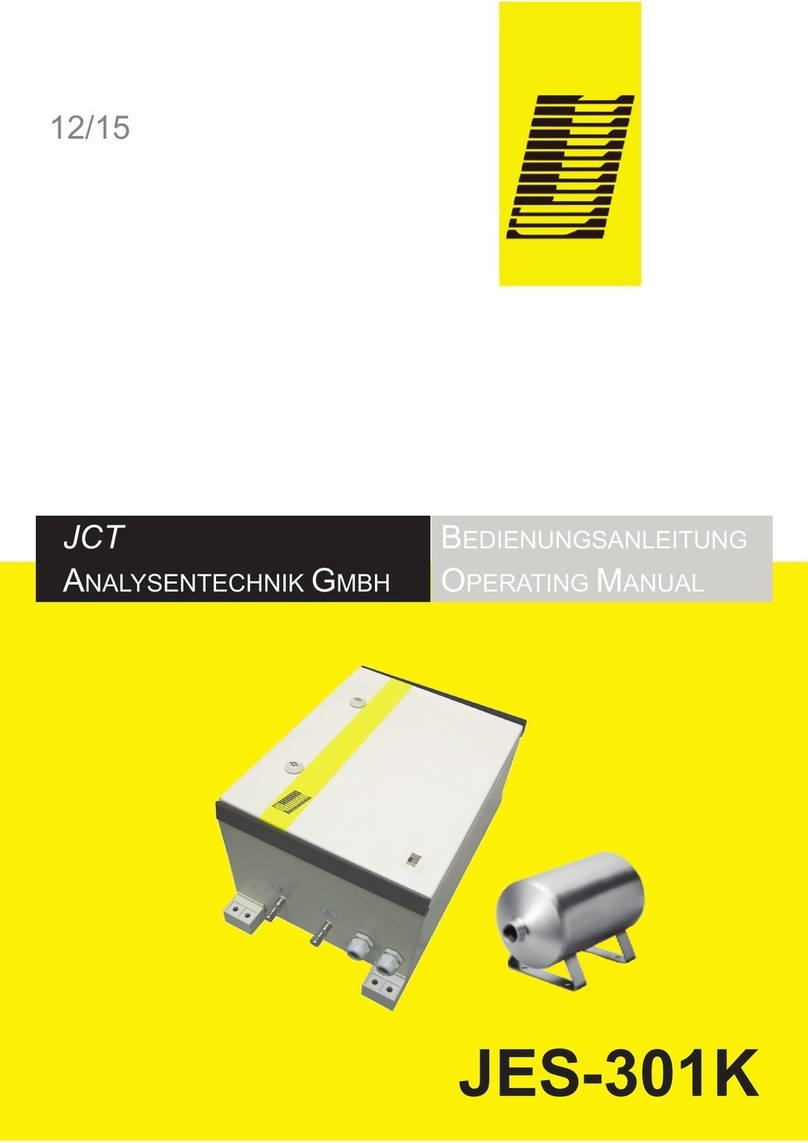
Jct JES-301K operating manual

Jct

Jct JES-301K operating manual

Vega VEGAMET 841 operating instructions

Vega

Vega VEGAMET 841 operating instructions

OMT STAND.CONTROL C1 Operation manual

OMT

OMT STAND.CONTROL C1 Operation manual

WEISS ER12D-1 Installation & operation instructions

WEISS

WEISS ER12D-1 Installation & operation instructions

KATU 500 Series Operation instructions

KATU

KATU 500 Series Operation instructions

Ledj Lil’ Mix user manual

Ledj

Ledj Lil’ Mix user manual

PSP LSC-08 manual

PSP

PSP LSC-08 manual

maxon motor EPOS4 Module 50/8 Hardware reference

maxon motor

maxon motor EPOS4 Module 50/8 Hardware reference

hrsolar ADVANCED Controller Manual for the specialised craftsman

hrsolar

hrsolar ADVANCED Controller Manual for the specialised craftsman

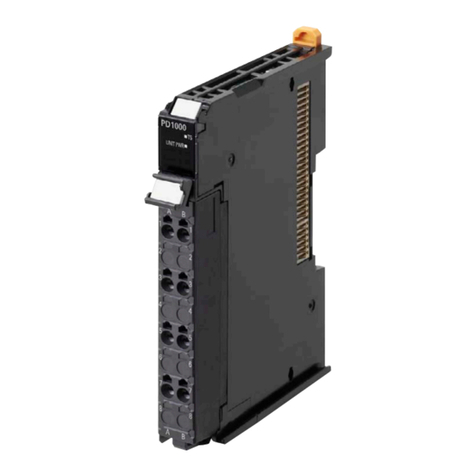
Omron Sysmac NX-PD1000 user manual

Omron

Omron Sysmac NX-PD1000 user manual

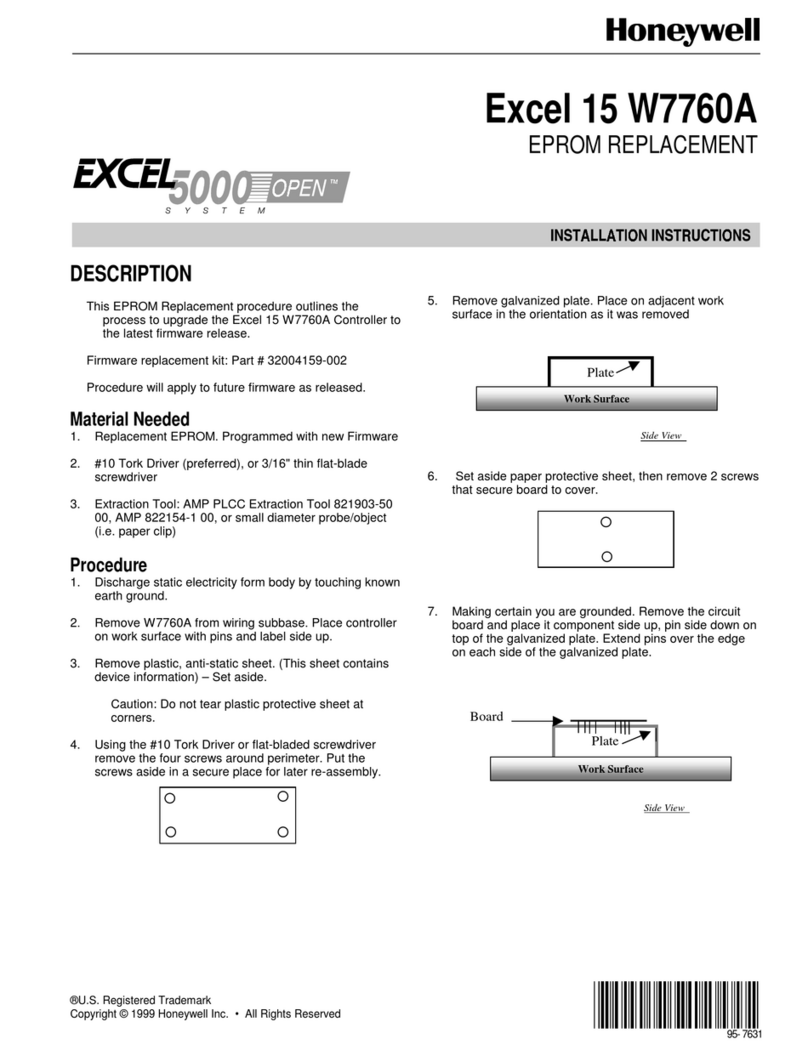
Honeywell Excel 15 W7760A installation instructions

Honeywell

Honeywell Excel 15 W7760A installation instructions

Woodward 8200-225 product manual

Woodward

Woodward 8200-225 product manual

Panasonic AAD03011 instruction manual

Panasonic

Panasonic AAD03011 instruction manual

Hitachi PC-ARF1 Installation & maintenance manual

Hitachi

Hitachi PC-ARF1 Installation & maintenance manual

ARM CoreLink GIC-600AE Technical reference manual

ARM

ARM CoreLink GIC-600AE Technical reference manual

Xerox FREEFLOW ACCXES FIRMWARE 12.7 B 114 Firmware release notes

Xerox

Xerox FREEFLOW ACCXES FIRMWARE 12.7 B 114 Firmware release notes

DynaGen Tough Series user manual

DynaGen

DynaGen Tough Series user manual

manuals.online logo
manuals.online logoBrands
  • About & Mission
  • Contact us
  • Privacy Policy
  • Terms and Conditions

Copyright 2025 Manuals.Online. All Rights Reserved.