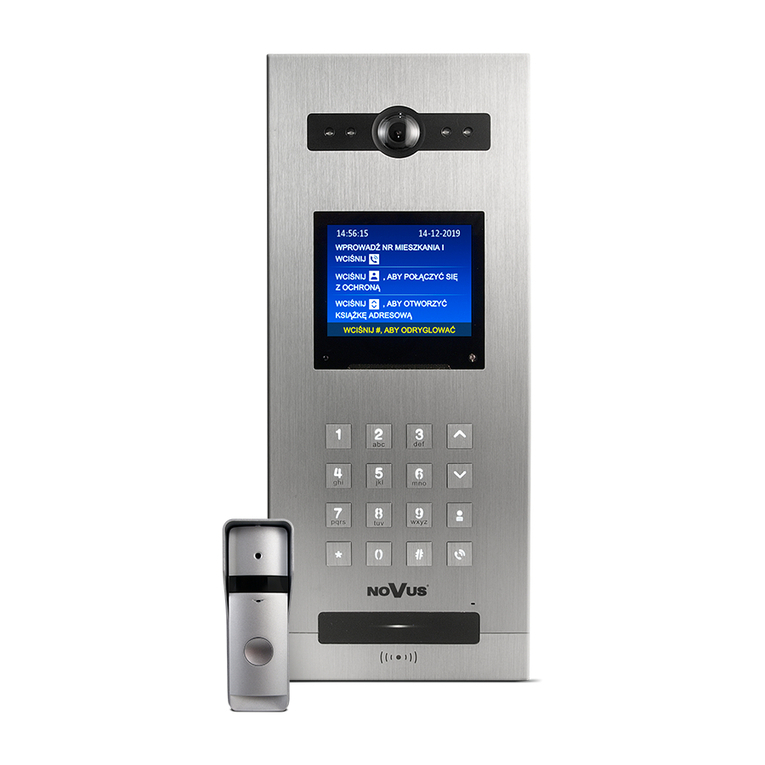
Novus NVE-GM200 User manual

Installaon manual
Quick guide for video intercom system
NOVUS VIDEO INTERCOM SYSTEM
WERSJA 1.0

Video Intercom System —Quick guide
AAT SYSTEMY BEZPIECZEŃSTWA Sp. z o.o.
All rights reserved. 2
• Connect the UP-LINK port of the sPoE switch to any port of the main switch.
• Connect the IP camera (with oponal separate power supply) to the main switch.
1. Elements of the NVE VIDEO INTERRCOM SYSTEM
2. Installaon
UP-LINK

Video Intercom System —Quick guide
AAT SYSTEMY BEZPIECZEŃSTWA Sp. z o.o.
All rights reserved. 3
• Connect the user monitor to one of the seven ports of the sPoE switch.
• Connect the guard monitor to one of the seven ports of the sPoE switch.
• Connect the door panel to one of the seven ports of the sPoE switch.
3. Conguraon of panels
• Begin the conguraon of the video intercom system with the addressing of the panels.
• To enter the sengs menu, press , and 99. Then input the installer password (0000
by default).

Video Intercom System —Quick guide
AAT SYSTEMY BEZPIECZEŃSTWA Sp. z o.o.
All rights reserved. 4
• Enter the ”Device informaon” secon and select the type of encode: 5-digit encoding
(standard) or 6-digit encoding (oponal division into oor of the building)
5 digit address 6 digit address
Building number Device ID Builiding number Device ID
Block panel 1 ~98 801~819 1 ~98 9001~9019
Entrance Panel 99 801~819 99 9001~9019
• Addressing of the devices should be started from the panel of the rst block, it means the rst
entrance of the rst block (5-digit: 01801, 6-digit: 019001). Aer entering the number of block
and ID of device, press the # buon, the device’s IP will be changed and the device’s address
will be saved. Aer visible change of the IP address, exit to the main menu by pressing the *
buon.
• Assign addresses in chosen type of encode to the further panels. The table below shows the
addresses that can be programmed. The entrance panel supports the entrance to the estate.
The main dierence between the entrance panel and the block panel is opening the door with
a password. From the entrance panel, you can open a door or gate with one general password
for the estate or resident’s proximity card (up to 5 proximity cards for one apartment). On the
other hand, from the block panel, the door can be opened by using a private password set
from the user’s monitor or also with a proximity card.

Video Intercom System —Quick guide
AAT SYSTEMY BEZPIECZEŃSTWA Sp. z o.o.
All rights reserved. 5
4. Conguraon of users monitors
• Aer compleng the addressing of the panels, proceed to addressing the users monitors.
Remember that rst block panel should be programmed as 01801 or 019001 (depends on
chosen type of addressing). Press the ”Seng” icon, then ”Engineering Seng” and enter the
engineering password (0000 by default).

Video Intercom System —Quick guide
AAT SYSTEMY BEZPIECZEŃSTWA Sp. z o.o.
All rights reserved. 6
• Go to the ”Device informaon” tab and select the previously selected type of addressing.

Video Intercom System —Quick guide
AAT SYSTEMY BEZPIECZEŃSTWA Sp. z o.o.
All rights reserved. 7
5 digit address 6 digit address
Type Building NO. Room NO. Building NO. Floor NO. Room NO.
User Monitor 1~98 001~799 1~98 01~63, 01~32
Elevator Monitor 1~98 821~839 - -
• Enter the block and the room (apartment). The possible ranges are shown in the table below.
One room support 3 indoor monitors (Extension 1: master monitor, Extension 2 and 3: slave
monitor). When block or entrance panel call in, the visitor’s image will be only shown on the
master monitor screen, the slave monitor only ringtone; When the slave monitor pick up the
call, the visitor’s image will be shown on the slave monitor screen.
• For next users monitors set the addresses in the selected address type with the table below.

Video Intercom System —Quick guide
AAT SYSTEMY BEZPIECZEŃSTWA Sp. z o.o.
All rights reserved. 8
5. Conguraon of guard monitors
Guard
Monitor
Site Guard 99 901~919 99 9801~9819
Building Guard 1~98 851~859 1~98 9601~9619
Site Manager 99 921~959 99 9901~9919
5 digit address 6 digit address
Type Building NO. Room NO. Building NO. Floor NO. Room NO.
• In the same way as for users monitors, address the guard monitors according to the ranges
from the selected address type from the table below.
• Calling the security guard by pressing the buon on the block panel will connect to the
building guard. The same operaon performed from the entrance panel will connect to the site
guard.
• In the users monitors, set the address of the guard monitor for the ”Emergency call”. A
connecon will be made to the selected address aer pressing the buon on the user
monitor. To do this, in the user monitor go to ”Seng” > ”Engineering Seng” > ”Emergency
call”.
6. Programming unlock passwords and proximity cards
6.1 Unlock password
• In order to set passwords enabling the residents to enter the building, set a password in each
user monitor by entering ”Seng” > ”Unlock Password”. The password is 4 digits, the 4 digits
cannot be completely consistent or connuous eg. 1111 or 1234.
• To enable using passwords by the residents, enter the seng page in the block panels >
”Access” > ”Enable Unlock Password” > Private Password: ON (by default).
6.2 General unlock password
• General unlock password is seng for each entrance panel. This password enable to enter the
estate. The entrance panels do not support previously set unlock passwords for the residents.
Each entrance panel has its own single general unlock password. In order to set this password,
enter the seng page in entrance panel > ”Access” > ”Unlock password” > enter old password
(1231 by default) and then new password.
6.3 Proximity cards
• Assign proximity cards from the block panels. Enter the seng page > ”Access” > ”Access card”
> ”Add new card” > choose user name (resident). Put cards close to the reader, one by one, to
assign to the chosen user (max 5 card for 1 apartment).
• To enable entering others entrance to the same building (others block panels of the same
building) or entrance to the estate (entrance panels), proximity card have to be copied to these
panels. In order to do this, enter the seng page in block panel, which has assigned proximity
cards > ”Access” > ”Access card” > ”Copy to” and then choose desnaon panel.

Video Intercom System —Quick guide
AAT SYSTEMY BEZPIECZEŃSTWA Sp. z o.o.
All rights reserved. 9
6.4 Unlock me
• Set the required unlocking me, i.e. the me for entry / exit, which will take place aer
resident opens the door from the user monitor, aer entering the unlock password / using
proximity card or pressing the unlock buon. In order to set unlock me, enter seng page in
door panel > ”Access” > ”Unlock Time”.
7. Assignment of IP cameras
• Connect your computer and device network with a network cable, then modify computer IP
address to 10.128.0.1~10.128.254.254. The computer and the device need to be in the same
network segment, otherwise the login will fail.
• Open web browser (recommended Google Chrome) and enter the IP address of rst block
panel(5 digit address: 10.0.14.9 or 6 digit address: 10.0.148.57).
• Input user name & password, then click ”Login” buon to enter the local conguraon page
(default user name: root, password: pass).

Video Intercom System —Quick guide
AAT SYSTEMY BEZPIECZEŃSTWA Sp. z o.o.
All rights reserved. 10
• Enter the address book conguraon page ”Address Book Cong” and press the ”Add Site
Camera” buon.
• Input the name, IP address (the IPC and the device need to be on the network segment; the
range of the IP address: 10.128.0.0 ~ 10.254.25.25), username and password and select the
stream mode: major stream / minor stream (the current system only support minor stream),
then click ”OK” buon to conrm it.
• Aer clicking on the ”auth” tab, it is possible to change the access to the camera view for
selected monitors (by default, the camera is assigned to all monitors in the enre system).
IMPORTANT! System is only supporng cameras with a resoluon of up to 2 MPX, with H.264
encoding and with a basic compression level (BaseLine). More informaon about changing above-
menoned parameters and the IP address of the cameras can be found in the manuals of the
cameras.
This manual suits for next models
2
Other Novus Intercom System manuals