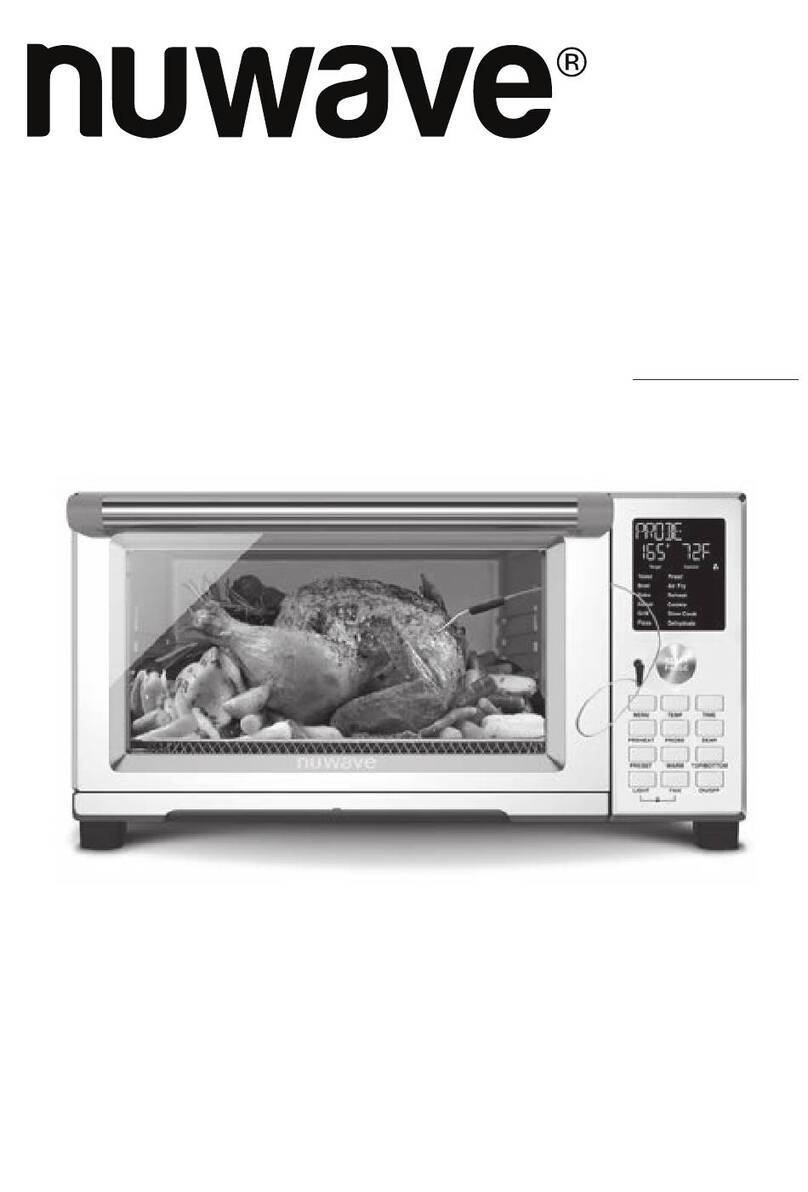
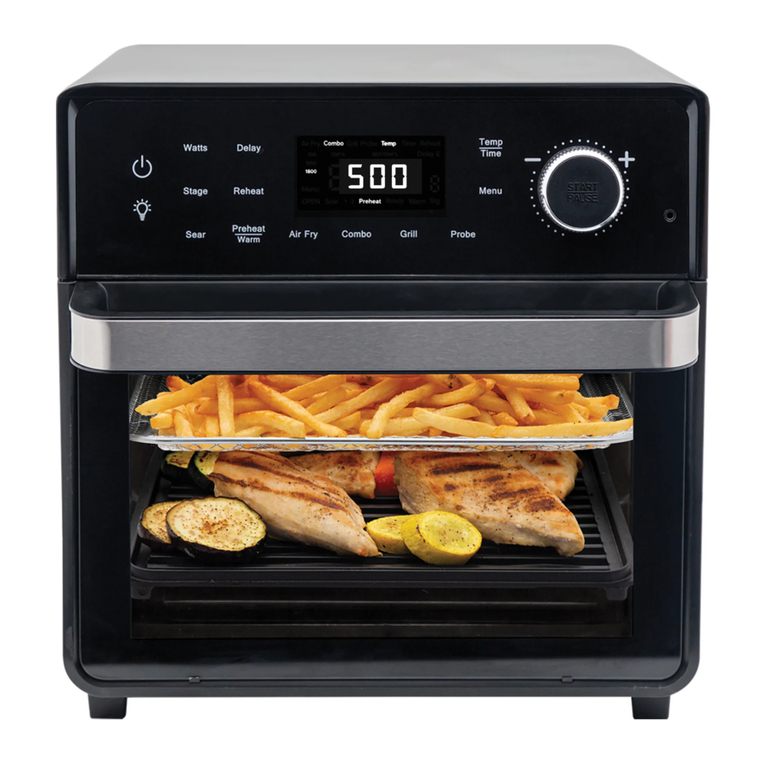
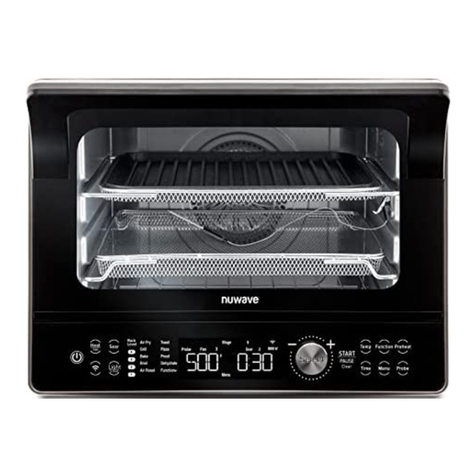
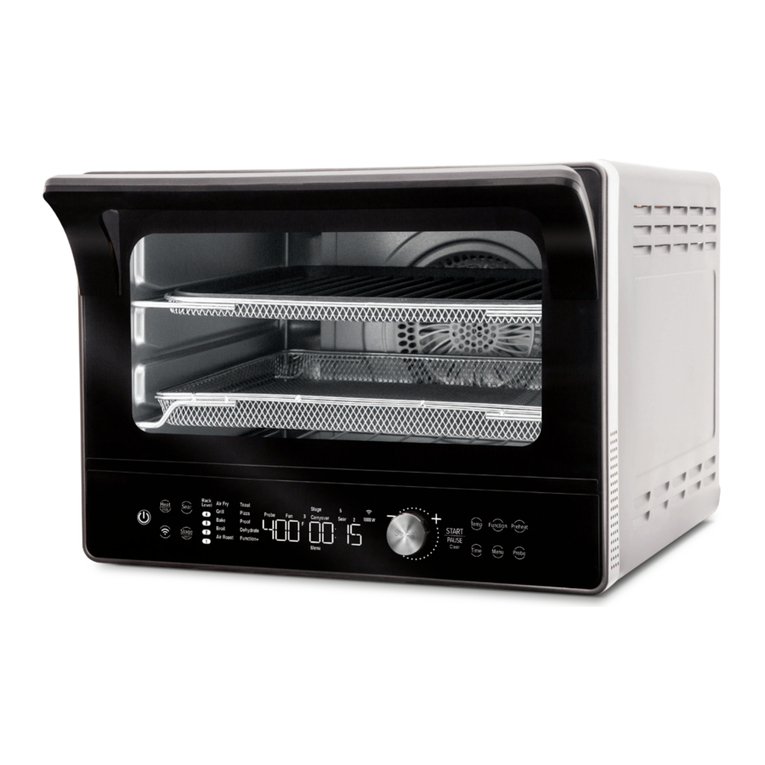
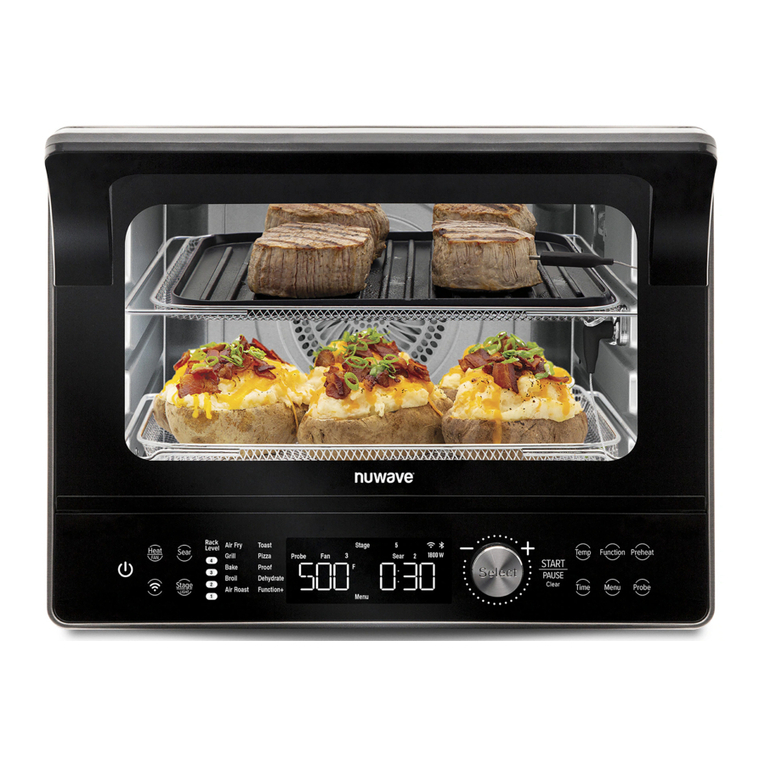
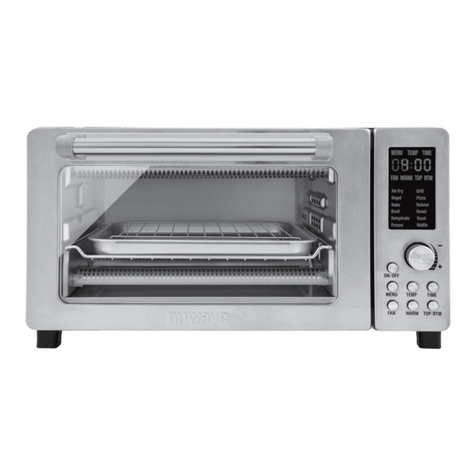
NuWave Bravo XL User manual

Owner’s Manual & Complete Recipe Book
NuWave Bravo™XL
Smart Oven

For more about our innovative products, visit:
NuWave Brio®6Qt
Digital Air Fryer
NuWave
Nutri-Pot®6Q
Digital Pressure Cooker
Super-heated air cooks
your food to crispy,
tender perfection.
The digital touch screen
gives you precise
temperature control.
Easily cook rice, poultry,
vegetables and more all
with the press of a button!
The Nutri-Pot’s safety
release valve and hinged
lid make for convenient
and safe operation.

1-877-689-2838
www.nuwavenow.com
NuWave Oven®
Pro Plus
Cook healthier meals
faster and more efficiently
with Triple Combo
Cooking Power.
NuWave PIC®
(Precision Induction
Cooktop)
Cook faster, safer,
and more efficiently
than you ever could
on your gas or
electric stovetop.

With the simple press of a button, the
NuWave Moxie can remove all the
excess air from the blender.
By vacuuming the air out of the
blender, you can ensure no air is
being mixed with your ingredients
during the blending process,
maximizing the nutritional value and
ensuring your blender creations will
remain fresh longer.
For more about our innovative products, visit:
NuWave BruHub®
Coffee Maker
NuWave Moxie®
High-Performance
Vacuum Blender
Quality and convenience at your
ngertips. The NuWave BruHub
accommodates virtually all of your
favorite single-serve pods, but
with more avor. Makes an 8- or
12-ounce cup and full carafe.
The thermal stainless steel carafe
keeps coffee hot for hours.

1-877-689-2838
www.nuwavenow.com
NuWave Duralon®Healthy Ceramic
Non-Stick Cookware
Coated with Duralon Healthy Ceramic
Non-Stick coating for easy cleanup, this
versatile cookware is perfect for use
in ovens or on gas, electric, and even
induction cooktops.

TABLE OF CONTENTS
OWNER’S MANUAL
Important Safeguards ............... 9-10
Additional Safeguards ..............11-12
Parts Description.......................... 13
Assembly Guide ........................... 14
Operating Instructions ............. 15-24
Care & Maintenance ............... 25-26
Troubleshooting ...................... 26-28
Limited Warranty ..................... 28-29
Breakfast
Baked Eggs in Hell ...................... 31
Homemade Granola .................... 32
Seafood
Baked Shrimp .............................. 34
Lemon Sesame Salmon............... 35
Crab Cakes
with Red Pepper Sauce ............... 36
Fish and Chips ............................. 37
Poultry
Roasted Chicken.......................... 39
Roasted Turkey Drumsticks ......... 40
Roasted Cornish Hen................... 41
Turkey Sliders .............................. 42
Baked Chicken Parmesan .......... 43
Beef
NY Strip ........................................ 45
Ribeye with
Roasted Mushrooms .................... 46
Flank Steak .................................. 47
Open-Faced Reuben Sandwich ... 48
Pork
Pork Shoulder Roast
with Potatoes ............................... 50
Baked BBQ Ribs ......................... 51
Vegetarian
Roasted Root Vegetables ............ 53
Roasted Brussels Sprouts ........... 54
Turmeric Roasted Cauliower ..... 55
Sweet Potato Fries....................... 56
Goat Cheese-
Stuffed Mushrooms ...................... 57
Baked Sweet Potatoes................. 58
Cajun-Roasted Potatoes .............. 59
Oven Baked Mac and Cheese ..... 60
Pizza
Margarita Pizza ........................... 62
Meat Lover's Pizza ...................... 63
Triple-Cheese Pizza ..................... 64
Dehydrate
Beef Jerky .................................... 66
Banana Chips .............................. 67
Candied Bacon ........................... 68
Croutons ...................................... 69
Sun-Dried Tomatoes .................... 70
Dried Apricots............................... 71
Baking
Buttery Dinner Rolls .................... 73
Italian Loaf ................................... 74
Frutti di Bosco .............................. 75
Dessert
Bread Pudding ............................ 77
Homestyle Peach Cobbler ........... 78
Chocolate Chunk Cookies ........... 79
Spanish
Manual ................................. 80-103

NOTE:
• NEVER Allow any food to touch the heating elements directly.
• Default temperatures, times, and rack positions are a guide. Adjustments
may need to be made to reach desired result.
• Fan speed is High (level 3) unless speed is adjusted. Dehydrate should be
the lowest fan setting (level 1).
12 Pre-Programmed Menus
Air Fry
• Default Temp: 360°F
• Default Time: 15 minutes
• Heat Source: High Fan (level 3)
• Rack Position: Position #1, 2, or 3
Broil
• Default Temp: 500°F
• Default Time: 10 minutes
• Heat Source: Top (100 percent)
• Rack Position: Position #1 or 2
Reheat
• Default Temp: 350°F
• Default Time: 10 minutes
• Heat Source: Top/Bottom
(100/100 percent)
• Rack Position: Any Position
Frozen
• Default Temp: 325°F
• Default Time: 20 minutes
• Heat Source: Top/Bottom
(100/100 percent)
• Rack Position: Position depends on
desired result.
Waffle
• Default Temp: 400°F
• Default Time: 4 minutes
• Heat Source: Top/Bottom
(100/100 percent)
• Rack Position: Position #2 or 3
Grill
• Default Temp: 400°F
• Default Time: 15 minutes
• Heat Source: Bottom (100 percent)
• Will have a preheat
• Rack Position: Position #1
Bake
• Default Temp: 350°F
• Default Time: 25 minutes
• Heat Source: Top/Bottom
(100/100 percent)
• Will have a preheat
• Rack Position: Position #2 or 3
Dehydrate
• Default Temp: 100°F
• Default Time: 2 hours
• Heat Source: Low Fan (level 1)
• Rack Position: Position depends on
desired result.
Roast
• Default Temp: 310°F
• Default Time: 25 minutes
• Heat Source: Top/Bottom
(100/100 percent)
• Will have a preheat
• Rack Position: Position #1
Toast
• Default Temp: 310°F
• Default Time: 3 minutes
• Heat Source: Top/Bottom
(100/100 percent)
• Rack Position: Position #2, 3 or 4
Pizza
• Default Temp: 450°F
• Default Time: 15 minutes
• Heat Source: Top/Bottom
(100/100 percent)
• Will have a preheat
• Rack Position: Position #2 or 3
• NOTE: Times & Temps will vary on
the size of the pizza.
Bagel
• Default Temp: 310°F
• Default Time: 3 minutes
• Heat Source: Top/Bottom
(100/100 percent)
• Rack Position: Position #2, 3 or 4

8Owner’s Manual
Measurement Chart
Teaspoon = t Fahrenheit = °F Minute = min
Tablespoon = T Celsius = °C Second = sec
Cup = C Fluid Ounces = oz Inch = in.
Ounce = oz Liter = L Dozen = doz
Pound = lb(s) Milliliter = ml Hour = hr
Quart = qt Package = pkg. Gram = g
Pint = pt Gallon = gal
Probe Preset Temp Guide
Beef Chicken Pork Seafood
Rare 125℉ 165℉ 145℉ 145℉
Medium-Rare 135℉
Medium 145℉
Medium-Well 150℉
Well 160℉

9
Owner’s Manual
IMPORTANT SAFEGUARDS
READ ALL INSTRUCTIONS
WARNING: When using the Bravo Smart Oven, basic safety precautions
should always be followed:
1. Do not touch hot surfaces. Use handles and oven gloves when removing
items from the Bravo.
2. Do not use the Bravo together with other electric appliance with high-power,
in case of overload.
3. To protect against risk of electrical shock, do not immerse the cord, plug,
or any part of the Bravo’s main unit in water or any other liquids, or touch
plug when hands are wet.
4. Always wear protective, insulated oven gloves when inserting or removing
items from the hot oven.
5. Do not place any cookware or dishes in the Bravo that are not oven safe.
6. Do not clean with metal pads.
7. Do not operate the Bravo with a damaged cord or plug, if the appliance
malfunctions, is dropped, or damaged in any manner. Contact Customer
Service at 1-877-689-2838 or email help@nuwavenow.com for information
on examination, repair, or adjustment.
8. Close supervision is necessary when any appliance is used near children.
The Bravo is not intended for use by children, persons with reduced
physical, sensory, or mental capabilities, or those with lack of expertise or
knowledge of this unit.
9. Do not let the cord hang over the edge of table or counter.
10. Do not let cord contact hot surfaces, including stovetop.
11. Place the Bravo on a surface that is horizontal, even, and stable.
12. Do not place on or near a hot gas or electric burner or on a heated oven.
13. Do not place the unit close to flammable materials, heating units,
or wet environments.
14. Do not place airtight containers in the Bravo.
15. Do not place plastic or rubber containers in the unit. Avoid using containers
made of any other material other than ceramic, glass, or metal in the unit.
16. Do not place paper, cardboard, plastic, or any other flammable materials on
the Bravo during use.
17. Use tinfoil to enwrap foods that produce oil or juice when operating and put
on the bake tray, to prevent fire.
18. Make sure tinfoil does not touch heating elements, to prevent fire.
19. Do not cover crumb tray or any part of the oven with metal foil. This will
cause overheating of the oven and may cause fire.
20. Do not alter or modify any part of the Bravo or use attachments or

10 Owner’s Manual
IMPORTANT SAFEGUARDS (Continued)
accessories not recommended by the manufacturer.
21. Do not cover any part of the oven with metal foil.
22. If excess smoke is escaping from the air vent during operation, unplug the
unit immediately and contact Customer Service at 1-877-689-2838 or email
help@nuwavenow.com.
23. Do not overfill the Bravo such that contents are touching heating elements
or blocking the fan.
24. During use, steam may be released from the air outlet vents.
Keep hands and face away from the air outlet openings. Be careful of hot
steam escaping when opening the Bravo.
25. Avoid placing face and eyes near the glass door during use.
26. Never touch the insides of the Bravo while it is operating.
27. Never leave the Bravo unattended during use.
28. The Bravo is intended for normal, household use. It is not intended to be
used in environments such as staff kitchens, shops, offices, or other work
environments. It is not intended for outdoor use.
29. Do not use the Bravo for anything other than its intended use.
30. Never put the Bravo against the wall or other appliances. There should be at
least 5 inches of free space behind, to the sides of, and on top of the Bravo.
31. Do not disassemble the unit.
32. Unplug the Bravo from the outlet when not in use or before cleaning.
33. Allow the Bravo to cool before putting on, taking off parts, or before cleaning.
WARNING
In case of other problems, unplug unit and contact
Customer Service:
1-877-689-2838 or email help@nuwavenow.com.

11
Owner’s Manual
ADDITIONAL SAFEGUARDS
Electrical Information
The Bravo Smart Oven is supplied with a short power cord to reduce
the risk of entanglement or tripping. Extension cords may be used if
care is exercised in their use. If an extension cord is used:
1. The marked electrical rating of the extension cord should be at least as
great as the electrical rating of the Bravo.
2. The longer cord should be arranged so that it will not drape over the
countertop or tabletop where it could be pulled on by children or tripped
over unintentionally. The Bravo should be operated on a separate
electrical outlet from other operating appliances due to wattage
limitations. Certain models of the appliances may have a polarized plug
(one blade is wider than the other). To reduce the risk of an electric
shock, this plug is intended to fit into a polarized outlet one way. If the
plug does not fit fully into the outlet, reverse the plug. If the plug still does
not fit properly, contact a qualified electrician. Do not attempt to modify
the plug in any way.
SEE CARE AND MAINTENANCE BEFORE USE
SAVE THESE INSTRUCTIONS
Read and understand the entire manual before using this appliance.
1. Amount of ingredients placed in the Bravo should comply with directions
listed under "Operating Instructions."
2. Do not move the unit while in operation.
3. Only after the Bravo has completely cooled down should you attempt to
move or handle it.
4. DO NOT attempt to use the Bravo to deep-fry any food as this is NOT its
intended use and may create a fire hazard.
5. Do not cover the Intake Air Vents or Exhaust Vents while the Bravo
is operating.
6. Always put the ingredients to be cooked on the appropriate baking sheet
(do not overfill) and do not allow food to come into direct contact with the
heating components.
7. Make sure the Bravo is always clean prior to cooking.
8. It is normal for some smoke to escape the unit when heating for the first time.

12 Owner’s Manual
9. Before removing the plug from the outlet, always turn the unit "OFF".
10. Always unplug power cord by pulling on plug, NOT the cord.
NOTICE: FAILURE TO FOLLOW ANY OF THE IMPORTANT SAFEGUARDS,
ADDITIONAL SAFEGUARDS, OR THE INSTRUCTIONS FOR SAFE USE IS A
MISUSE OF THE BRAVO SMART OVEN THAT CAN VOID THE WARRANTY
AND CREATE THE RISK OF SERIOUS INJURY.
ADDITIONAL SAFEGUARDS (Continued)
WARNING
Never use the Bravo with loose, damaged, or missing parts.

13
Owner’s Manual
Pull-Out Crumb Tray
Part #: 26801
2 Heavy-Duty
Cooking Racks
Part #: 26802
Enamel Baking Pan
and Enamel Broiler Rack
Part #: 26804
Chrome-Plated
Air Fry Basket
Part #: 26806
Oven Light
Part#: 26807
(inside Oven)
8
9
10
11
12
PARTS DESCRIPTION
Base
Handle
Digital Display Menu
Menu
Probe Input
Temperature Probe
Part #: 26808
Dial
Functions
1
2
3
4
5a
5b
6
7
1
23
4
5a 5b
6
7
8
10 11
9

14 Owner’s Manual
ASSEMBLY GUIDE
Parts
Air Fry Basket
Cooking Rack
Baking Pan/
Broiler Rack
Position 1
Position 2
Position 3
Position 4
1. Place the Bravo on a level, even, and stable
heat-resistant surface.
2. Slide the Cooking Rack(s) into either Position 1,
2, 3, or 4 of the Bravo.
3. Place Baking Pan with Broiler Rack on Cooking
Rack in Position 1.
4. Place the Air Fry Basket on top of Baking Pan.
It is recommended to use Air Fry Basket with
Baking Pan to optimize cooking results.
5. Place Crumb Tray into position by sliding it into
slot at bottom of Oven. To remove, push down
slightly and pull out.
6. Plug the appliance into a standard wall socket.
The power plug is located in the rear of the unit.
NOTE: Do not cover or block the intake air vents
located in the back and sides of the Bravo, as doing
so can prevent proper ventilation.

15
Owner’s Manual
START
PAUSE
Air Fry
Reheat
Waffle
Bake
Roast
Pizza
Broil
Frozen
Grill
Dehydrate
Toast
Bagel
Temp
Probe
MENU
SEAR FAN
LIGHT
PREHEAT WARM
DELAY
STAGE PROBE ON/OFF
TEMP/TIME
CLOCK
SEAR 1 2 TEMP TIME TOP BTM
PRE RDY WRM DLY PRB PM STG
TOP/BTM
OPERATING INSTRUCTIONS
ON/OFF & START/PAUSE:
1. Press "ON/OFF" once to turn the Bravo on. The unit will beep, the LED
display will show "350F" (default), TEMP, TOP, BTM, and the fan icon will be
display solid.
2. Press "START/PAUSE" to begin cooking. The unit will cook at 350°F for 10
minutes. This is the default setting.
• The LED display will show "00:10" and begin a countdown. TIME, TOP,
BTM, and fan icon will be backlit and ":" will flash.
• To adjust cooking temperature, turn the "START/PAUSE" knob toward
"+" (clockwise) to increase, or toward "-" (counterclockwise) to decrease
temperature in 5°F increments. Quickly turn the dial to adjust in larger
increments.
• To adjust cooking time, press "TEMP/TIME". The LED screen will display
"00:10" and TIME, TOP, BTM and fan icon will be solid. Turn the "START/
PAUSE" knob toward the "+" (clockwise) to increase, or toward "-"
(counterclockwise) to decrease time in 1-minute increments. Quickly turn
the dial to adjust in larger increments.

16 Owner’s Manual
OPERATING INSTRUCTIONS (Continued)
• Press "TEMP/TIME" to switch LED screen display between current
cooking temperature and time.
3. Press "START/PAUSE" once during cooking to pause.
• If the LED display is on cooking time when paused, it will show remaining
cooking time and TIME and ":" will be solid.
• If the LED display is showing cooking temperature, it will show TIME and
":" will be solid.
• During pause, only "START/PAUSE", "ON/OFF", and "LIGHT" buttons
will function.
4. Press "START/PAUSE" a second time to resume cooking. All symbols
in the LED display will be solid.
• The LED display will show remaining cooking time and continue
the countdown. TIME, TOP, BTM and the fan icon will be backlit and ":"
will flash.
• Both the cooking temperature and time can be adjusted during cooking by
pressing "TEMP/TIME" then turning the "START/PAUSE" knob to adjust.
CLOCK:
1. Setting the Clock:
• Press "LIGHT" and "DELAY" at the same time. The LED display will
show "00:00" and ":" will flash.
• Turn the "START/PAUSE" knob to set the clock. When the LED display
reaches "12:00", PM will be backlit.
2. Displaying Clock During Cooking:
• Press "LIGHT" and "DELAY" at the same time. The LED display will show
the current time.
• Time can be adjusted at this time.
• The clock time will remain on the LED display until the "START/PAUSE"
knob or any other button is pressed.
LIGHT:
Default – Light Off
1. Press "LIGHT" once to turn light on.
2. Press "LIGHT" a second time to turn light off.
FAN:
Default – Level 3, Full Speed
1. Press "FAN". The LED display will show "3" above STG and the FAN icon
will be solid.
• Press "FAN" to change fan speed.
• Fan speed can be adjusted during cooking by pressing "FAN".
2. To turn the fan off, press "FAN" until the FAN icon is no longer backlit.
This indicates the fan is no longer running.

17
Owner’s Manual
OPERATING INSTRUCTIONS (Continued)
3. Level of fan speed:
• Level 1 – 33.33% speed
• Level 2 – 66.67% speed
• Level 3 – 100% speed
TOP/BTM:
Default – Top 100%, Bottom 100%. This refers to the amount of heat
coming from the top and bottom heating elements.
1. Press "ON/OFF".
2. Press "TOP/BTM". LED display will show "100" and TOP will be solid.
Adjust the amount of heat coming from Top heating elements by turning the
"START/PAUSE" knob. Percentage will change in 10% increments.
3. Press "TOP/BTM" again. The LED display will show "100" and BTM will be
solid. Again, adjust heat with "START/PAUSE".
4. When Top and Bottom heat are chosen, press "START/PAUSE". The Bravo
will cook at programmed power.
NOTE: While using the Menu feature "Broil", the BTM power is not adjustable,
as the Broil function only uses the top heating elements.
TEMP/TIME:
Default – 350°F, 10 minutes
1. Press "TEMP/TIME" once, LED display will show "00:10" and TIME.
Press "START/PAUSE" to start cooking.
• Turn the "START/PAUSE" knob toward "+" (clockwise) to increase time in
1-minute increments. Quickly turn the dial to adjust in larger increments.
• Turn the "START/PAUSE" knob toward "-" (counterclockwise)
to decrease time in 1-minute increments.
• Quickly turn the dial to adjust in larger increments.
2. Press "TEMP/TIME" once. LED display will show "350F" and TEMP.
Press "START/PAUSE" to start cooking.
• Turn the "START/PAUSE" knob toward "+" (clockwise)
to increase temperature in 5°F increments. Quickly turn the dial
to adjust in larger increments.
• Turn the "START/PAUSE" knob toward "-" (counterclockwise)
to decrease temperature in 5°F increments.
• Quickly turn the dial to adjust in larger increments.
3. Press "START/PAUSE" to begin cooking.
4. The Bravo will beep 3 times and the LED display will show "End" when
cooking is finished.

18 Owner’s Manual
OPERATING INSTRUCTIONS (Continued)
NOTE:
• "TEMP/TIME" can be pressed to see the current cooking temperature and
current remaining cooking time.
• "START/PAUSE" knob can be turned in conjunction with pressing "TEMP/
TIME" to change cooking temperature and time during cooking.
• Cooking Time range for 100F~395F is 00:00 to 99:59 and 400F~450F is
00:00 to 01:00.
PREHEAT:
1. Press "ON/OFF". Adjust cooking temperature and cooking time.
• Turn the "START/PAUSE" knob toward "+" (clockwise) to increase
temperature in 5°F increments. Quickly turn the dial to adjust
in larger increments.
• Turn the "START/PAUSE" knob toward "-" (counter clockwise) to
decrease temperature in 5°F increments. Quickly turn the dial to adjust
in larger increments.
2. Press "PREHEAT". The LED display will show the set cooking temperature
and TEMP will be solid.
3. Press "START/PAUSE" to begin preheating.
• During preheating, the LED display will show the selected temperature
flashing along with the FAN icon, TEMP, TOP, BTM and PRE.
• When the preheat temperature is reached, the LED display will show "5"
TOP and BTM will be solid, and a 5-minute countdown will begin. RDY
will be backlit.
• The Bravo will beep to indicate oven has reached preheat temperature
and food is ready to be placed into oven.
• Carefully place food into the Bravo and press "START/PAUSE"
to begin cooking.
• If "START/PAUSE" is not pressed within the 5-minute countdown, the
Bravo will automatically turn off and display Clock Time.
NOTE: Cook Time and Cook Temperature cannot be adjusted during the
5-minute holding time after preheat temperature is reached.
DELAY:
Default 1 hour.
1. Press "DELAY". "01:00", TIME, and DLY will be displayed.
• Adjust delay time by turning the START/PAUSE knob toward the "+"
(clockwise) to increase time in 1-minute increments, or turning
the "START/PAUSE" knob toward the "-" (counterclockwise) to decrease
time in 1-minute increments.
• Quickly turn the dial to adjust in larger increments.
• Maximum delay time is 99 hours, 59 minutes (99:59).
2. Press "START/PAUSE" to begin delay time countdown.
• The set delay time will be displayed with countdown.

19
Owner’s Manual
OPERATING INSTRUCTIONS (Continued)
• TIME will be displayed solid in LED screen during the delay time
countdown. DLY and ":" will flash during the delay time countdown.
3. Once delay countdown is complete, the Bravo will begin cooking at set
cooking temperature and time (default is 350°F for 10 minutes).
Using DELAY with cooking function
Example #1 Delay cooking 40 minutes, Cook at 360°F for 20 minutes :
• Press "DELAY". Adjust time to 40 minutes (00:40).
• Press "TEMP/TIME". Adjust cooking temperature. Adjust temperature to
360°F ("360F").
• Press "TEMP/TIME" a second time to adjust time to 20 minutes (00:20).
• Press "START/PAUSE". The Bravo will delay for 40 minutes, then begin
to cook at 360°F for 20 minutes.
Example #2 Delay cooking 60 minutes, cook at 400°F for 10 minutes :
• Press "DELAY". Adjust time to 1 hour (01:00).
• Press "TEMP/TIME". Adjust cooking temperature to 400°F ("400F").
• Press "TEMP/TIME" a second time to adjust time to 10 minutes (00:10).
• Press "START/PAUSE". The Bravo will delay for 60 minutes, then begin to
cook at 400°F for 10 minutes.
NOTE:
• Delay will always be the first function executed by the Bravo.
• The Bravo will beep 3 times and the LED display will show "End" when
cooking is finished.
PRE-PROGRAMMED MENU FUNCTIONS
1. Press "ON/OFF".
2. Press "MENU". The LED display will show "360F" (default), the LED light next
to "Air Fry" will be lit, and TEMP, TOP, BTM and the fan icon will be solid.
3. Press "MENU" to choose desired menu. The LED display will change
depending on menu selected.
4. To change menu selection, press "MENU" until desired menu is selected.
5. Once desired menu is chosen, press "START/PAUSE" to begin cooking.
The cooking time will be displayed on the LED screen.
6. The Bravo will beep 3 times and the LED display will show "End" when
cooking is finished.
NOTE:
• Some menu functions require preheating. This step is pre-programmed into
each menu function that requires it. Preheat functions are "Bake", “Grill”,
“Pizza”, and “Roast”.
• Once preheat temperature is reached, the Bravo will beep, and the LED
display will show "5", and a 5-minute countdown will begin.

20 Owner’s Manual
OPERATING INSTRUCTIONS (Continued)
SEAR:
Default — 450°F, 5 minutes.
Sear 1: Sear 1 will ALWAYS be the stage BEFORE the regular cooking stage.
1. Press "ON/OFF".
2. Press "SEAR" once. The LED display will show "450F", TEMP and SEAR
will be backlit, and "1" will flash.
3. Press "START/PAUSE". The LED display will show SEAR 1, ":" will flash,
and TIME, TOP, and BTM will be backlit.
4. The unit will "SEAR" at 450°F for 5 minutes (SEAR 1), cook at 350°F for 10
minutes (default) the unit will beep 3 times and "End" will be displayed on
the LED screen, indicating cooking is complete.
NOTE: Regular cooking stage temperature and time can be adjusted by turning
the "START/PAUSE" knob after Step #1.
Default — 450°F, 5 minutes.
Sear 1 2:
1. Press "ON/OFF".
2. Press "SEAR" twice. The LED display will show "450F", TEMP and SEAR 1
will be backlit, and "2" will flash.
3. Press "START/PAUSE". The LED display will show SEAR 1 and ":" will
flash. TIME, TOP and BTM will be backlit.
4. The unit will "SEAR" at 450°F for 5 minutes (SEAR 1), cook at 350°F for
10 minutes (default), and “SEAR" again at 450°F for 5 minutes (SEAR
2). SEAR 2 and “:” will flash. Then unit will beep 3 times and "End" will be
displayed on the LED screen indicating cooking is complete.
Sear 2: Default — 450°F, 5 minutes.
1. Press "ON/OFF".
2. Press "SEAR" three times. The LED display will show "450F", TEMP and
SEAR will be backlit, and "2" will flash.
3. Press "START/PAUSE".
4. The unit will cook at 350°F for 10 minutes (default) and then unit will "SEAR"
at 450°F for 5 minutes (SEAR 2). Unit will then beep 3 times and "End" will
be displayed on the LED screen, indicating cooking is complete.
NOTE:
• Press "SEAR" four times to clear out the sear function.
• Maximum time for all sear functions is 5 minutes.
• Maximum temperature for all sear functions is 450°F.
Other manuals for Bravo XL
4
Table of contents
Languages:
Other NuWave Oven manuals

NuWave
NuWave BRAVO XL PRO User manual

NuWave
NuWave 20008 User manual

NuWave
NuWave 20902 User manual

NuWave
NuWave PRO SMART 20902 User manual

NuWave
NuWave PRO-SMART 38051 User manual

NuWave
NuWave 20902 User manual

NuWave
NuWave BRAVO XL PRO User manual

NuWave
NuWave Bravo XL User manual

NuWave
NuWave Bravo 20831 User manual

NuWave
NuWave Pro Plus User manual