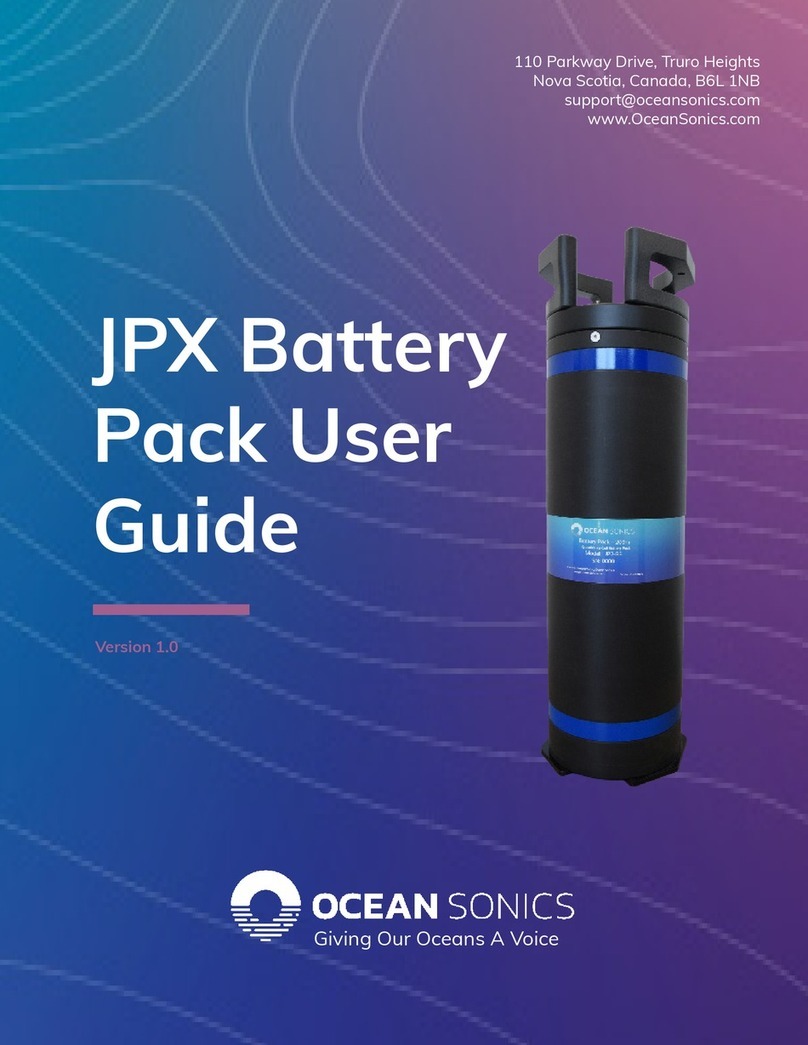
Ocean Sonics BP2-B1 User manual

FOR MODELS: BP2-B1, BP2-B3, BP9-B3, BP35-B3
BBPBP35-B3
Battery Pack User Guide
March 2020
Version 2.1

Battery Pack User Guide March 2020 P.1
Table of Contents
Introduction..............................................................................................................................................................2
Battery Pack Quick Start Guide.....................................................................................................................3
Opening the Battery Pack..............................................................................................................................3
Installing New Batteries .................................................................................................................................3
Closing the Battery Pack................................................................................................................................5
Locking the Handles.........................................................................................................................................6
Confirming Voltages ........................................................................................................................................6
Deployment..............................................................................................................................................................6
Recovery of the Battery Pack.......................................................................................................................7
Maintenance............................................................................................................................................................7
Anodes..................................................................................................................................................................8
Cleaning the Seal ..............................................................................................................................................8
Appendix A ..............................................................................................................................................................9
O-RING REPLACEMENT INSTRUCTIONS................................................................................................9
Appendix B ........................................................................................................................................................... 10
Webserver ........................................................................................................................................................ 10
Lucy ..................................................................................................................................................................... 10
Revision History
Version Name
#
Date
Battery Pack User Guide
1.0
August 2017
Battery Pack User Manual
1.2
March 2018
Battery Pack User Guide
1.3
March 2019
Battery Pack User Guide
2.0
January 2020
Battery Pack User Guide
2.1
March 2020

Battery Pack User Guide March 2020 P.2
Introduction
The Ocean Sonics Battery Pack is a submersible unit that
provides additional power to one or more hydrophones for long
term deployments. The pack uses a maximum of 72 D-cell
batteries that are field changeable and can provide power for
one hydrophone for 30-90 days. All battery packs are made of
lightweight glass fibre composite case. There are 3 types of end
cap materials for varying depth ratings of 200m (Engineered
Plastic), 900m (Anodized Aluminum) and 3500m (Titanium).
Above weights are for a 200 m depth rated battery pack. Weights will differ slightly
depending on depth rating, due to end cap material.
Number of days the
Battery Pack can
power hydrophones:
Number of
Channels
Alkaline
Lithium
1
30
90
2
15
42
3
10
26
4
7.5
19
The B3 model of Ocean Sonics Battery Packs
can be easily configured for the use with
alkaline or lithium batteries. Internally, each
cell stack is individually protected against
reverse bias; as well as the accidental
population of cells at different charge states.
Undervoltage and overvoltage detection
circuitry is also present. This circuitry is
integrated to assure the battery pack output
voltages are always within specification.
Specification
Alkaline
Lithium Primary
Nominal Voltage (range)
28 V (15 to 29)
22 V (18 to 25)
Battery Capacity
1500 Wh
4500 Wh
Depth Rating (extended)
200 m, 900 m, 3500 m
900 m, 3500 m
Weight Empty (in air)
16 kg
16 kg
Weight Full (in air)
26 kg appr.
23 kg appr.
Weight Full in Seawater
9 kgf appr.
7 kgf appr.
Overall Length
70 cm
70 cm
Outside Diameter
18 cm
18 cm

Battery Pack User Guide March 2020 P.3
Battery Pack Quick Start Guide
Opening the Battery Pack
1. Stand the battery pack upright.
2. Swing handles to release endcap.
3. Dry and clean the seal to ensure no water or dirt enters the interior.
4. Remove the inner assembly from the pressure housing.
Installing New Batteries
5. Loosen the 3 thumb screws on the contact plate Auntil it can be lifted from the
assembly.
6. Lift and remove the lower contact plate Afrom the assembly exposing the 12 battery
columns.
7. Check the battery type of your model Alkaline (BP1), Lithium (BP2) or
Alkaline/Lithium Selection (BP3).
A
B
A
A

Battery Pack User Guide March 2020 P.4
For Model BP3:
a) Confirm the ‘Battery Type’
selection switch is in the correct
position on contact plate B.
Other Models: If the model does not
allow for selection this switch will not be
present.
8. Install batteries in the correct orientation (seen below and on the sticker on contact
plate A). All batteries are installed in the same orientation with 6 D-Cell batteries in
each column.
_
Place Batteries as Shown
+
9. Installing batteries can be done by taking out all the foam inserts and filling each
individually. Or pushing the batteries down from the top, without taking out foam.
10. Replace the contact plate A.
11. Hand tighten thumb screws into place
(as seen on right). This should be done
with clean dry hands to avoid potential
minor shocks.
Ensure the screws are secure as they complete an electrical circuit.
Important: Ensure the batteries are the correct type for your battery pack
(alkaline/lithium) and that the switch is in the correct position prior to installation.
Do not mix battery types (i.e. different manufacturers or different battery chemistries).
Important: Ensure all batteries are installed in the same orientation.
Failure to do so can result in irreversible damage to the contact plate and battery pack.
B
A

Battery Pack User Guide March 2020 P.5
Closing the Battery Pack
12. Clean the O-Rings and ensure they are seated properly and not damaged.
(See Cleaning the Seal under Maintenance).
13. If you are redeploying the battery pack, check the anode (see Anode section below).
14. Return the inner assembly into the pressure housing with handles in open position.
15. Push down firmly until the end cap is fully seated to secure the inner assembly in
place. The handles should be able to close into place with ease.
16. Confirm if your model has a vent plug or pressure relief valve and follow the
appropriate steps below.
IF MODEL HAS A VENT PLUG
a. Close the vent plug for deployment.
Ensure the vent plug is in the closed position and fully
seated against the face of the end cap (as seen below).
The Vent Plug can be adjusted with the use of a flat head screwdriver or a coin.
Vent Plug: OPEN Vent Plug: CLOSED
IF MODEL HAS A PRESSURE RELIEF VALVE
b. Do NOT adjust the Pressure Relief Valve.
Manual venting is not required.
A pressure relief valve will automatically vent
to protect against accidental overpressure
from battery outgassing.
Pressure Relief Valve
Do not adjust.

Battery Pack User Guide March 2020 P.6
Locking the Handles
17. Secure the releasing arms in place
by passing cable ties through the
2 points noted in red circles.
18. Zip tightly and cut flush to the
cinch-point.
Confirming Voltages
A voltmeter should be used to confirm the proper voltage is being supplied to the exterior
bulkhead connector.
NOTE: If you have a Smart Recorder please follow Smart Recorder Guide.
1. Place the negative voltmeter lead (black) into pin 1 of the MCBH8F bulkhead
connector on the battery pack end cap for the common connection (pinout below).
2. Place the positive voltmeter lead (red) into pin 7 (pinout below).
Fresh Alkaline batteries should measure approximately 27-29 VDC.
Fresh Lithium batteries should measure approximately 21-25 VDC.
Deployment
The battery pack is now ready to provide power to your hydrophone(s) for your deployment.
[If you are deploying a battery pack with a Smart Recorder, please see the Smart
Recorder User Guide for setup instructions.]
1. Use the icListen Quick Start to setup icListen for deployment, set the time on the
hydrophone, sampling rates and duty cycling if needed (See Appendix B).
2. Once the hydrophone is recording or set to record in the future, unplug the hydrophone
from the test cable and connect to the battery pack.
3. The hydrophone can be plugged directly into the top connector on the battery pack
(most common with in-line battery pack frame) or into a cable connected to the top of
the battery pack.
MCBH8F Bulkhead Connector Pinout

Battery Pack User Guide March 2020 P.7
4. Prepare your equipment for your deployment ensuring the hydrophone element is
protected from the environment.
5. Deploy your hydrophone and collect data.
Recovery of the Battery Pack
1. After recovery, inspect for damage and vent the Battery Pack to equalize pressure*.
*if the model has a vent plug.
a. IF THE MODEL HAS A VENT PLUG:
Manual venting can be done with the use of the Vent Plug located on the face
of the end cap. The Vent Plug can be adjusted with the use of a flat head
screwdriver or a coin.
b. Slowly turn screw ¼ turn allow to vent and repeat until open.
c. IF THE MODEL HAS A PRESSURE RELIEF VALVE:
Do not adjust the Pressure Relief Valve. Manual venting is not required.
A pressure relief valve will automatically vent to protect against accidental
overpressure from battery outgassing.
2. Rinse Battery Pack with fresh water to clean.
3. Before opening follow ALL Maintenance procedures.
Maintenance
•The outside of the battery pack should be thoroughly rinsed with fresh water after
each deployment to remove saltwater and debris.
•The battery pack should only be opened when it is safe to do so in a clean
environment without the chance of water entering the inside of the tube.
•It is beneficial to dry the endcap before opening so
water does not drip into the tube.
•Push down on handles to open, but leave in place to
remove any water, dirt or debris that has built up
around the seal during deployment.
•O-rings and O-ring surfaces should be cleaned after
deployment and replaced if any abnormalities are
seen or felt (see Appendix A).
•Once the pack is opened, visually inspect batteries and tube for leaking or corrosion.
•The inside of the tube should always be kept clean and attention should be given
when battery pack is open.
Important: Venting must be done with extreme care, with vent plug facing away from face.

Battery Pack User Guide March 2020 P.8
Anodes
The 900-meter battery pack, BP9-B3, has anodes located on each end to minimize
corrosion. The battery pack anodes should be checked and replaced as required after every
deployment. It is important that anodes are monitored closely and are not fully consumed. If
the anodes are not maintained the battery may become damaged and cause catastrophic
failure resulting in a void warranty.
Ocean Sonics suggests replacing the anodes before 25% remaining. If the battery pack is
being deployed on a long deployment, it is recommended that you have fresh anodes.
The consumption rate of the anodes depends on many factors (salinity, temperature, water
currents, electrical leakage, etc.). After each deployment the anodes should be checked, and
the user can gauge this from previous deployments and adjust the replacement schedule as
required.
Please contact Ocean Sonics if you require more information on anode replacement or
replacement parts.
Cleaning the Seal
•Clean all O-rings and O-ring surfaces with ‘KimWipes’ or similar lint free tissues
•Inspect the O-rings to ensure they are seated properly and not damaged
•Inspect the O-rings surfaces to ensure they are not damaged
•Lubricate all O-rings and O-ring surfaces

Battery Pack User Guide March 2020 P.9
Appendix A
O-RING REPLACEMENT INSTRUCTIONS
1. CAREFULLY REMOVE USED O-RINGS AND BACKUP RINGS USING A PLASTIC O-RING PICK.
** CAUTION: USING METAL PICKS OR TOOLS CAN PERMANENTLY DAMAGE O-RING GROOVE **
2. THOROUGHLY CLEAN GROOVES IN END CAP USING LINT-FREE WIPES AND ISOPROPYL ALCOHOL.
3. INSPECT GROOVES FOR DAMAGE, SCRATCHES AND DEBRIS.
4. CAREFULLY CLEAN AND INSPECT NEW O-RINGS AND BACKUP RINGS PRIOR TO INSTALLATION.
5. APPLY MOLYKOTE 44 O-RING LUBRICANT OR EQUIVALENT TO O-RINGS AS PER MANUFACTURER’S PROCEDURE.
6. INSTALL O-RINGS AND BACKUP RINGS AS SHOWN IN FIG. 1.
** CAUTION: FAILURE TO INSTALL RINGS AS SHOWN WILL ALLOW WATER LEAKAGE INTO CASE **
7. CLEAN AND INSPECT O-RING SEALING SURFACE IN PRESSURE CASE.
8. APPLY MOLYKOTE 44 TO SEALING SURFACE PRIOR INSTALLING END CAP.

Battery Pack User Guide March 2020 P.10
Appendix B
Webserver
1. Open Marco
2. Double click on hydrophone serial number to open webpage
3. Go to Data →Retrieve Page
4. Ensure all previously recorded data is deleted from the hydrophone so the maximum
amount of data can be recorded during the deployment
5. Under Operations →Set Time from computer
if hydrophone is not showing correct date/time set using the computer
6. Under Settings Tab →Data Collection
7. Choose appropriate settings
a) WAV Sampling
b) Spectrum FFT Sampling
c) Duty Cycling / Enable Delay if applicable
8. Click Apply and wait for page to load completely
9. Verify settings and that all changes performed on webserver have remained
10. Disconnect unit and connect to Battery Pack
Lucy
1. Connect to icListen on Lucy
2. Ensure all previous data has been deleted from hydrophone so maximum amount of
data will be recorded
3. Click on icListen icon (clipboard) at the bottom right of Lucy display (Setup).
4. Under Link Setup click on Instrument Time (UTC) Set Using PC.
5. Under icListen HF Setup tab
-Setup sampling for WAV and FFT data
-Click Apply
6. Disconnect hydrophone from test cable and connect to Battery Pack
This manual suits for next models
3
Table of contents
Other Ocean Sonics Batteries Pack manuals