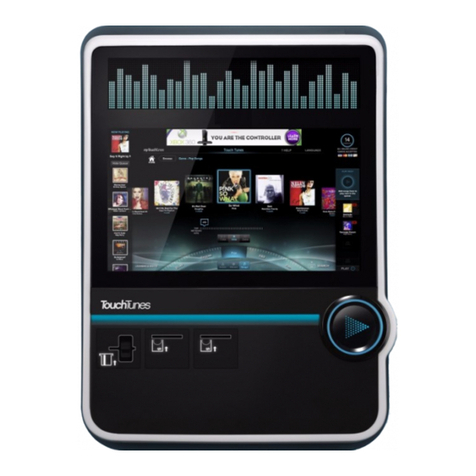
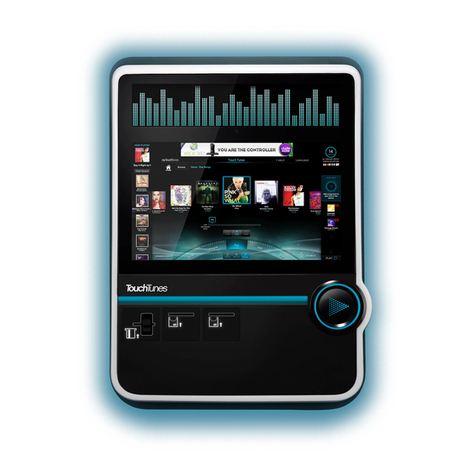
Octave TouchTunes User manual

Purpose
This document explains how to replace the touchscreen glass on a Virtuo jukebox that is using a 27" display.
The procedure in this manual applies to monitors with the following part numbers:
• P/N 300955-001
• P/N 300955-002
There is a P/N label on the back of each monitor to distinguish between models. The procedure will indicate
where steps differ between models.
Topics
•Required Tools and Equipment
•Included in the Kit
•Important Safety Information
•Replacing the Touchscreen Glass
•Contacting Technical Support
NOTE For the remainder of this document, the name Virtuo refers to both Virtuo and Virtuo II
jukeboxes as this FRU kit (P/N 600254-001) is compatible with both jukebox models.
Audience
• TouchTunes Virtuo jukebox operators and
technicians
• TouchTunes field service and customer support
Estimated Time
30 minutes
Required Personnel
1 technician, 1 assistant
This document includes tasks of the following
types:
Software
Mechanical
Electrical
FRU Installation Guide
Replacing Virtuo Jukebox Touchscreen Glass
April 2020
900975-001
Rev 01

2 Replacing Virtuo Jukebox Touchscreen Glass
Required Tools and Equipment
Required Tools and Equipment
To perform the steps in this installation, the following tools and equipment are required:
• Cross-head screwdrivers, #1 and #2
• Precision flat blade screwdriver or similar tool
• Protective gloves for handling the glass (in case of broken glass)
• Vacuum cleaner (in case of broken glass or debris)
• Anti-static wrist strap
• Torque-limiting screw and nut driver and metric 7 mm socket. Do not use a standard ratchet, which can lead
to over-torquing. Aregularnutdriver(with7mmsocket)canbeused,aslongasyouavoidover-torquingwhen
tightening the nuts and screws.
Included in the Kit
Ensure that you have received all required parts before proceeding with this installation.
Important Safety Information
Replacing the Touchscreen Glass
1 Press the MNGR button on the I/O Board to open the Operator interface main menu.
2 On the Virtuo screen, press the REBOOT button.
Part Quantity Part Number (P/N)
MON, REPL TS GLASS, SENTONS, 27" 1 300956-001
SUB, CTRL, TOUCH, SENTONS 27" 1 300958-004
MAN, (this document) 1 900975-001
WARNING: When performing this procedure or any other maintenance on your jukebox, the
jukebox must be powered off and its electrical power disconnected.
IMPORTANT: A properly-grounded anti-static wrist band should be worn at all times during the
procedure presented in this document.
CAUTION: The touch screen glass weighs approximately 25 lbs. Enlist the help of an assistant
when installing the replacement glass.
CAUTION: Use care when handling the glass being replaced, as it can contain sharp and
broken pieces. Use care when handling the replacement glass to prevent debris, markings and
fingerprints from contacting the interior surface of the glass and the face of the monitor.

3Replacing Virtuo Jukebox Touchscreen Glass
Replacing the Touchscreen Glass
3 When you hear the BIOS beep, power down Virtuo by setting the rocker switch on the power strip to the off
(O) position.
4 Unplug the AC power cable from the wall socket.
5 Disconnect all of the connectors from the bottom of the display (this includes power, serial, and DVI).
Remove connections from bottom of the touchscreen monitor (300955-001 monitor model shown)
IMPORTANT: Never shut down or unplug Virtuo without first performing a reboot and waiting for
the BIOS beep. Doing so can cause damage to the hard drive and make it unusable.

4 Replacing Virtuo Jukebox Touchscreen Glass
Replacing the Touchscreen Glass
6 Disconnect the cables that connect to the LED array to facilitate access to the touchscreen monitor and glass.
Connections on the LED Array
7 Mark the level where the camera is currently installed. This should be done to ensure that the camera will be
at the same level when you re-install it later in this procedure.
8 The touchscreen is secured to the inside of the door with 10 nuts fastened to studs on the rear of the unit,
and is removed by lifting it away from the exterior of the Virtuo jukebox. Using a torque-limiting nut driver,
remove the nuts that secure the touchscreen glass and monitor to the Virtuo front door, starting with the two
nuts that hold the camera in place. Follow the numbered sequence shown in the following figure for removing
the nuts. The numbered sequence follows an X pattern.
Sequence of nuts to remove (300955-001 monitor model shown)

5Replacing Virtuo Jukebox Touchscreen Glass
Replacing the Touchscreen Glass
After the nuts that held the camera have been removed (items 1 and 2 in the previous figure), set the camera
aside while you install the replacement glass.
Set aside all the nuts you remove as you will be re-using them later. Do not lose the nuts as there are no
replacement nuts in the kit.
9 Loosen the screws on the brand bar. Do NOT remove them. This is to ensure that you can safely remove the
monitor/glass assembly without damaging it.
10 With one hand positioned on the bottom rear of the monitor and the other supporting the glass and monitor
from the front, gently push the unit forward and lift it out and away from the Virtuo door.
Remove touchscreen monitor and glass from Virtuo (300955-001 monitor model shown)
IMPORTANT: Before you remove the final (top-middle) nut, ensure that you or an assistant is
holding the glass in place from the front.

6 Replacing Virtuo Jukebox Touchscreen Glass
Replacing the Touchscreen Glass
11 Lay the touchscreen glass and monitor face-down on a flat surface that is preferably covered with a soft cloth
or other padding that will prevent damage to the glass and monitor.
12 Remove the 4 screws that hold the back cover of the monitor in place. These are on the top and bottom of
the cover.
Remove cover screws (300955-002 monitor model shown)

7Replacing Virtuo Jukebox Touchscreen Glass
Replacing the Touchscreen Glass
13 For monitor model 300955-002, remove the 2 screws that hold the small metal cover in place at the top of the
monitor. Set the cover and screws aside to be re-installed later.
Remove top metal cover for monitor model 300955-002

8 Replacing Virtuo Jukebox Touchscreen Glass
Replacing the Touchscreen Glass
14 For model 300955-001 before removing the screws in the next step, 2 additional cables must be unplugged:
the backlight ctrl cable (highlighted in red in the following figure) and the LVDS video cable (highlighted in
green in the following figure). For the backlight ctrl cable, you must remove the aluminum tape before it is
unplugged. Set the tape aside for later re-use.
Monitor model 300955-001 cables to remove

9Replacing Virtuo Jukebox Touchscreen Glass
Replacing the Touchscreen Glass
15 Remove the 4 screws that hold the monitor to the touchscreen glass. These are on either side of the monitor
and glass.
Remove monitor screws (300955-001 monitor model shown)
For the 300955-001 model, once these four screws (highlighted in yellow in the following figure) have been
removed, the bracket and LCD panel come apart from each other. These 2 parts must be re-installed separately
later in this procedure.
300955-001 model bracket and LCD panel

10 Replacing Virtuo Jukebox Touchscreen Glass
Replacing the Touchscreen Glass
16 Pull off the back cover and set it aside for later.
17 Delicately pull off the pieces of Kapton tape indicated in the following figure so that the ribbon cable can be
detached from the monitor control board. Set this tape aside as you will be re-using it in a moment.
Remove Kapton tape
IMPORTANT: From this point on, and until the back cover has been screwed back on, an anti-
static wrist strap should be worn while manipulating the monitor’s internal electronics, to avoid
electro-static discharges which could damage the delicate electronics.
Other manuals for TouchTunes
1
This manual suits for next models
2
Table of contents
Other Octave Jukebox manuals
