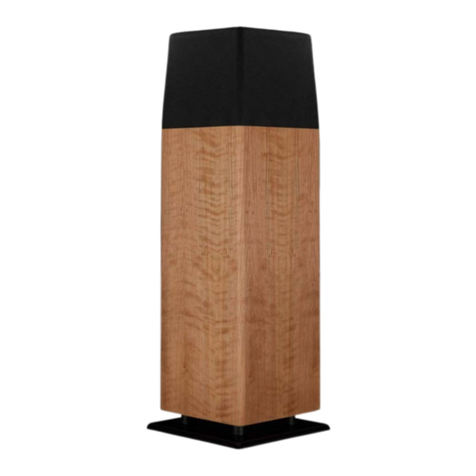
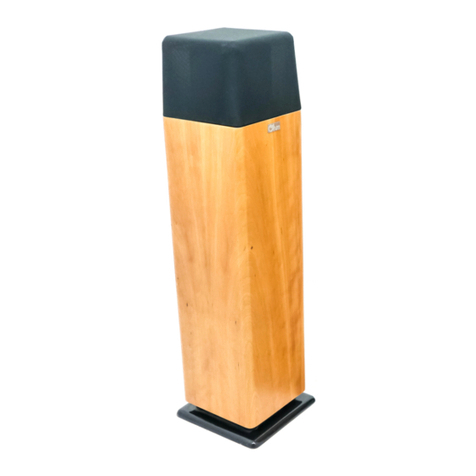
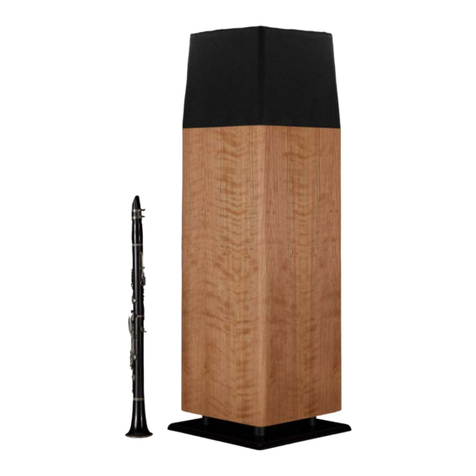
Ohm Acoustics 20/20K Series Guide

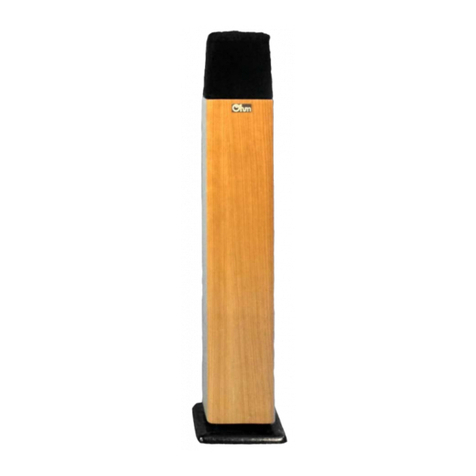
20/20K Walsh Speakers with
Xtreme Xcursion Subwoofers
F-5015
Super Walsh 5.5015
(not pictured)
Super Walsh 4.4012
Super Walsh 3.3010
Dimensions (w x l x h)
18 x 18 x 45”
17” x 17” x 43”
15.5” x 15.5” x 40”
13” x 13” x 36”
Power Handling
100-400 W
100 - 400 W
50 - 350 W
40 – 300 W
Impedence (typical)
6 Ω
6 Ω
6 Ω
6 Ω
Frequency Response
16 Hz to 20 kHz
16 Hz to 20 kHz
20 Hz to 20 kHz
20Hz to 20kHz
Sensitivity @ 2.8 V
87dB
87dB
88dB
88 dB
Max Listening Distance
38’
38’
33’
25’
Recommended Room Size
800-11000 cu ft
800-11000 cu ft
4500-9000 cu ft
2400-6000 cu ft
Amplifier Power
(Subwoofer Section)
500 W per channel
500 W per channel
500 W per channel
500 W per channel
Congratulations! You are now the proud new owner of an Ohm 20/20K Series Walsh speaker!
Following are the instructions for installation. Please read this manual carefully and understand its contents before you
proceed. It will take some experimenting with room placement to optimize the performance in your home. Do this at
your leisure with a variety of material. No one set-up is best for all rooms.
Hookup
The 20/20K Series Walsh Speaker is comprised of two sections: an upper section consisting of a Walsh driver, which is
crossed over to at 80Hz to the lower section, consisting of an Xtreme Xcursion subwoofer and a dedicated 500-Watt
plate amplifier. You will note that each section has a dedicated input: the upper section is connected by way of two
gold-plated binding posts located above the plate amp, which has line-level and high-level inputs for the lower section.
Ohm Acoustics Corp.
76 Degraw Street
Brooklyn, NY 11231
ohmspeaker.com

If you have the F-5015 model, these sections will come packed separately, and you will have to place them together.
Note that there is a left and a right channel, since they are asymmetrical. The gold-plated binding posts should be in the
back of the enclosure, and the sticker under the grill frame that reads “Aim Toward Center of Room” should be on the
side of the speaker closer to the other one.
A note on connecting the subwoofer section:
The Subwoofer section is equipped with both High-level (speaker level) and Line-level (RCA/preamp level) inputs. If
your amplifier/home theater receiver has line-level subwoofer output(s), this hook-up method is greatly preferred,
since it has the distinct advantage that you can use the set-up on your receiver. For this hook-up method we strongly
recommend using RCA cables with gold plated terminals, since these will never oxidize and introduce noise into your
signal path.
If your amplifier/home theater receiver does not have any line-level subwoofer out, you will have to use the same high-
level (speaker level) output that goes to your mains. In order to use this hookup method, you will need extra cables to
jump the signal from the input of your subwoofer section to the input for the main section. You may find it convenient
to use banana plugs for the terminals on one wire and spades for the terminals on the other wire so that a secure
mechanical connection can be made from different sides of the binding post.
Connecting your speakers using Line-Level Subwoofer Input
If your amplifier/home theater receiver has two subwoofer outputs, connect the output of each of these channels to the
same channel “Line in” input on the corresponding (left or right) subwoofer. Proceed to the section on setting the
controls on the back of your subwoofer.
If your amplifier/home theater receiver has only one subwoofer output, you will need to split the signal by means of a
Y-shaped RCA cable. Feed this mono output to the “mono” input on each of your subwoofers.
Connect the upper section of your speakers using the gold-plated binding posts located physically above the plate
amplifier. Connect the red/positive terminal on the back of your speaker to the red/positive terminal on the
corresponding (front left/right) channel on the back of your amplifier/receiver. Note that one of the wires on a
standard speaker cable is ridged, printed, or colored. This wire should be run to the positive channel. It is crucial that
you follow this same procedure for both channels, or your system will play out of phase.
If you are using a home theater receiver/processor, make sure your front speakers are set to “small” and crossed over at
80Hz, as per the owner’s manual for your receiver/processor.
Connecting your speakers using the High-Level Subwoofer Input
If your amplifier/receiver does NOT have line-level speaker outputs, using speaker wire, connect the left and right
speaker outputs on your amplifier/receiver to the upper section of the corresponding speakers. These are the binding
posts located physically above the plate amplifier. Then, also using speaker wire, connect the SAME binding posts to the
corresponding channel on the “High level in” on your plate amplifier. Be sure to connect the colored or striped wire
(positive) to the red/positive terminals on your amplifier/receiver, AND both plate amplifiers, AND both upper
sections. Otherwise, the system will play out of phase.
If you are using a home theater receiver/processor, make sure your front speakers are set to “large”, as per the owner’s
manual for your receiver/processor.
CAUTION!
The Xtreme Xcursion subwoofer is capable of playing at very high levels, which may cause high levels of vibration. You are
advised to choose a type of terminal that makes a very secure mechanical connection to the binding posts, as a loose
connection is liable to shake itself out under these extreme conditions.
WARNING!
To avoid damage to your speakers, make sure that you have your amplifier/receiver as well as your subwoofer plate amplifier
unplugged and switched off, with the volume controls turned all the way down while you are hooking up your speakers.

Placing the loudspeakers in you listening room:
The Ohm Walsh speaker is designed asymmetrically, so that when properly positioned in the room, they will produce
sonic mirror images. No matter where you choose to place your loudspeakers, make sure that the stickers under the
cloth grill frame that read “aim toward center of room” are aimed toward the center of the room, and that they can “see”
each other.
The Ohm Walsh driver’s wide dispersion and special method of sound transduction produce excellent stereo imaging
when the loudspeakers are placed 25% of the way in from the side walls and 8-20” from the front wall. The
loudspeakers should never be farther from each other than they are from the listener. As a general rule, the distance
between the loudspeakers will determine the apparent width of the sound stage. Individual experimentation will
determine just how wide you would like the stereo spread in your listening room to be.
Placement of the loudspeakers in relation to wall surfaces affects bass performance. The closer the loudspeaker is to a
wall or corner, the louder the output will be in the range below 150 Hz.
Bringing the speakers away from the front wall will also affect the apparent height of the stereo image. We do not
recommend placing the speakers more than two feet away from the front wall. For best imaging, the front wall should
be reflective and dispersive – not absorptive.
If you want more treble, rotate the speakers outward. If you want less treble, rotate the speakers inward.
Setting the switches on the back of the 5000 driver:
On the back of your 5000 driver, you will find a plate with four switches. These basically function as a four-band
equalizer. Moving them up increases the amplitude of the affected frequency area and moving them down decreases the
amplitude. However, rather than telling our customers to look at them like they would an equalizer, we gave them the
titles — Room Size, Room Position, Perspective and Treble — to help the listener to get the most benefit out of each
control. Of course, every room is different, so, even once the switches are set in the position that would seem to be
correct for your set up, it is still important to experiment until you achieve the balance that sounds the best. Some
customers leave all the switches in a straight line and don’t bother adjusting or experimenting with any of them; it is
important to note that just because the switches form a straight line doesn’t mean that the frequency response will
sound the flattest in your room. This is because some controls have greater ranges than other controls. We try to not
make them have any positions that sound bad.
The Room Size switch (the one on the far left) affects the lowest frequencies your speaker reproduces (up to about
80 Hz). This switch is the most important reason why the 5000 is our most versatile speaker: it can be adjusted to
sound good in any size room. The walls, floor and ceiling act as acoustic mirrors and each can double the energy in your
room at the lowest frequencies. This effect is known as wall-coupling. If the walls are very close together, the effect can
be overwhelming (just as car stereos can often have too much bass since a car is a very small room). On the other hand,
if the walls are very far apart, the music may sound a little thin. Set this to the size of your room (if your room is 800-
2000 cu ft, try small; 1500-5000 try medium, and over 4000 try large) and adjust to taste from there.
The Room Position switch affects the mid-bass. (~60-150 Hz) Here, too, wall-coupling impacts the performance of
your speakers. In this case, the distance of the speaker from the wall changes the highest frequency where this coupling
starts to take effect. This switch is designed to eliminate heaviness from this effect when it gets into the lower vocal
range. This offers the listener more speaker placement possibilities. Of course, the distance from the wall will still
influence the imaging, particularly the apparent sonic height. The wall behind the speakers needs to be acoustically
reflective or dispersive, and the switch isn’t a substitute for that. It is also crucial to have a clear line of sight between the
two driver assemblies. Moving the switch down is a little like moving the speaker away from the wall: it will reduce high
bass “boominess”.
The Perspective switch operates mainly in the vocal range (From 130 to 3000 Hz). This is particularly noticeable with
female voices. Put on some music with a female singer and sparse accompaniment. When listening from the sweet-
sweep, turn the switch up, and she will appear to move forward. Turn the switch down, and she will move back toward
the wall. This switch should be adjusted to taste.
Finally, the Treble, (operating in the range above 3000Hz). It affects only the overtones on most things. The result is a
little more or less “airiness”. Also, older listeners, like me, and especially males, have hearing that is probably less
sensitive in these frequencies. Turning this switch up can help. By way of contrast, young girls often have very sensitive
hearing in this range. For them, or just for listening to very bright sounding recordings (perhaps with lots of crash
cymbals, or an old record with a lot of hissing and popping), turning this switch down may make the music seem less
strident, and more enjoyable. This switch is also useful in adjusting balance for the impact that your room’s decor has
on the sound. High carpet, heavy drapes, books, and overstuffed furniture tend to absorb a lot of sound in the treble and
make voices sound muted. Turn the switch up to compensate. Similarly, if the room has cement floors, bare drywall,
hard chairs, and no curtains on the windows, the voices may be a bit harsh need some attenuation. Turn this switch
down.
Setting the Subwoofer Controls:
At this time, double check to make sure that your amplifier/receiver is powered down and has the volume turned all the
way down, and that your subwoofers are switched off and have all three knobs turned all the way to the left. Plug in your
subwoofers. Turn on your amplifier/receiver, switch on your subwoofers, turn on some music with some bass and
slowly turn up the volume until you have some signal going through your main speakers.
Leaving the “crossover” dial turned all the way down, slowly roll up the volume on your subwoofers until you can hear
them playing.
Phase control:
Listening from your normal position, turn on some music with punchy bass transients. Tom toms, timpani, and other
deep, resonant drums are especially good for this. Be sure that both subwoofers have the phase set to the same position
at the beginning of this test. Listen to one cut long enough to get a feel for how the bass sounds, then get up and reverse
the phase on the back of your subwoofers. Go back to the beginning of the same cut you just listened to. In one of the
two positions, a phase cancellation will be occurring between the upper and lower sections of your speakers, resulting in
a perceived lack of power in the bass. Note which one feels stronger, then go back and listen to the same cut with the
phase dialed in halfway between the two settings you just listened to. If you hear an improvement, repeat this process
until you can no longer hear a difference. The setting where the bass feels strongest is the correct position. If you are
not sure, go back and try the test again from the beginning with some different material.
From this point, you will probably not have to make any major adjustments to the settings on the back of your
subwoofers, but you can always adjust for taste. If your home theater receiver has a smart setup feature, try listening to
your subwoofers without it for a while before you use it. You may prefer the way they sound without the extra
processing. Remember to experiment!
If you have any questions, give us a call!
Toll free: 800-783-1553
Outside the US call: 718-422-1111
Good Listening!
John Strohbeen
President, Ohm Acoustics Corp.
CAUTION!
Although your Ohm Walsh driver has been rated to be used with very big amplifiers, it is possible to damage your
loudspeakers with smaller units. Heavily compressed music such as most kinds of rock, dynamic peaks in classical
music, accidentally dropping the tone arm onto the record, or connecting devices into a live signal path can produce an
inordinate amount of distorted power (as much as ten times the rated amount!) which is fed directly to the
loudspeaker, and could lead to permanent damage.
WARNING!
DO NOT remove the perforated metal can that encases the driver. The design of the Ohm Walsh driver incorporates
several critically placed transmission blocks. This acoustically transparent perforated metal can has been permanently
bonded to its housing to protect precise alignment and performance by these blocks. Removal or damage of the can
will seriously impair performance and void the warranty.
This manual suits for next models
4
Other Ohm Acoustics Speakers manuals

Ohm Acoustics
Ohm Acoustics Walsh 5000 User manual

Ohm Acoustics
Ohm Acoustics Walsh 1000 User manual

Ohm Acoustics
Ohm Acoustics Walsh 3 User manual

Ohm Acoustics
Ohm Acoustics Walsh 3000 User manual

Ohm Acoustics
Ohm Acoustics Walsh 2000 User manual

Ohm Acoustics
Ohm Acoustics MicroWalsh User manual

Ohm Acoustics
Ohm Acoustics Walsh 4000 User manual