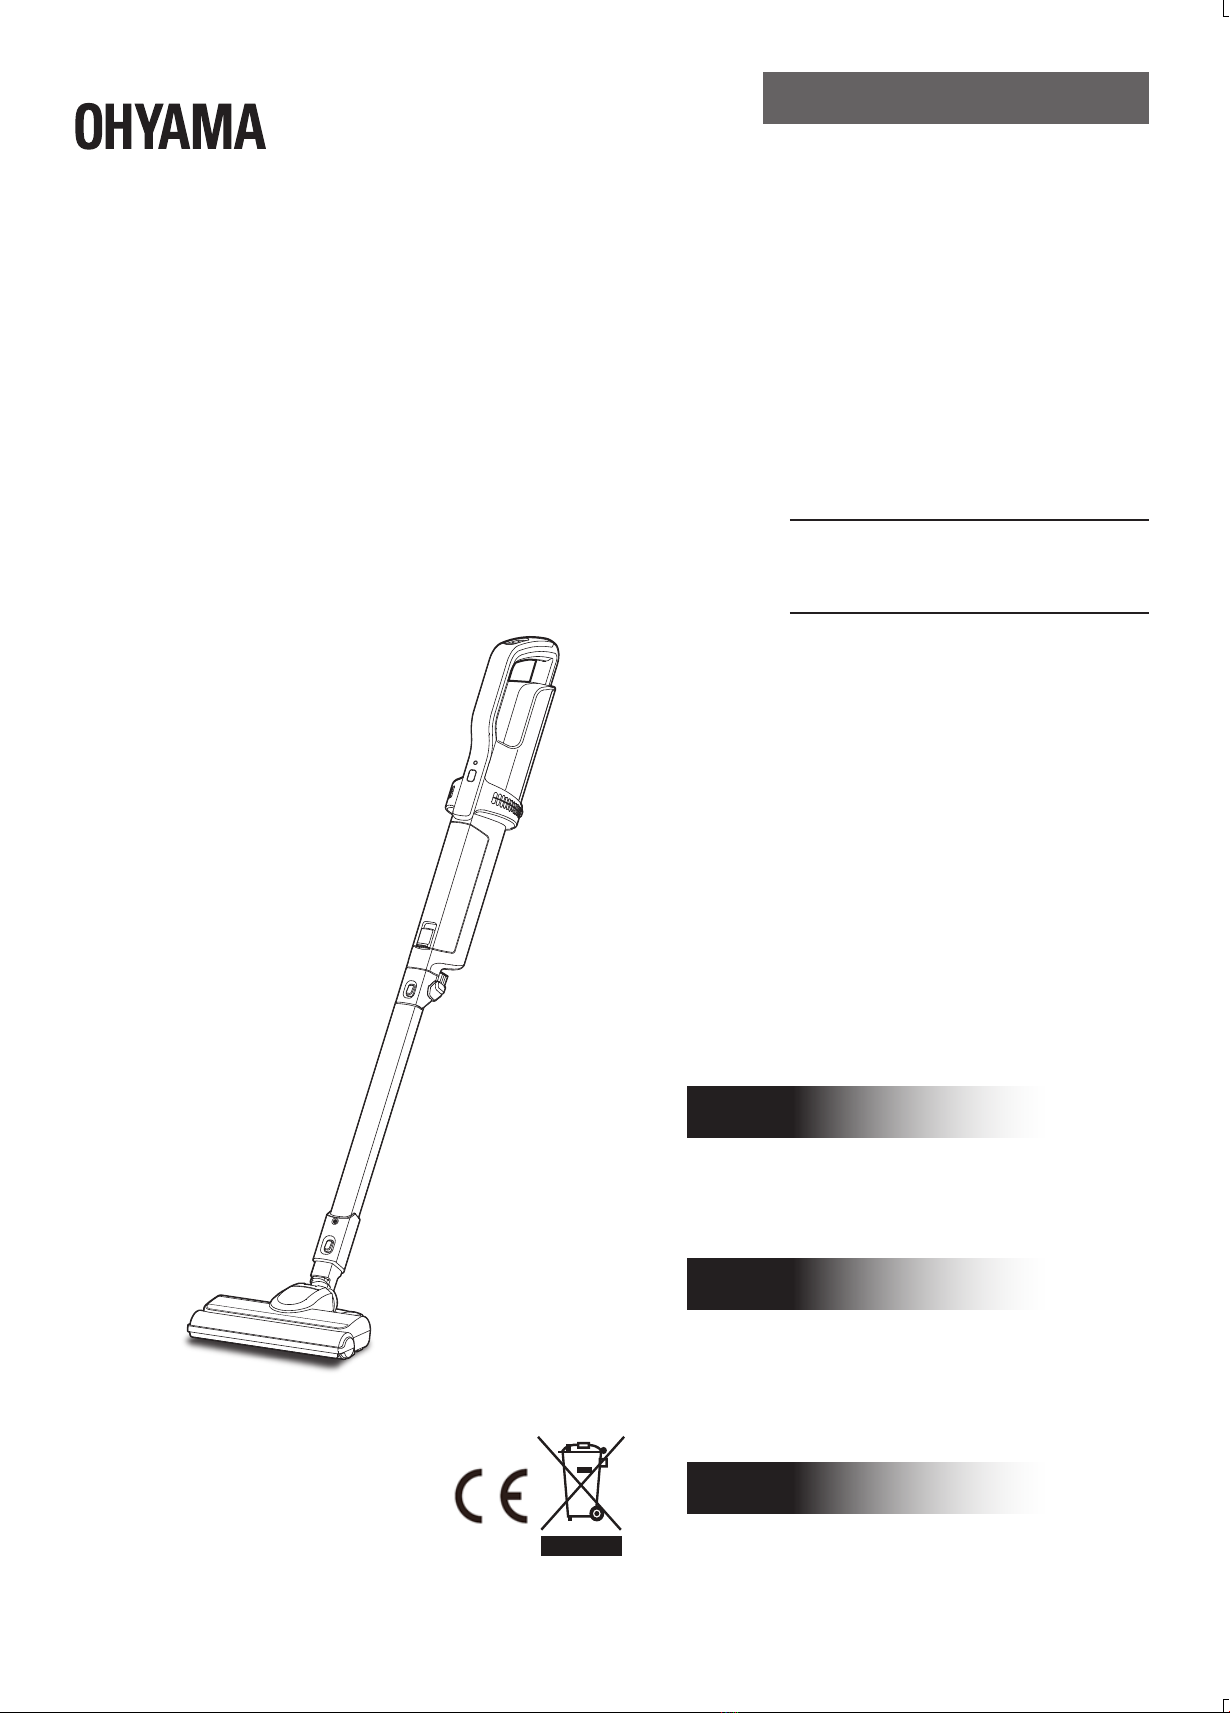
2
Safety precautions
Please read the “Safety Precautions” carefully before use so as to use the product properly. In order to avoid injury to you and others as
well as unnecessary property damage, the Safety Precautions here will be illustrated through two levels of “warning” and“notice”, which
are important contents on safety precautions to be strictly observed.
Danger The symbol means matters which may lead to
death or serious injury during faulty operation.
Pull off
●In case of any abnormality, stop using
the product immediately
Otherwise it may cause smoke, fire and electric
socket.
〔Examples of abnormalities〕
• Smell of scorching or abnormal sounds
while running
• Abnormal heating of the charger
➡Under the above circumstances, please stop
the use immediately and contact the sales
shop or Iris Ohyama Europe B.V. customer
service center.
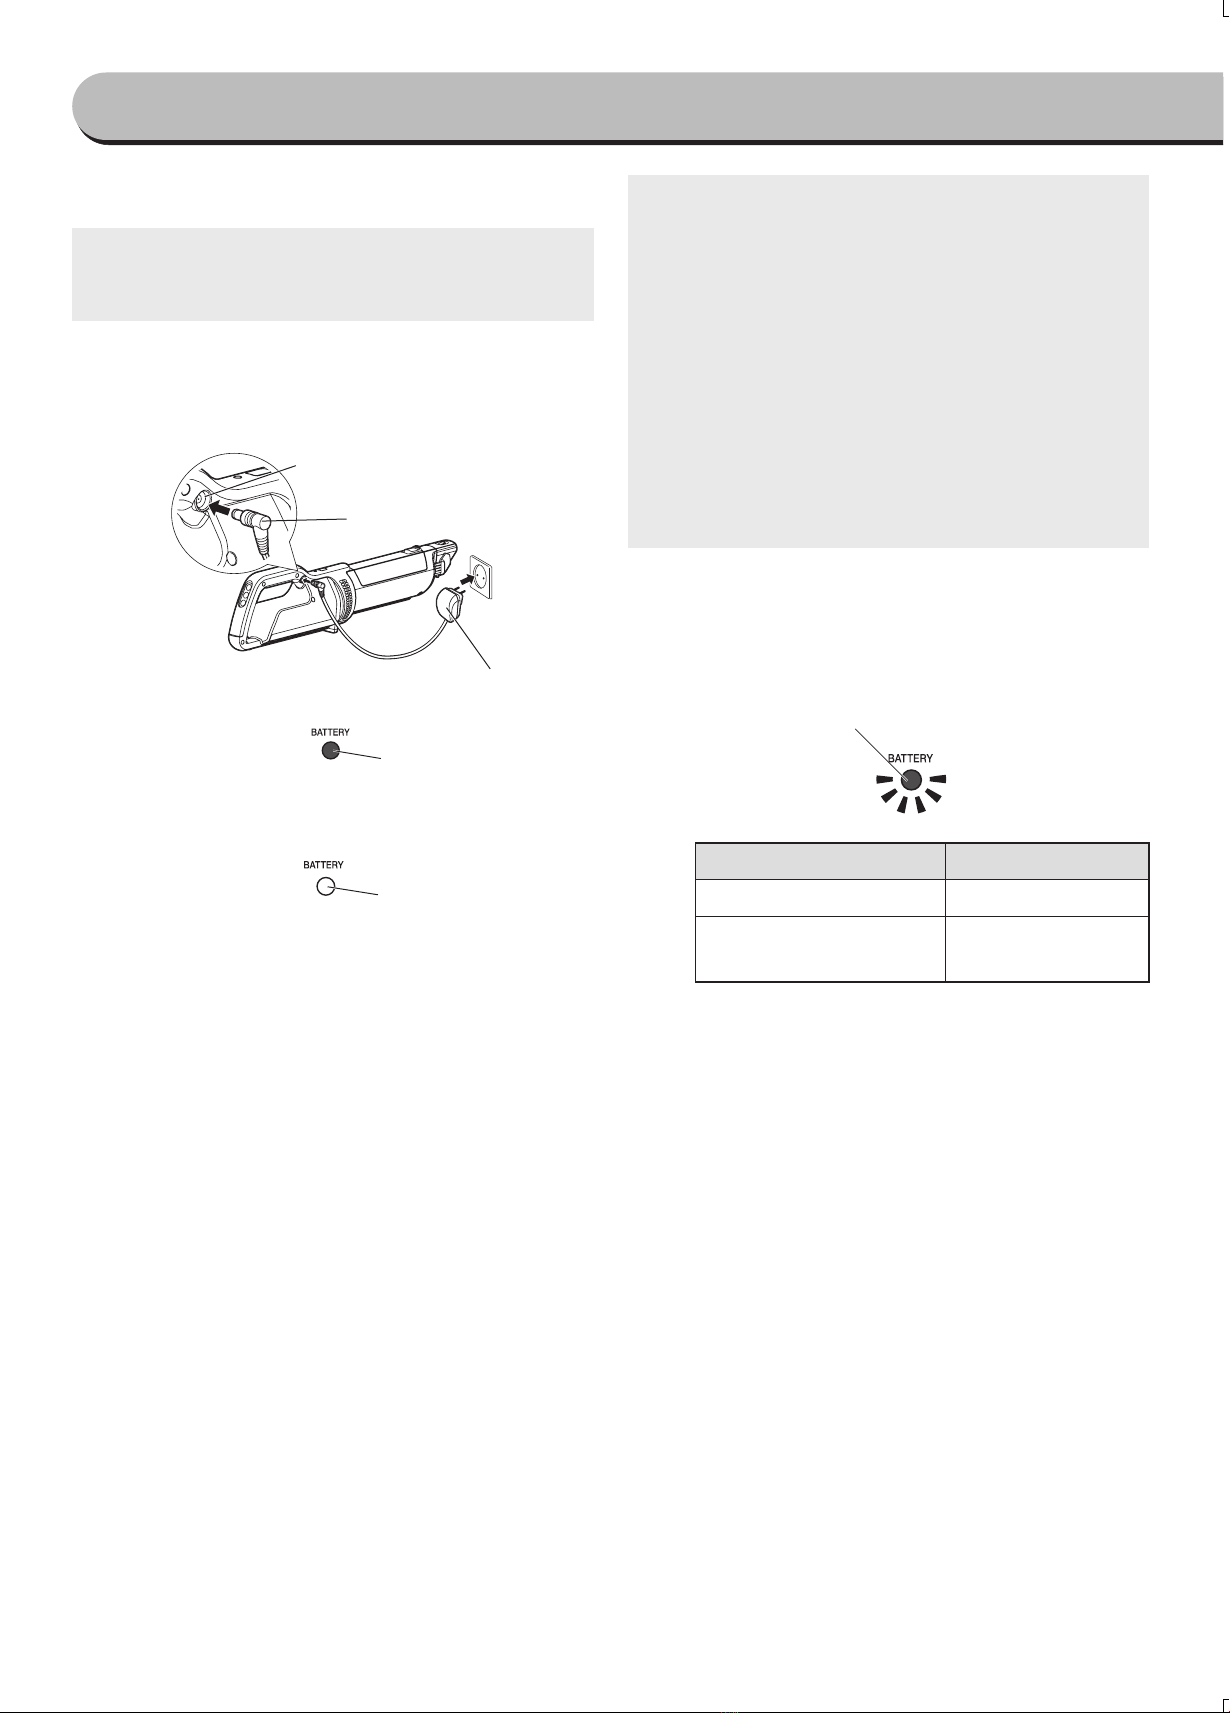
Notes on the battery
Must be
performed
●For the purposes of recharging the
battery. only use the detachable supply
unit provided with this appliance
●Please follow the instructions when
replacing the battery
Otherwise it may result in rupture and leakage,
thus causing fire, injury and contamination of
the surrounding environment.
●W
hen the electrolyte leaking from the
battery accidentally enters the eyes,
please wash them with water immediately
Please seek medical advice immediately after
washing, otherwise it may cause eye lesions.
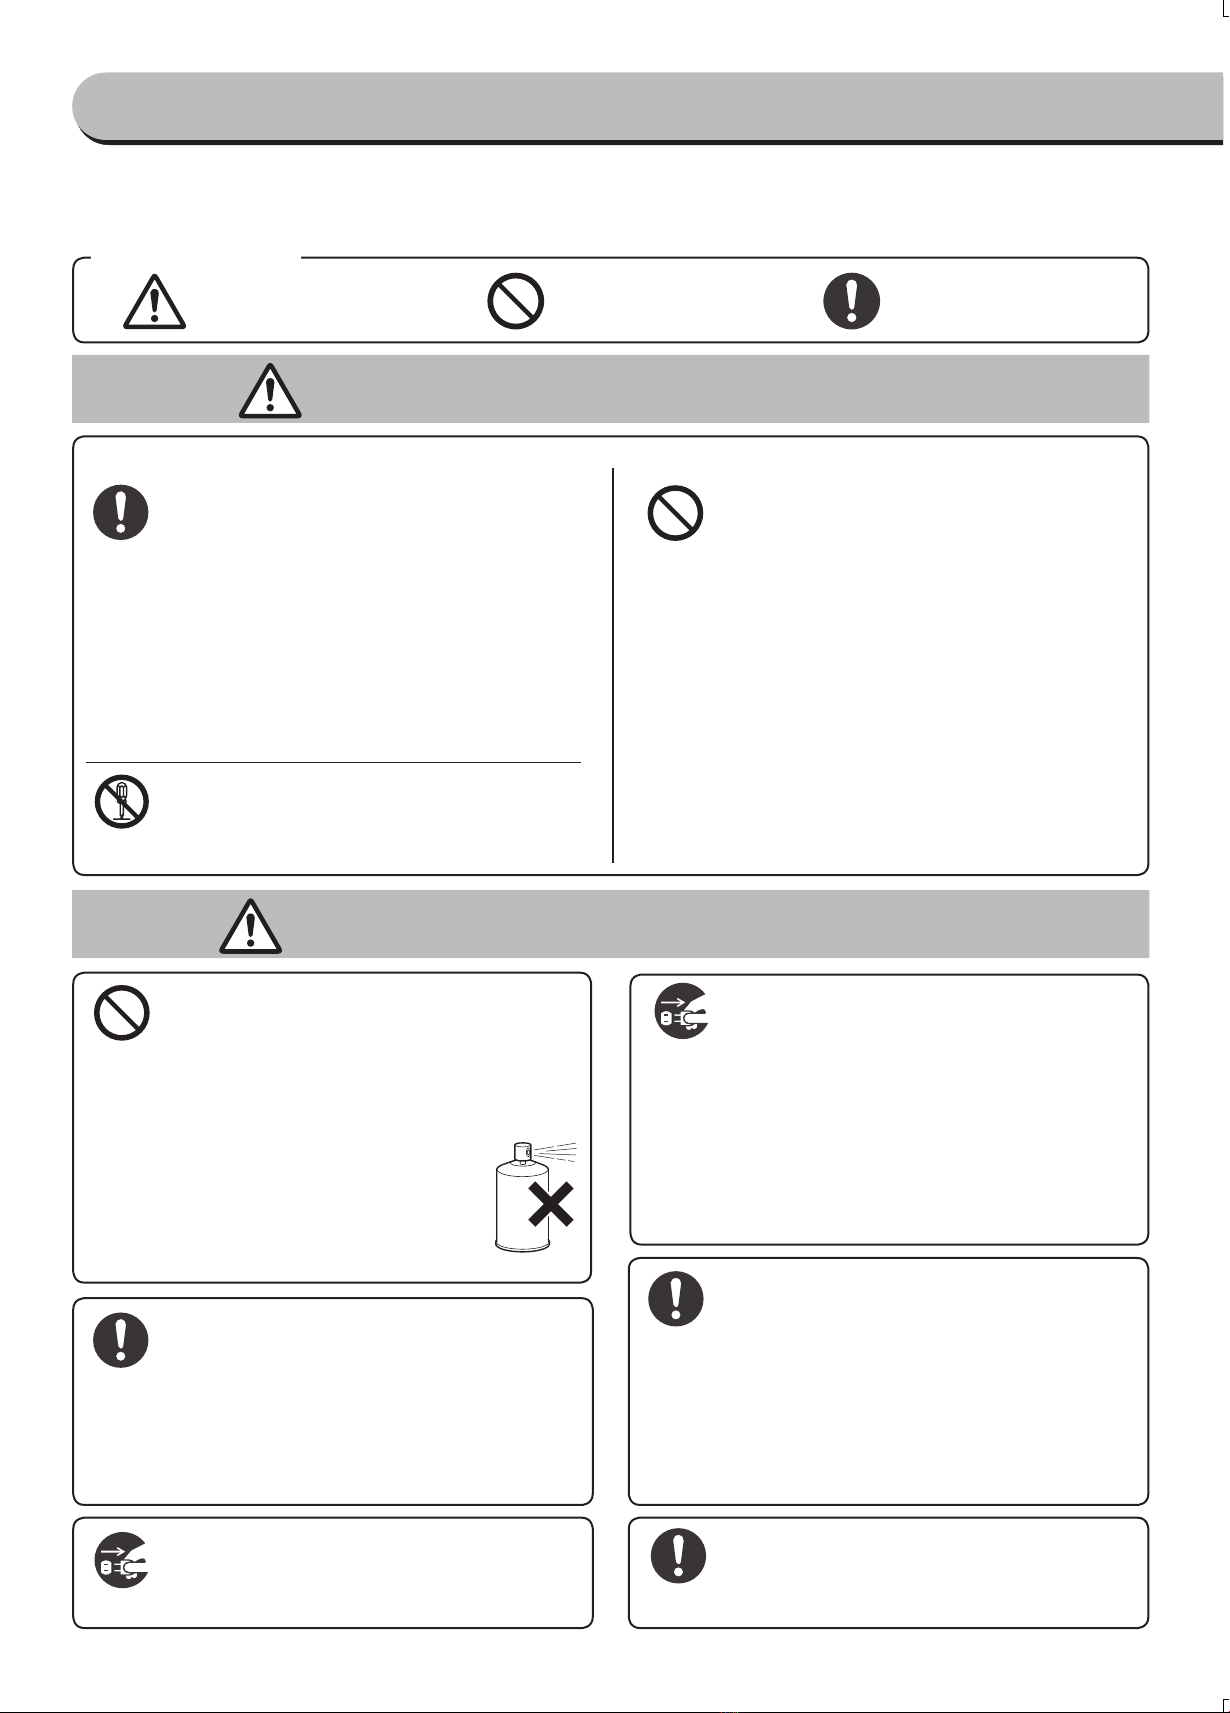
No
disassembling
●Do not disassemble the battery
Otherwise it may cause fire and injury due to
battery heating and rupture.
Warning The symbol means matters which may lead to
death or serious injury during faulty operation.
●Do not use insecticides, hair sprays,
lubricating oils and other sprays
●Do not be near to flammable substances
(kerosene, gasoline and paint thinner,
etc) or combustible materials
●Do not use this product near a smoke-
filled place
●Do not use foamy or liquid
substances such as blanket c
leaners
●Do not keep the product
close to inflammable goods or
cigarettes,aromas, etc
Otherwise it may cause fire.
●Do not use non-designated batteries
●Do not charge in a non-specified way
●Do not use the battery of this product
for other machines
●Do not charge in places with high
temperature and direct sunlight
●Do not put the battery into fire or heat it
●Do not drop or throw the battery from
a height, hammer a nail into it, beat it
with a hammer, or step on it
●Please keep the battery away from water
Otherwise it may cause fire, injury, or
contamination of the surrounding environment
due to battery rupture or leakage.
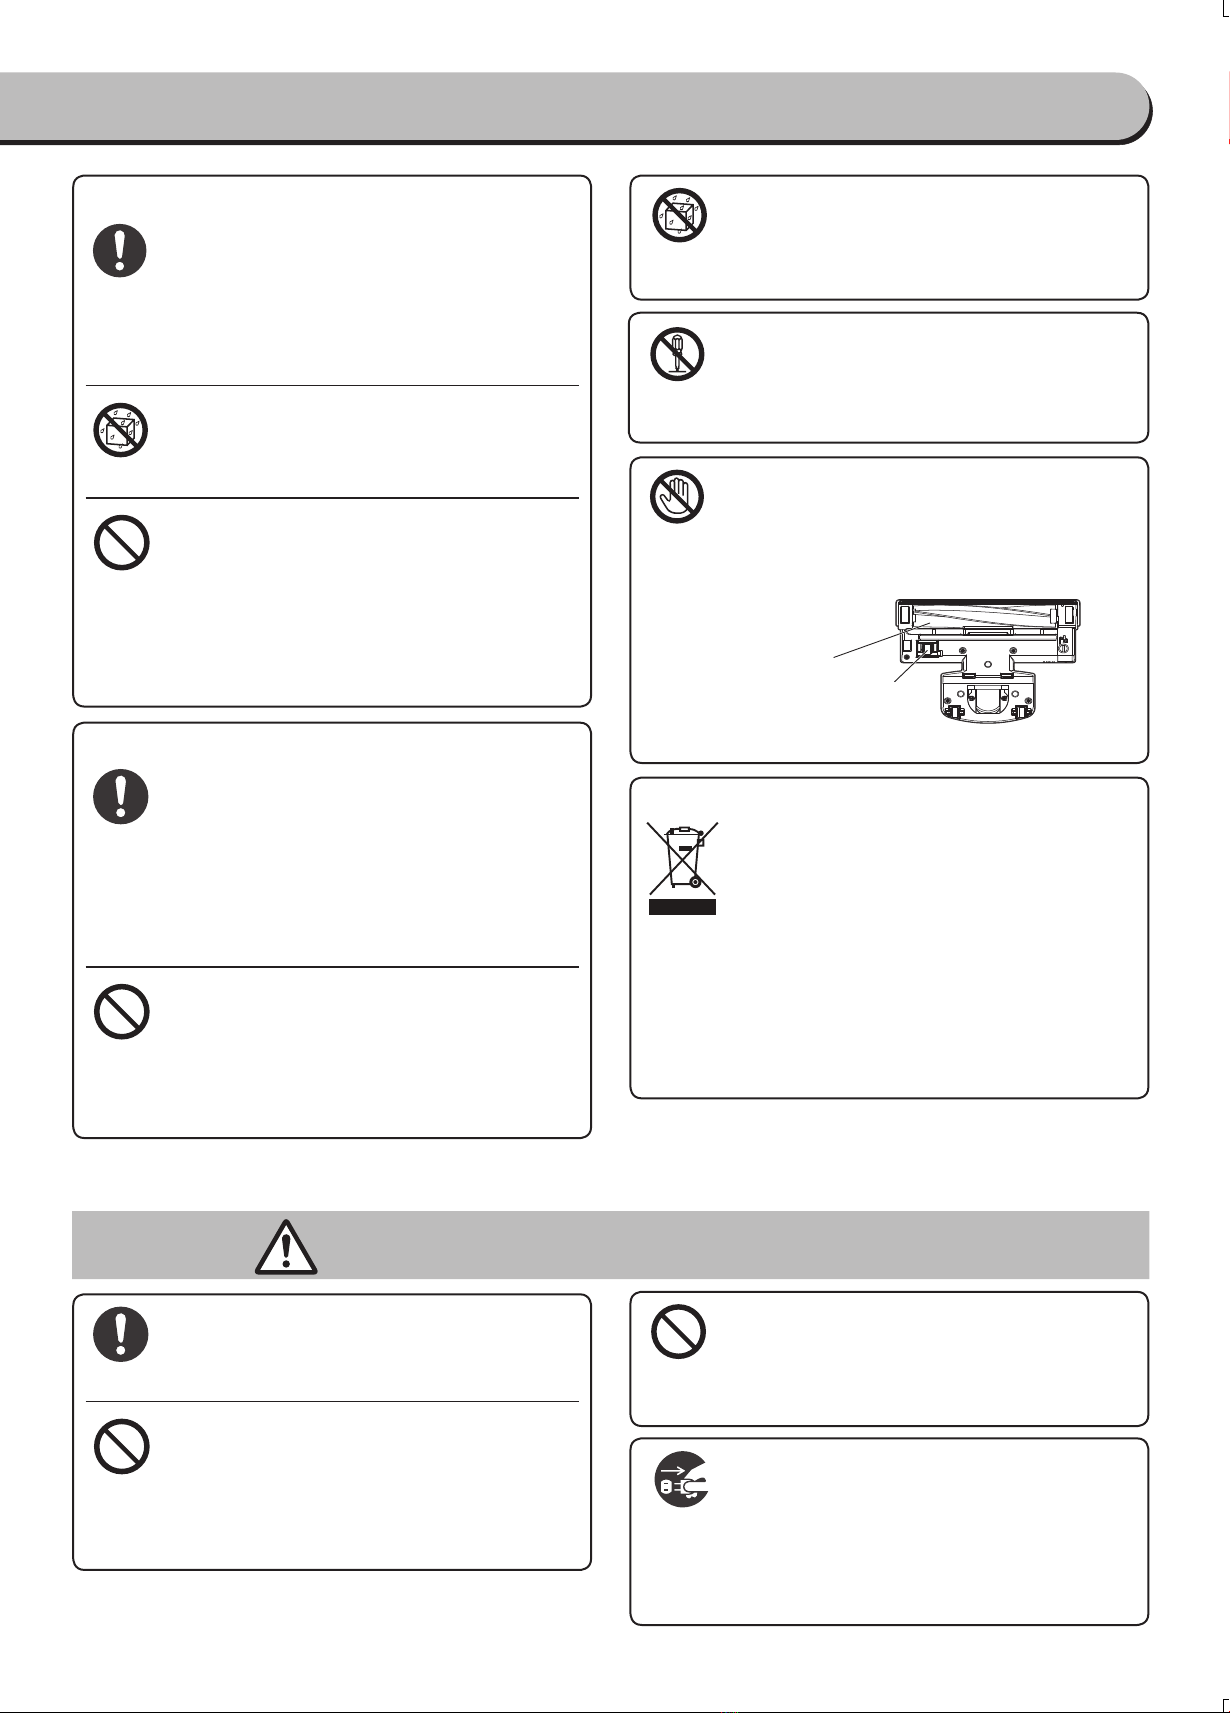
Graphic Symbols
●This appliance can be used by children
aged from 8 years and above and persons
with reduced physical, sensory or mental
capabilities or lack of experience and
knowledge if they have been given
supervision or instruction concerning
use of the appliance in a safe way
and understand the hazards involved.
Children shall not play with the appliance.
Cleaning and user maintenance shall not
be made by children without supervision
Must be
performed
●This appliance is not intended for use by
persons (including children) with reduced
physical,sensory or mental capabilities,
or lack of experience and knowledge,
unless they have been given supervision or
instruction concerning use of the appliance
by a person responsible for their safety.
Children should be supervised to ensure
that they do not play with the appliance
●If the supply cord is damaged, it must
be replaced by the manufacturer, its
service agent or similarly qualified
persons in order to avoid a hazard
Pull off
●The plug must be removed from
the socket-outlet before cleaning or
maintaining the appliance
Must be
performed
Must be
performed
This symbol
means“reminding”.
This symbol
means“forbidden”.
This symbol means
necessary“instructions”.