SIDE
System Troubleshooting
Special Messages
Special messages and error messages help to identify certain problems but do
not appear in all cases when a problem has occurred. Improper use may cause an
inaccurate result without producing an error message.
In the event of a problem, refer to the information under “Actions” in the “Error
Messages” section. If you continue to have a problem, please refer to the
“Troubleshooting Guide” section. If you follow the actions recommended but the
problem is not resolved, please contact your local distributor for assistance.
Message What it means
“Lo” appears when your result is below the measurement
limit, which is less than 20 mg/dL (1.1 mmol/L). “Lo” indicates
hypoglycemia (low blood glucose). You should immediately
consult your healthcare professional.
“HI” appears when your result is above the measurement limit,
which is higher than 600 mg/dL (33.3 mmol/L). You should
immediately consult your healthcare professional.
Error Message Description
What it means: Appears when the batteries cannot provide
enough power for a test.
Action: Replace the battery immediately.
What it means: Appears when inserting a used test strip.
Action: Test with a new test strip. If the problem persists,
please contact your local distributor.
What it means: Appears when the temperature is out of the
system operating range (10°C~40°C or 50°F~104°F ).
Action: Repeat the test after the meter and test strip are within
the operating temperature range.
Only the most common error messages are listed. If your meter displays an error
message that is not listed, please contact your local distributor.
Troubleshooting Guide
v
The meter does not display a message after inserting a test strip
Probable Cause Actions
Battery exhausted Replace the batteries.
Battery incorrectly installed or
absent Check that the batteries are correctly installed.
Test strip inserted upside
down or incompletely Insert the test strip correctly with the bar end
entering into the test strip port first.
Defective meter Please contact your local distributor for
assistance.
v
The test does not start after applying the sample.
Probable Cause Actions
Insufficient blood sample Repeat the test using a new test strip with a
larger blood sample.
Defective test strip Repeat the test with a new test strip.
Sample applied after
automatic shut-off (Three (3)
minutes after user action)
Repeat the test with a new test strip. Apply
sample only when the “ ” symbol appears on
the display.
Defective meter Please contact your local distributor for
assistance.
v
The control solution test is out of range.
Probable Cause Actions
Error in performing the test Read the instructions thoroughly and repeat
the test again.
Control solution bottle not
shaken well Shake the control solution bottle vigorously
and repeat the test again.
Expired or contaminated
control solution Check the expiration date and the discard date
of the control solution.
Control solution that is too
warm or too cold
Control solution should come to room
temperature (between 4°C/39°F and
30°C/86°F) before testing.
Test strip deterioration Please repeat the test with a new test strip.
Meter malfunction Please contact your local distributor for
assistance.
Performing Blood Test
er
1. Wash Your Hands and the Puncture Site : Wash
your hands in warm, soapy water. Rinse and dry
completely . Warm your fingers to increase blood flow.
2. Insert Test Strip : Remove a new test strip from vial. Be
sure to tightly replace vial cap after removing test strips.
Insert a test strip with the contact bar end entering into
the test strip slot first. Push the test strip as far as it will
go without bending it. The meter turns on automatically.
3. Hold the prepared lancing device firmly against the side of
your fingertip. Press the release button.
(NOTE : If you want to do alternative site testing, please
refer to the “About Alternative Site Testing (AST)” section.
Please consult your healthcare professional before
obtaining blood from site other than your fingertip.)
4. Obtain a Blood Sample : Gently massage your finger or
puncture site to obtain the required blood volume. To
perform the test, you need only 0.5 μL of blood sample. Do
not smear the blood sample. To obtain best accurate result,
wipe off the first drop of blood and gently squeeze another
drop of blood.
5. Apply Blood Sample : When the meter shows the “ ” symbol,
apply blood to the opening of the absorbent channel of the
test strip where it meets the narrow channel. Blood will be
drawn into the test strip. If the test strip confirmation window is
full, you will hear a beep.
6. Read Your Result : After the meter counts down from 5 to 1,
your blood glucose test result appears along with the unit of
measure, date and time.
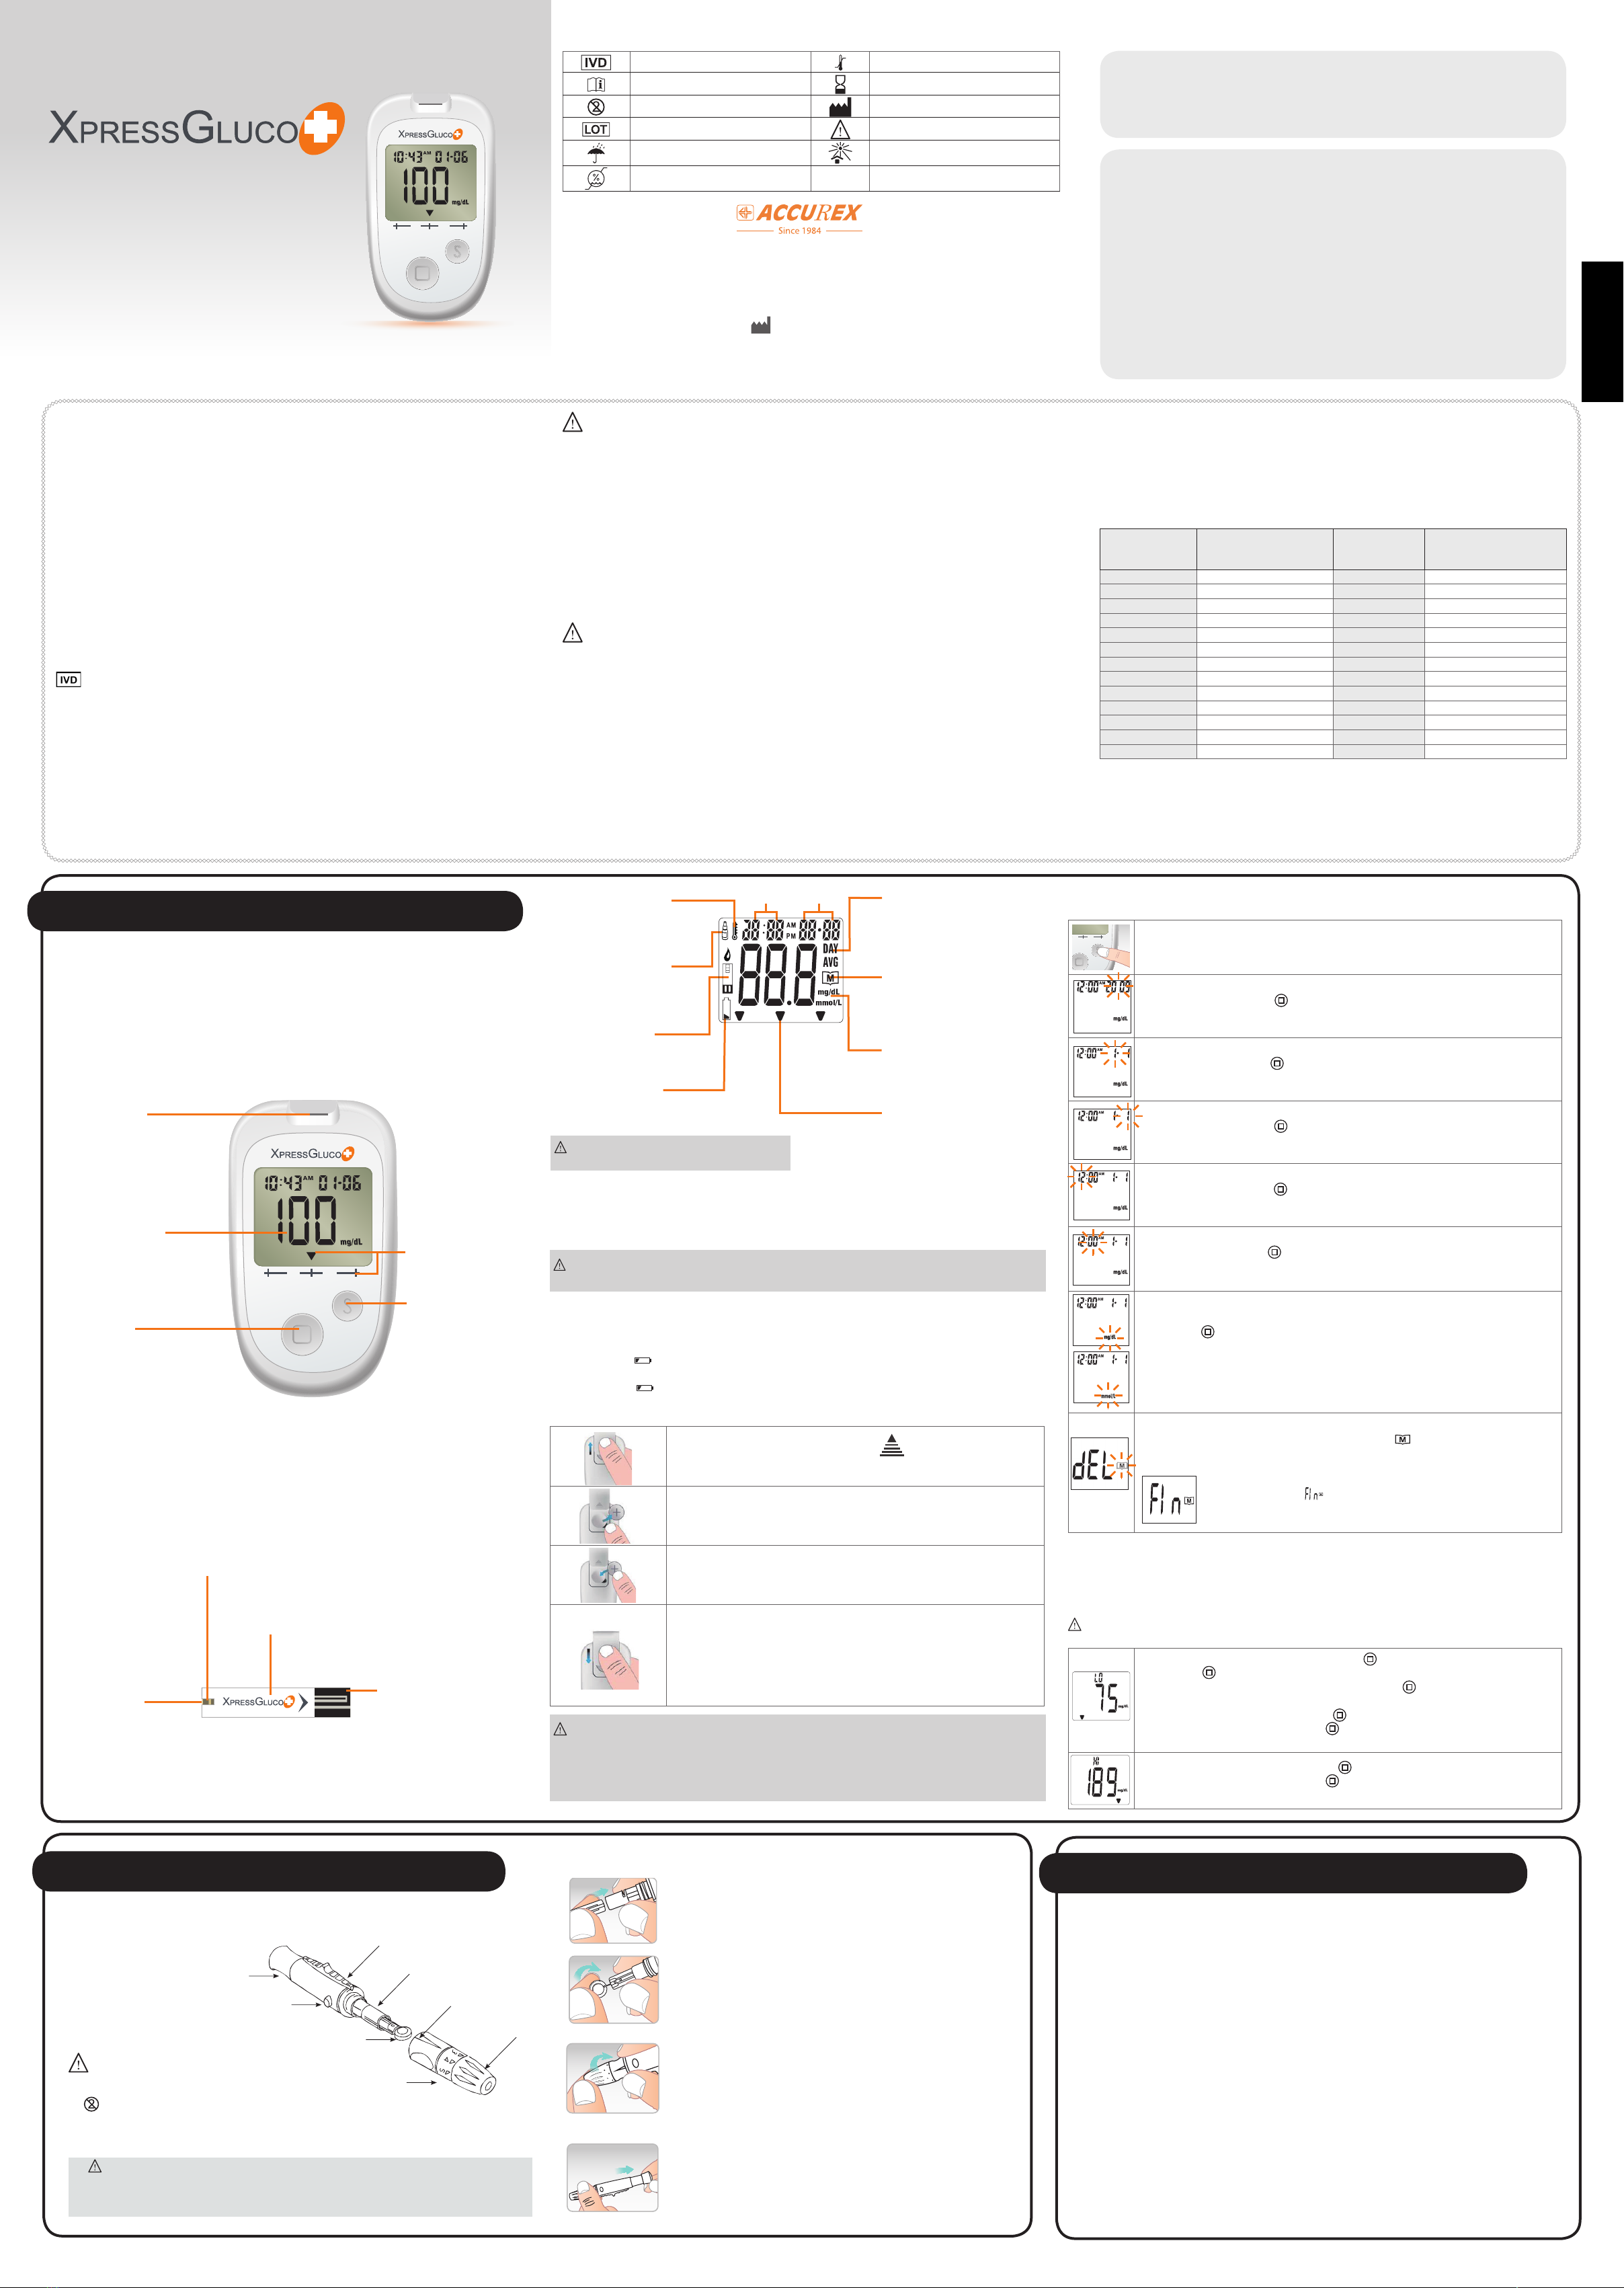
Test result is lower than the target range
Test result is within the target range
Test result is higher than the target range
*The default target range is 70 mg/dl to 180 mg/dl.
7. Turn Off the Meter : This blood glucose result is automatically
stored in the meter memory. Turn the meter off by removing
the test strip. Discard the used test strip carefully to avoid
contamination.
8. After use, twist off the Lancing Device Cap. Push the exposed
tip of the lancet into its Protective Cap.
9. Slide the Lancet Ejector forward and disposing the used lancet
in an approved container. Discard the used lancet according
to your country's safety regulations.
Replace the Lancing Device Cap.
Specifications
Model Name OK-3DL
Assay Method Electrochemical biosensor
Test Sample Capillary whole Blood
Test Result Referenced to plasma glucose value
Alternative Site Testing YES (palm, forearm, upper arm, calf, or thigh)
Sample Size 0.5 μL
Measuring Time 5 seconds
Measuring Range 20~600 mg/dL
Acceptable Hematocrit Range 35~55%
Operating Condition 10°C~40°C(50°F~104°F), between 10~85% R. H.
Storage/Transportation
Condition 5°C~40°C(41°F~104°F), between 10~85% R. H.
Memory Capacity 1000 test results with time and date
Average Calculation 7, 14, 30, 60, and 90 days
Power Supply One (1) CR2032 lithium battery
Battery Life Approximately 1,000 tests
Automatic shut-off In 3 minutes
About Alternative Site Testing (AST)
There are important limitations for doing AST. Please consult your healthcare
professional before you perform AST.
What is AST?
Alternative Site Testing (AST) means you can use parts of the body other than your
fingertips to check your blood glucose levels. The system allows you to test from the
palm, forearm, upper arm, calf or thigh, with equivalent results to fingertip testing.
What is the advantage?
Fingertips feel pain more readily because they are full of nerve endings (receptors). At
other body sites, nerve endings are not so numerous and you will not feel as much pain
as you will experience at the fingertip.
When to use AST?
Food, medication, illness, stress and exercise can affect blood glucose levels. Capillary
blood at fingertip reflects these changes faster than capillary blood at other sites.
Therefore, if you are testing blood glucose level during or immediately after meal,
physical exercise or stressful event, take the blood sample from your fingertip only.
Use AST only :
1. In a pre-meal or fasting state (more than 2 hours since the
last meal).
2. Two hours or more after taking insulin.
3. Two hours or more after exercise.
4. During steady state blood glucose conditions.
Do NOT use AST if :
1. You have reason to believe you have hypoglycemia or
hyperglycemia.
2. Your routine glucose results are often fluctuating.
3. The test result is to be used to calibrate continuous
glucose monitors (CGMs).
4. The test result is to be used for insulin dose calculations.
How to increase the blood volume?
Increase the blood flow by rubbing the puncture site for more than 20 seconds before
extracting blood. This helps to reduce the risk of insufficient blood sample for a blood
glucose test.
Control Solution Testing
If your
X
PRESS
GLUCO+
control solution did not come with an
X
PRESS
GLUCO+
Control
Solution Instruction, the following information shall take the place of the instruction.
X
PRESS
GLUCO+
Control Solution contains a known amount of glucose that reacts
with
X
PRESS
GLUCO+
Blood Glucose Test Strips. By testing your control solution and
comparing the test results with the expected range printed on the test strip vial
label, you can make sure that the meter and the test strips are working properly
together as a system and that you are performing the test correctly. It is very
important that you do this simple check routinely to make sure you get accurate
results.
Important Information :
• Use only
X
PRESS
GLUCO+
Control Solution with your
X
PRESS
GLUCO+
meter.
• Check the expiration date on the bottle. Do not use if expired.
• Use within a period of 90 days from the date that you first open it. Record the
discard date on the control solution bottle when you first open it to serve as a
reminder to discard after 90 days.
• The control solution ranges are printed on the label of the
X
PRESS
GLUCO+
Blood
Glucose Test Strip vial. They are not recommended target ranges for your
blood glucose.
• For in vitro diagnostic use.
• Do not add any liquid to the
X
PRESS
GLUCO+
Control Solution.
• Do not take internally or inject.
Why Perform a Control Solution Test :
• To ensure that your meter and test strips are working properly together.
• To allow you to practice testing without using your own blood.
When to Use :
• Once a week (to ensure that you continue to have accurate results).
• When you begin using a new vial of test strips
• When test strips have been exposed to extreme environmental conditions.
• If you drop the meter.
• If you change the battery in the meter.
Composition :
1. D-Glucose 5. Disodium EDTA
2. Polyvinyl acetate (aqueous emulsion) 6. Food Pigment Red No.6
3. Fumed silica 7. Antifoaming agent
(Polyethylene Glycol 4000)
4. Sodium Benzoate
Performing a Control Solution Test
Start with the meter off.
STEP 1: Wash your Hands
Wash your hands with mild soap and water before performing any test. Be sure to
dry them thoroughly.
STEP 2: Insert Test Strip
Insert a test strip with the contact bar end entering into the test strip slot first. Push
the test strip as far as it will go without bending it. The meter turns on automatically.
STEP 3: Mark as a Control Solution Test
After the “ ” symbol appears on the display, press the main
button and a “ ” symbol appears on the display. With the “ ”
symbol on the display, the meter will not store your test result
in the memory. If you decide not to perform a control solution
test, press the main button again and the “ ” symbol will
disappear.
STEP 4: Apply Control Solution
1. Check the expiration and discard dates
on your control solution and test strip
vials.
2. Shake the control solution bottle well,
then remove cap.
3. Squeeze the bottle and discard the first
drop then wipe the dispenser tip with
clean tissue paper or cotton.
4. Squeeze the bottle again to get a second drop onto a clean, non-absorbent
surface.
5. Bring the tip of the test strip to touch the drop of solution until the meter beeps.
Caution:
To avoid contaminating the control solution with the content of the test strip, DO
NOT DIRECTLY APPLY CONTROL SOLUTION ONTO THE TEST STRIP.
STEP 5 : Check if the Test Result is in Range.
After five (5) seconds, the control solution test result appears on
the display. Compare the test result with the range printed on the
test strip vial. Each vial of
X
PRESS
GLUCO+
Blood Glucose Test Strips
may have a different control solution range. The result should fall
within the printed range on the test strip vial.
Caution:
Do not use test strips or control solution that have exceeded the discard date,
are expired or have been damaged. Your results may be inaccurate.
Low 45-75 mg/dL
High 200-300 mg/dL
Performance Characteristics
Precision
Standard deviation (SD) for each glucose concentration < 100 mg/dL (5.55
mmol/L) and coefficient of variation (CV) for each glucose concentration ≥ 100
mg/dL (5.55 mmol/L) is ≤ 5.0 mg/dL (0.278 mmol/L) and ≤ 5.0%, respectively.
Intermediate precision
Control Solution Level
(mg/dL) Low (30~50) Normal
(96~144)
High (280~420)
Pooled Mean (mg/dL) 44.8 99.9 352
SD 3.1 3.1 8.7
CV (%) — 3.1% 2.5%
Repeatability
Blood Glucose
(mg/dL) 30~50 51~110 111~150 151~250 251~400
Pooled Mean (mg/dL) 44.3 80.6 131 200.1 308.0
SD 3.1 2.2 3.8 5.9 8.9
CV (%) — 2.8% 2.9% 2.9% 2.9%
System Accuracy
For glucose concentration <100 mg/dL (5.55 mmol/L)
Within±5 mg/dL
(Within±0.28mmol/L)
Within±10 mg/dL
(Within±0.56mmol/L)
Within±15 mg/dL
(Within±0.83mmol/L)
129/180(71.7%) 164/180(91.1%) 180/180(100%)
For glucose concentration ≥100 mg/dL (5.55 mmol/L)
Within±5% Within±10% Within±15%
233/420(55.5%) 383/420(91.2%) 420/420(100%)
For glucose concentrations between 45.5 mg/dL (2.53 mmol/L) and 457 mg/dL (25.4
mmol/L)
Within±15 mg/dL (0.83 mmol/L) or ±15%
600/600 (100%)
The X
PRESS
GLUCO+Blood Glucose Monitoring System meets the requirements
for System Accuracy as stated in ISO 15197:2013.
User Performance
A study evaluating glucose values from fingertip, palm, forearm, upper arm,
calf, and thigh capillary blood samples obtained by 100 lay persons showed
the following results: Fingertip 100% / palm 100% / forearm 100% / upperarm
100% / calf 100% / thigh 100% within ± 15 mg/dL (± 0.83 mmol/ L) of the
medical laboratory values at glucose concentrations below 100 mg/dL (5.55
mmol/L), and fingertip 98.6% / palm 100% / forearm 100% / upperarm 100% /
calf 100% / thigh 100% within ±15 % of the medical laboratory values at glucose
concentrations at or above 100mg/dL (5.55 mmol/L).
Memory Recall
The
X
PRESS
GLUCO+
meter stores a maximum of the 1000 most recent blood glucose
test results with date and time in its memory. It also provides you with 7, 14, 30, 60
and 90–day averages of your blood glucose test results. You can review the individual
or average test results by entering the memory mode.
STEP 1: Enter the Memory Mode
While the meter is turned off, press the “ “ button to turn the meter
on. Press the “ “ button again to enter memory mode.
The 7–day average will appear, indicating that you are in the memory
mode.
*When using the meter for the first time or when the
memory has been deleted, “- - -” appears, indicating
there are no test results in the meter memory.
STEP 2: Recalling Average Test Results
If you continue to press the “ “ button, the 7, 14, 30, 60 and 90–
day averages will appear in order. You can then review the last 1000
individual test results in memory.
The 7–day average is calculated from the blood glucose results
obtained during the last 7 days. It also indicates how many blood
glucose tests have been performed within this period, e.g., 21 (21
tests in the last 7 days).
The 14–day average is calculated from the blood glucose test results
obtained during the last 14 days. It, too, indicates how many blood
glucose tests have been performed, e.g., 41 (41 tests in the last 14
days).
The 30, 60, 90-day averages show the same information.
STEP 3: Recalling Individual Test Results
After the 90–day average, the most recent test result with date and
time will be shown. Press the “ “ button once and the next most
recent test result will appear.
Each time you press and release the “ “ button, the meter will
recall up to your last 1000 test results in order. When the memory
is full, the oldest test result is deleted as the newest is added. After
reaching the last individual result, press the main button and the
meter turns off.
STEP 4: Exit the Memory Mode
Press and hold the “ “ button for three (3) seconds to exit memory
mode at any point.
IMPORTANT:
• If you do not press any buttons for one (1) minute, the meter will display “OFF”
and turn off automatically.
• “Hi” and “Lo” test results are not included in the averages.
To avoid the meter and test strips getting dirt, dust or other contaminants, please
wash and dry your hands thoroughly before use.
Cleaning & Disinfecting
The purpose of cleaning is to remove the organic (such as blood and sebum) or
inorganic (such as dust) from functional meters. To clean your meter and lancing
device, wipe the entire outer crust of the meter or lancing device gently with
disinfectant towels. For cleaning procedure, we recommend use premoistened
towels with 1:10 dilution of bleach. Do not clean the meters and lancing devices
with alcohol or other solvents. In addition, we recommend cleaning the meter and
lancing device every time after use.
A disinfection procedure is a procedure intended to kill the microbes on the meters
and lancing devices. Disinfecting the entire outer crust of the meter and lancing
devices with premoistened towels with 1:10 dilution of bleach carefully. In order to
ensure the microbes were killed by the disinfectant infallibly, it is necessary to allow
to remain wet by the wipe for two minutes.
As to the cleaning and disinfecting procedure, please follow the steps below:
1. Wiping the entire outer crust of functional meter or the lancing device with
Premoistened towels with 1:10 dilution of bleach carefully.
2. Dry the device carefully in room temperature.
* Do not ush with water.
* Do not use organic solvents to clean the meter. Your meter is a precision instrument.
Please handle it with care.
Storage
1. Meter Storage
• Storage condition: -20ºC~50ºC (-4ºF~122ºF), 10~85% relative humidity.
• Avoid dropping and strong impact.
• Avoid direct sunlight and humidity.
2. Strip Storage
• Storage condition: 5ºC~40ºC (41ºF~104ºF), and 10~85% relative humidity. Do
not freeze.
• Store your test strips in their original vial only. Do not transfer to other container.
• Store test strip packages in a cool and dry place. Keep away from direct sunlight
and heat.
• After removing a test strip from the vial, immediately replace the vial cap and
close it tightly.
• You may touch the test strip anywhere with clean, dry hands when removing it
from the vial or inserting it into the meter.
• Use each test strip immediately after removing it from the vial.
• Do not bend, cut, or alter a test strip in any way.
• Keep the strip vial away from children since the cap and the test strip can
be a potential choking hazard. If swallowed, please seek medical assistance
immediately.
3. Control solution storage
• Storage condition: Store the control solution tightly closed at temperatures
between 4°C (39°F) and 30°C (86°F). Do not freeze.
Caring For Your Meter And Test Strip
Incorrect