manuals.online logo
Brands
  1. Home
  2. •
  3. Brands
  4. •
  5. OneTouch
  6. •
  7. Blood Glucose Meter
  8. •
  9. OneTouch UltraMini User manual

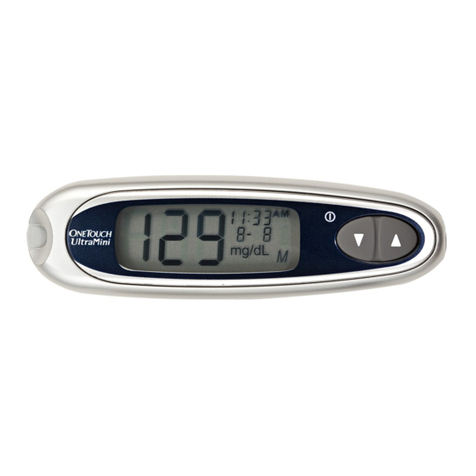
OneTouch UltraMini User manual

4 Get a drop of blood
Before testing, wash your hands and the punc-
ture site. Rinse and dry. Use
the lancing device and a new
lancet to get a drop of blood of
at least one microliter ( actu-
al size).
5 Apply the drop of blood and read the result
Touch and hold the drop of blood to the narrow
channel in the top edge of the test strip.
Keep holding the drop of blood
to the top edge of the test strip
until the confirmation window
is full. If your sample does not
fill the confirmation window on
the first try, do not add more blood to that strip.
Instead, test again with a new strip.
Before testing, read the OneTouch®
UltraMini™Owner’s Booklet carefully.
After your meter counts down
from 5 to 1, your blood
glucose level appears on the
display along with the unit of
measure, and the date and
time of the test.
æWARNING: If mg/dL does not appear with the
test result, call LifeScan Customer Service at
1 800 227-8862.
What to do if results are
too low or too high
æCAUTION: Low glucose results
If your test result is lower than 70 mg/dL or is
shown as LO, it may mean hypoglycemia (low
blood glucose). This may require immediate
treatment according to your healthcare profes-
sional’s recommendations. Although this result
could be due to a test error, it is safer to treat
first, then do another test. You may get false low
results if you are severely dehydrated.
æCAUTION: High glucose results
If your test result is higher than 180 mg/dL, it
may mean hyperglycemia (high blood glucose). If
you are uncertain about this test result, consider
re-testing. Your healthcare professional can work
with you to determine what actions, if any, you
should take if your results are higher than 180
mg/dL.
If your meter displays HI, you may have a very
high blood glucose level (severe hyperglycemia)
exceeding 600 mg/dL. Re-check your glucose
level. If the result is HI again, obtain and follow
instructions from your healthcare professional
without delay.
æCAUTION: If you test at the low end of the
operating range (43°F) and your glucose is high
(over 180 mg/dL), the reading on your meter may
be lower than your actual glucose. In this situa-
tion, repeat the test in a warmer environment
with a new test strip as soon as possible.
How to test
1 Check the code on the test strip vial
2 Insert a test strip
Start with the meter off. Insert the test strip into
the test port as shown. Make
sure the three contact bars are
facing you. Push the strip in as
far as it will go. Do not bend the
strip.
3 Match the code displayed on the meter with
the code on the test strip vial
If necessary, press
▲
or
▼
to
change the code on the meter to
match the code on your test strip
vial.
Understanding error
and other messages
Your meter displays messages when there are
problems with the test strip, with the meter, or
when your blood glucose levels are higher than
600 mg/dL or lower than 20 mg/dL.
What it means: You may
have a very low blood glu-
cose level, lower than 20 mg/dL.
This may require immediate treatment according
to your healthcare professional’s recommenda-
tions.
What it means: You may
have a very high blood
glucose level, over 600 mg/dL.
You should re-check your glucose level. If the
result is HI again, obtain and follow instructions
from your healthcare professional without delay.
What it means: The meter has detected that the
temperature is above or below the system
operating range. Do not perform a test until the
meter and test strips reach a temperature within
the operating range of 43–111°F.
You should repeat the test after the meter and
test strips have reached a temperature within the
operating range.
What it means: No result in memory, such as the
first time use of the meter.
Or,
Your meter was unable to recall this result.
You can still perform a blood glucose test and get
an accurate test result. Contact LifeScan Customer
Service at 1 800 227-8862 to report this occur-
rence if this is not your first time use of the meter.
æCAUTION: Step 3 is essential to obtain
accurate results.
Fold Fold Fold Fold Fold
Fold
&
perf
Fold
&
perf
Qué significa: Posiblemente se deba a una de las
siguientes causas:
Podría tener alto el nivel de glucosa y haber efec-
tuado la prueba en un ambiente cercano al
extremo inferior del rango de la temperatura de
funcionamiento del sistema (43–111° F).
O bien,
Podría haber algún problema con la tira reactiva.
Por ejemplo, podría estar dañada o haberse
movido durante la prueba.
O bien,
La muestra se aplicó de manera incorrecta.
O bien,
Podría haber algún problema con el medidor.
Debe repetir la prueba con una tira reactiva
nueva. Si realizó la prueba en un ambiente frío,
El medidor OneTouch®UltraMini™
utiliza una batería de litio de 3.0
voltios 2032 (o su equivalente).
Cuando reemplace la batería,
asegúrese de colocarla dentro del
doblez de la cinta, a continuación
empújela hasta que quede apretada en su lugar.
La extracción de la batería del medidor no afec-
tará sus resultados almacenados. No obstante,
es posible que tenga que volver a establecer la
hora y la fecha. Consulte su manual del propi-
etario.
Qué significa: Cuando el símbolo aparece solo
en la pantalla, la batería del medidor no tiene
carga suficiente para realizar un análisis.
Debe reemplazar la batería del medidor.
Sólo lo básico para la realización de pruebas
Guía de
referencia
rápida
Por favor conserve esta guía junto con su
medidor OneTouch®UltraMini™y los suminis-
tros para realizar pruebas en todo momento.
Sistema de
supervisión
de glucosa
en sangre
Qué significa: Mensaje de error que indica un
problema del medidor.
No utilice el medidor. Comuníquese con Servicio
de atención al cliente de LifeScan al 1 800
381-7226.
Qué significa: Mensaje de error que podría
deberse a la utilización de una tira reactiva ya
usada o a un problema del medidor.
Debe repetir la prueba con una tira reactiva
nueva. Si este mensaje continúa apareciendo,
comuníquese con Servicio de atención al cliente
de LifeScan al 1 800 381-7226.
Qué significa: Mensaje de error que indica que la
muestra de sangre o de solución control se
aplicó antes que el medidor estuviera listo.
Debe repetir la prueba con una tira reactiva
Qué significa: El medidor ha detectado un prob-
lema con la tira reactiva.
Las posibles causas son que la tira reactiva está
dañada o que no se haya llenado completamente
la ventana de confirmación.
Debe repetir la prueba con una tira reactiva nueva.
Consulte su manual de propietario para obtener
información sobre la aplicación de muestras.
Qué significa: : La batería del medidor está baja,
pero queda carga suficiente para realizar una
prueba.
Podrá realizar un mínimo de 100 pruebas más
desde el momento en que aparece este símbolo
por primera vez.
¿Necesita ayuda? nueva. Aplique la muestra de sangre o la solu-
ción control sólo después que aparezca el icono
R
en la pantalla. Si continúa apareciendo este
mensaje, comuníquese con Servicio de atención
al cliente de LifeScan al 1 800 381-7226.
repita la prueba en un ambiente más cálido.
Consulte el manual del propietario para informarse
acerca de la manera de aplicar correctamente una
muestra. Si el mensaje de error aparece de nuevo,
comuníquese con Servicio de atención al cliente
de LifeScan al 1 800 381-7226.
Llame a Servicio de atención al cliente de
LifeScan, 24 horas al día, 7 días a la semana.
Español 1 800 381-7226
O bien,
Visite nuestro sitio en www.LifeScan.com
www.OneTouchEnEspanol.com
El sistema descrito en el presente documento está cubierto por una o más
de las siguientes patentes de Estados Unidos: 5,708,247, 5,951,836,
6,241,862 y 6,284,125. El uso del dispositivo de supervisión incluido
aquí, está protegido por una o más de las siguientes patentes de Estados
Unidos: 6,413,410, 6,733,655. La compra de este dispositivo no se inter-
preta como para otorgar una licencia de uso bajo estas patentes. Dicha
licencia se otorga únicamente cuando el dispositivo se utiliza con las Tiras
reactivas OneTouch®Ultra®. Ningún otro distribuidor de tiras reactivas
fuera de LifeScan está autorizado para otorgar dichas licencias. LifeScan
no ha evaluado la precisión de los resultados generados con los medi-
dores LifeScan utilizando tiras reactivas fabricadas por otros dis-
tribuidores que no sean LifeScan.
© 2006 LifeScan, Inc., Milpitas, CA 95035 Rev. date: 04/2006
Los resultados de las pruebas continuarán sien-
do precisos, pero debe reemplazar la batería lo
antes posible.
AW 06398001B
Fold Fold Fold Fold Fold
DCO_06398001B_OTUM_QRG_US 5/3/06 9:01 AM Page 1
What it means: One of the following may apply:
You may have high glucose and have tested in an
environment near the low end of the system’s
operating temperature range (43–111°F).
Or,
There may be a problem with the test strip. For
example, it may have been damaged or moved
during testing.
Or,
The sample was improperly applied.
Or,
There may be a problem with the meter.
You should repeat the test with a new test strip. If
you tested in a cool environment, repeat the test
The OneTouch®UltraMiniTM Meter
uses one 3.0 Volt 2032 lithium
battery (or equivalent). When
replacing the battery, be sure to
place it within the fold of the rib-
bon, then push the battery until it snaps into
place.
Removing the meter battery will not affect your
stored results. However, you may need to re-set
the time and date. See your owner’s booklet.
What it means: When the symbol appears on
the display by itself, the meter battery does not
have enough power to perform a test.
You must replace the meter battery.
What it means: Error message indicates there is
a problem with the meter.
Do not use the meter. Contact LifeScan Customer
Service at 1 800 227-8862.
What it means: Error message could be caused
either by a used test strip or a problem with the
meter.
You should repeat the test with a new test strip. If
this message continues to appear, contact
LifeScan Customer Service at 1 800 227-8862.
What it means: Error message indicates that the
blood or control solution sample was applied
before the meter was ready.
You should repeat the test with a new test strip.
What it means: The meter has detected a prob-
lem with the test strip. Possible causes are test
strip damage or an incompletely filled confirma-
tion window.
You should repeat the test with a new test strip.
Refer to your owner’s booklet for information on
sample application.
What it means: Meter battery is low but there is
enough power to perform a test.
You can complete a minimum of 100 more tests
from the time this symbol first appears. Test
Need help? Apply a blood or control solution sample only
after the blood drop icon
R
appears on the dis-
play. If this message continues to appear, con-
tact LifeScan Customer Service at 1 800 227-
8862.
in a warmer environment. See the owner’s
booklet for how to apply a sample correctly. If the
error message appears again, contact LifeScan
Customer Service at 1 800 227-8862.
Call LifeScan Customer Service toll-free,
24 hours a day, 7 days a week
English
1 800 227-8862
Or,
Visit us at www.LifeScan.com
The system described herein is covered by one or more of the
following U.S. patents: 5,708,247, 5,951,836, 6,241,862, and
6,284,125. Use of the monitoring device included herein is
protected under one or more of the following U.S. patents: 6,413,410,
6,733,655. Purchase of this device does not act to grant a use license
under these patents. Such a license is granted only when the device is
used with OneTouch®Ultra®Test Strips. No test strip supplier other than
LifeScan is authorized to grant such a license. The accuracy of results gen-
erated with LifeScan meters using test strips manufactured by anyone
other than LifeScan has not been evaluated by LifeScan.
© 2006 LifeScan, Inc., Milpitas, CA 95035 Rev. date: 04/2006
results will still be accurate, but replace the bat-
tery as soon as possible.
AW 06398001B
Fold Fold Fold Fold Fold
Fold
&
perf
Fold
&
perf
4 Obtenga una gota de sangre
Antes de la prueba, lave sus manos y la zona
donde se realizará la punción.
Enjuáguese y séquese. Utilice
el dispositivo de punción y una
nueva lanceta para obtener
una gota de sangre de por lo
menos un microlitro ( tama-
ño real).
5 Aplique la gota de sangre y lea el resultado
Toque y sostenga la gota de sangre en el canal
estrecho del borde superior de la tira reactiva.
Mantenga la gota de sangre en
el borde superior de la tira reac-
tiva, hasta que la ventana de
confirmación esté llena. Si su
muestra no llena la ventana de
confirmación en el primer intento, no agregue
más sangre a esa tira. En cambio, realice de
nuevo la prueba con una tira nueva.
Antes de realizar las pruebas, lea atenta-
mente el Manual del propietario de
OneTouch®UltraMini™.
Luego de que su medidor reali-
ce la cuenta regresiva de 5 a 1,
el nivel de glucosa en su sangre
aparecerá en la pantalla, junto
con la unidad de medida, la
fecha y la hora de la prueba.
æADVERTENCIA: Si mg/dL no aparece con el
resultado de la prueba, comuníquese con
Servicio de atención al cliente de LifeScan al
1 800 381-7226.
Qué hacer si los resultados están muy
bajos o muy altos
æPRECAUCIÓN: Resultados de glucosa baja
Si el resultado de su análisis es menor a 70
mg/dL o aparece LO (BAJA), posiblemente se
trate de hipoglucemia (glucosa baja en sangre).
Esta condición puede requerir de tratamiento
inmediato, según las indicaciones de su profe-
sional médico. Aunque este resultado podría
deberse a un error de la prueba, es más seguro
tratarse primero y luego realizar otra prueba.
Es posible que obtenga falsos resultados bajos,
si se encuentra seriamente deshidratado.
æPRECAUCIÓN: Resultados de glucosa alta
Si el resultado de su prueba es superior a 180
mg/dL, posiblemente se trate de hiperglucemia
(alto nivel de glucosa en sangre). Si tiene dudas
acerca del resultado de esta prueba, considere
realizar una nueva. El profesional médico que lo
atiende puede examinarlo para determinar qué
medidas, si las hubiera, debe tomar usted si sus
resultados son mayores a 180 mg/dL.
Si su medidor muestra HI (ALTA), es posible que
usted presente un nivel muy alto de glucosa en la
sangre (hiperglucemia grave) que supere los 600
mg/dL. Realice una nueva prueba de su nivel de
glucosa. Si el resultado es HI (ALTA) nuevamente,
obtenga y siga las instrucciones de su médico sin
demora.
æPRECAUCIÓN: Si usted realiza la prueba en el
extremo inferior del rango de funcionamiento
(43°F ) y su glucosa está alta (superior a 180
mg/dL), es posible que la lectura en su medidor
sea inferior que su nivel real de glucosa. En esta
situación, repita la prueba en un ambiente más
cálido con una nueva tira reactiva tan pronto
como sea posible.
Cómo realizar la prueba
1 Revise el código del frasco de tiras reactivas
2 Inserte una tira reactiva
Comience con el medidor apagado. Inserte la tira
reactiva en el puerto de análi-
sis, según se ilustra. Asegúrese
que las tres barras de contacto
queden de frente a usted.
Empuje la tira hacia adentro
hasta que no avance más. No
doble la tira.
3 Haga coincidir el código que aparece en el
medidor con el código del
frasco de tiras reactivas
Si es necesario, presione
▲
o
▼
para cambiar el código en el
medidor, a fin de que coincida
con el código de su frasco de
tiras reactivas.
Comprensión de mensajes de
error y de otro tipo
Su medidor muestra mensajes cuando existen
problemas con la tira reactiva, con el medidor o
cuando sus niveles de glucosa en sangre son
superiores a 600 mg/dL o menores a 20 mg/dL.
Qué significa: Es posible
que tenga un nivel de glu-
cosa muy bajo, inferior a
20 mg/dL.
Esta condición puede requerir de tratamiento
inmediato, según las indicaciones del profesio-
nal médico que le atiende.
Qué significa: Es posible
que tenga un nivel de gluco-
sa muy alto, superior a 600
mg/dL.
Debe realizar una nueva prueba de su nivel de
glucosa. Si el resultado es HI (ALTA) nuevamente,
obtenga y siga las instrucciones de su médico sin
demora.
Qué significa: El medidor ha detectado que la
temperatura está por encima o por debajo de los
límites que admite el sistema. No realice ningún
análisis hasta que la temperatura del medidor y
de las tiras reactivas esté dentro del margen
aceptado de 43-111°F.
Debe repetir la prueba cuando el medidor y las
tiras reactivas hayan alcanzado una temperatura
dentro del rango aceptado por el sistema.
Qué significa: No hay resultados en la memoria,
tal como la primera vez que se utilizó el medidor.
O bien,
Su medidor no logró recuperar este resultado.
Todavía puede realizar una prueba de glucosa en
sangre y obtener un resultado preciso de prueba.
Comuníquese con Servicio de atención al cliente
de LifeScan al 1 800 381-7226 para informar
sobre esta situación, si ésta no es la primera vez
que utiliza el medidor.
æPRECAUCIÓN: El paso 3 es fundamental para
obtener resultados precisos.
Fold Fold Fold Fold Fold
Quick
Reference
Guide
Please keep this guide with your
OneTouch®UltraMini™Meter
and testing supplies at all times.
Blood
Glucose
Monitoring
System
Just the Basics of Testing
DCO_06398001B_OTUM_QRG_US 5/3/06 9:01 AM Page 2

Other manuals for UltraMini

7

Other OneTouch Blood Glucose Meter manuals

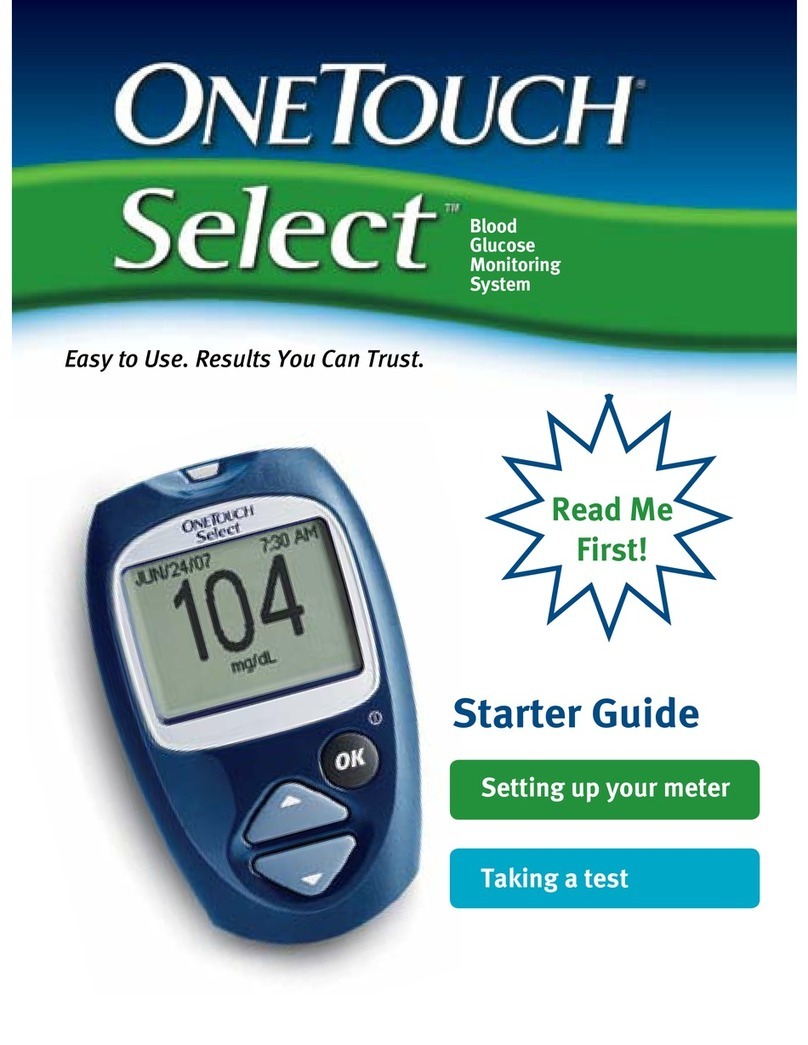
OneTouch Verio Reflect User manual

OneTouch

OneTouch Verio Reflect User manual

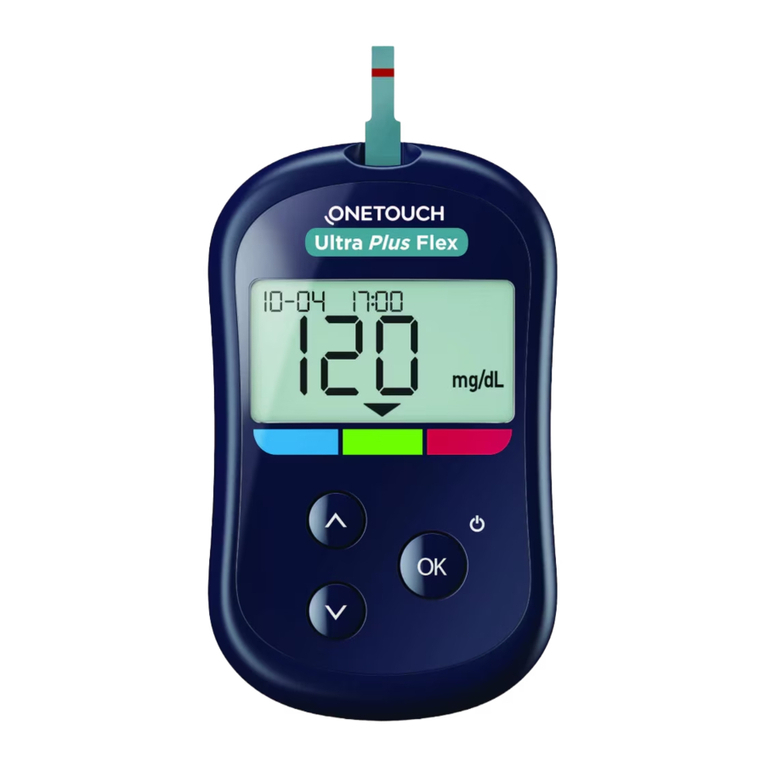
OneTouch Ultra Plus Flex User manual

OneTouch

OneTouch Ultra Plus Flex User manual

OneTouch ONETOUCH SELECT - CONTROL SOLUTION User manual

OneTouch

OneTouch ONETOUCH SELECT - CONTROL SOLUTION User manual

OneTouch OneTouch Ultra User manual

OneTouch

OneTouch OneTouch Ultra User manual

OneTouch VERIOPRO + Manual

OneTouch

OneTouch VERIOPRO + Manual

OneTouch Select Plus Flex User manual

OneTouch

OneTouch Select Plus Flex User manual

OneTouch ONETOUCH ULTRASMART User manual

OneTouch

OneTouch ONETOUCH ULTRASMART User manual

OneTouch OneTouch Ultra User manual

OneTouch

OneTouch OneTouch Ultra User manual

OneTouch SURESTEP User manual

OneTouch

OneTouch SURESTEP User manual

OneTouch FASTTAKE User manual

OneTouch

OneTouch FASTTAKE User manual

OneTouch Verio Flex User manual

OneTouch

OneTouch Verio Flex User manual

OneTouch Select Plus Flex User manual

OneTouch

OneTouch Select Plus Flex User manual

OneTouch Verio Flex User manual

OneTouch

OneTouch Verio Flex User manual

OneTouch UltraEasy User manual

OneTouch

OneTouch UltraEasy User manual

OneTouch Verio Flex User manual

OneTouch

OneTouch Verio Flex User manual

OneTouch ONETOUCH ULTRASMART User manual

OneTouch

OneTouch ONETOUCH ULTRASMART User manual

OneTouch Ping User manual

OneTouch

OneTouch Ping User manual

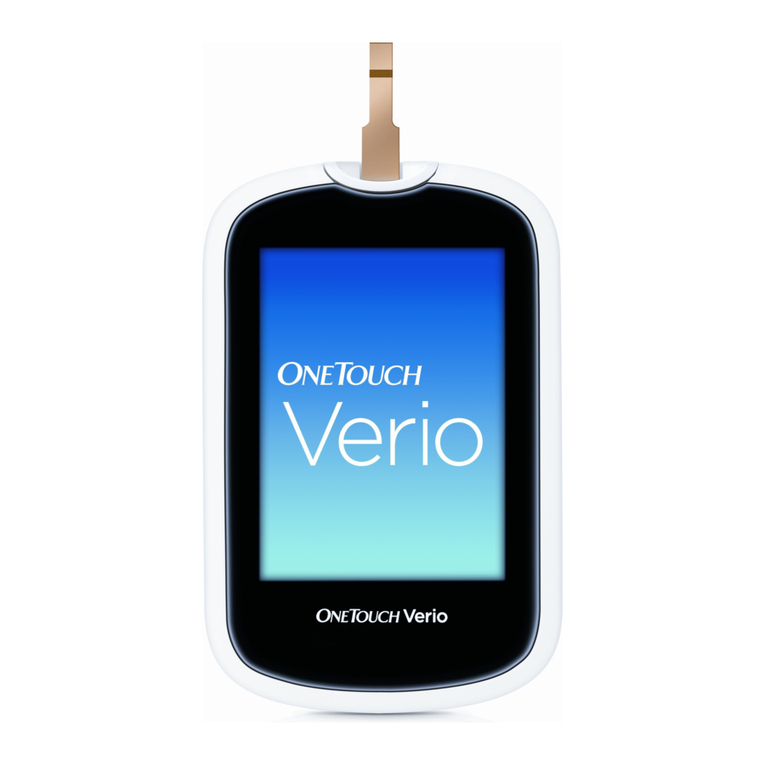
OneTouch Verio User manual

OneTouch

OneTouch Verio User manual

OneTouch UltraMini User manual

OneTouch

OneTouch UltraMini User manual

OneTouch Verio IQ User manual

OneTouch

OneTouch Verio IQ User manual

OneTouch UltraMini User manual

OneTouch

OneTouch UltraMini User manual

OneTouch UltraMini User manual

OneTouch

OneTouch UltraMini User manual

OneTouch Verio IQ User manual

OneTouch

OneTouch Verio IQ User manual

OneTouch UltraMini User manual

OneTouch

OneTouch UltraMini User manual

Popular Blood Glucose Meter manuals by other brands

ACCU-CHECK AVIVA COMBO Getting started guide

ACCU-CHECK

ACCU-CHECK AVIVA COMBO Getting started guide

Trividia Health TRUE METRIX PRO user manual

Trividia Health

Trividia Health TRUE METRIX PRO user manual

Arkray Assure PRISM MULTI Reference manual

Arkray

Arkray Assure PRISM MULTI Reference manual

Arkray GLUCOCARD Expression User instruction manual

Arkray

Arkray GLUCOCARD Expression User instruction manual

TD GLUCO TD-4277B user manual

TD

TD GLUCO TD-4277B user manual

WaveSense Presto owner's manual

WaveSense

WaveSense Presto owner's manual

OAK TREE HEALTH EASYMAX L user manual

OAK TREE HEALTH

OAK TREE HEALTH EASYMAX L user manual

Accu-Chek GO Instructions for use

Accu-Chek

Accu-Chek GO Instructions for use

EPS EGV1.1 manual

EPS

EPS EGV1.1 manual

ARA Pharmaceuticals First Canadian Health SPIRIT owner's booklet

ARA Pharmaceuticals

ARA Pharmaceuticals First Canadian Health SPIRIT owner's booklet

Arkray GLUCOCARD SM operating manual

Arkray

Arkray GLUCOCARD SM operating manual

Accu-Chek Mobile user manual

Accu-Chek

Accu-Chek Mobile user manual

GlucoMen LX quick guide

GlucoMen

GlucoMen LX quick guide

A.MENARINI GlucoMen areo 2K quick guide

A.MENARINI

A.MENARINI GlucoMen areo 2K quick guide

Abbott FreeStyle Libre 3 user manual

Abbott

Abbott FreeStyle Libre 3 user manual

Dexcom Share user manual

Dexcom

Dexcom Share user manual

NIPRO Diagnostics Trividia TRUEread quick start guide

NIPRO Diagnostics

NIPRO Diagnostics Trividia TRUEread quick start guide

Bayer HealthCare Breeze2 Quick test guide
Bayer HealthCare

Bayer HealthCare Breeze2 Quick test guide

manuals.online logo
manuals.online logoBrands
  • About & Mission
  • Contact us
  • Privacy Policy
  • Terms and Conditions

Copyright 2025 Manuals.Online. All Rights Reserved.