3
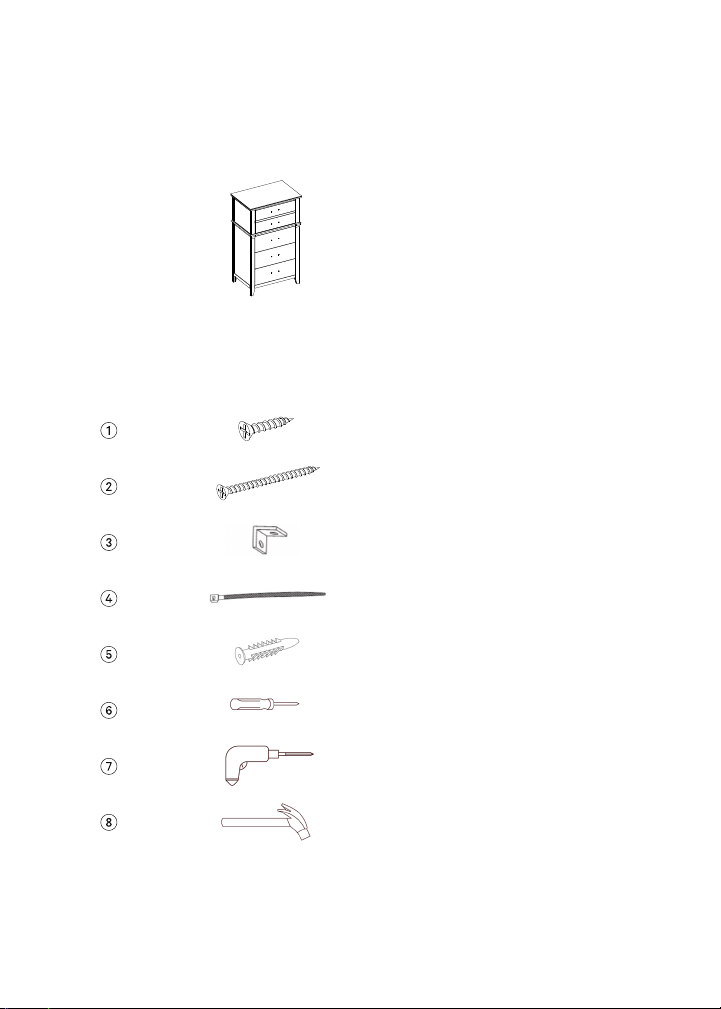
OkiOki Coastal 5 Drawer Dresser
Instructional Guide
Assembly Instructions
2 persons recommended for assembly.
All instructional elements and diagrams provided in this manual are to
serve as a guide and are not meant to replace a licensed professional.
Any construction or use of the product must be in accordance with all
local zoning and/or building codes. The consumer is liable for all risk
and responsibility associated with the assembly and construction of this
product. The person or persons responsible for setting up this product
should follow all safety instructions carefully, as to not put themselves or
any other parties at risk.
Read instructions, cover to cover
Have two adults on hand for assembly
Do not assemble on flooring or carpet
Assemble on a clean, non-marring surface (packing foam)
Save all packaging until finished
**CAUTION : This Dresser is NOT A TOY. Please keep children away during the assembly process. To turn
and assemble the Dresser, two people may be needed.