Olive VME102 User manual

Olive VME102
User Guide

Table of Contents
1.Introduction...............................................................................................................................................1
2.System Requirements ................................................................................................................................1
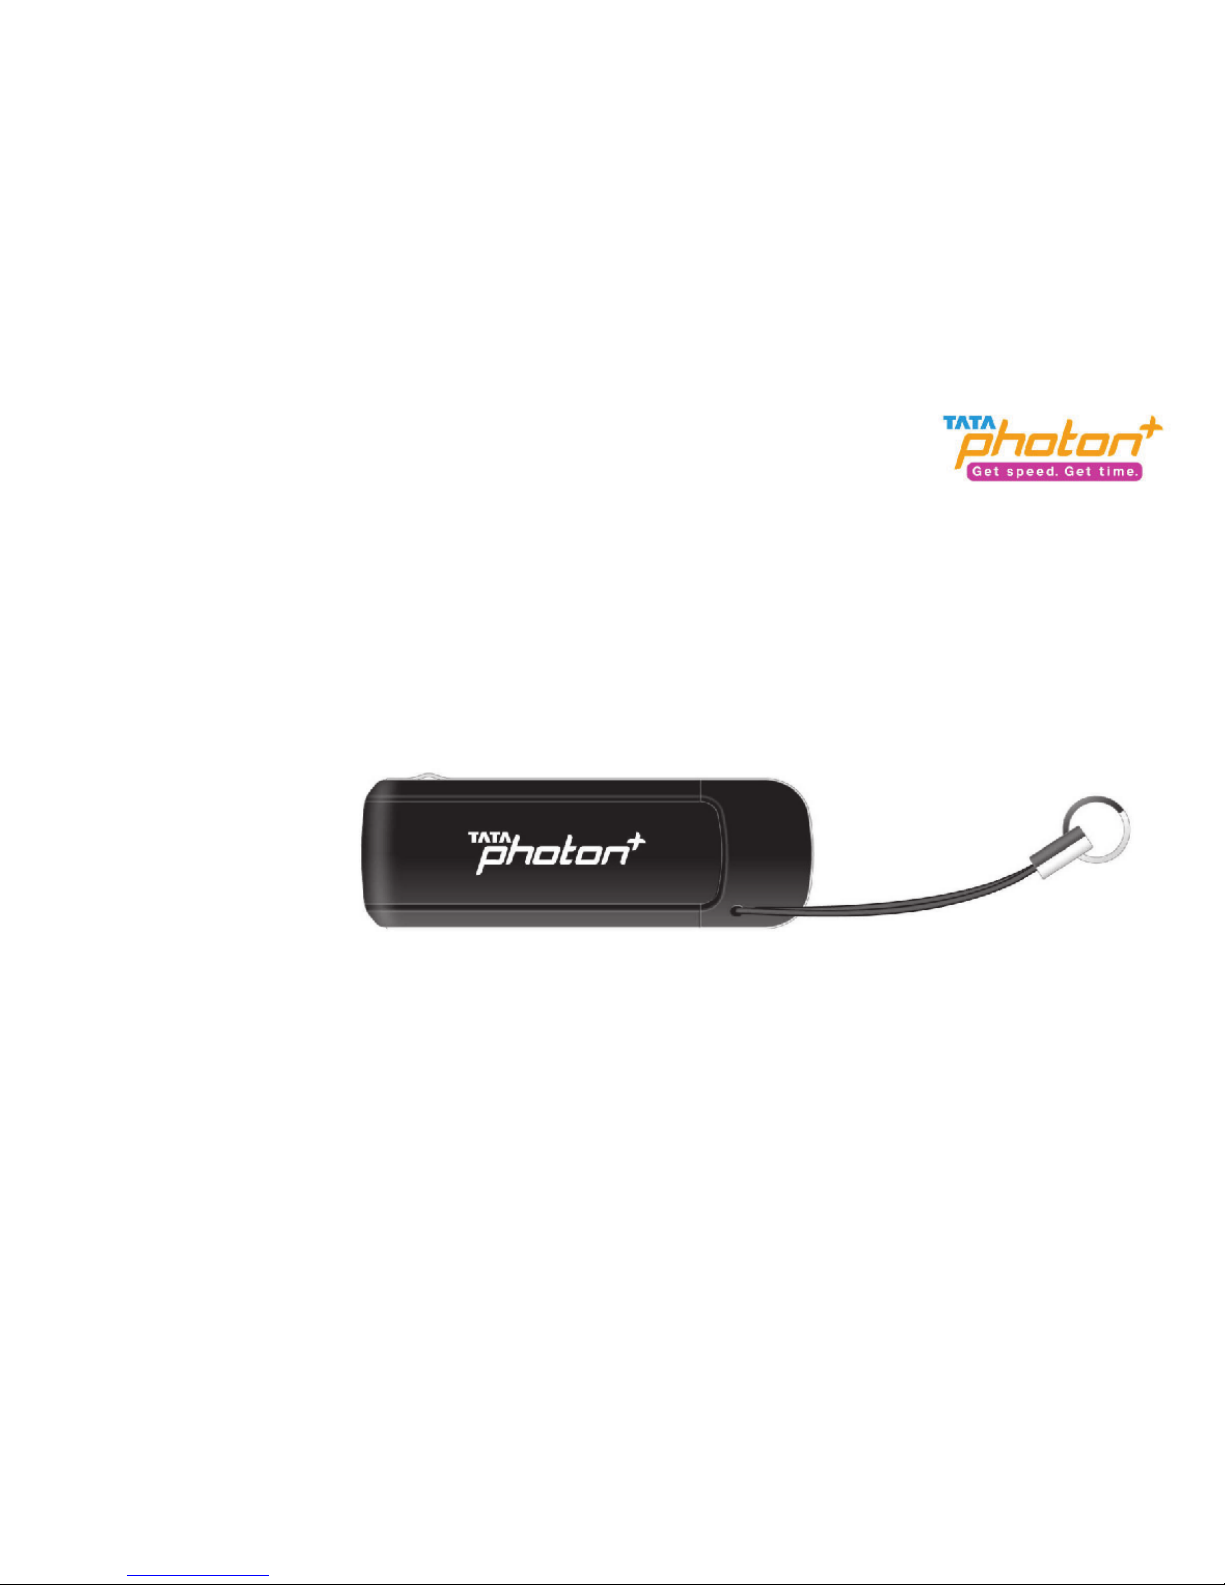
3.VME102 Appearance .................................................................................................................................2
4.Technical Specification ...............................................................................................................................3
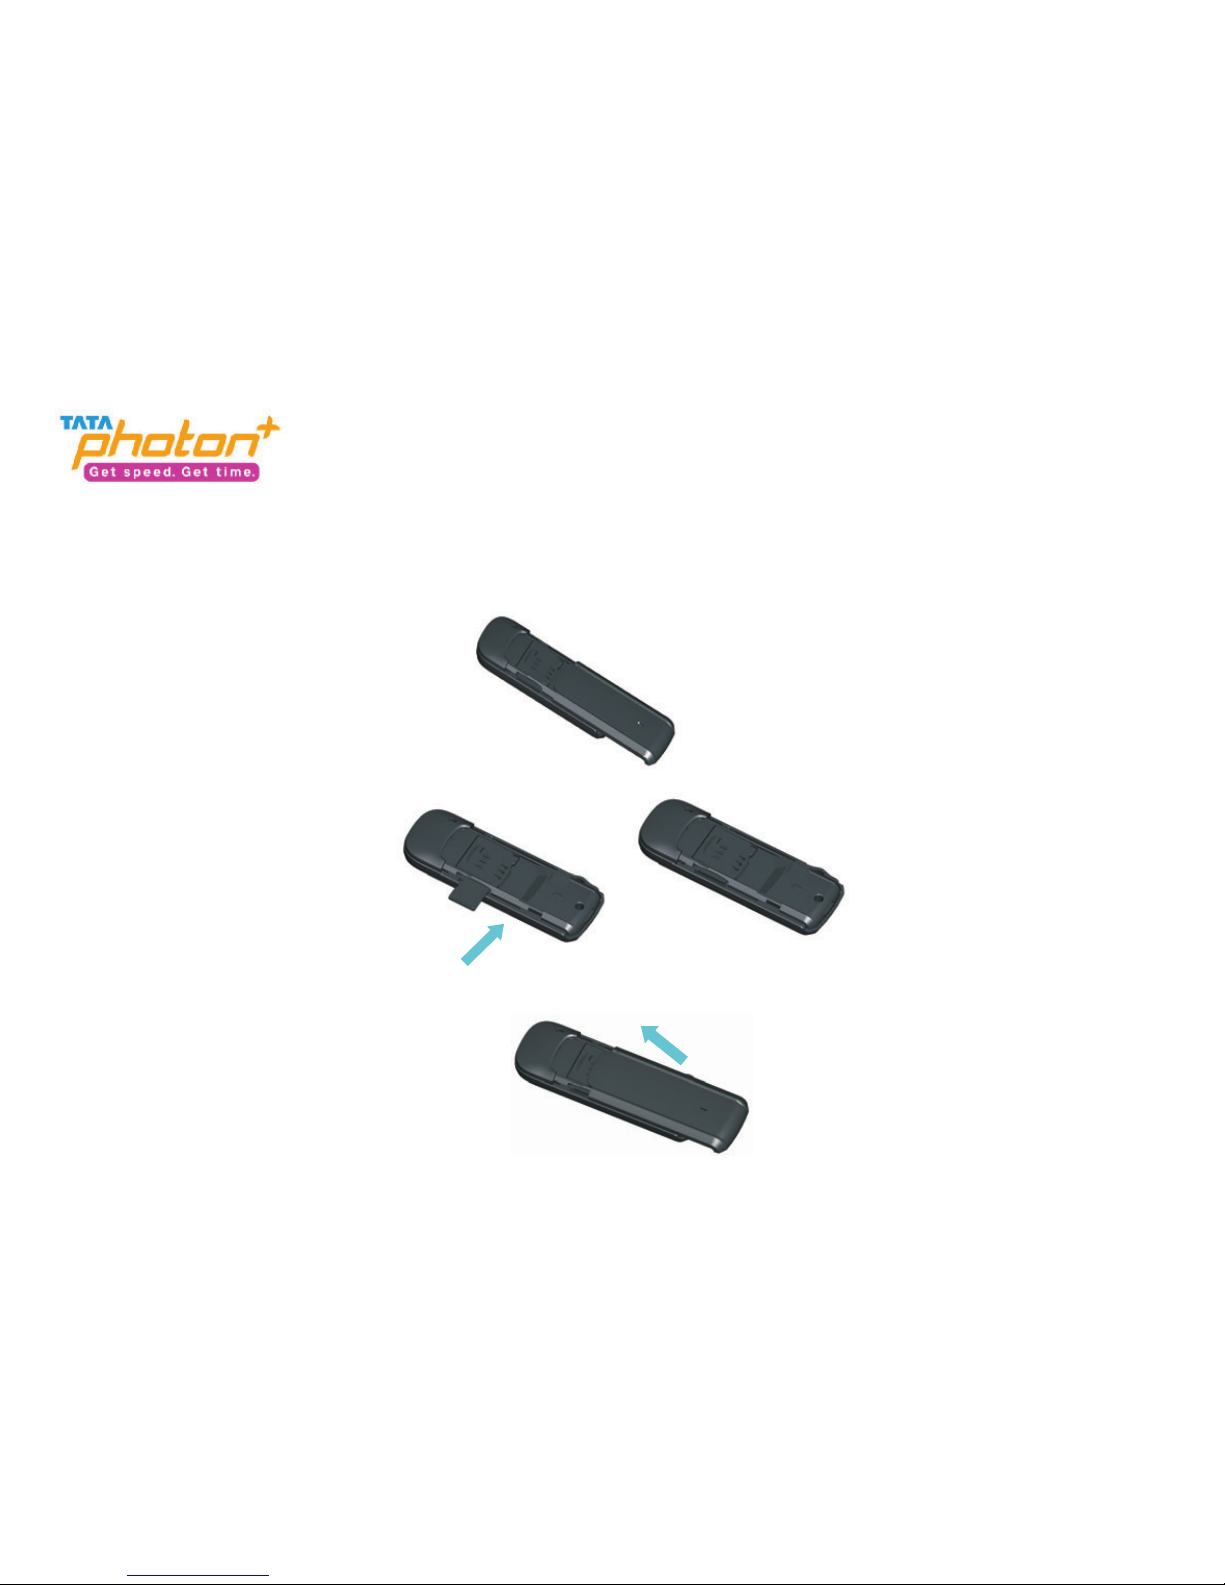
5.Inserting the Micro-SD Card ......................................................................................................................4
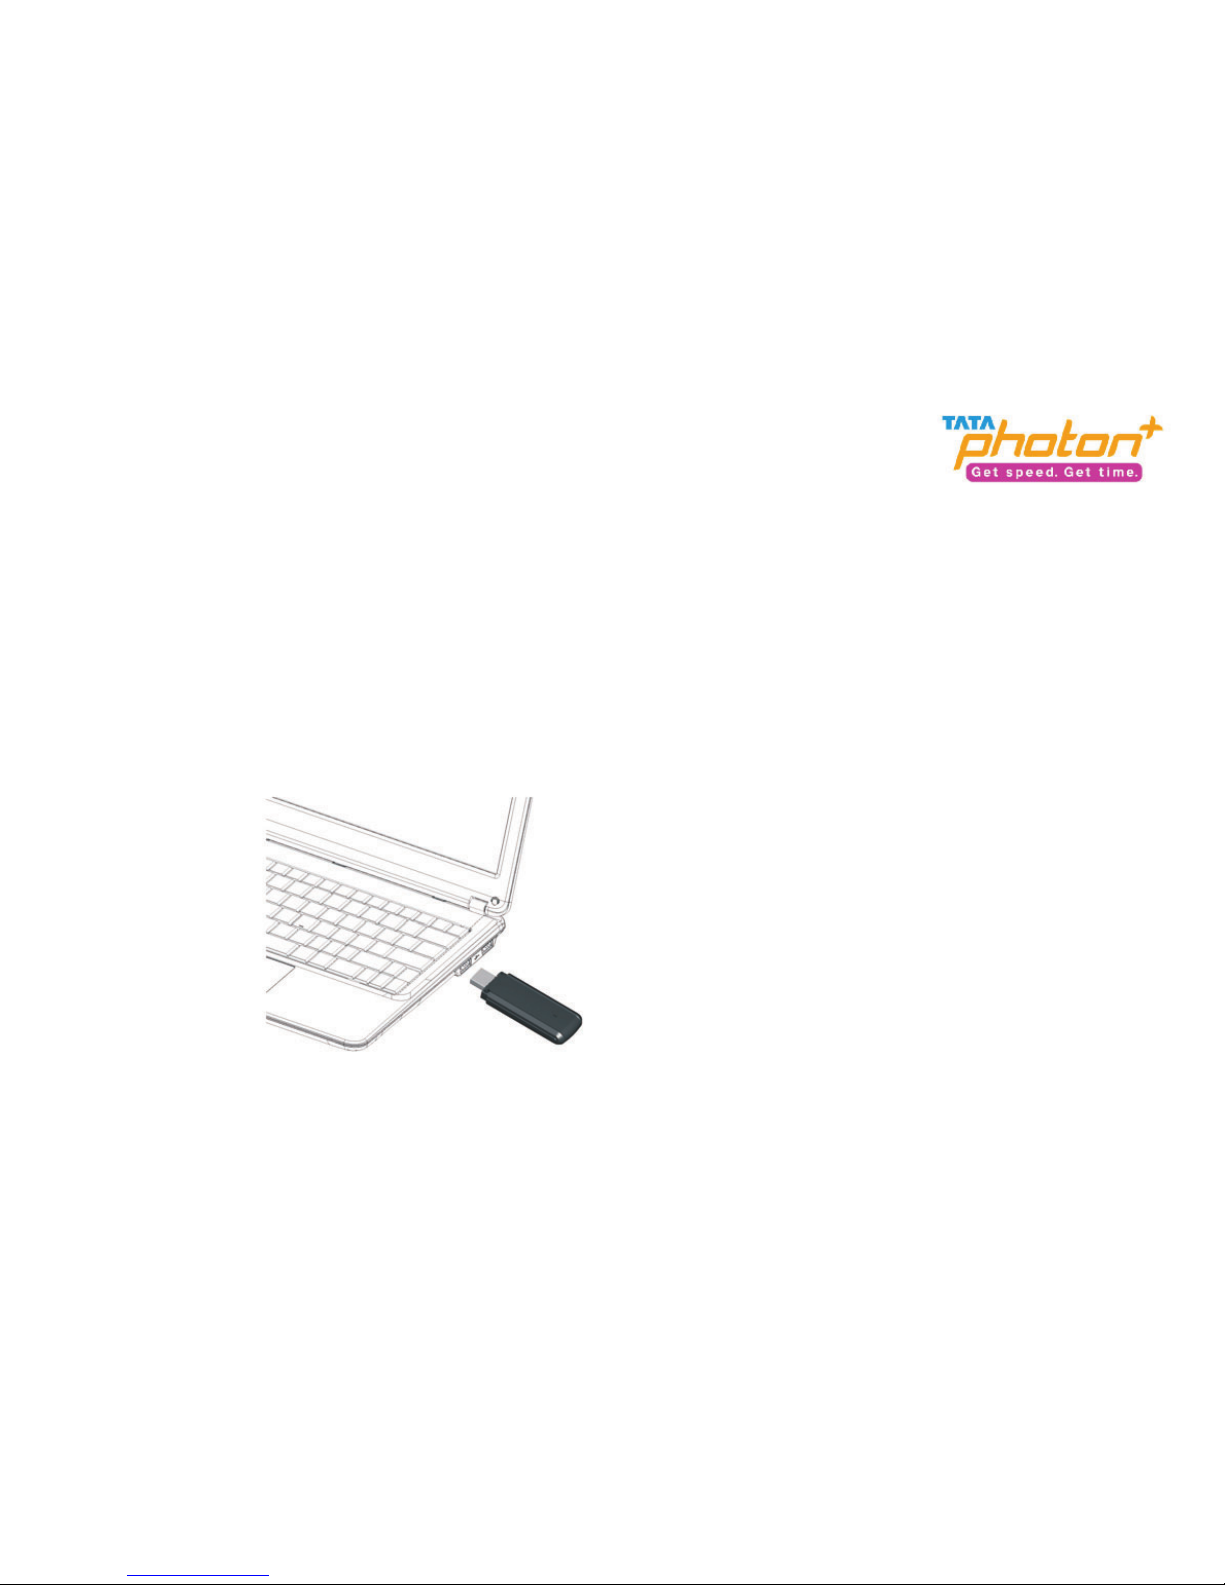
6.Using the device ........................................................................................................................................6
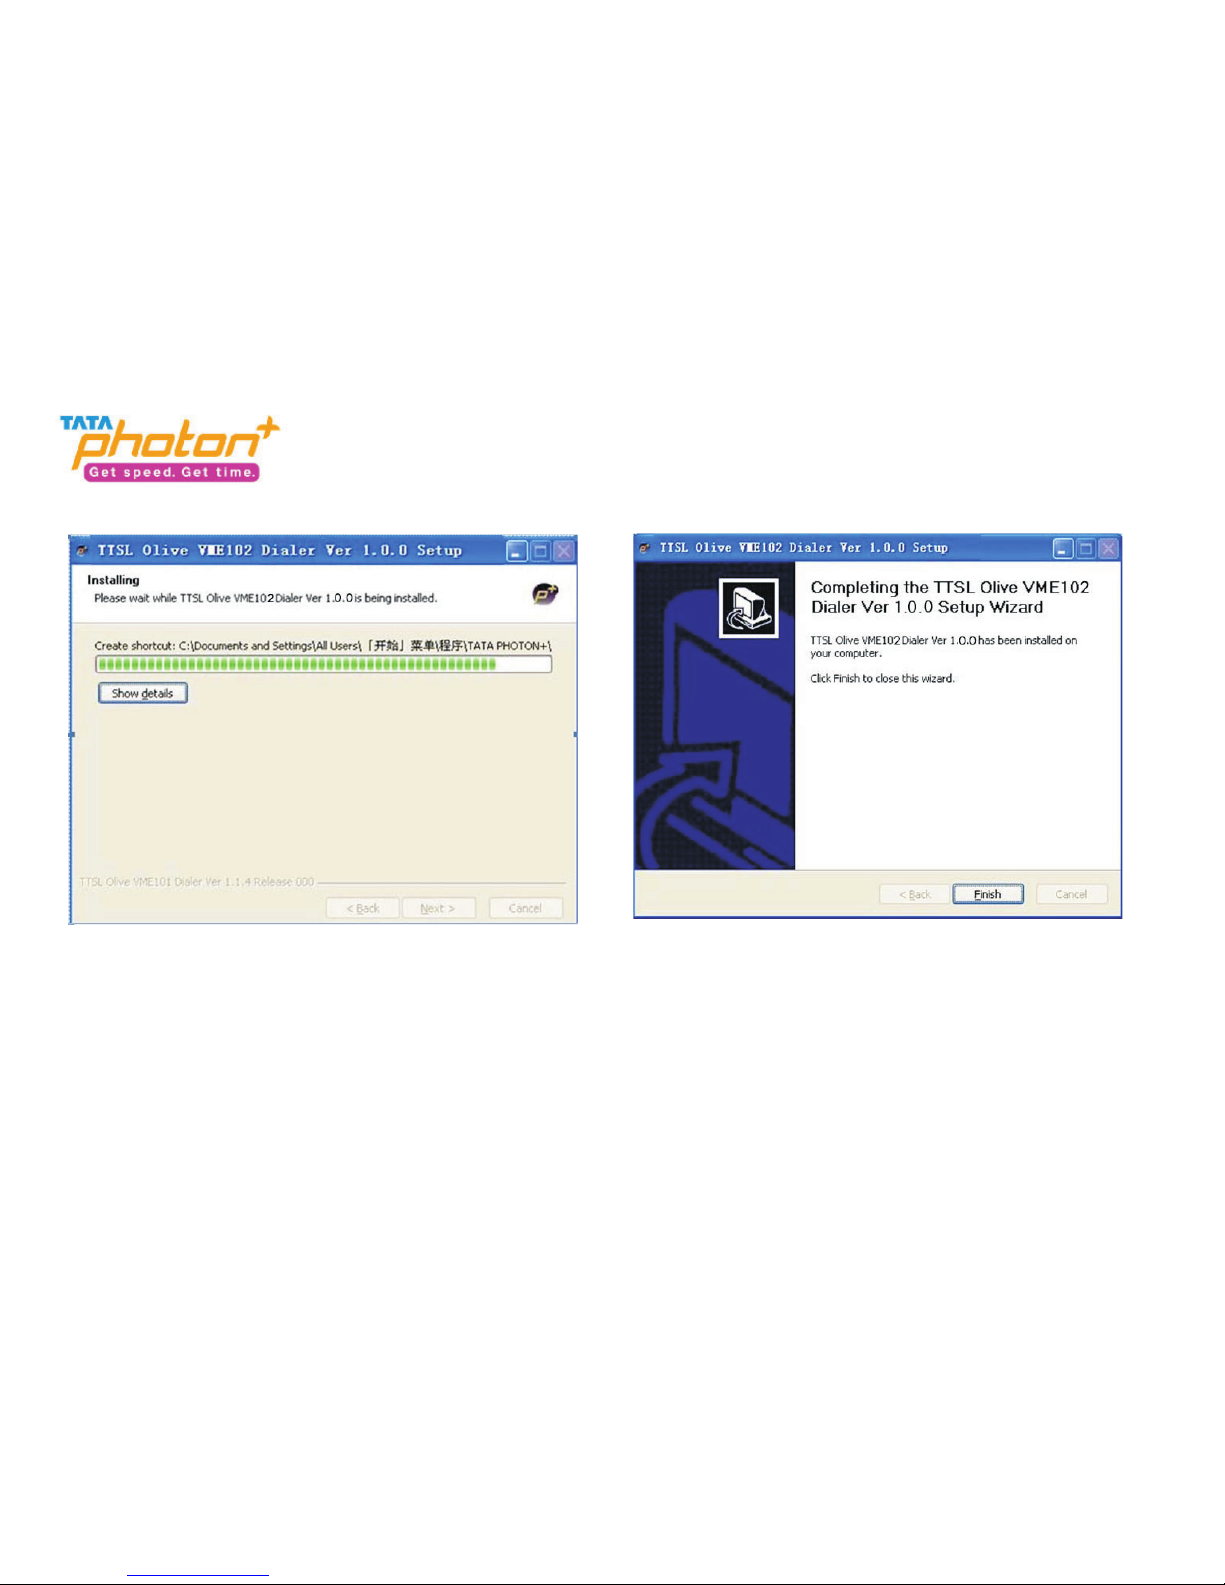
Installation Procedure for Windows XP...................................................................................................6
Installation Procedure for Mac OS ........................................................................................................15
Installation Procedure for Linux ............................................................................................................21
7.Using the Dialer .......................................................................................................................................26
8.VME102 Trouble Shooting .......................................................................................................................32
9.Important Safety Information..................................................................................................................35
10.Care and Maintenance...........................................................................................................................37

1.Introduction
2.System Requirements
Congratulations on your purchase of the Olive VME102 Photon Plus USB Data Modem Device.
The User Guide contains important information on the proper use and correct operation of Photon Plus
USB Data Modem. We recommend that you read this manual carefully to ensure optimal performance
PC with USB Port
Note:
If your PC has lower configuration,the performance of your device may be lower.
Hardware configuration should satisfy the demand of the operating system.
Windows2000SP4/XP SP2/Vista Windows7
Mac 10.5 / 10.6
Linux OS Ubuntu 8.1 or above/ Fedora
Display Resolution:Above 800x600
1
&

3.VME102 Appearance
Please find below the description that you need to know to start using your device
Name
1.USB Plug
2.Indicator light
3.T-Flash Slot
Description
It connects the device to your PC.
Power:Red light flashes on plugging in the device.
Link:Blue light flashes continuously in case the connection is on
To install a microSD slot and use it as a data storage device
2

4.Technical Specification
NOTE: In regions, where Tata Photon Plus network coverage is unavailable, the device will
operate on Tata Photon Whiz speeds of up to 153.6 Kbps.
Modem Type
Mode
Frequency (Band )
Antenna Type
Dimension
Internal Memory
Memory Card Slot Support
External Memory Support
Speeds
USB Dongle NON-RIUM
EVDO REV A
800 MHz
Internal
76.0*25.4*10.8mm
1Gbit NAND+ 256Mbit DDR
T-Flash
Upto 32Gb
Up to 3.1 Mbps (Downlink) &
Up to 1.8 Mbps (Uplink)
3

5.Inserting the Micro-SD Card
1.Remove the back casing .
2.Insert the T-flash card.
3.Insert the back casing.
4

6.Using the device
For different operating systems, the installation process is different. Please note the process for the
following Operating Systems
Connect the USB Modem with your PC via USB port
If PC opens the Auto Run function, it will pop up an installation interface. If not, please go to the CD as
1.Connect the USB Modem with PC
2.Install the Dialer & Driver
“”
Installation Procedure for Windows XP
5

shown in the figure below and open it and double click the AutoRun.exe file or right click and click on
Auto play .
“”
“”
6

Please refer to the following screenshots for the further steps of installation
Click Next and then Install““”
7

Please click on Finish button“”
8

After installation, click on the icon TATA PHOTON Plus Dialer .”“
9

Notice: Please allow the OliveNService.exe to run.(This service will notify device that driver installation
has finished)
10

When the installation is complete, the dialer appears as follows.
Please click on the Continue button as shown in the image below
On clicking the Continue button, the following window appears.
“”
“”
11

Please select the Prepaid/Postpaid option depending on the services that you wish to opt for.
Gently scratch the silver strip on the you have received with the Starter Kit, to reveal
your 14-digit PIN. Enter your 14 digit PIN number in text box against the text .
Please click on the button
On clicking the Activate button, the following screen appears. The moving bars indicate that the
activation is in progress.
“”
“”
”
“”
Activation card
Enter PIN
Activate“
12

You may have to wait for a couple of minutes. Once activation is successful, you will see the following
screen.
Once activation is successful, click on the Connect button and start surfing.“”
13

In case the activation fails, the following sequence of steps needs to be followed.
1.In case activation is unsuccessful, you will see the following prompt.
2.Please click on the "OK" button. The following screen will appear. Please click on the "Activate" button
as shown in the below figure. Please repeat the same sequence as stated above to continue.
14

Un-installation of Application Software
1. Exit Management procedures.
2. Remove the device from the system then pull it out.
3. Open Add/Remove program in the control panel.
4. Accord the prompt, finish un-installation
“”
Installation Procedure for Mac OS
15
1.Connect the USB Modem with PC
Connect the USB Modem with your PC via USB port.
2.Install the Dialer & Driver
Insert the device into Laptop / PC

Double click icon of TTSL Olive VME102 Dialer ,
Click Continue then install
“”
“”
16

Please enter your laptop's password when pop up window appears
When installation is successful, click on the Close button“”
17

After clicking on Close , the dialer opens
When the installation is complete, the following dialer appears
Please click on the Continue button as shown in the image below
On clicking the Continue button, the following window appears.
Please select the Prepaid/Postpaid option depending on the services that you wish to opt for.
“”
“”
“”
18
Table of contents
Other Olive Modem manuals
Popular Modem manuals by other brands

Sierra Wireless
Sierra Wireless TRUINSTALL USB 598 user guide

3Com
3Com 56K Winmodem installation guide

Geetel
Geetel INTERNET DSL MODEMS Handbook

Patton electronics
Patton electronics 1058DVs Product Quick Reference

AvL Technologies
AvL Technologies SkyEdgeII Interface Guide and Reference

ABB
ABB 500FSD10 manual