Chapter 2: Quick Setup
Enabling High Power
After you have started the ACE software and connected to the controller, enable high power to
the robot motors:
1. From the ACE main menu, click the Enable High Power icon:
2. If the High Power button on the Front Panel is blinking, press and release it.
The optional Front Panel is shown in Optional Front Panel on page 70. (If the button
stops blinking, you must Enable Power again.)
NOTE:The use of the blinking High Power button can be configured (or elim-
inated) in software. Your system may not require this step.
WARNING: Disabling the High Power button violates IEC 60204-1. It is
strongly recommended that you not alter the use of the High Power but-
ton.
This step turns on high power to the robot motors and calibrates the robot.
lThe Robot Status LED glows amber.
lThe code on the Robot Diagnostic Panel displays ON (see Robot Status Display
Panel on page 67).
Once high power is enabled, the Robot Status Panel displays ON, and the amber Robot Status
LED is on.
2.6 Start-up Procedure
Aligning the Platform and J4 Motor
It is possible for either the motor shaft or the platform shaft to be turned, manually, before the
theta drive shaft is connected to both. If not detected, the software may assume the robot’s tool
flange is at a different angle than it really is. To ensure that the software knows the actual rota-
tion of the tool flange with respect to the J4 motor, you need to use the ACE software to estab-
lish this alignment.
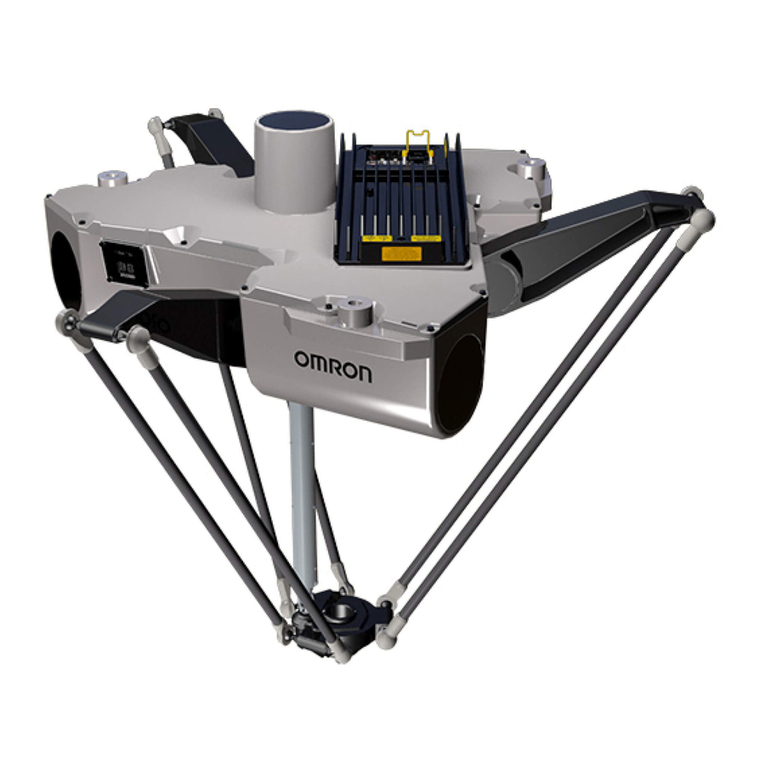
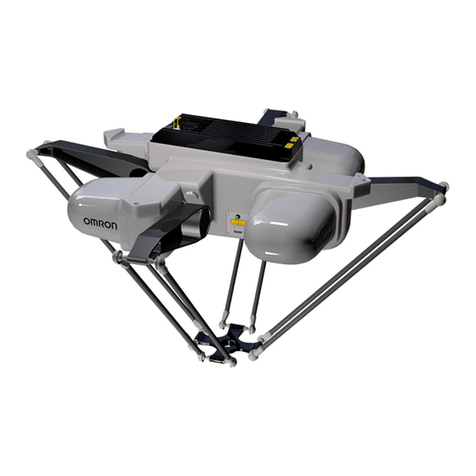
1. Within the ACE software, open the Hornet robot object.
2. In the Configure tab, click Adjust J4 Zero.
This will launch a utility for aligning the theta drive shaft.
3. Follow the instructions in the utility.
Contact Omron Adept Technologies, Inc. for more information on this procedure.
NOTE:Once the theta drive shaft is installed, the J4 motor and the tool flange will
always rotate together, so the software will know the orientation of the tool flange.
Hornet 565 Robot Quick Setup Guide, 14692-000 Rev E
Page 17 of 20