The Evolution Indoor camera is intended for surface
and pendant mount applications. Route cables in the
enclosure from either the back or side.
Using the optional Pendant Mount, attach the camera
directly to any length of pipe (1 1/2-inch NPT diameter).
Preparation
1. Using the Torx driver (provided), unscrew the side
Torx screw then carefully unclip the plastic trim cover.
2. Carefully remove the dome cover removing the
camera module.
Installation
1. Using the drilling template, drill mounting holes.
2. Pull wires through the center hole.
3. Attach the Mounting Plate with appropriate fasteners.
NOTICE: Ensure the fasteners are appropriate
for the surface material and support at least four
times the weight of the camera and assembled
enclosure.
4. Secure the Mounting Plate
to the surface.
Note: Considering the
orientation of the sheye
image, consider the
thumbscrew equal to the
sheye image top.
5. Connect the Ethernet cable and wiring. Remove the
alarm connector (if used) to facilitate connection.
6. Install the Camera Module by rotating the camera into
the clip in the Mounting Plate.
7. Fasten the Camera module
with the thumb screw.
8. Attach the Trim Cover over
the Mounting Plate by
aligning the two section
guides. Ensure wires travel
around the lens.
9. Install the Torx screw.
10. Apply power.
11. Remove the protection lm
from the camera lens.
Welcome
The Oncam Evolution 12 Indoor 360° camera is designed
to be connected to an IP network. Congure and operate
the camera using a standard internet browser.
Described are the installation and conguration
procedures for a standard surface mount camera
application.
Evolution 12 Indoor Camera
QUICK START GUIDE
Installation & Mounting
Power Input
12 VDC, 1.0 A (min) LPS, NEC Class 2
power supply or Power over Ethernet (PoE),
IEEE standard 802.3af
Operating
Temperature 0 to +40°C (-32 to +104°F)
Enclosure Polymer
Weight 0.72 kg (1.59 lbs)
Important
• Read these instructions carefully before
installing or operating this camera.
• This camera should be installed by a qualied
service person and the installation should
conform to local and national regulations.
• This camera is not suitable for installation in
a ceiling void that is used as an air handling
space.
• Certied as FCC Class A. In a domestic
environment this camera may cause radio
interference in which case the user should take
adequate measures.
DANGER: RISK OF EXPLOSION IF
REPLACING A BATTERY WITH AN
INCORRECT BATTERY TYPE.
Technical Support
For the A&E, Specication, Installation and User Manual,
Software and Firmware visit:
www.oncamgrandeye.com/resources/product-downloads/
Tel: UK +44 (0)20 7371 6640
US +1 978 735 4860
MAC Address
Document the camera’s installation location and unique
MAC address. Find the MAC address printed on the
camera label. This information may be needed during the
camera conguration.
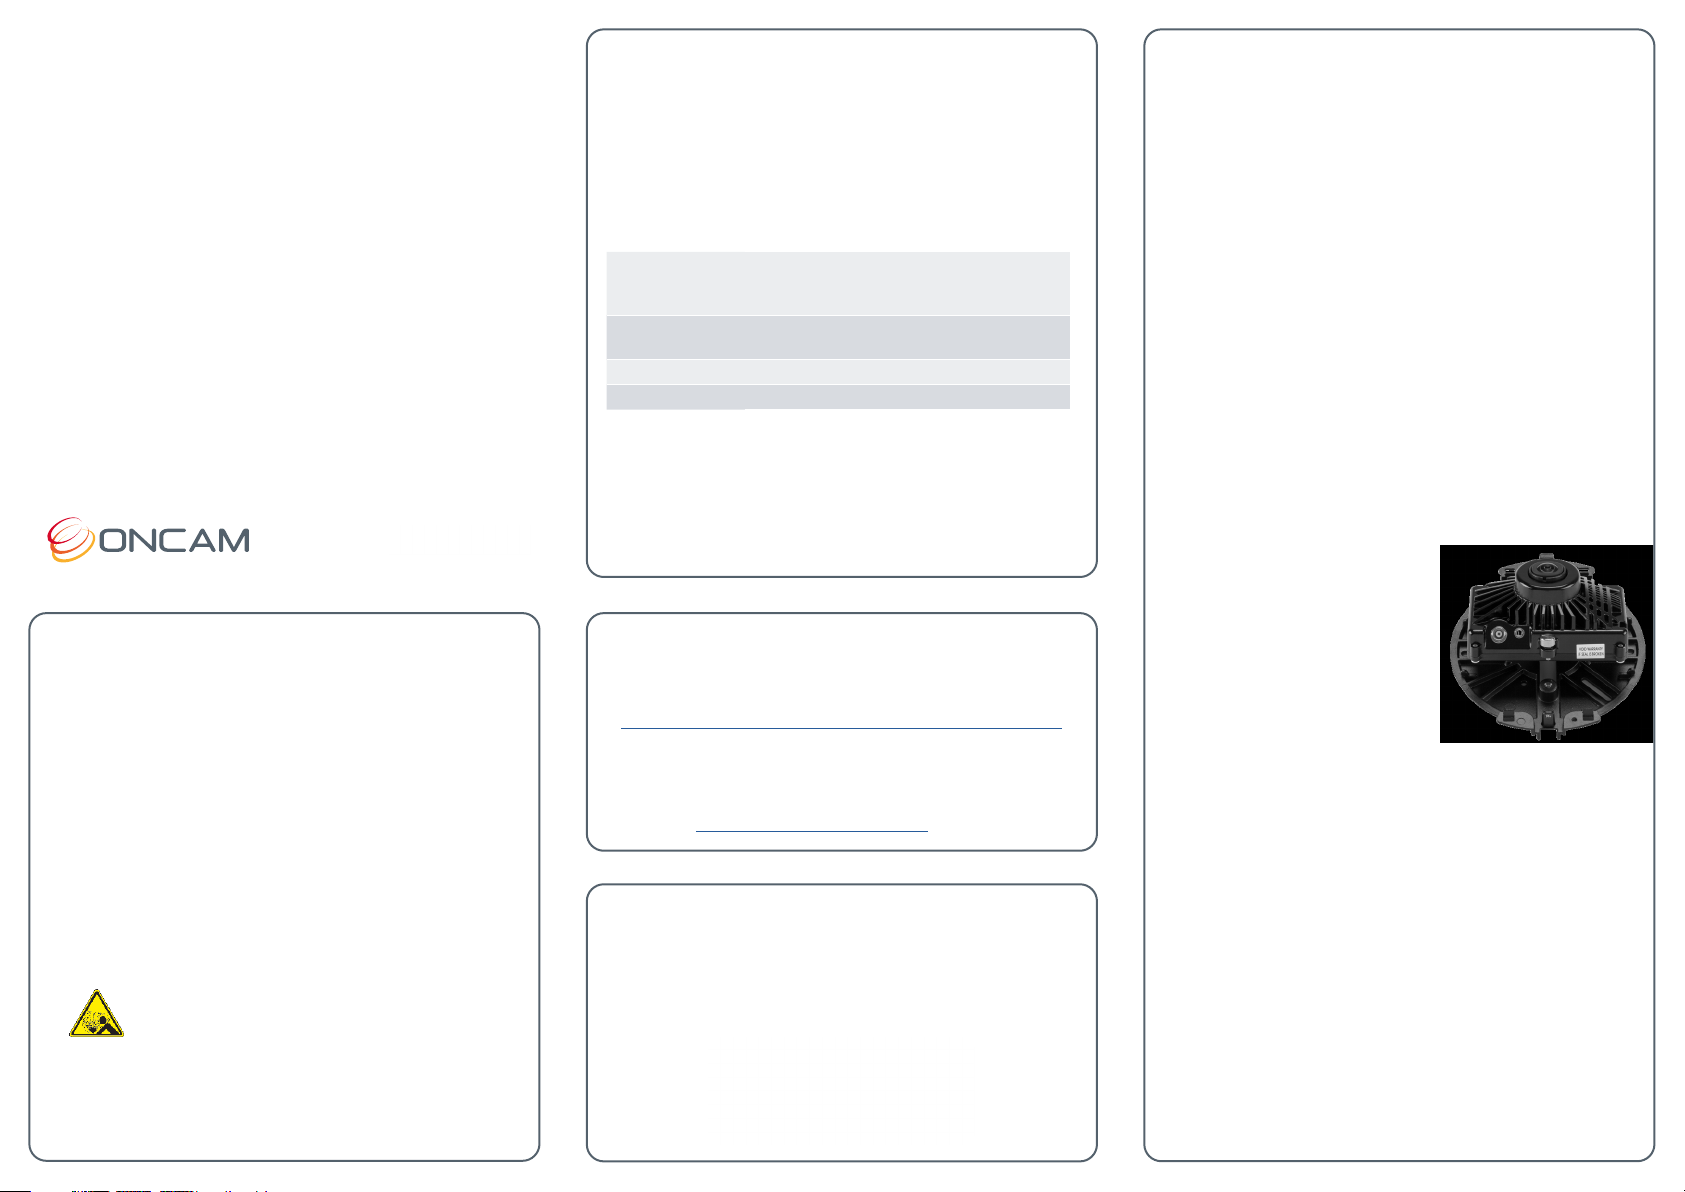
Supplied Parts
• EVO-12 Camera • Quick Start Guide
• Surface Mounting Plate • Drilling Template
• Trim Cover
EVO-12-NID


