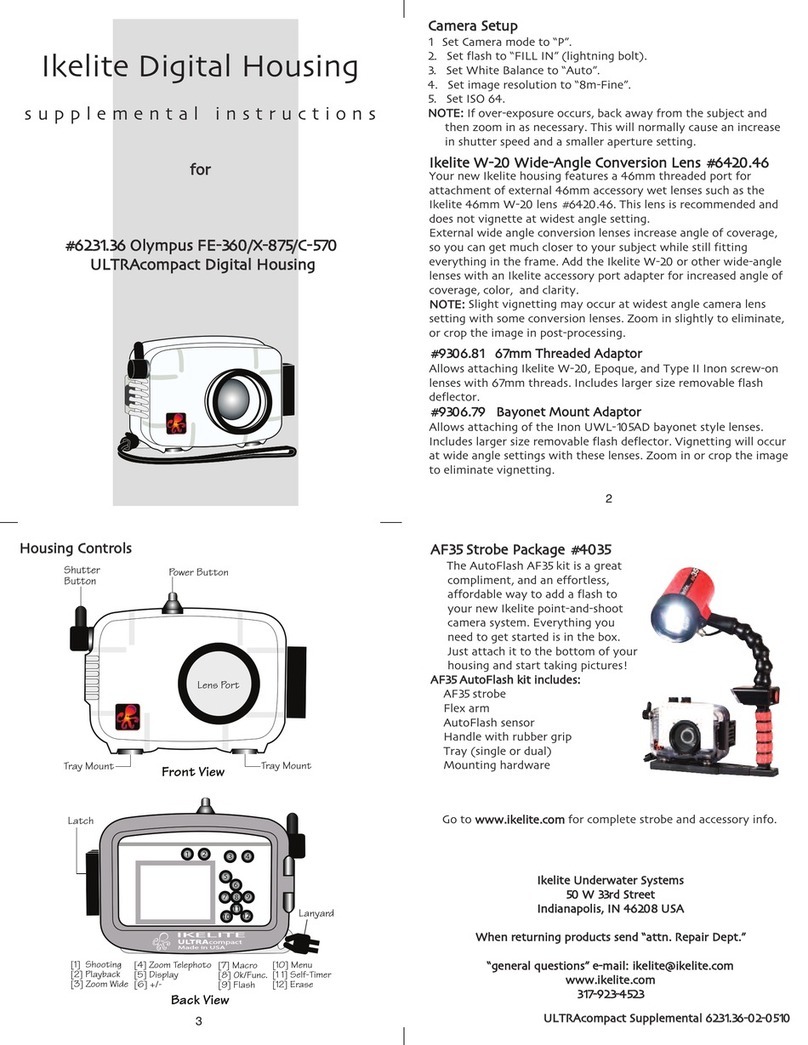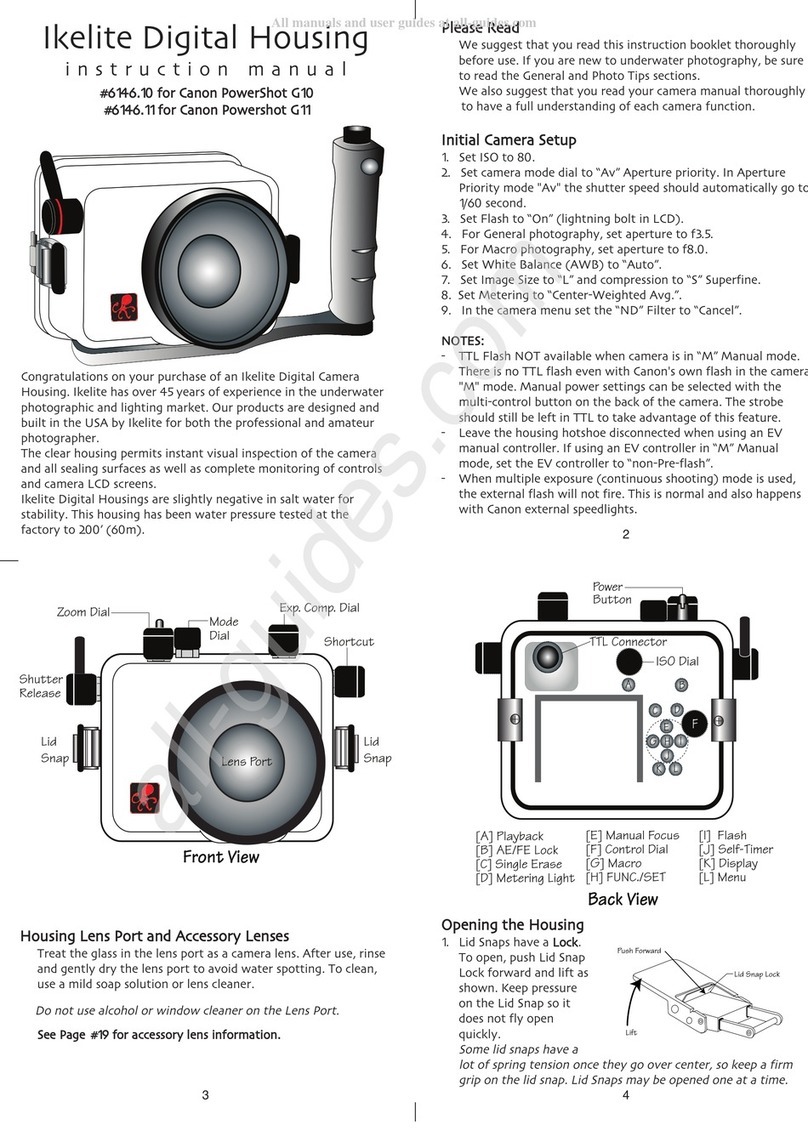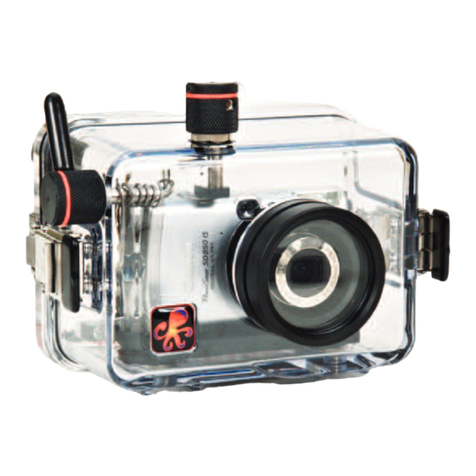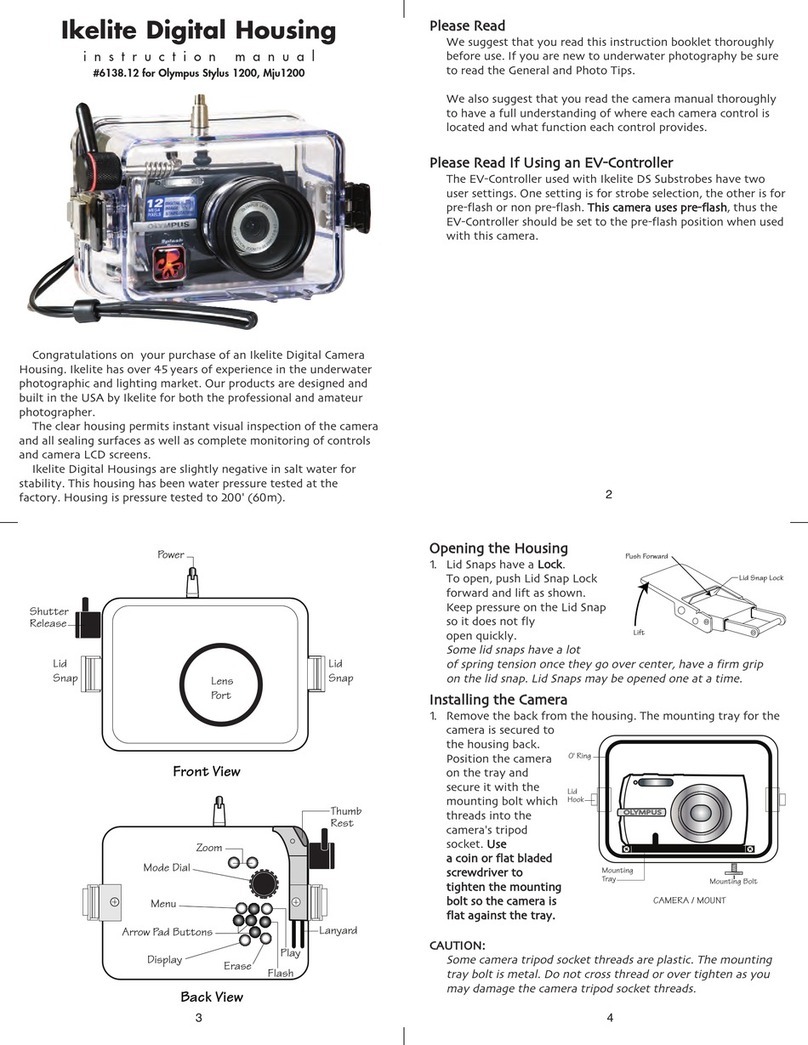
CAMERA SETTING
Power On/Off – Camera (On)
Zoom ever – Wide Angle Setting
Focus – Auto Mode
I N S T A A T I O N
CD MONITOR / EXTERNA MIRROR______________________________________
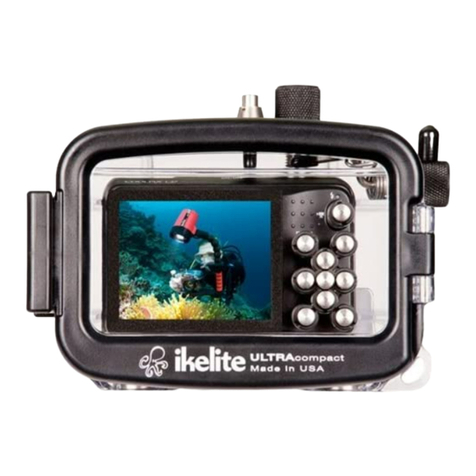
The camera's CD monitor can be viewed from the rear of the housing, using the
external mirror featured on the side of the housing.
Open the CD monitor on the camera, rotate 180°, and then press it back against the
side of the camera. The external mirror is hinged so that it can be opened to reflect the
image from the camera's CD monitor for viewing from the rear of the housing. The CD
image will appear reversed, left to right.
During transportation, please remember to close the mirror by pressing it against
the side of the housing or lid snap.
WEIGHT OPTIONS ________________________________________________________
If additional weight is needed the following bases can be ordered.
#9360.1 - 5 oz. weight
#9360.2 - 1 lb. weight
FINA PREPARATION_____________________________________________________
Remove the lens cap, lens hood and cord from the camera. Otherwise, they may
interfere with the housing seal.
The camera's auto focus feature is utilized underwater. For best results, move in close to
your subject and use the wide angle range to shoot thru as little water as possible. The full
zoom range is accessible underwater.
Chart shows recommended initial settings underwater.
WHITE BA ANCE_________________________________________________________
For HF G10 model camera.
You must put the camcorder in Custom white balance mode before installing it into
the housing. After custom white balance mode has been selected and the camera
installed into the housing the touch screen controls can be used to activate the white
balance functions. The automatic white balance mode is not accessable once the
manual setting is selected.
Color Filter: When using the color filter (during the day), set camera white balance
to Auto for 0-15 foot depth. For 15-80 foot depth, set white balance to Outdoor.
Video- ite: When using optional Video ite at NIGHT, set the camera white balance
to the Indoor position. During the DAY, use the Outdoor setting for subjects beyond
4-5 feet and the Indoor setting for closer subjects.
I N S T A A T I O N c o n t i n u e d
CAMERA TRAY____________________________________________________________
The camera mounts to the tray, which extends from the back plate of the
housing. DO NOT remove the tray from the back plate.
Position the camera against the two stabilizing
pins on the tray and secure with the camera
mounting bolt. The camera should fit easily on the
tray and should be parallel with the sides of the tray.
INSERTING THE CAMERA_________________________________________________
Check that the clean o-ring is properly positioned on the lip of the clear back plate.
Place the lid snaps in the open position.
Once the camera is mounted to the tray, pull the housing controls out to provide
clearance for the camera. Align the back plate with the clear housing and slowly place
the back plate against the housing.
DO NOT force this installation; if the controls are out of the way and everything
is lined up properly, the camera and tray will fit easily inside. Make certain that the tray
is completely in the housing. The front should be flat against the housing and NOT tilted
on one side.
HOUSING CONTRO S_____________________________________________________
Slide the housing controls back in place making sure they properly align with the
camera functions. Fasten the opposite lid snaps at the same time--DO NOT fasten one
at a time.
Operate each control to see how it works with the camera. Some controls such as
start/stop will be used frequently. Other controls may seldom be utilized. Refer to your
camera owner's manual for the proper function of each camera control. ook thru the
back to be sure that you can see into the viewfinder.
When using the housing controls, especially the start/stop, DO NOT use excessive
force because you could damage the camera.
CAUTION
Remove the lens cap and cord from the camera. Otherwise, the cord may
interfere with the housing seal.
If the housing controls are not properly positioned, they could interfere with the housing seal.
MANUA FOCUS OPERATION_____________________________________________
Manual focus may be preferred in low light levels or when the subject possesses
little contrast. Set the focus pad on the CD screen to Manual to cancel the auto
focus. If you want to manually adjust the focus, rotate the manual focus control as
desired.
To reactivate the auto focus, set the focus pad on the CD screen to Auto.
IKE ITE UNDERWATER SYSTEMS
50 West 33rd Street • PO Box 88100 • Indianapolis, IN 46208 USA • 317.923.4523
6085-01-1111
Camera Mounting Bolt
Camera Tray
O’ring
Back Plate
Stabilizing
Pins
