5
GENERAL INSTALLATION & SERVICE WARNINGS
The control valve, fittings and/or bypass are designed to accommodate minor plumbing misalignments. There is a small
amount of “give” to properly connect the piping, but the filter is not designed to support the weight of the plumbing.
Do not use Vaseline, oils, other hydrocarbon lubricants or spray silicone anywhere. A silicone lubricant may be used on
black O-rings, but is not necessary. Avoid any type of lubricants, including silicone, on red or clear lip seals.
Do not use pipe dope or other sealants on threads. Teflon® tape must be used on the threads of the 1" NPT inlet
and outlet, the brine line connection at the control valve, and on the threads for the drain line connection. Teflon®
tape is not used on the nut connections or caps because O-ring seals are used. The nuts and caps are designed to be
unscrewed or tightened by hand or with the special plastic Service Wrench, #CV3193-02. If necessary, pliers can be used
to unscrew the nut or cap. Do not use a pipe wrench to tighten nuts or caps. Do not place screwdriver in slots on
caps and/or tap with a hammer.
SITE REQUIREMENTS
• Water Pressure: 25-100 psi
• Water Temperature: 33-100°F (0.5-37.7°C)
• The tank should be on a firm level surface
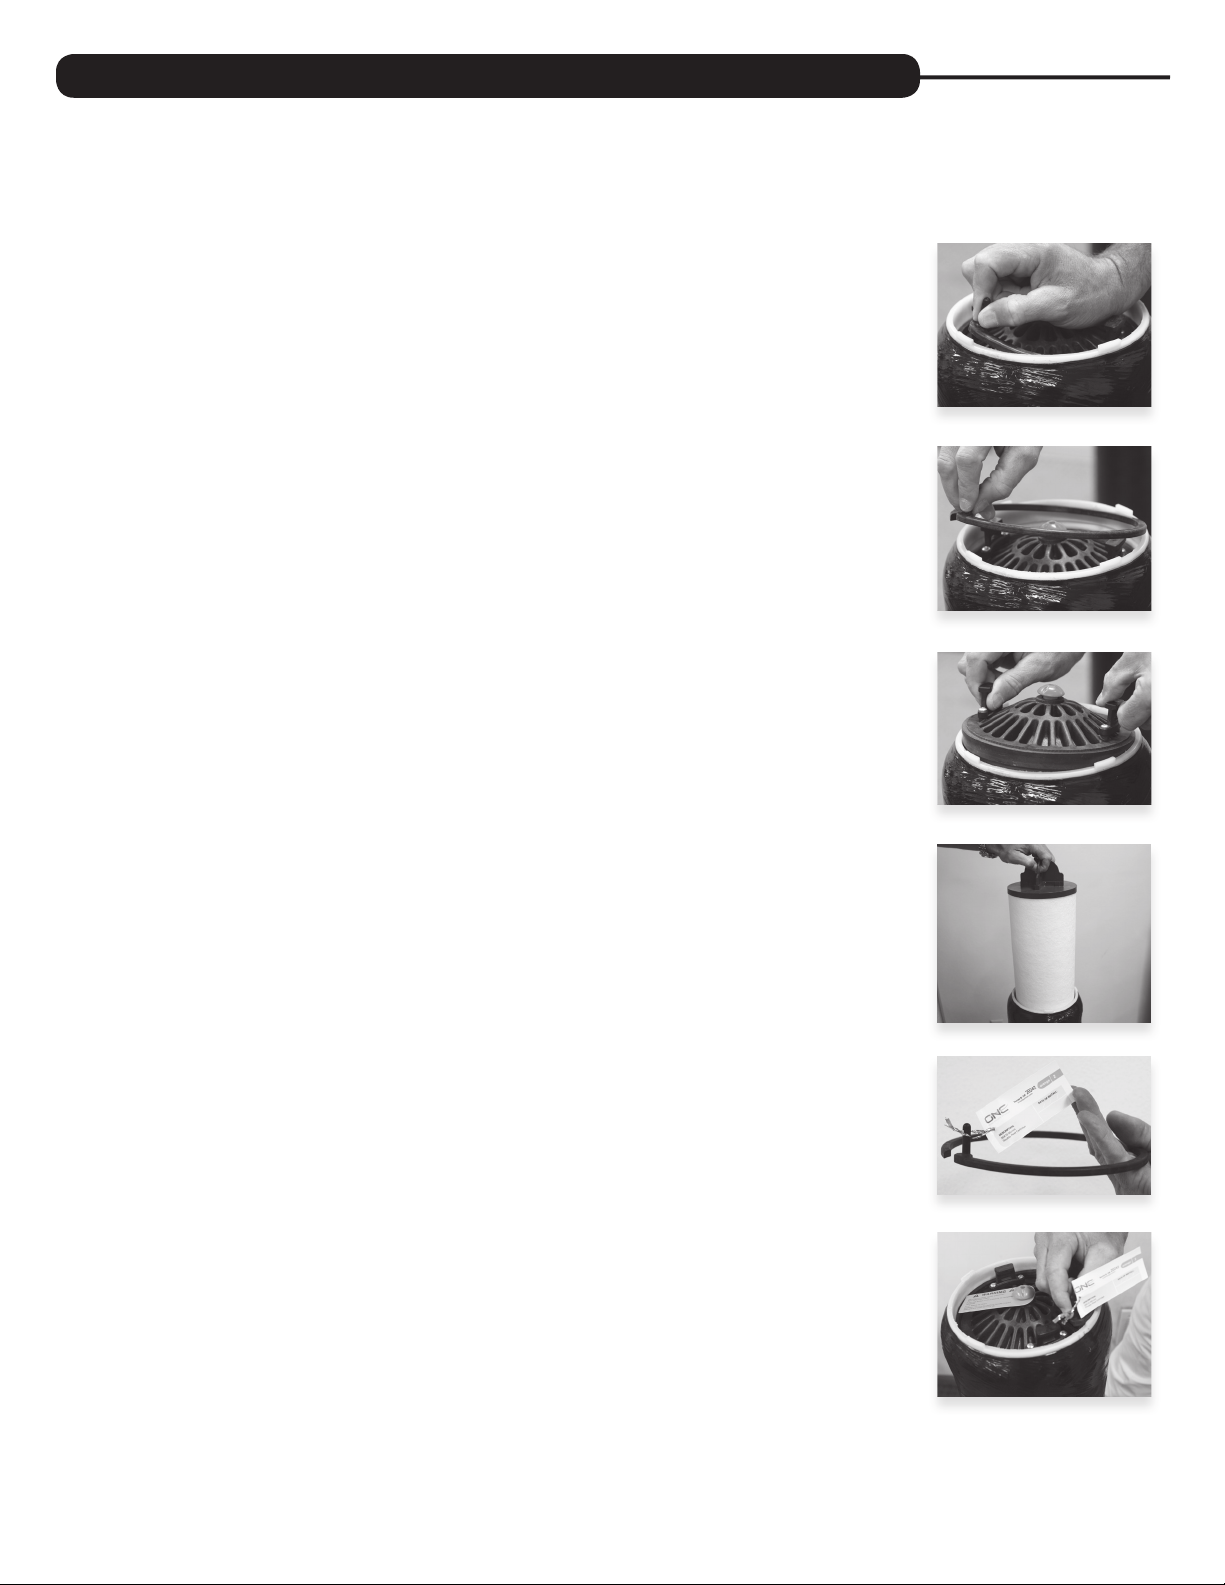
1. This unit is equipped with a 1” NPT connection at the
bottom of the tank. This connection is for an optional
drain that may be used to rinse the cartridge filter
periodically. If this is installed, location of the tank to
the actual drain should be as close as possible. It is
highly recommended to install the optional drain for
servicing the unit.
CAUTION: If a drain is not used or
the installation makes this
unavailable, the 1” hole must be
plugged or water will flow from
this outlet.
2. Do not install any water filter with less than 10 feet of piping between its outlet and the inlet of a water heater.
3. Do not locate unit where it or its connections (including the drain) will ever be subjected to room temperatures
under 33°F.
4. Do not subject the tank to any vacuum as this may cause an “implosion” and could result in leaking. If there is a
possibility a vacuum could occur, please make provisions for a vacuum breaker in the installation.
5. INLET/OUTLET PLUMBING: Be sure to install bypass valve onto main control valve before beginning plumbing. Make
provisions to bypass any outside hydrant at this time. Install an inlet shutoff valve and plumb to the unit’s bypass
valve inlet located at the right rear as you face the unit. There are a variety of installation fittings available. They are
listed under the installation fitting assemblies section in this manual. When assembling the installation fitting package
(inlet and outlet), connect the fitting to the plumbing system first and then attach the nut, split ring, and O-ring.
Heat from soldering or solvent cements may damage the nut, split ring, or O-ring. Solder joints should be cool and
solvent cements should be set before installing the nut, split ring, and O-ring. Avoid getting solder flux, primer, and
solvent cement on any part of the O-ring, split rings, bypass valve, or control valve. If the building’s electrical system is
grounded to the plumbing, install a copper grounding strap from the inlet to the outlet pipe. Plumbing must be done
in accordance with all applicable local codes.
TYPICAL INSTALLATION
INSTALLATION INSTRUCTIONS FOR CW-840-1:
The larger of 2
pipe diameters
or 1” air gap
required