Oneida Air Systems CC500 User manual

U.S. Patent: #8393050,
#9125535, #D927104
CC500
Dust Extractor with
Longopac
# XXP500000
Rev: 08/17/2021 Doc. #ZBM001500
Appearance may vary slightly
OWNER’S MANUAL


oneida-air.com 1
Table of Contents
System Start-Up Information 2
System Specications 4
System Dimensions 5
System Contents 6
Assembly Instructions 8
Maintenance 16
Troubleshooting 20
Recommended Accessories 21
Warranty Information 23
Notes 24

Oneida Air Systems, Inc.2
System Start-Up Information
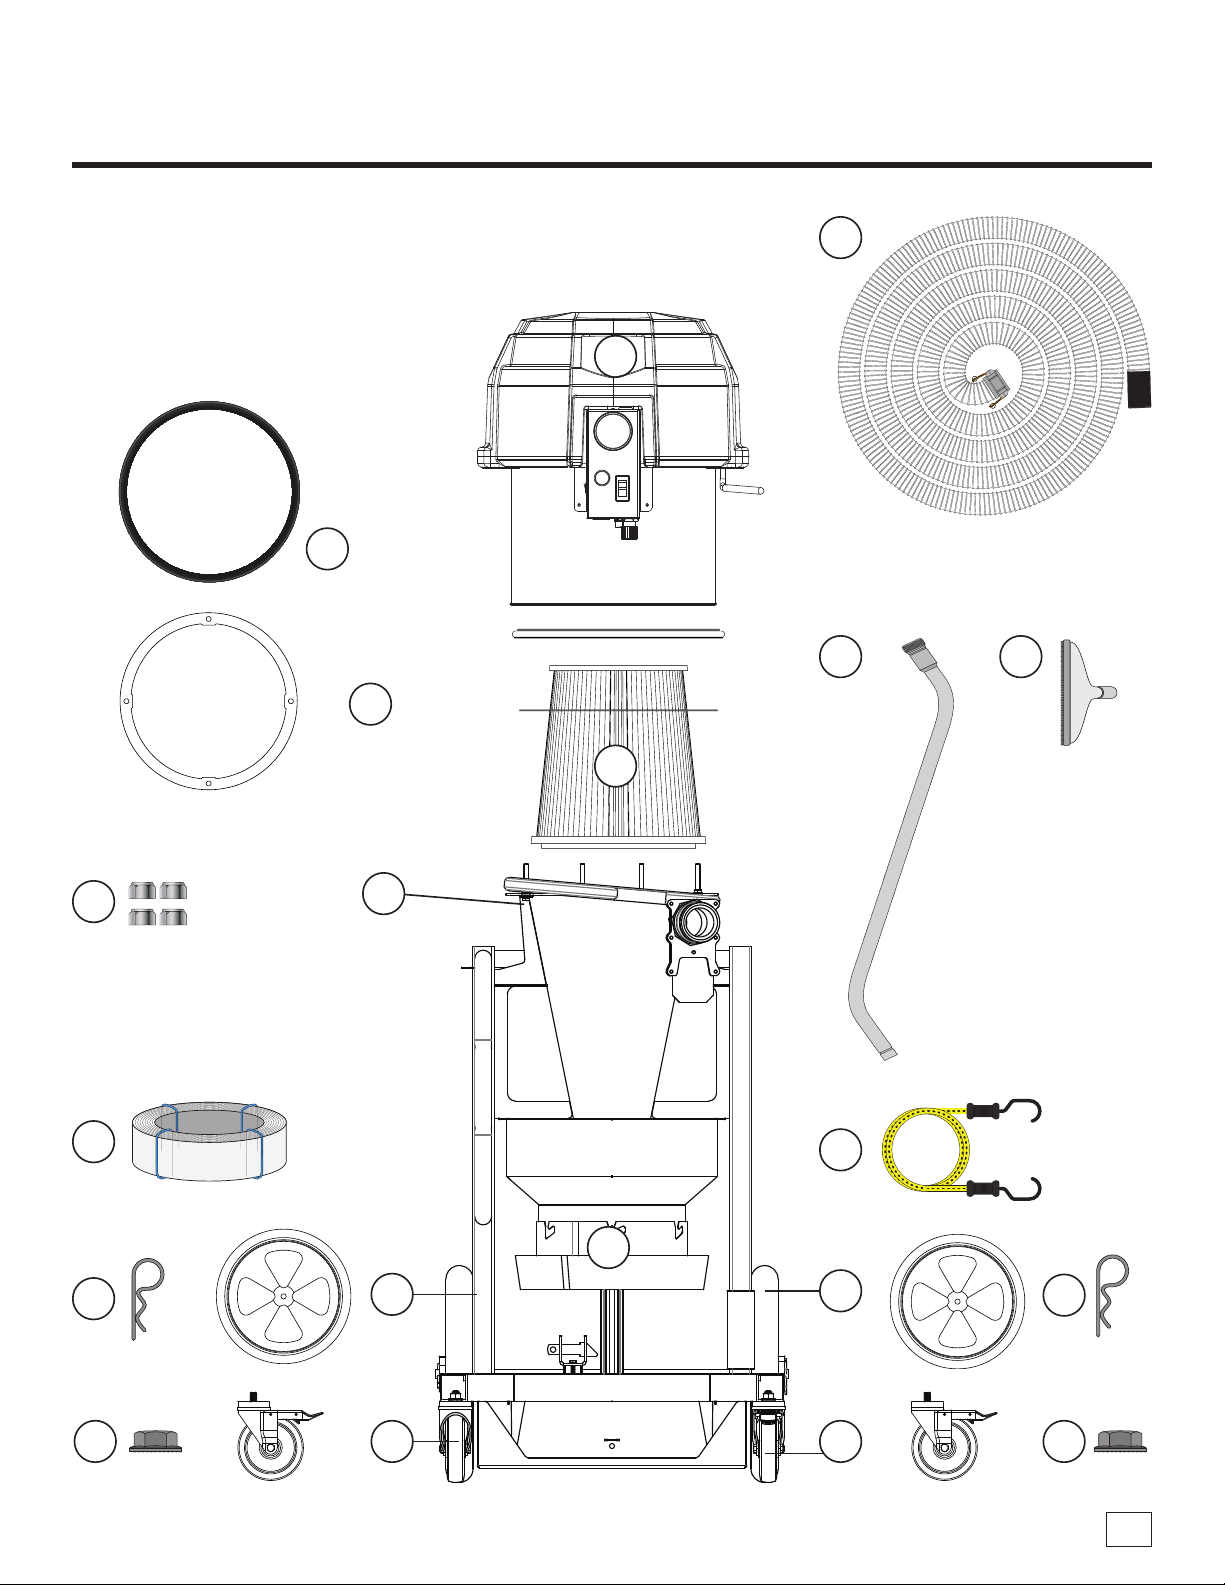
1. Install ductwork/ex hose completely before operating collector.
a. Seal ductwork with silicone sealant or duct tape if leaks are found.
b. Have dust drum in place and sealed.
2. DO NOT operate without lter in place. Debris will cause damage to the motor!
3. THIS UNIT IS NOT RATED FOR USE IN COMBUSTIBLE ENVIRONMENTS.
4. is equipment incorporates parts such as switches, motors or the like that tend to produce arcs or sparks that can cause an explosion.
5. To reduce the risk of Electric Shock, DO NOT use outdoors or on wet surfaces.
6. Exhaust air should not be vented into a wall, a ceiling, or a concealed space of a building.
7. To reduce the risk of injury from moving parts - unplug BEFORE servicing.
8. Ensure that your dust collector is turned o and unplugged during installation.
9. Use this equipment for dry material collection only. DO NOT use for liquid collection.
WARNING
FIRE HAZARDS
1. Wood shaping and cutting processes generate wood chips, shavings and dust. ese materials are considered combustible. Air borne wood dust
below 420 microns in size (0.017 of an inch) in certain concentration ranges when ignited can deagrate (burn quickly). An ignition source
such as a spark or ember can ignite a dust mixture resulting in an expanding ame front, which can cause an explosion if tightly contained. A
disturbance that raises a cloud of accumulated ne dust can raise additional dust clouds, which can cause a series of explosions that can level an
entire building. Until this type of re has been witnessed, it is dicult to believe the devastation. is type of re is rare but worth safeguarding
against.
2. e best way to avoid a wood shop re is to keep the shop clean. A shop ankle deep in dust with layers of ne dust everywhere is an accident
waiting to happen. A good dust collection system reduces overall re hazards but also adds new concerns. A re hazard is still present.
Combustible material is now in the dust collector and storage container.
3. e following points are worth heeding:
a. It is the buyer’s responsibility to follow all applicable federal, state, local, OSHA, NFPA, or authorities having jurisdiction
codes and regulations when installing and operating this dust collector.
b. Fire Marshals may want the unit located outside of the building. If the collector is located inside the facility, controls
such as spark detection, suppression, or explosion venting may be required.
c. Most local jurisdictions consult or adopt NFPA (National Fire Protection Agency) codes. However, other codes may
apply. Local codes may vary from jurisdiction to jurisdiction.
d. NFPA664 Code book, “Standard for the Prevention of Fires and Explosions in Wood Processing and Woodworking
Facilities”, applies to woodworking operations that occupy areas of more than 5,000 sq. . or to areas where dust
producing equipment requires an aggregate dust collection ow rate of more than 1,500 cfm (cubic feet per minute).
is exempts some small operators from the NFPA code 664, but other codes may apply in your jurisdiction. Consult
your local Fire Marshal for help. Additional information can be found in NFPA Code Book 664.
MAKE SURE TO READ AND UNDERSTAND THE INSTALLATION AND MAINTENANCE INSTRUCTIONS AS
WELL AS ALL RECOMMENDED SAFETY PRACTICES.

oneida-air.com 3
System Start-Up Information (Continued)
4. e customer assumes the responsibility for contacting their insurance underwriter regarding specic application requirements of explosion
venting or if additional re protection and safety equipment may be required.
5. DO NOT use this product to collect ammable dust or ammable vapors! - Fire or explosion may occur!
6. NEVER collect sparks from a bench grinder into a wood dust collector.
7. NEVER introduce sparks or sources of ignition into the dust collector.
8. Check dust bin frequently for smoldering material and before leaving the shop.
9. Keep portable re extinguishers handy.
a. e ABC type (dry chemical) is generally a good choice for small wood shops.
b. Additional information on portable extinguishers can be found in NFPA 10 (Standard for Portable Fire Extinguishers).
10. Be especially careful with sanding units. ey can produce concentrations of dust in the combustible range. Make certain enough air volume is at
the suction point to capture all the particulate generated.
11. is high air volume will dilute the mixture below the lower limit of ammability. Be careful not to generate sparks into the sanding dust.
12. Empty dust bin and clean lter oen, especially when sanding.
13. DO NOT overload woodworking equipment, especially sanders. Excessive frictional heat can spontaneously ignite dust.
14. Sparks can be generated in several ways:
a. High speed sanders and abrasive planers may strike foreign material.
b. Saws and edgers may strike foreign material and create a red-hot metal fragment.
c. Knots in hardwood can create frictional sparks.
d. Trapped metal when drawn into the collector can spark against ductwork.
e. Check wood stock for old nails and screws which can create red hot metal fragments.
15. Avoid using excessively large wood waste bins.
16. ALWAYS check storage bins for smoldering material before leaving for the day.
17. Electrically ground all equipment and ducting. Static sparks can ignite wood dust. (Avoid using PVC drain pipe.)
18. DO NOT allow accumulation of layers of ne dust on horizontal surfaces (especially overhead lights, electrical boxes and fuse panels which can
ignite dust.)
19. UNPLUG UNIT BEFORE SERVICING OR CLEANING
Customer Service Dept.
1-866-387-8822 • support@oneida-air.com

Oneida Air Systems, Inc.4
System Specications
OPERATION
Maximum Suction Rating 97.8" WC
MOTOR AND ELECTRICAL
Motor Type 3x 1300W Modular Motors
Horsepower 5HP Total
Motor Speed 48,880 RPM
Phase 1-Phase
Voltage 208-230V
Cycle 60HZ
Listed FLA 18A
On/O Switch Rocker Switch
Power Cord Length 10 feet
Power Connector NEMA 6-20
Recommended Circuit Size 20A
Recommended Circuit Type HACR
Sound Emission 80 dBA @ 10 ft
CARTRIDGE FILTER
Filter Media Type HEPA Certied
Filter Eciency 99.97% @ 0.3 microns
Filter Surface Area 40 sq ft
SYSTEM DIMENSIONS AND CONSTRUCTION
Primary Build Materials Cold Rolled Steel, Static Dissipative Polyethylene
Inlet Cam and Groove Fitting that can receive a 2" or 2.5" Hose
Discharge to Drum Longopac
Overall Height 65"
Overall Weight 121 lbs
e CC500 requires a 20 Amp outlet
receptacle.

oneida-air.com 5
Nominal dimensions shown. Dimensions subject to slight variations in manufacturing.
System Dimensions
52"
1,321 mm
28"
711 mm
26"
660 mm
34"
864 mm
39"
991 mm
66"
1,676 mm
42"
1,067 mm

Oneida Air Systems, Inc.6
System Contents
Please unpack the parts carefully and conrm you have received each item listed here.
Pre-installed hardware may loosen during transit. Ensure all hardware is fully tightened before operating system.
* Some components are pre-installed at the factory and are listed here for your convenience.
ID Part number Part description Qty
A BXI001501 CC500 Motor Assembly 1
B RGF000015 15" Barrel Gasket 1
C AFT900516 5/16" - 18 Nylock Nut 4
D FPX040001 Filter Hold Down Plate 1
E FCS130500 13" x 13" Conical HEPA Cartridge Filter 1
F GCZ150000 15" Ring Clamp 1
G STZ001500 Cyclone and Cart Assembly 1
G1 RHW500003 16" Diameter Wheel 2
G2 AFP500001 Cotter Pin 2
G3 RHC000010 5" Rubber Swivel Caster 2
G4 AFT000008 1/2" Whiz-Lock Nut 2
ID Part number Part description Qty
H SSL001500 Longopac Cassette Holder 1
I FBL010570 4x Longopac Mini Bag Cassettes 1
J AFE000001 40" Bungee Cord with J Hooks 1
K AWR991002 Capacitive Dust Sensor 1
L AHX902501 2" x 25' Cam and Groove Vacuum Hose 1
M ASV150001 1.5" Aluminum Wand 1
N ASV150002 1.5" Nylon Bristle FloorTool 1
If you cannot find an item on the list, examine the packaging materials very carefully for nested items. Please
note that certain components have been pre-installed. There may be hardware leftover.
You will need the following tools:
Scissors Box cutters Pliers
1/2" Wrench 3/4" Wrench
1/2" Socket Wrench 3/4" Socket Wrench

oneida-air.com 7
G2
G2
G4 G4
System Contents (Continued)
A
C
D
I
M
SHEET 1 OF 1
NAME:
14Ga Galv
THE INFORMATION CONTAINED IN THIS
DRAWING IS THE SOLE PROPERTY OF
Oneida Air Systems Inc. AND SHALL
NOT BE USED OR DISCLOSED TO
OTHERS, IN WHOLE OR IN PART,
WITHOUT THE WRITTEN AUTHORIZATION
OF Oneida Air Systems Inc.
5
4
3
2
1
PART NO.
SIZE
A
DO NOT SCALE
DRAWN DATE:
7/18/2019
ONEIDA AIR SYSTEMS INC.
1001 WEST FAYETTE STREET
SYRACUSE, NEW YORK 13204
1-800-732-4065
MFG APP:
DRAWN BY:
ENG APP:
TOL:
.XX
.10
.XXX
.015
PROPRIETARY AND CONFIDENTIAL
MATERIAL:
FINISH:
DIMENSIONS
ARE IN
INCHES
REV:
FPX040001
3RD ANGLE
FPX040001 - Filter Hold Down 14ga rev 3
3
KWG
B
J
N
L
E
H
G1
G1
F
G3G3

Oneida Air Systems, Inc.8
Assembly Instructions
FIG. 2
FIG. 1a
FIG. 1b
1 Check to ensure that the Cotter Pin (G2) is
fully seated on the axle. [FIG. 1a].
Ensure that the Whiz-Lock Nuts (G4) holding
the Caster Wheels (G3) to the cart are securely
tightened [FIG. 1b].
Note: Remove the caps on the ends of the cart
legs to access the whiz-lock nuts. e caps are
pressure t, no adhesive or silicone.
2 Ensure that the Cyclone and Cart Assembly
(G) is in the collapsed position by pressing
down on the foot pedal until the release latch
clicks in place [FIG. 2].
Note: Collapsing the unit will be more dicult
without the weight of the motor.
G2
G1
G3
G4
Foot
Pedal
Collapsed
Position

oneida-air.com 9
Assembly Instructions (Continued)
FIG. 5
FIG. 4
FIG. 3
C
D
E
C
E
E
F
3 Place the Filter (E) on top of the Cyclone and
Cart Assembly (G) with the open side facing
down [FIG. 3].
Note: Position the Filter (E) on the Cyclone (G)
so that is centered between all four hex head
bolts.
4 Slide the Filter Hold-Down Plate (D) over the
Filter (E) and the installed bolts and secure in
place using four Nylock Nuts (C) [FIG. 4].
Note: Tighten hardware so that the Filter's pre-
installed foam gasket is rmly compressed (by
roughly 50%).
5 Open and slide the Ring Clamp (E) over the
assembly so that it rests outside the upper
ange of the Cyclone [FIG. 5].

Oneida Air Systems, Inc.10
Assembly Instructions (Continued)
B
A
6 Install the Barrel Gasket (B) onto the rounded,
bottom edge of the Motor Assembly (A). e
Barrel Gasket (B) should be oriented so that
the "ribbed" side is facing downwards [FIG. 6].
7 Raise the Cyclone and Cart Assembly (G) to
the extended position by pressing down on the
Release Latch [FIG. 7].
FIG. 6
FIG. 7

oneida-air.com 11
Assembly Instructions (Continued)
THE MOTOR ASSEMBLY IS HEAVY AND CUMBERSOME; BE SURE TO HAVE ADEQUATE HELP WHEN LIFTING!
8 Carefully li the Motor Assembly (A) up and
attach the 2' vinyl hose to the tting located at
the top of the Filter (E) [FIG. 8].
Note: ere are two vinyl hoses within the
motor assembly to measure lter pressure. e
10" vinyl hose will hang freely in the motor
assembly.
9 Lower the Motor Assembly (A) over the
Filter (E) and down onto the Cyclone's (G)
upper ange. Align the Motor Assembly so its
perimeter is ush with the Cyclone's (G) ange
below it [FIG. 9].
FIG. 8
FIG. 9

FIG. 11
FIG. 10
Oneida Air Systems, Inc.12
Assembly Instructions (Continued)
FIG. 12c FIG. 12d
H
HH
G
FIG. 12b
H
G
GG
10 Li and close the Ring Clamp (F) over the
Barrel Gasket (B) and the Cyclone and Cart
Assembly's (G) upper ange.
Secure the Ring Clamp (F) using the Clamp's
cotter pin [FIG. 10].
11 Install a Cassette (I) into the Cassette Holder
(H) pushing it down so that it is snug and even
on all sides [FIG. 11].
Note: For ease of assembly, do not cut the ties
used to hold the Casette together until noted.
12 Installing the Cassette Holder (H) to the
Cyclone's Hopper (G) [FIG. 12a]:
a. Align the tabs on the Cyclone's Hopper (G)
with the cutouts in the Cassette Holder (H)
[FIG. 12b].
b. Raise the Cassette Holder (H) up until the
tabs are engaged [FIG. 12c].
c. Twist the Cassette Holder (H) counter
clockwise to lock it in place. [FIG. 12d]
FIG. 12a

FIG. 13b
FIG. 14b
FIG. 14a
FIG. 13a
oneida-air.com 13
Assembly Instructions (Continued)
14 Pull the outside of the Casette (I) over and
down the lip of the cassette holder and tie the
bag off with a zip tie [FIG. 14a].
Note: Remaining zip ties can be stored in a
convenient retaining cylinder at the bottom of
the cart [FIG. 14b].
13 Cut off and discard the twist ties on the
Cassette (I) [FIG 13a]. Pull the center of the
Cassette up to the hopper and secure using the
Bungee Cord (J) [FIG 13b]
Note: Take caution when cutting o the twist
ties so that you do not puncture the Cassette (I).
J
I
Retaining
Cylinder

FIG. 13b
FIG. 13a
Oneida Air Systems, Inc.14
Assembly Instructions (Continued)
15 If you purchased the optional Onboard
Cyclonic Pre-separator please refer to
instructions before proceeding:
• Document #ZBM001501
16 Connect the Cyclone's (G) inlet to the Cam
and Groove Vacuum Hose (L) [FIG 13a].
Secure in place by pulling the levers closed
[FIG 13b].
17 Familiarize yourself with the CC500's main
starter assembly.
a. Alert Strobe - Flashes vibrantly when the
lter needs pulsing or when the capacitive
sensor detects that the hopper is full and
needs to be dumped.
b. Sonic Alarm Switch - Can be toggled to
disable the Sonic Alarm.
c. Sonic Alarm Speaker
d. Indicator Light - Shows when the system is
turned on.
e. On/O Switch
f. Capacitive Sensor Power Cord
g. System Power Cord
Open Levers Closed Levers
When Strobe is Lit, Pulse Clean Filter
On / Off
Indicator Light
Sonic Alarm
Switch
On / Off
d
b
a
e
c
gf

FIG. 18
FIG. 19
oneida-air.com 15
Assembly Instructions (Continued)
18 Locate the shorter cord (capacitive sensor
cord) coming from the main switch and
connect it to the capacitive ll sensor installed
to the top of the hopper. Position the cord so
that it is out of the way of the inlet [FIG. 18].
19 Connect your system power cord to a NEMA
L6-30-R outlet [FIG. 19].
When Strobe is Lit, Pulse Clean Filter
On / Off
Indicator Light
Sonic Alarm
Switch
On / Off
Capacitive
Sensor
Cord
System
Power
Cord
NEMA L6-30-R
Capacitive
Sensor

20º
Oneida Air Systems, Inc.16
Filter Pulse Bar Cleaning
e Pulse Filter System helps to unclog the lter for improved
airow and performance. If air ow is not restored aer pulsing,
check for clogs and clean lter. (Review Cleaning the Filter and
Troubleshooting Sections).
1. Pulse your lter when the sensor is ashing or when you notice
decreased airow. Frequent pulse cleaning of the lter will keep
your performance optimal.
2. While the unit is running, close the cam and groove tting on
the inlet of the Cyclone using the cap hanging o the inlet. Once
closed, push down the Pulse Bar extending out of the cowling, past
the initial resistance, and hold for a few seconds then release the
Pulse Bar. Repeat Five Times
3. Open cam and groove tting to resume normal operation.
Cleaning the Filter
When performance has decreased and pulsing has not recovered
enough airow then the Filter should be replaced
1. Wear a dust mask and eye protection. Treat your contaminated
lter as you would treat airborne concrete dust.
2. Turn o and unplug the dust extractor and wait for the fan blower
to come to a complete stop and for the dust to settle.
3. Unlatch the Ring Clamp (F) at the base of the motor section and
allow it to hang freely. Remove the motor section carefully, making
sure to not damage the air tting on top of the lter and set aside.
4. Check to make sure lter is in good condition with no torn media
or cracks or tears in the seal, A broken lter can leak material
into the motor and cause severe damage! You cannot operate the
system without a proper lter in place. (See Accessories page for
the replacement lter part.) Operating without a sucient lter will
cause severe damage to the motor and will void the warranty!
Note: To help see damage from the outside, shine a ashlight from the
inside.
5. If the lter is in good condition, you can use a handheld
compressed air nozzle. PER OSHA REGULATIONS: compressed
air cannot be used to clean a lter unless there is a ventilation
system that eectively captures the dust cloud that is created.
6. Seal the inlet using the provided cap attached to the inlet. Ensure a
Longo Cassette is installed correctly, and the bag is sealed at the top
and bottom. is will ensure that any dust being knocked o of the
lter remains contained inside of the cyclone or Longo Use a hand-
held, compressed air nozzle with a pressure between 30 to 60 PSI to
blast air along the lter’s exterior pleating. Hold the air nozzle at a
20 degree angle and at least 6” away from the lter; closer blasts will
damage the lter media. If during this process you see dust in the
air coming from the lter, stop immediately! ere is a hole in
your lter, and it must be replaced.
7. If the lter isn't in good condition, remove the Filter (E) by
removing the four 5/16-18 Nylock Nuts (C) and the Filter Hold-
Down Plate (D) by sliding it over the lter. Dispose of the old
lter in the same way you would dispose of the dust you’ve been
collecting.
8. Center new Filter (E) over the center of the Cyclone (G)and place
the Filter Hold-Down Plate (D) over the Filter (E) and re-secure
using the four 5/16-18 Nylock Nuts (C) Ensure the gasket is
compressed at least 50%. If the gasket is not compressed, dust will
leak past the lter.
9. Replace the motor section, attach the vinyl hose, and re-latch the
drum clamp around the motor section.
Maintenance
UNPLUG YOUR UNIT BEFORE SERVICING OR CLEANING. KEEP THE TOP VENTS IN THE COWLING CLEAN.
THESE ARE FOR BOTH EXHAUST AND INCOMING COOLING AIR FOR THE MOTOR.
Pulse Bar
Cam
Groove

A
oneida-air.com 17
Emptying the Bag
When rst using the dust extractor, check the
Cassette (I) regularly to get an idea of how oen it
needs to be emptied.
1. e bag cassette is sealed at one end with a cable tie. Once the bag
starts to ll up, pull it down and new material is drawn from the
cassette to make the bag longer.
2. To make a new bag, pull the material down and seal it at the top
with a cable tie.
3. Add another cable tie above the rst one and cut the bag material
o between the two cable ties.
Cleaning out the Cyclone
If the bag and hopper becomes overlled and the
cone is packed with dust:
1. Wear a dust mask and eye protection.
2. Turn o the CC500 and unplug it. Remove the motor section
carefully, making sure to not damage the air tting on top of
the lter. Remove the 1/4" tubing from the push lock tting on
top of the lter. Remove the lter carefully making sure not to
damage the lter as you're removing it. WARNING: Silica Dust is
dangerous, treat the contaminated lter as you would treat silica
dust.
3. Try to get contents of cone to fall down into hopper and Cassette
(I). Empty Casette (I) and reinstall as directed. Follow directions
under "Cleaning the Filter". If the Cone and Filter are packed so
that dust won't ow down into the Longo Cassette on it's own
then unclamp the motor section and set aside.
4. Remove the lter by removing the four Nylock Nuts (C) and the
Filter Hold-Down Plate.
Note: Review Cleaning the Filter Section for a detailed step by step.
5. e top of the cyclone can now be accessed to allow debris to drop
down into the drum/bin.
Cap
Maintenance (Continued)

Oneida Air Systems, Inc.18
Maintenance (Continued)
Replacing the Motors
e motors should be replaced while the system is
on the wall bracket. Ensure the system is powered o
and unplugged. All 3 motors should be replaced at
the same time
1. Turn o and unplug the dust collector and wait for the fan blowers
to come to a complete stop and for the dust to settle.
2. Remove the lter foam and 5/16-18 Nylock Nut from the top of
the cowling using a 1/2" socket wrench.
3. Remove the cowling and set aside.
4. Remove the plenum plate and set aside (there is no hardware
securing the plenum plate, it is compressed between the cowling
and the motors).
5. Cut the Zip Tie securing the wires to the center threaded stud.
6. Using a 1/2" socket wrench, remove the ve 5/16-18 Nylock Nuts
around the perimeter of the motor hold down plate and set both
aside. All three motors are now fully accessible for replacement.
7. Li up the tabs on the two lever nuts and remove all of the wires.
8. Ensure the provided die cut gasket is installed on the bottom of
each motor by pressing the adhesive side against the bottom of the
motor.
UNPLUG YOUR UNIT BEFORE SERVICING OR CLEANING. KEEP THE TOP VENTS IN THE COWLING CLEAN.
THESE ARE FOR BOTH EXHAUST AND INCOMING COOLING AIR FOR THE MOTOR.
Table of contents
Other Oneida Air Systems Vacuum Cleaner manuals

Oneida Air Systems
Oneida Air Systems Ultimate Dust Deputy User manual

Oneida Air Systems
Oneida Air Systems Dust Cobra User manual

Oneida Air Systems
Oneida Air Systems Ultimate Dust Deputy User manual

Oneida Air Systems
Oneida Air Systems 10 Gallon User manual

Oneida Air Systems
Oneida Air Systems Dust Cobra - XCK010000 User manual

Oneida Air Systems
Oneida Air Systems AXD000009 User manual