6
Specifications
∫Analog Audio Output
RMS Output Power
40 W (4 ohm at 1 kHz THD10%),
10 W (8 ohm at 10 kHz THD10%)
∫Network Section
Wireless LAN
IEEE802.11 a/b/g/n/ac standard
5 GHz/2.4 GHz band
EU: 1-13ch, 36-48ch, 52-64ch, 100-140ch
JP: 1-14ch, 36-48ch, 52-64ch, 100-140ch
US: 1-11ch, 36-48ch, 52-64ch, 100-140ch, 149-165ch
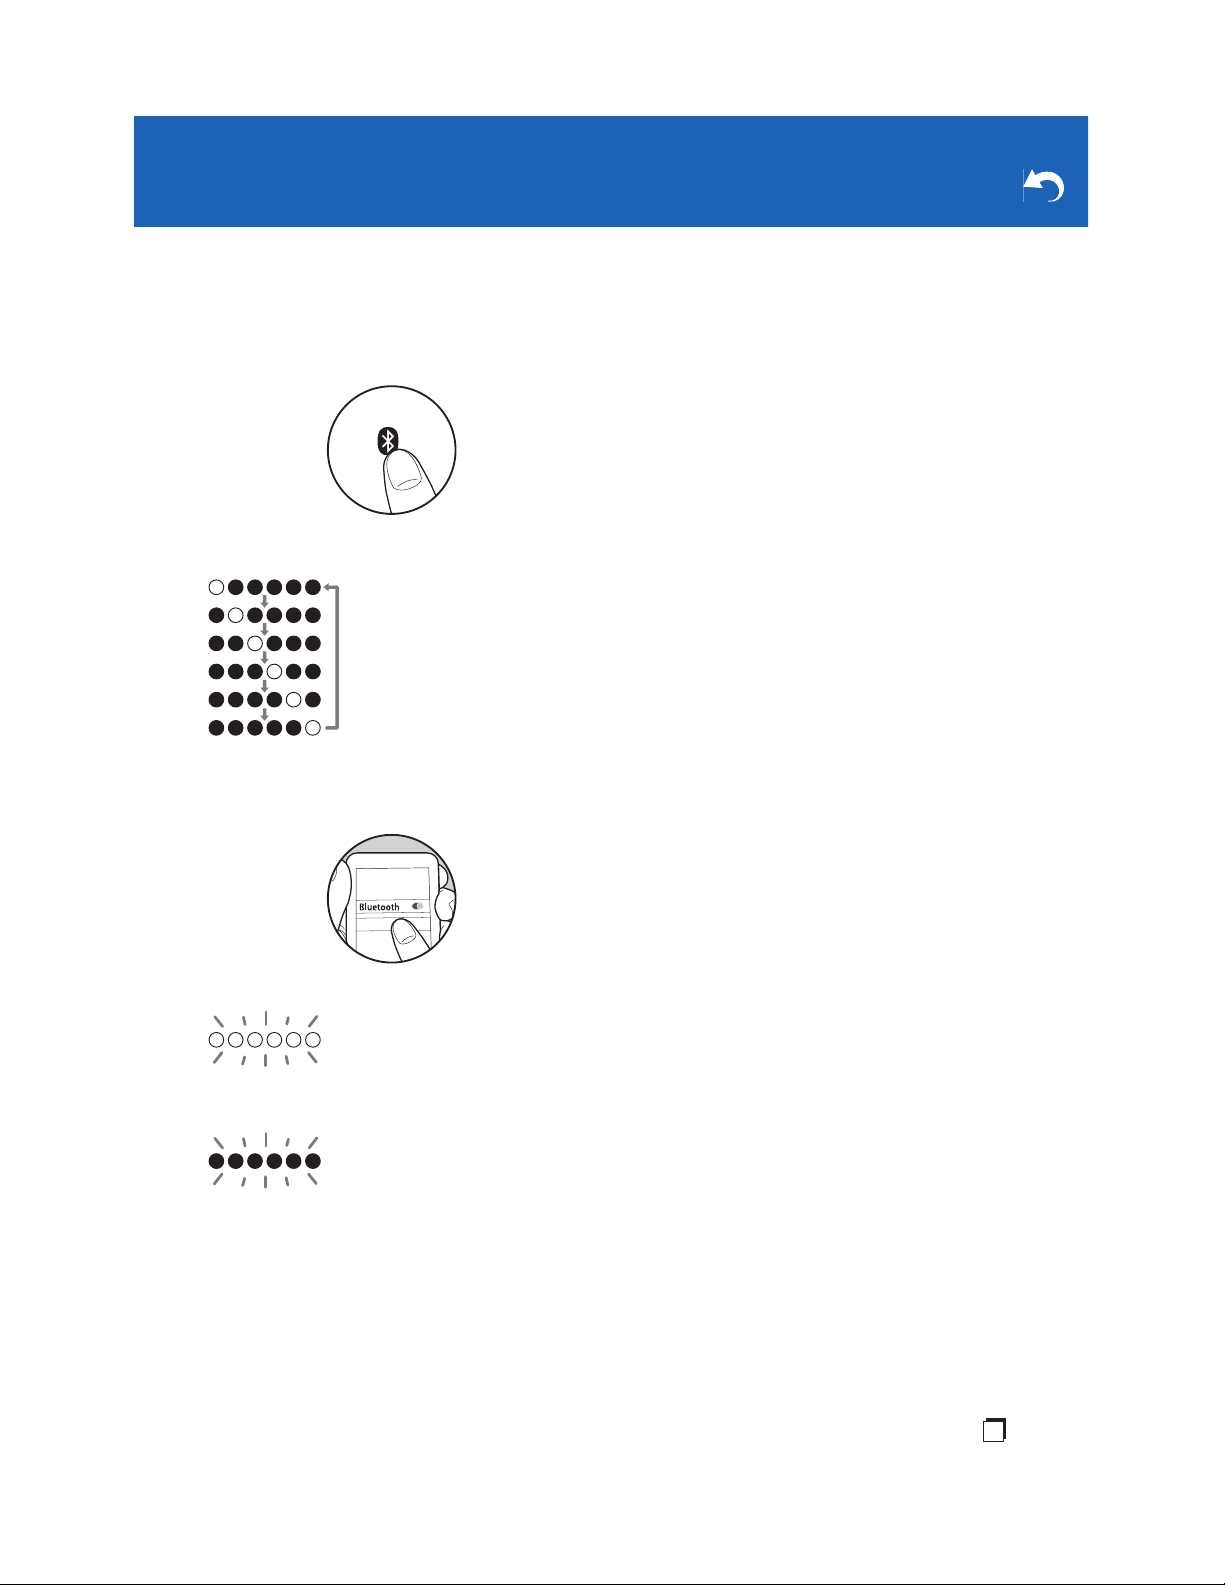
∫Bluetooth Section
Communication system
BLUETOOTH Specification version 4.2
Frequency band
2.4 GHz (2.402 GHz - 2.480 GHz)
Modulation method
FHSS (Freq Hopping Spread Spectrum)
Compatible Bluetooth profiles
A2DP: 1.31
AVRCP: 1.6
Supported Codecs
SBC
AAC
Transmission range (A2DP)
20 Hz - 20 kHz (Sampling frequency 44.1/48 kHz)
Maximum communication range
Line of sight approx. 10 m *
* The actual range will vary depending on factors such as obstacles
between devices, magnetic fields around a microwave oven, static
electricity, cordless phone, reception sensitivity, antenna's
performance, operating system, software application, etc.
∫Descriptions required by the RE Directive of the
European Union (EU)
Maximum radio-frequency power transmitted in the
frequency band(s) (For European models)
2400 - 2483.5 MHz: 20 dBm (Equivalent Isotropic
Radiated Power)
5150 - 5350 MHz: 20 dBm (Equivalent Isotropic Radiated
Power)
5470 - 5725 MHz: 20 dBm (Equivalent Isotropic Radiated
Power)
∫General
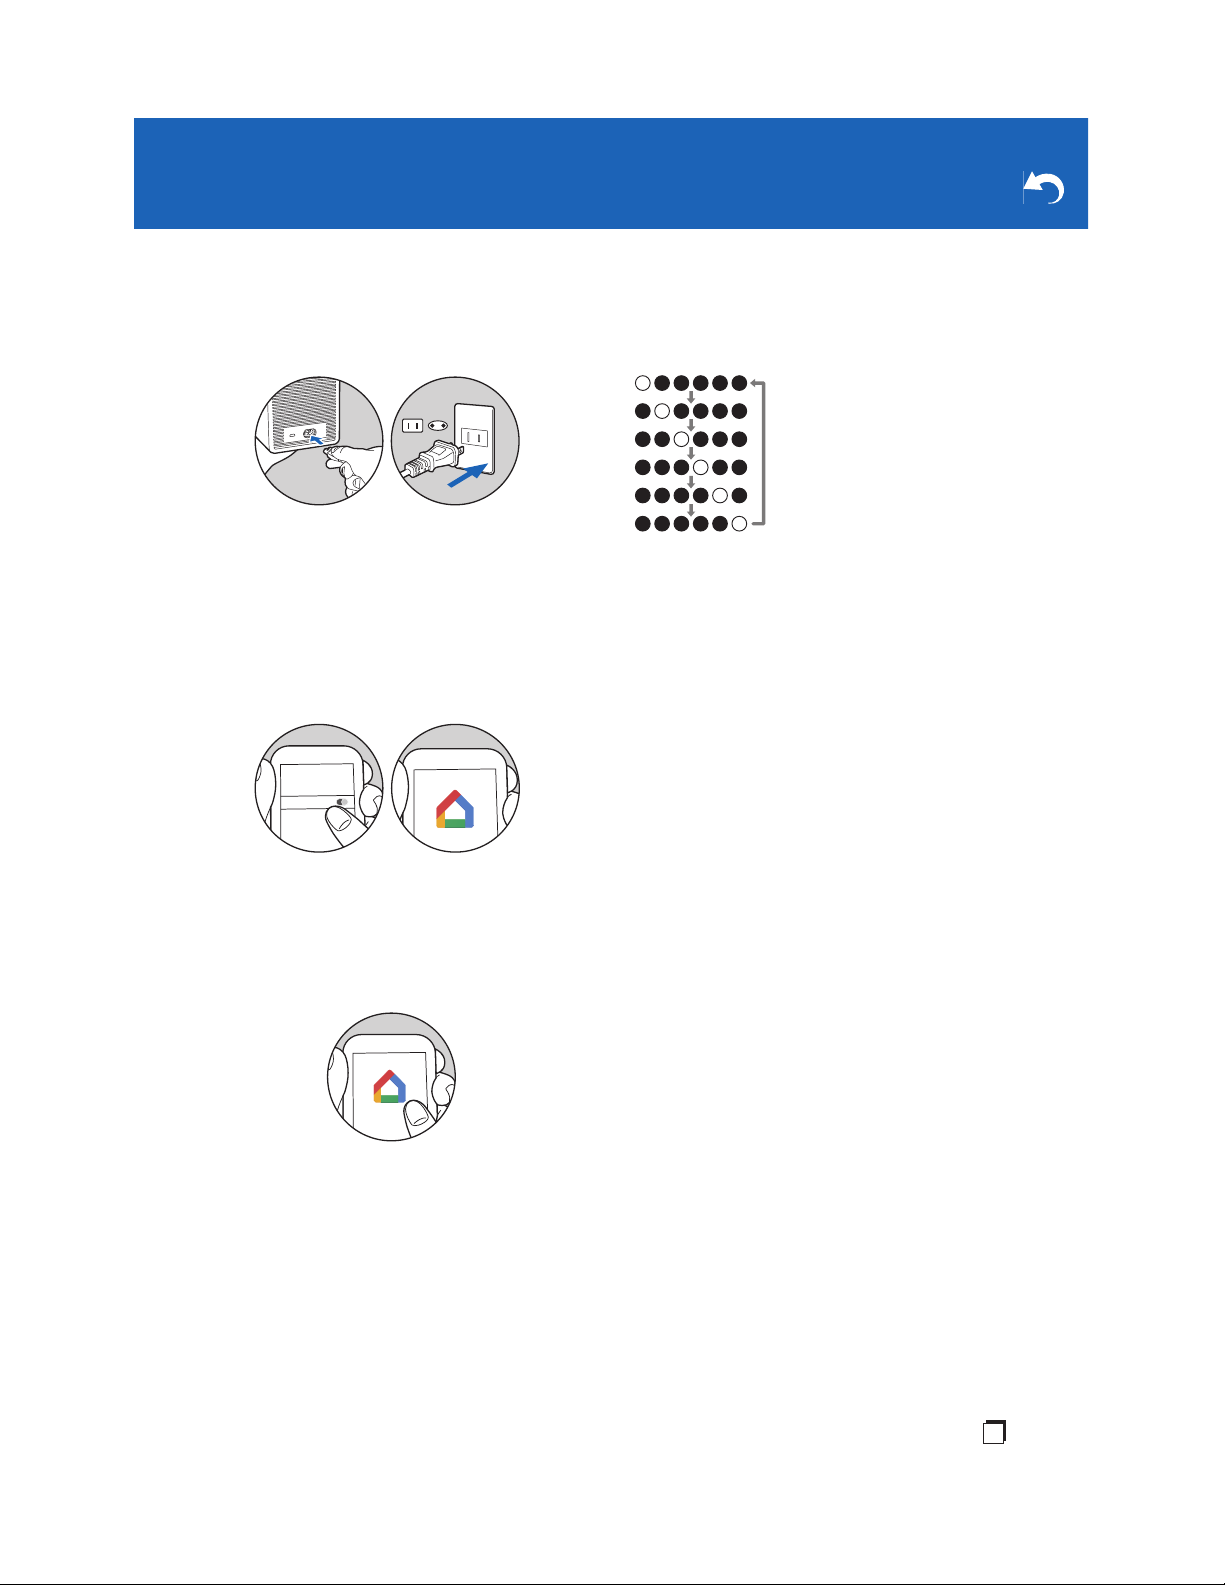
Power Supply
AC 100 - 240 V, 50 / 60 Hz
Power Consumption
26 W
VC-GX30 complies with European Commission Regulation
(EC) No 1275/2008 as a networked equipment with high
network availability (HiNA equipment and equipment with
HiNA functionality).
Power consumption
In Standby : N/A
In Network Standby : N/A
Operation Standby* : 2.7 W
*Operation Standby : VC-GX30 is connected to a wireless network
but does not provide active audio functions.
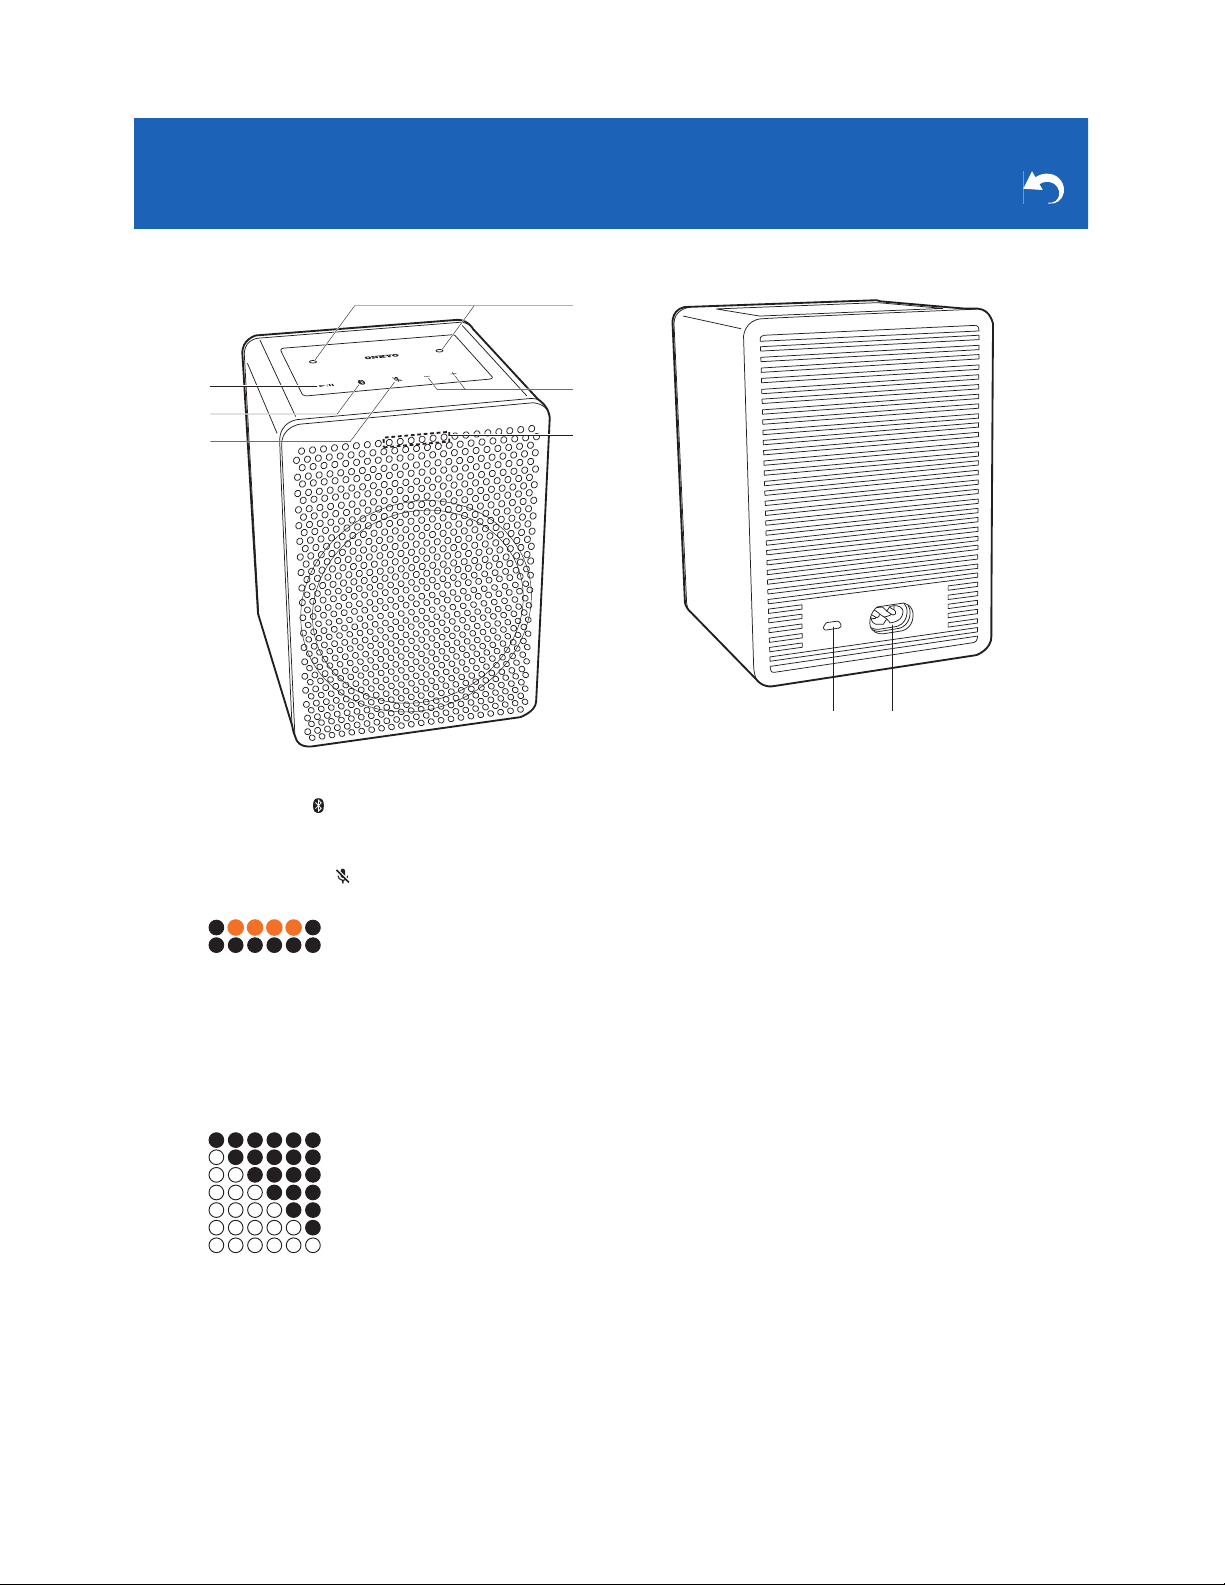
Speaker Type
Closed box type
Speaker Configuration
Tweeter: 20 mm a 1 Soft Dome
Woofer: 80 mm a 1 Cone
Dimensions (W a H a D)
120 mm a 168 mm a 128 mm
4-5/7" a 6-3/5" a 5"
Weight
1.8 kg (4.0 lbs.)
∫Accessary
AC Power cord (1)
Quick Start Guide (1)
Meet your Google Assistant (European models) (3)
Meet your Google Assistant (North American models) (2)
* This document is an online instruction manual. It is not included as
an accessory.
Specifications and appearance are subject to change without
notice.
We will not accept responsibility for damage arising from the
connection of equipment manufactured by other companies.