Only OTC-FMC-LCD User manual

Audio
User Manual

ENANCER Electrónica S.A. Page 2 of 10
Rua Max Grundig 9
4705-820 Braga Portugal info@only-smartbuildings.com
Tel: +351 253 221 484 www.only-smartbuildings.com
Introduction
Introduction ................................................................................................................................................................2
INTRODUCTION .......................................................................................................................................................3
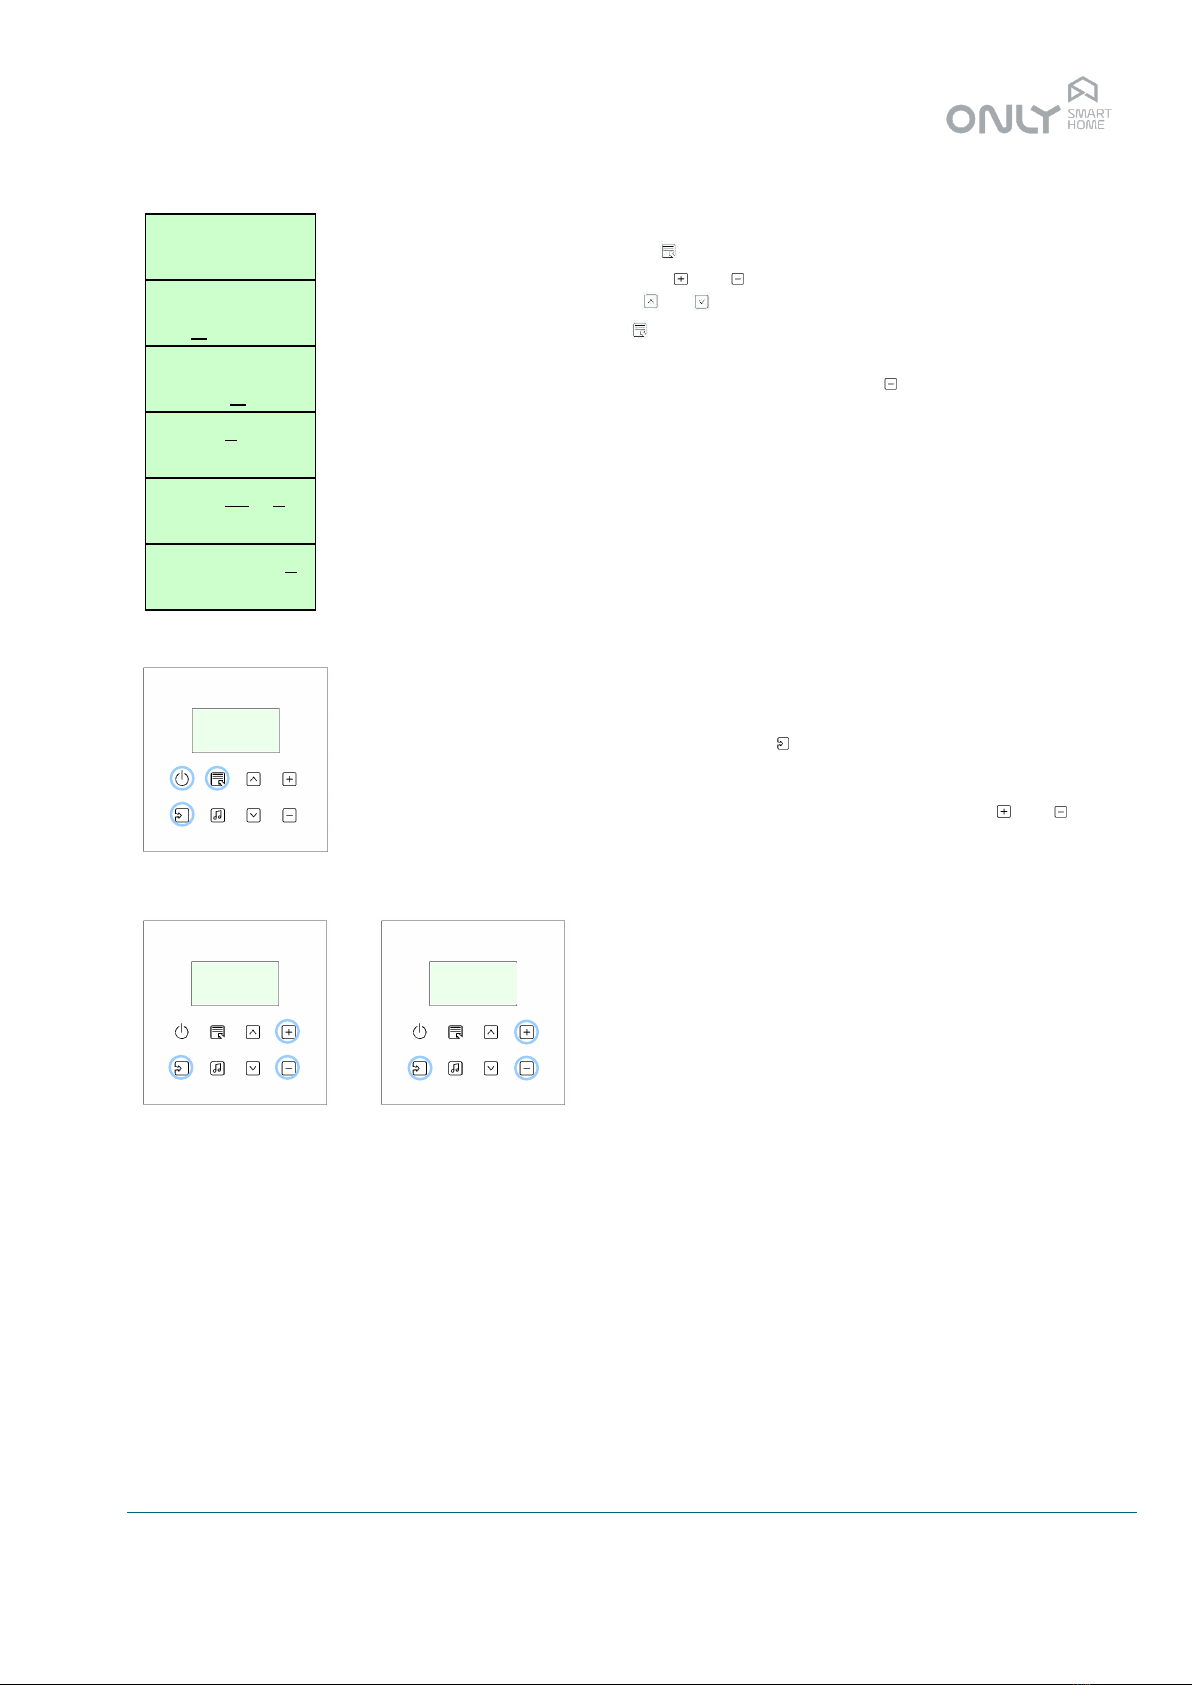
OTC-FMC-LCD and OTC-FM2Z-LCD .......................................................................................................................3
Controls and indications ............................................................................................................................................4
Switch on/off ..............................................................................................................................................................4
Volume control...........................................................................................................................................................4
FM tuner ....................................................................................................................................................................4
Auxiliary input ............................................................................................................................................................5
Audio inputs ...............................................................................................................................................................5
Sound adjustment......................................................................................................................................................5
Bass...........................................................................................................................................................................5
Treble.........................................................................................................................................................................6
Loudness ...................................................................................................................................................................6
Search level adjustment ............................................................................................................................................6
Volume control of zone 2 ...........................................................................................................................................7
PROGRAMMING.......................................................................................................................................................7
Programming ON/OFF ..............................................................................................................................................7
Programming PRESET..............................................................................................................................................7
Programming VOL 1 ..................................................................................................................................................7
Programming VOL 2 ..................................................................................................................................................8
Programming SELECT ..............................................................................................................................................8
CLOCK FUNCTION...................................................................................................................................................8
Timer..........................................................................................................................................................................8
Adjustment menu.......................................................................................................................................................9
Date and time adjustment..........................................................................................................................................9
Alarm clock adjustment ...........................................................................................................................................10
Switching the alarm clock on and off .......................................................................................................................10

ENANCER Electrónica S.A. Page 3 of 10
Rua Max Grundig 9
4705-820 Braga Portugal info@only-smartbuildings.com
Tel: +351 253 221 484 www.only-smartbuildings.com
INTRODUCTION
Sound is one of the important components for comfort of a space. A good quality sound is fundamental for an
enjoyable perception.
ONLY designed a high-fidelity sound system for living spaces that guarantees a simple use and full integration
with the rest of the house.
The sound system can be installed alone or integrated into the home automation system allowing local or
distributed sound.
It is thus possible to hear the same music throughout the house or the source location of each room.
The system provides the following features:
•FM stereo tuner with RDS in every unit
•6 presets with automatic memory
•2 stereo sources with input level adjustment
•Sound level control for 2 different zones
•Control of loudness, bass and treble
•Alarm clock with gradually increasing sound
•Timer function for 15, 30 or 60 minutes
•Remote control by automation buttons
•Possibility to include in house occupation simulation
Since design and comfort are a priority for ONLY, operation is done via touch panels of the ONLY TOUCH line in
total harmony with the rest of the automation commands in the house.
OTC-FMC-LCD and OTC-FM2Z-LCD
The OTC-FMC-LCD is an autonomous sound unit with LCD and touch keys that light up when touched.
The unit features the following:
•Stereo FM RDS tuner
•6 presets with automatic memory
•2 stereo sources with input level adjustment
•Sound level control for 1 zone
•Line output for sound distribution (central)
•Control of loudness, bass and treble
•Alarm clock with gradually increasing sound
•Timer function for 15, 30 or 60 minutes
•Remote control by automation buttons
•Possibility to include in house occupation simulation
The OTC-FM2Z-LCD is similar. It has a volume control for a second zone instead of the line output, allowing
ambient sound in a second room with the same unit. The same unit can for instance control the sound in the
bedroom and bathroom.

ENANCER Electrónica S.A. Page 4 of 10
Rua Max Grundig 9
4705-820 Braga Portugal info@only-smartbuildings.com
Tel: +351 253 221 484 www.only-smartbuildings.com
Controls and indications
The keys have the following functions:
- switch the unit on and off
- presets or adjustment menu
- station search or next option
- increase the volume
- input selection
- sound adjustment
- station search or previous option
- decrease the volume
When the units are switched off, the LCD display shows the time and the day of the
week and when the unit is switched on it shows the selected station or source.
Switch on/off
To switch on the unit, press :
-The unit switches on with the latest selected source and volume.
Press again to switch the unit off.
Volume control
To increase the volume, press . Press to decrease the volume.
FM tuner
Switch on the unit with and press until P1 or another preset appears:
-The display shows the preset and frequency or name of the tuned station.
To search for another station within the preset, press to search forward or to
search backward:
-Manual search is done by pressing the key shortly;
-If you keep the key pressed for more than 1 second, automatic search is started
(the frequency starts to “run”);
-The new frequency is memorized automatically on the selected preset.
The tuner has 6 presets P1 up to P6 that are indicated on the left of the display.
To select the next preset press the key. In this way you can sequentially select the
presets, jumping from P6 to P1 again. Each preset switch to the last selected station
on this preset.
Reception of some stations may be weak causing noise. Selecting MONO can often
improve the sound quality.
To switch between stereo and mono reception keep the key pressed for more than
1 second:
-The display shows the message MONO or STEREO during 1 second.
1234567
15:23
1234567
P1 103.00
103.00
103.00
103.00
1234567
ANTENA 3
1234567
MONO

ENANCER Electrónica S.A. Page 5 of 10
Rua Max Grundig 9
4705-820 Braga Portugal info@only-smartbuildings.com
Tel: +351 253 221 484 www.only-smartbuildings.com
Auxiliary input
The unit has a 3.5mm jack for stereo sound input in the middle of the bottom part of
the front panel.
This input overrules the tuner and it is therefore not necessary to select the
respective input.
To return to hearing the tuner, simply pull out the jack.
This input has a different sensitivity than the audio inputs of the connections on the
back of the unit. The source connected to this jack should therefore have a volume
control (for instance an MP3 player), and the volume of the source should be
adjusted to the same level as the tuner. In this way distortion as a result of a too
strong input signal is avoided.
At this input you should not connect a CD since its output level is superior to the one
permitted at this input.
Audio inputs
The sound unit has 2 stereo inputs at the connections on the back. The installer
makes the connection of these inputs on a wall panel with 3.5mm jack or RCA
sockets.
The sound source (e.g. CD, MP3 or TV) can be connected permanently to these
inputs.
- To select the input 1, press repeatedly until AUDIO 1 appears on the display.
- To select the input 2, press repeatedly until AUDIO 2 appears on the display.
Input 1 and 2 can have sources with different level. For instance, a CD or HiFi
system have a line output that is superior to the one of a TV or TV receiver.
Therefore, it is necessary to adjust the input level so that the volume between the
different sources is balanced and that the impact of Loudness is correct.
It is possible to select 2 input levels: CD IN and MP3 IN (the same level as a TV).
To select the input level press . CD IN or MP3 IN appears on the display:
- select the type of the desired source with the keys and ;
- the selection is automatically memorized for the selected input.
Sound adjustment
The sound unit can adjust the sound for better adaptation to the room, to the
performance of the speakers and to the taste of the user.
The sound adjustment is assumed for all inputs and also for both sound zones
(outputs).
Bass
The bass balance is important for a nice sound. To increase the bass, press :
- the display indicates BASS 0.
To increase the bass tones, press . To decrease press .
The display indicates the value. The bass tones can be regulated from -14 until +14
dB in 2dB steps.
1234567
P1 103.00
1234567
AUDIO 1
1234567
MP3 IN
1234567
BASS +2

ENANCER Electrónica S.A. Page 6 of 10
Rua Max Grundig 9
4705-820 Braga Portugal info@only-smartbuildings.com
Tel: +351 253 221 484 www.only-smartbuildings.com
Treble
The treble balance is also important for a nice sound. To increase the treble, press
:
- the display shows TREB 0.
To increase the treble press . To decrease, press .
The display indicates the value. Treble can be regulated from -14 until +14 dB in 2dB
steps.
Loudness
The human ear and its own speakers have a frequency response that depends on
the sound level: when the volume is low, the bass tones and a little of the treble get
lost. The Loudness function O ouvido humano e os próprios altifalantes têm uma
resposta às frequências que depende do nível do som: quando o volume é baixo
perdem-se os graves e um pouco dos agudos.
The Loudness function corrects this defect by increasing the bass and treble when
the volume is low.
This adjustment reaches its maximum when the volume is very low and decreases
gradually until 0 when volume is high.
A sound with Loudness is automatically equalized and therefore more enjoyable.
To turn the Loudness on and off, press repeatedly until LOUD ON or LOUD OFF
appears on the display. Press or to change.
- the selection is automatically memorized.
Search level adjustment
The floor, the place where the unit and the antenna is installed and the construction
material are all of great influence on the radio reception capacity of the tuner.
Therefore, it is necessary to adjust the stop level of the search as in some places the
antenna signal may be stronger than in another.
The unit has 16 search levels, from 0 to 15. The normal level is 7.
A high level makes the search only stop on the strong stations and a low level
makes search also stop on the weaker stations.
A too low level makes the search stop in almost all frequencies in case of a too high
level it may not stop at all.
Therefore, you should try to find the most appropriate value.
To select another search level, proceed as follows:
- Select the Tuner source with the key .
- Keep pressed for 5 seconds:
The display will show SL 7
- Now press to increase the search level or to decrease.
- Press to finish:
The unit switches off.
Switch on the unit with and verify if the search works as desired. If not, repeat the
procedure to select another level.
1234567
TREB +4
1234567
LOUD ON
1234567
SL 7

ENANCER Electrónica S.A. Page 7 of 10
Rua Max Grundig 9
4705-820 Braga Portugal info@only-smartbuildings.com
Tel: +351 253 221 484 www.only-smartbuildings.com
Volume control of zone 2
The sound units OTC-FM2Z-LCD have a volume control for 2 zones. Zone 1 can be
controlled at the unit but also remotely by any ONLY button or remote control.
Zone 2 can only be controlled remotely by ONLY buttons or remote control.
Typically, the volume control of zone 2 is done via the light switches in the room
where it is installed.
PROGRAMMING
The sound units can be associated to the ONLY automation system and as such be
included in scenarios and even simulation of people in the house.
It is also possible to command the input selector and the presets via remote buttons.
All this is possible when realizing the respective programming. The PROG key is
found on the hole at left bottom of the panel.
Programming ON/OFF
The programming on/off allows to switch the unit on and off by the commands
Toggle, On/Off or Scenario.
At programming on/off, the commands Toggle and On only allow to switch on the
sound of zone 1.
The command scenario allows memorization if the unit is switched on or off, the
volume of each zone, the selected source and, in case of radio, the selected station.
To switch on and off the sound of zone 2, see Programming VOL 2 on the next page.
To associate buttons to the on/off command of the unit, proceed as follows:
- verify if the button that you wish to control the unit has the desired command
associated;
- Press the PROG key on the sound unit: the display shows “P ON/OFF”;
- Now press the button that you wish to associate: a confirmation beep is heard on
the unit and the programming is finished.
Programming PRESET
A programming PRESET allows to associate a remote button to the PRESET
function of the radio. It allows as such to select the next preset remotely.
To associate a button to this function, proceed as follows:
- Press the PROG key on the unit repeatedly until “P PRESET” appears on the
display;
- Now press the button you wish to associate: a confirmation beep is heard on the
unit and the programming is finished.
Note that the command sent by the button for this function is indifferent.
Programming VOL 1
Programming VOL 1 allows to associate buttons to the volume control of zone 1.
The command On/Up increases the volume, the command Off/Down decreases the
volume.
1234567
P ON/OFF
PROG
1234567
P PRESET
PRESET
1234567
P VOL 1

ENANCER Electrónica S.A. Page 8 of 10
Rua Max Grundig 9
4705-820 Braga Portugal info@only-smartbuildings.com
Tel: +351 253 221 484 www.only-smartbuildings.com
In case the unit is still switched off, the command On/Up switches on the unit and
increases the volume until the last selected level for this zone.
When the zone is switched on, the command On/Up increases the volume by one
point.
In turn, the command Off/Down decreases the volume continually until switching off
if it is not interrupted before by pressing again Off/Down or On/Up.
To associate a button to the volume of zone 1 proceed as follows:
- Verify that the button you wish to use sends the command On/Up or Off/Down, in
accordance with the function you desire.;
- Press PROG on the unit repeatedly until “P VOL 1” appears on the display;
- Now press the button: a confirmation beep is heard on the unit and the
programming is finished.
Programming VOL 2
Programming VOL 2 allows to associate buttons to the volume control of zone 2
The command On/Up increases the volume, the command Off/Down decreases the
volume.
In case the unit is still switched off, the command On/Up switches on the unit and
increases the volume until the last selected level for this zone.
When the zone is switched on, the command On/Up increases the volume by one
point.
In turn, the command Off/Down decreases the volume continually until switching off
if it is not interrupted before by pressing again Off/Down or On/Up.
To associate a button to the volume of zone 2 proceed as follows:
- Verify that the button you wish to use sends the command On/Up or Off/Down, in
accordance with the function you desire.;
- Press PROG on the unit repeatedly until “P VOL 2” appears on the display;
- Now press the button: a confirmation beep is heard on the unit and the
programming is finished.
Programming SELECT
The programming SELECT allows to associate a button to command the input
selector of the unit.
To associate a button to this function, proceed as follows:
- Press repeatedly PROG on the unit until “P SELECT” appears on the display;
- Press the button you wish to associate: a confirmation beep is heard on the unit
and the programming is finished.
Note that the command sent by the button for this function is indifferent.
CLOCK FUNCTION
The sound units have an incorporated clock with alarm function and timer.
Timer
The unit can be switched on for a period of 15, 30, 45 or 60 minutes. To switch on
the unit for a certain period, keep the key pressed for more than 1 second: on the
1234567
P SELECT
SELECT
1234567
TIMER 15

ENANCER Electrónica S.A. Page 9 of 10
Rua Max Grundig 9
4705-820 Braga Portugal info@only-smartbuildings.com
Tel: +351 253 221 484 www.only-smartbuildings.com
display appears the message TIMER 15. If you keep the key pressed, this time is
increased in steps the 15 minutes: 15 > 30 > 45 > 60 > 0.
Release the key when the desired time is indicated on the display.
The unit is switched off at the end of this time period.
Adjustment menu
You can enter the adjustment menu of the unit by pressing . The following options
are available:
1-DATA date and time adjustment
2-ALARME alarm adjustment
With and you can select the desired option.
Date and time adjustment
To adjust the date and time press in the option 1-DATA.
With the and keys select the desired value for the digit.
To go to the next digit, press , or to go to the former digit.
After defining the date, press to validate and go to the time adjustment.
Select the desired digit with the and keys.
To go to the next digit, press , or to go to the former digit.
After defining the time, press to validate and go to the time zone adjustment.
The zone defined for “_” indicates that there is no automatic time adjustment for
summer and winter time.
If, however, the zone is set to any value, the summer and wintertime will be adjusted
automatically. This adjustment is made at the same time at 01:00 hrs on the last
Sunday in March and at 02:00 on the last Sunday in October.
For continental Portugal the time zone is 0, since we are at the GMT time zone.
After defining the time zone, press to validate. The initial menu is selected again.
The day of the week is automatically adjusted. The scale of the weekdays is as
follows:
1 = Monday
2 = Tuesday
3 = Wednesday
4 = Thursday
5 = Friday
6 = Saturday
7 = Sunday
Press to leave the menu.
1234567
1-DATA
1234567
1-DATE
1234567
2010:01:01
1234567
2011:01:08
1234567
09:50
1234567
09:52
1234567
ZONE 0
1234567
1-DATE
1234567
09:52

ENANCER Electrónica S.A. Page 10 of 10
Rua Max Grundig 9
4705-820 Braga Portugal info@only-smartbuildings.com
Tel: +351 253 221 484 www.only-smartbuildings.com
Alarm clock adjustment
To adjust the alarm time press within the option 2-ALARME.
Select the desired digit with the and keys.
To go to the next digit, press , or to go to the former digit.
When the time is set, press to validate.
Now appears the option to define the days of the week that you wish the alarm clock
to work. The line below the 1 (Monday) blinks. Pressing skips that day and passes
to the next.
The alarm sounds at the defined time on the defined days.
ATTENTION: The alarm clock switches the unit on at the source which was last
selected before switching off. If you do not have a sound source with continuous
sound at the remote inputs (Audio 1 or Audio 2) you should select FM before
switching the unit off so that the alarm switches on with radio.
Switching the alarm clock on and off
If the display does not show the alarm symbol () this means that the alarm clock
is switched off and that there will not be an alarm.
To switch the alarm clock on, keep the key pressed for more than 1 second while
the unit is switched off.
The display shows a blinking alarm symbol () and the alarm time during 2.5
seconds. During this period, you can adjust the volume with the keys and .
If you stop pressing the keys, the display returns to normal.
1234567
2-ALARM
1234567
07:20
1234567
07:30
1234567
09:52
1234567
DAYS
1234567
DAYS
1234567
09:53
1234567
07:30
1234567
VOL 23
This manual suits for next models
1
Table of contents
Popular Speakers System manuals by other brands

Electro-Voice
Electro-Voice X-Line Very Compact (XLVC) Rigging manual

Panasonic
Panasonic RP-SP48 operating instructions

Ozaki
Ozaki dotodot300 Specifications

BreatheAudio
BreatheAudio Resonate Outdoor Speakers BA-650-OB installation guide

AVGO
AVGO CM1551 owner's manual

Sony
Sony HT-X8500 operating instructions