CONTENTS
OE-C1013D4-S
Dome Camera
Camera
Maximum Resolution 2688 x1520
Frame Rate at
Maximum Resolution 30FPS @ H.264
Total Streams Dual Streaming
ONVIF Prole S / G / T
Compliant
Wide Dynamic Range True WDR @ 4MP
Environmental and Power
Power
Consumption 5W Max
Input Voltage 12vDC / PoE
Pan / Tilt / Rotate
Pan: 3° ~ 360°
Tilt: 0° ~ 68°
Rotate: 3° ~ 360°
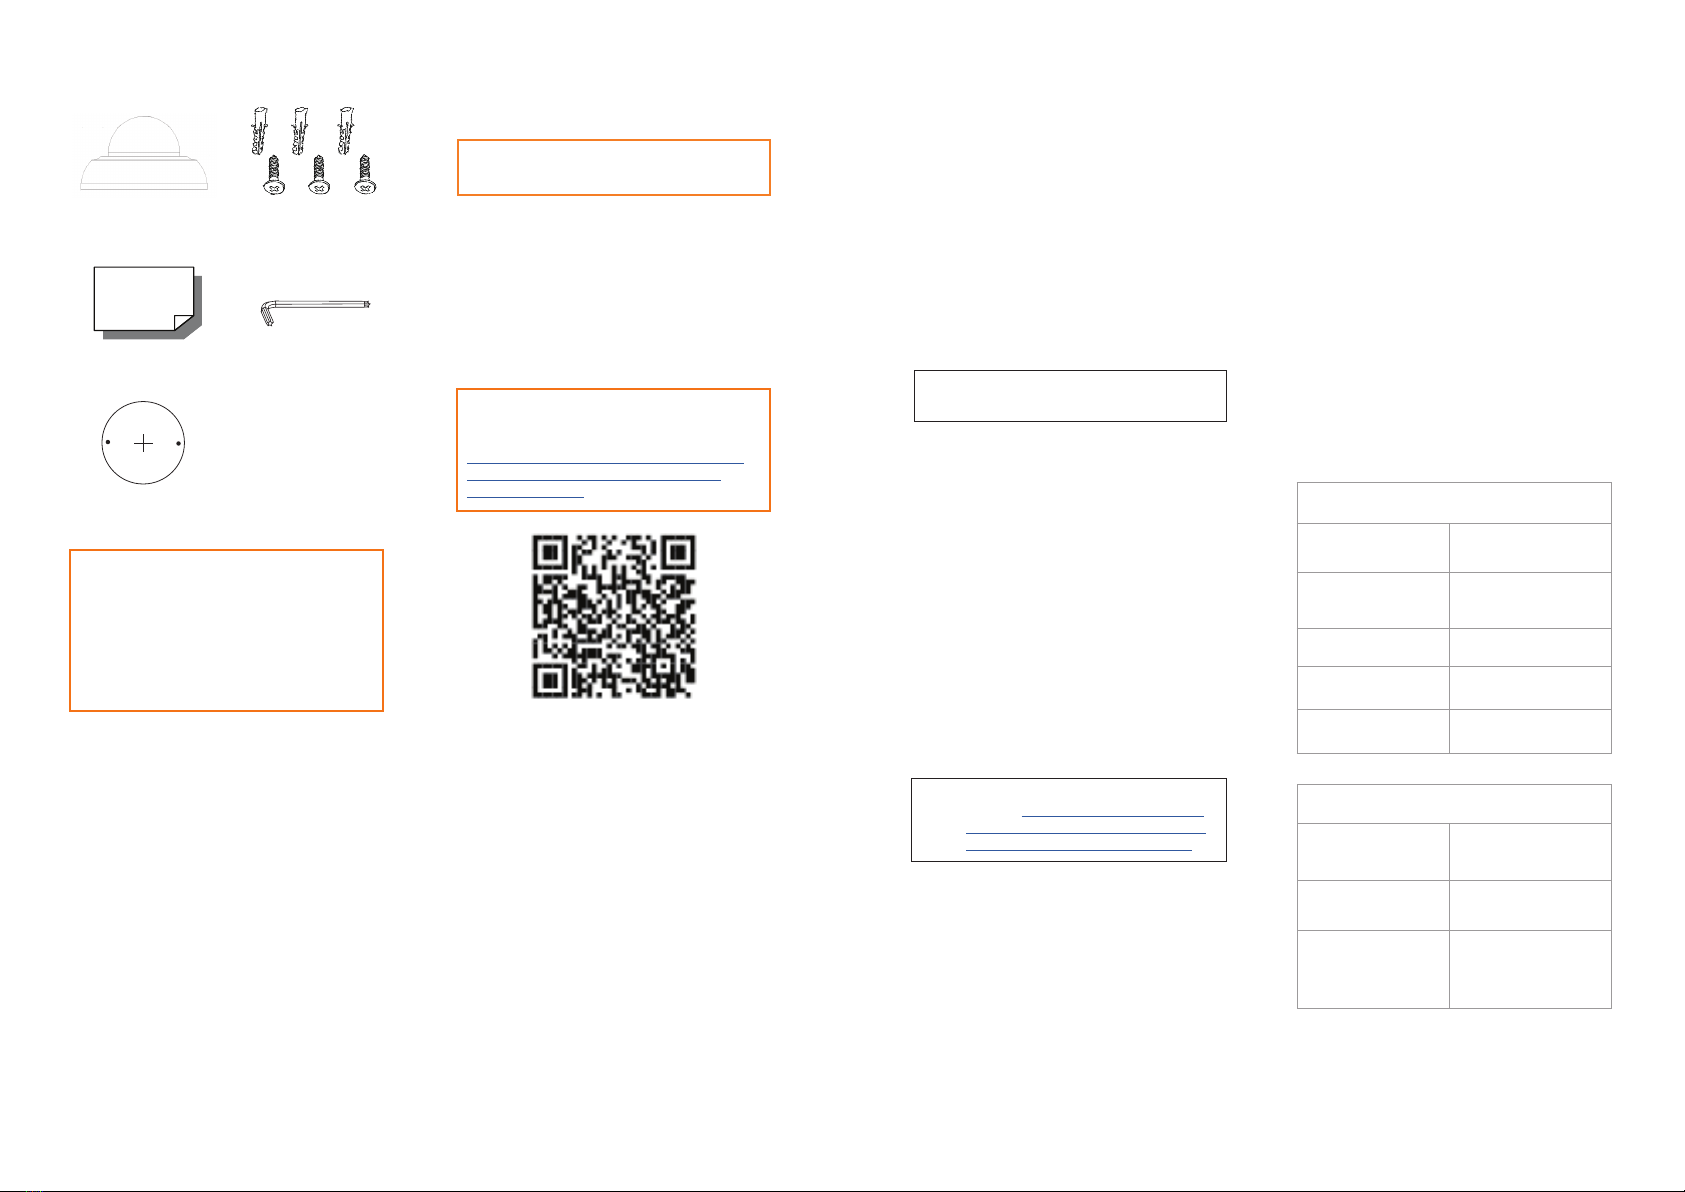
Quick Start
Guide
Security Torx
Tool
Self-Tapping
Screws (x3) &
Plastic Anchors (x3)
INSTALLATION
1. Apply template sticker to desired
camera location.
2. Use a 6mm drill bit to drill anchor
holes as indicated on mounting
template.
3. Remove mounting template.
4. Insert anchors.
5. Mount camera.
6. Connect network cable.
7. Adjust camera view.
8. Secure lid / dome.
NOTE: To change this IP address please refer
to your Apex recorder manual.
ASSIGNING AN
IP ADDRESS
OpenEye IP cameras are set to DHCP
by default. If a DHCP server is not
detected after 2 minutes, the camera
will default to IP address 192.168.51.2.
If you are not using a DHCP server,
NCM will allow you to batch congure
a static IP address.
The IP address for the camera network
on your Apex recorder is 192.168.51.1.
CONNECTING TO THE
IP CAMERA
To access the camera setup menu,
you need to open Network Camera
Manager (NCM) utility. NCM is pre-
installed on all OpenEye Recorders,
and is also available for download on
the OpenEye website for installation on
your personal computer or laptop.
1. Open Network Camera Manager.
2. Locate your camera on the
Network Camera Manager list.
3. To open the web browser, select
the camera and click LOAD.
NOTE: OpenEye IP cameras ship
without a default password.
DEFAULT USERNAME
AND PASSWORD
Optional Free Paintable Dome Cover
This camera has an available paintable dome
cover allowing it to be quickly converted to a
black housing or the allow custom painting to
match its installation environment. To reduce
waste it is not included in every package but
may be requested free of charge at time of
purchase.
Mounting
Template
Selecting multiple cameras and enter-
ing IP address 192.168.51.2 will set
an IP address on all selected cameras,
starting at 192.168.51.2 and increase
per camera.
1. Open Network Camera Manager.
2. Select applicable camera(s).
3. Input starting IP address, Subnet
Mask, Gateway, DNS.
4. Apply changes.
5. Wait 60 seconds before refreshing
NCM.
PRODUCT FEATURES
NOTE: The NCM software manual can be
found at https://answers.openeye.net/
Install/Adding_Cameras_and_Camera_
Settings/Network_Camera_Manager
The admin user password can be set
using the following methods:
1. OpenEye recorders running Apex
2.6 or newer will automatically
set a new unique password when
added in setup, if a new password
has not already been set.
2. Connect to the camera directly
through a Web Browser and follow
the onscreen prompts.
3. Use the Network Camera Manager
(NCM) Utility.
Username: admin
Set the Default Camera Password
Use the QR code or link for instructions on
dening a unique camera password:
https://answers.openeye.net/Install/Adding_
Cameras_and_Camera_Settings/Default_
Camera_Password


