Free To Air / Conax Embedded Digital Terrestrial Receiver
MENU OPERATION12
Free To Air / Conax Embedded Digital Terrestrial Receiver
MENU OPERATION 13
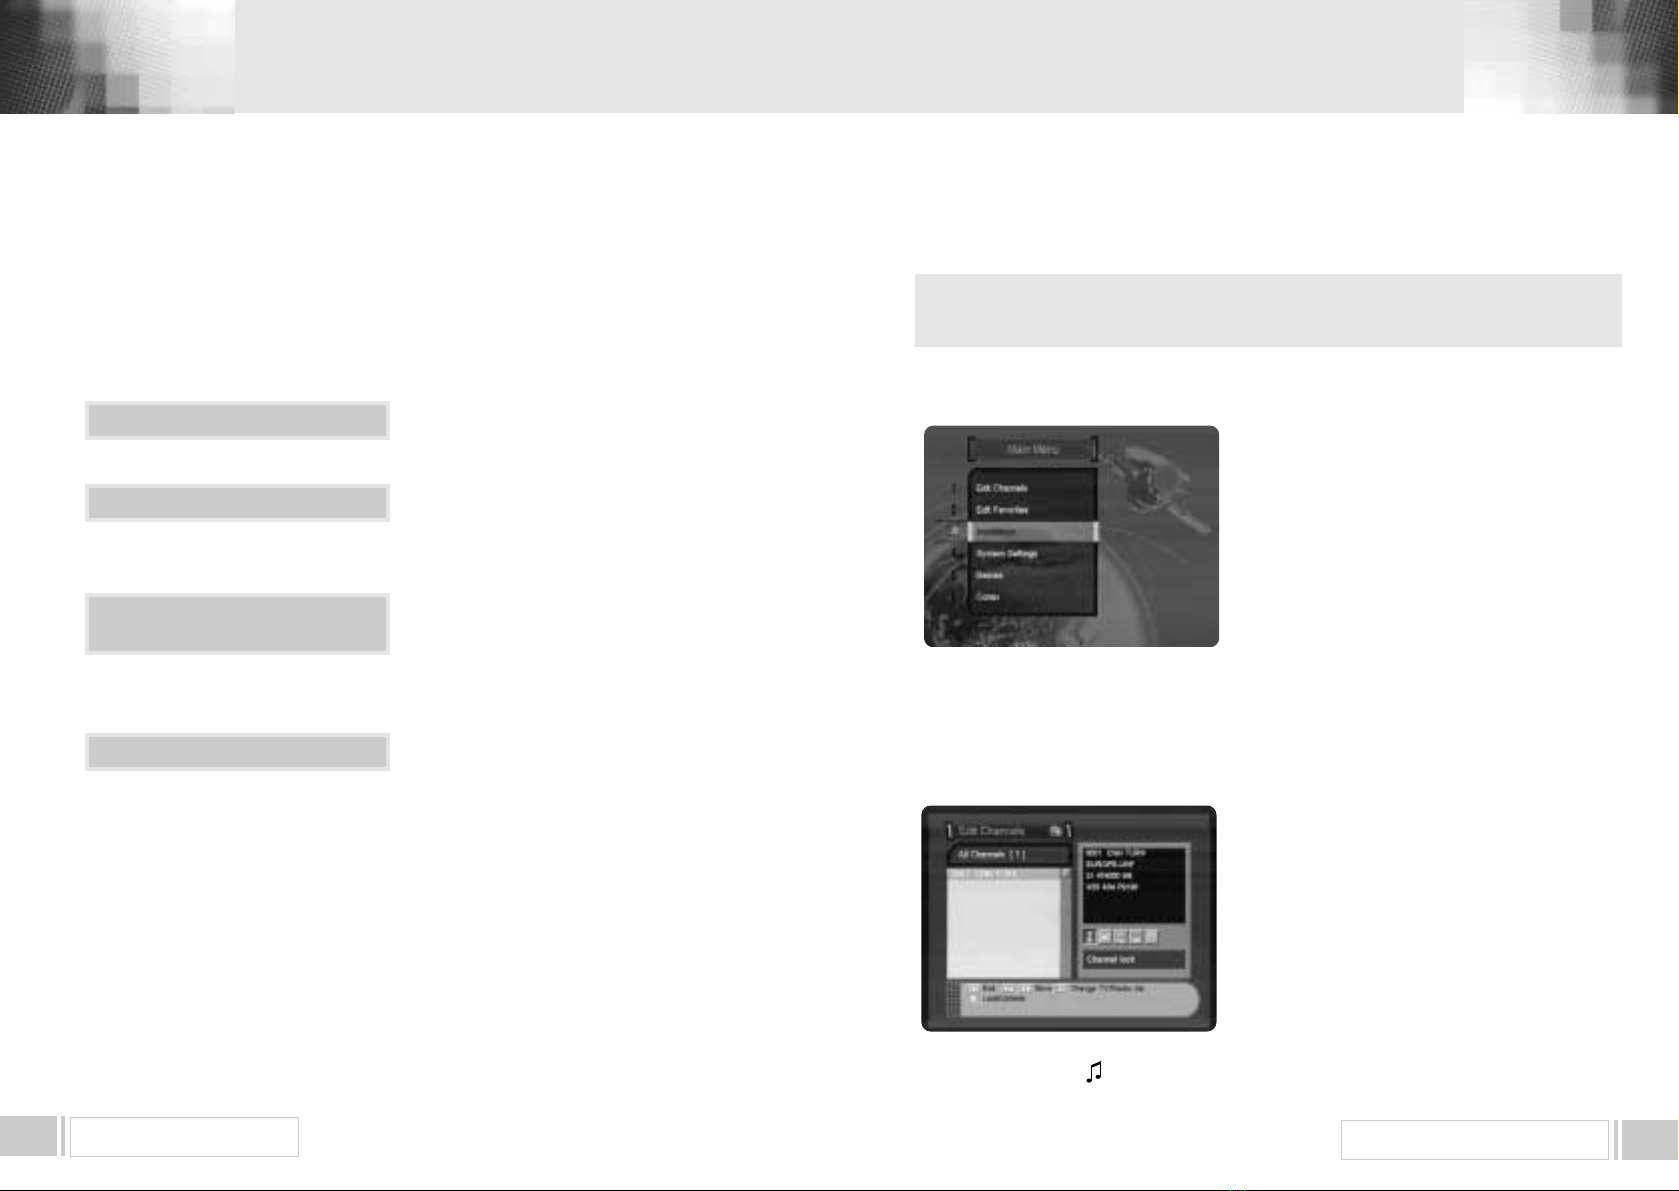
Once the channel is locked, every time you try to watch the program, you will be asked to enter
PIN code. Press the "menu" key or "exit" key to return to previous menu.
1. B. DELETE CHANNEL
Select the "Delete Channel" icon using the left/right keys(◀∙▶)
Select the channel that you want to delete from the channel list using the up/down keys((▲∙▼))
and the page up/down keys( ).
Press the "OK" key to confirm your selection.
Also, you can use the " " key to select either TV channel list or Radio channel list.
Press the "menu" key or "exit" key to return to previous menu.
1. C. MOVE CHANNEL
Select the "Move Channel" icon using the left/right keys(◀∙▶)
Select the channel that you want to move from the channel list using the up/down keys((▲∙▼)
and the page up/down keys( ).
Press the "OK" key to confirm your selection.
Move it to the position where you want to place it using the up/down keys((▲∙▼)) and the page
up/down keys().
Press the "OK" key to confirm.
Also, you can use the " " key to select either TV channel list or Radio channel list.
Press the "menu" key or "exit" key to return to previous menu.
1. D. EDIT CHANNEL NAME
Select the "Edit Channel Name" icon using the left/right keys(◀∙▶)
Select the channel that you want to edit from the channel list using the up/down keys(▲∙▼) and
the page up/down keys( ).
Press the "OK" key to confirm your selection.
Select the character which you want to edit using the browse keys(◀∙▶, ▲∙▼ ).
Press the "OK" key to confirm.
Save the character currently selected using the "F2" key.
Also, you can use the " " key to select either TV channel list or Radio channel list.
Press the "menu" key or "exit" key to return to previous menu.
1. E. SORT CHANNEL LIST
Select the "Sort Channel List" icon using the left/right keys(◀∙▶)
Press the "OK" key to confirm.
Select the sort type which you want to sort using the up/down keys(▲∙▼)
Press the "OK" key to confirm.
Also, you can use the " " key to select either TV channel list or Radio channel list.
Press the "menu" key or "exit" key to return to previous menu.
Press the“menu”key or“exit”key to return to previous menu.
▲
▲
▲
▲
▲
▲
▲
▲
▲
▲
▲
▲
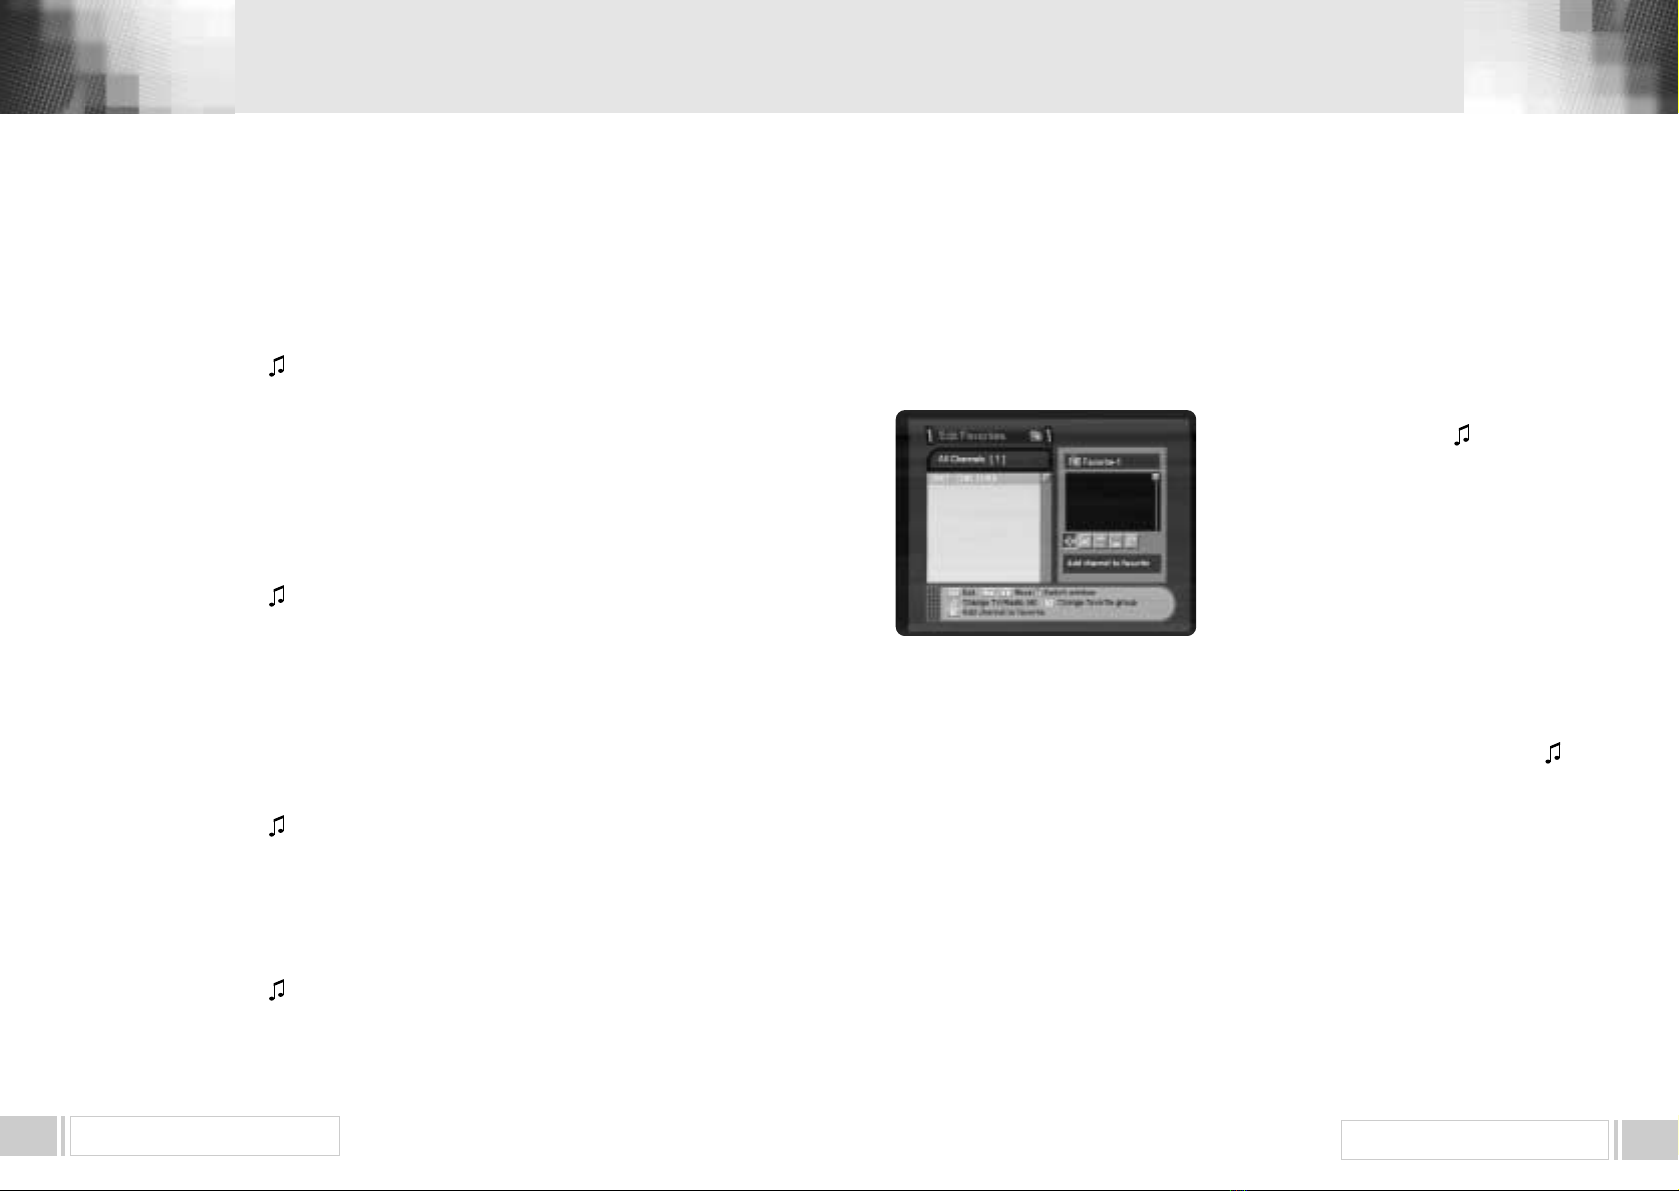
6.2. EDIT FAVORITES
You can edit the favorite channel list, such as add/delete a channel or move its position, which
facilitates you to easily find your favorite channel from the favorite channel list.
The favorite channel is classified into one of 8 favorite categories depending on its genre.
Select "Edit Favorites" menu in main menu, and you will be asked to enter your PIN code.
You can find the following "Edit Favorites" screen by entering it.
2. A. ADD FAVORITE CHANNEL
You can choose TV channel list or Radio channel list in
an alternative way by pressing the " " key on the
RCU.
By pressing "FAV" key on the RCU, you can choose
your favorite channel group out of 8 favorite groups.
Select the "Add Channel" icon using the left/right
keys(◀∙▶).
Select a channel that you want to add into the favorite
channel list using the up/down keys(▲∙▼) and the
page up/down keys( ).
Press the "OK" key, and the selected channel will be added to the favorite channel list.
Press the "menu" key or "exit" key to return to previous menu.
2. B. DELETE FAVORITE CHANNEL
You can choose TV channel list or Radio channel list in an alternative way by pressing the " "
key on the RCU.
By pressing "FAV" key on the RCU, you can choose your favorite channel group out of 8 favorite
groups.
Select the "Delete Channel" icon using the left/right keys(◀∙▶).
Select a channel that you want to delete from the favorite channel list using the up/down keys
(▲∙▼) and the page up/down keys( ). Press the "OK" key, and the selected channel will
disappear from the favorite channel list.
Press the "menu" key or "exit" key to return to previous menu.
▲
▲
▲
▲
▲
▲
▲
▲