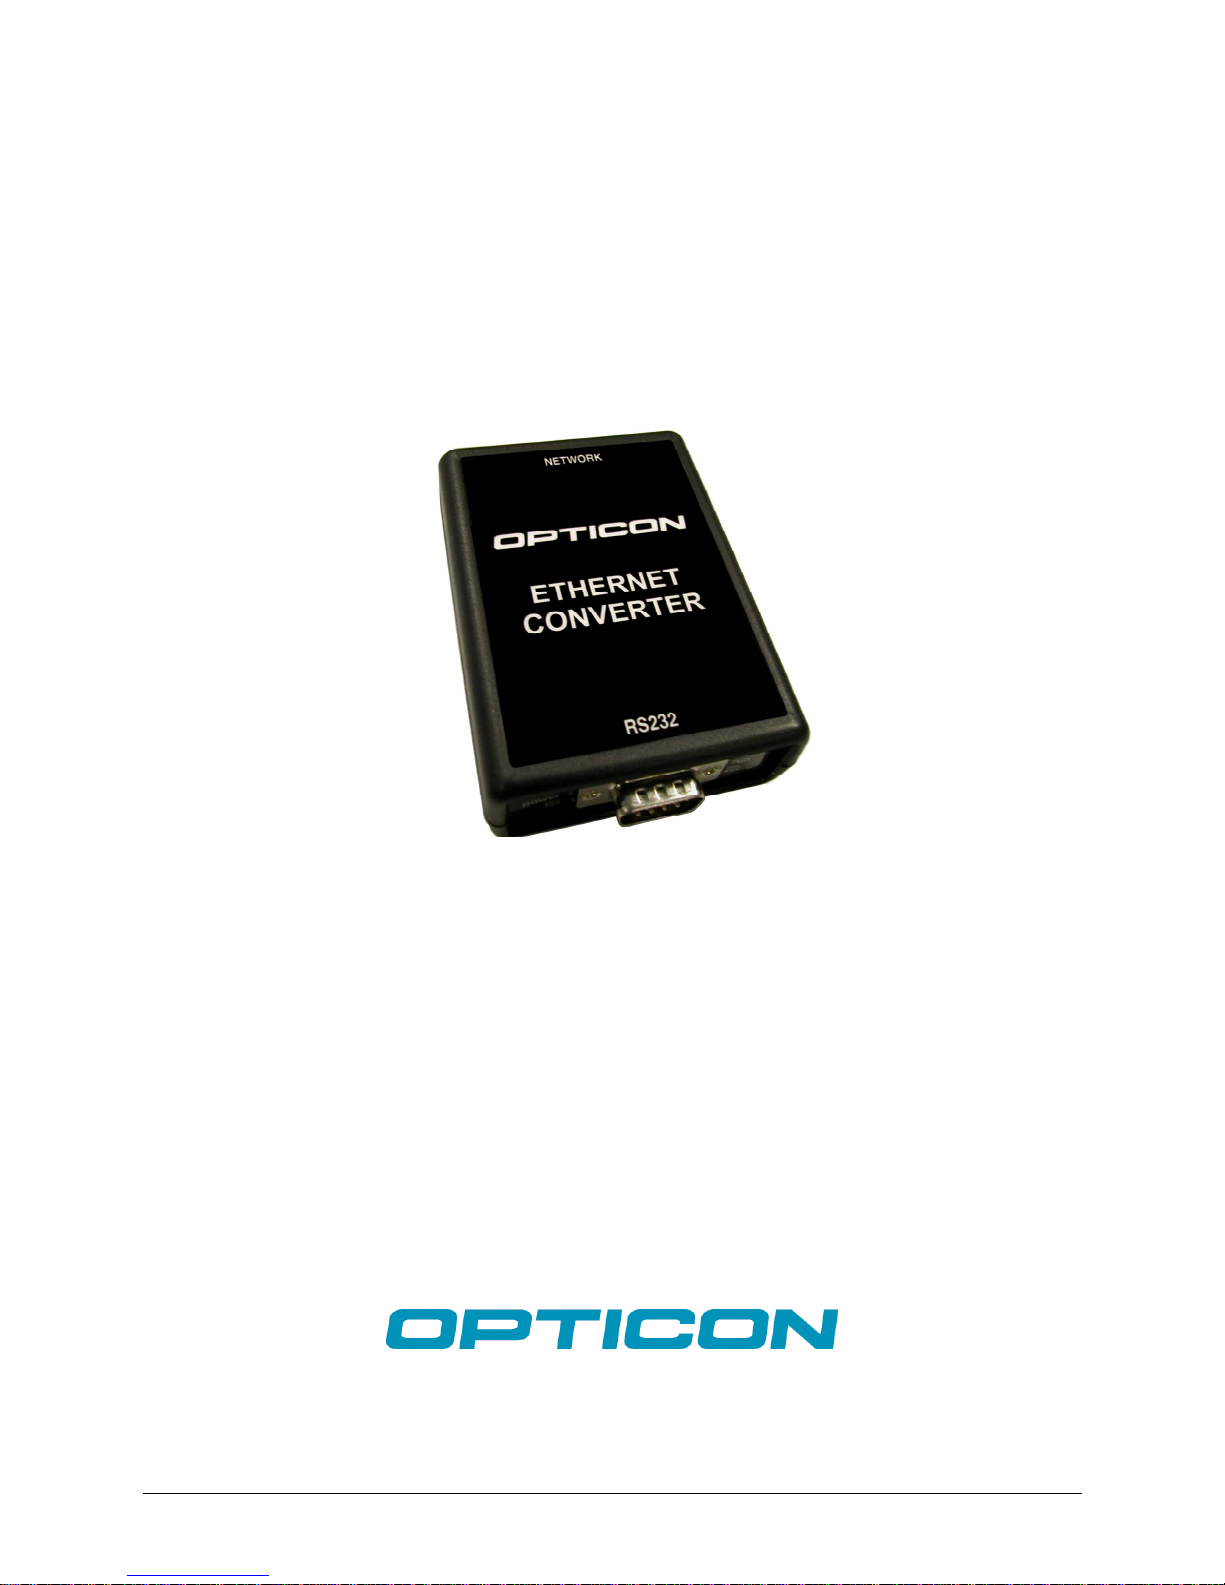
Opticon Ethernet Converter - 7
3.1 Method 1: Using the System menu via RS232
Connect your Ethernet Converter box to the serial port of a PC or Laptop and open an RS232 monitor (i.e.
Hyperterminal or Appload) using the following serial settings:
115200 baud (8 data bits, no parity, 1 stop bit)
Enter the system menu by powering up the Ethernet box with the set-up button pressed. After that, the following
menu will be shown:
1: Show current settings
2: Set Board Host Name
3: Set default IP address
4: Set default gateway address
5: Set default subnet mask
6: Set default Primary DNS server addr.
7: Set default Secondary DNS server addr.
8: Enable DHCP
9: Disable DHCP
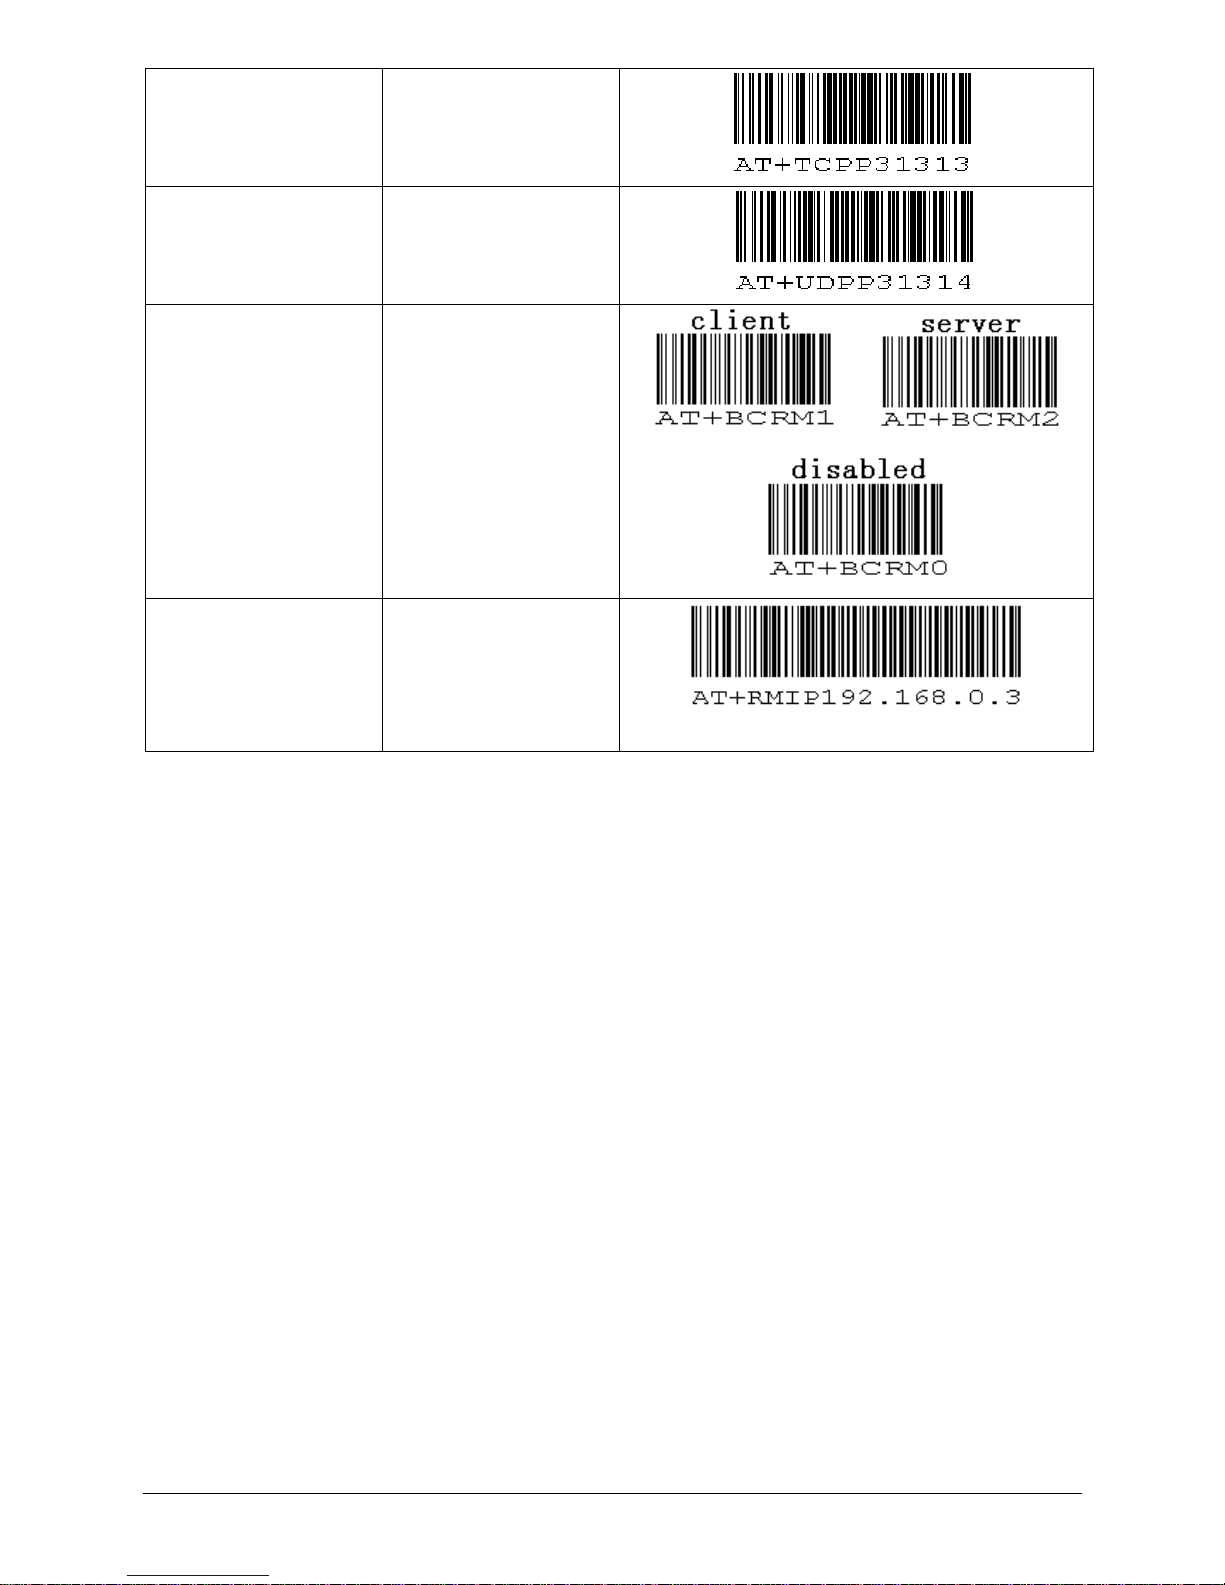
A: Set default serial-over-TCP port
B: Set default serial-over-UDP port
C: Enable Remote Configuration (by HTTP)
D: Disable Remote Configuration (by HTTP)
E: Set Barcode reader Mode
F: Set default remote IP addr.
0: Save & Quit
Enter a menu choice (1-0):
While being in the system menu, pressing the corresponding key will give the following results:
1: Show current settings
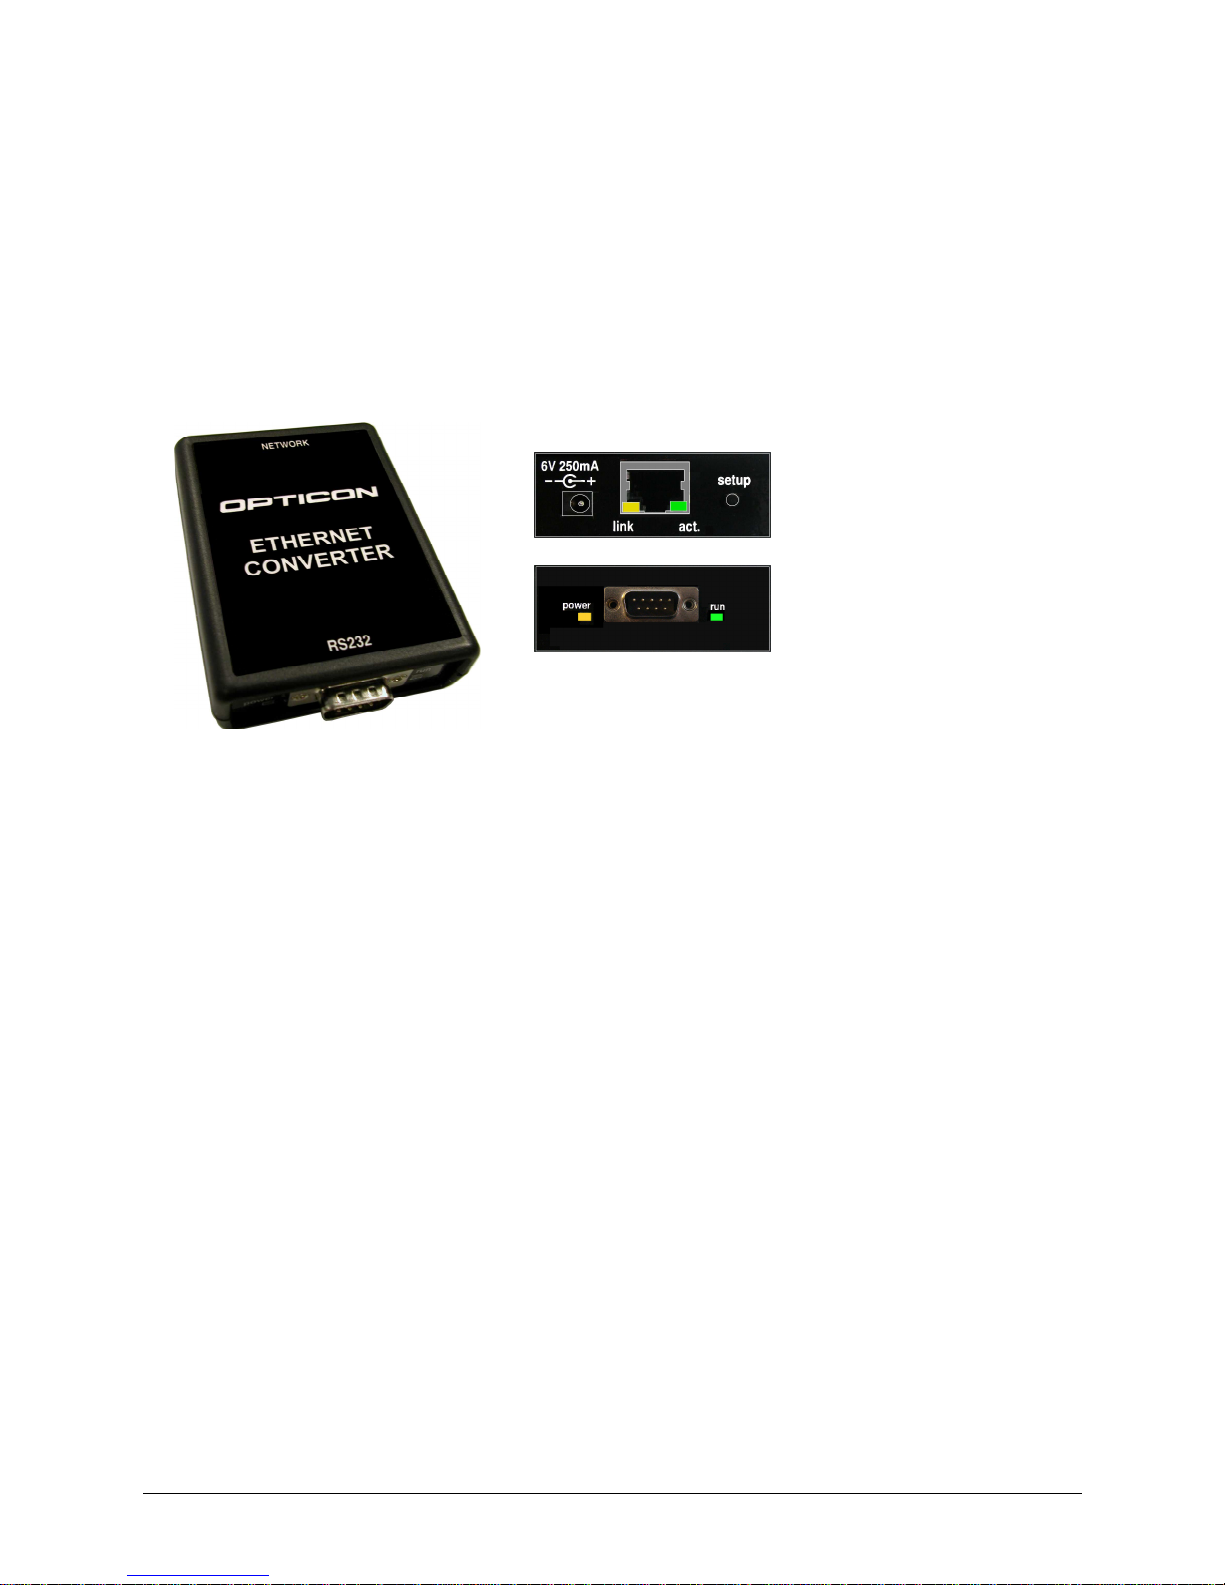
Settings of the RS232-to-Ethernet Converter Box
Version: HACV0200
Board name: OSE_ETHERNETBOX
MAC Address: 00-12-6A-00-00-02
Local IP Address: 169.254.254.254
Gateway Address: 169.254.254.1
Subnet mask: 255.255.0.0
Primary DNS server address: 169.254.254.2
Secondary DNS server address: 169.254.254.3
DHCP: Enabled
Baud rate: 115200
Default serial-over-TCP port: 31313
Default serial-over-UDP port: 31314
Remote configuration: Disabled
Barcode reader Mode: Disabled
Default remote IP address: 0.0.0.0
IP addresses shown in the overview above are the default IP-addresses. When using DHCP these addresses will be
overruled by the received addresses from the DHCP server, but be aware that the DHCP protocol is not yet
executed while still being in this system menu).
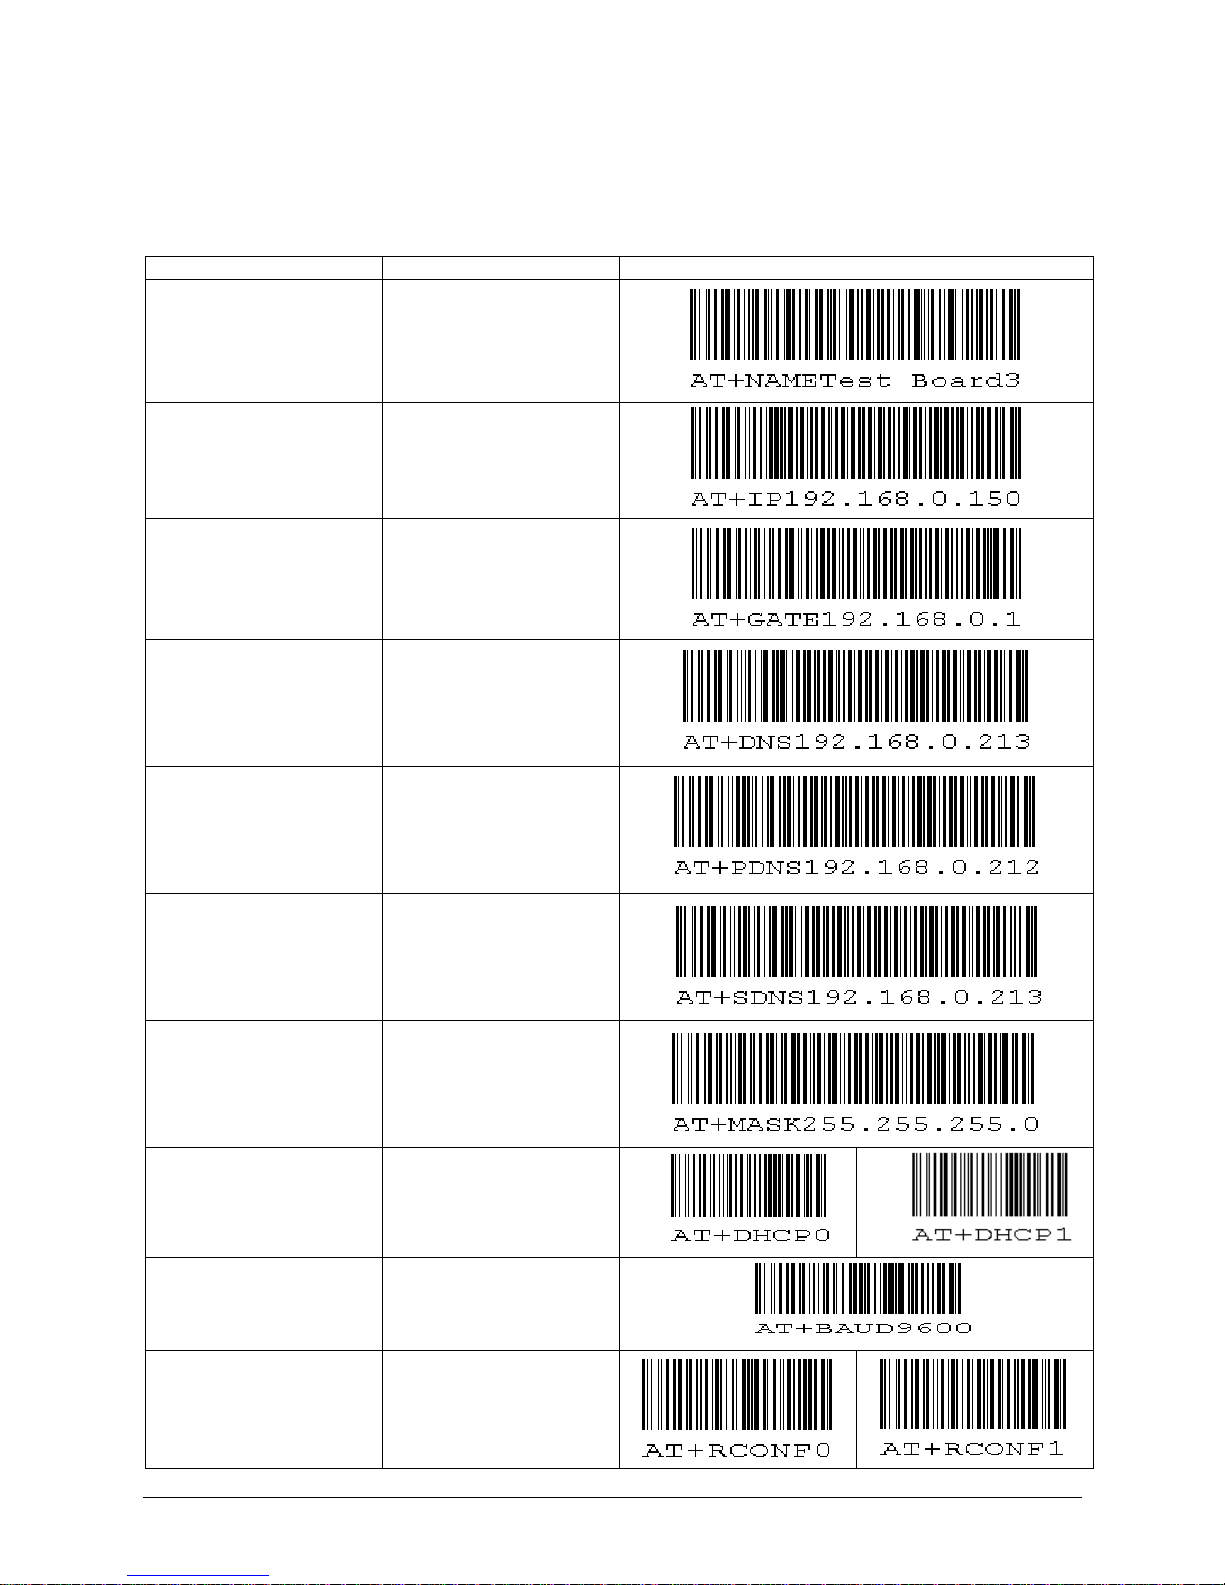
2: Change Board Host Name
Host Name (OSE_ETHERNETBOX): <enter new host name>
3: Set default IP address
Default IP Address (169.254.254.254): <enter IP address>
4: Set default gateway address
Default Gateway Address (169.254.254.1): <enter IP address>
5: Set default subnet mask
Default Subnet Mask (255.255.0.0): <enter IP mask>
6: Set default Primary DNS server address