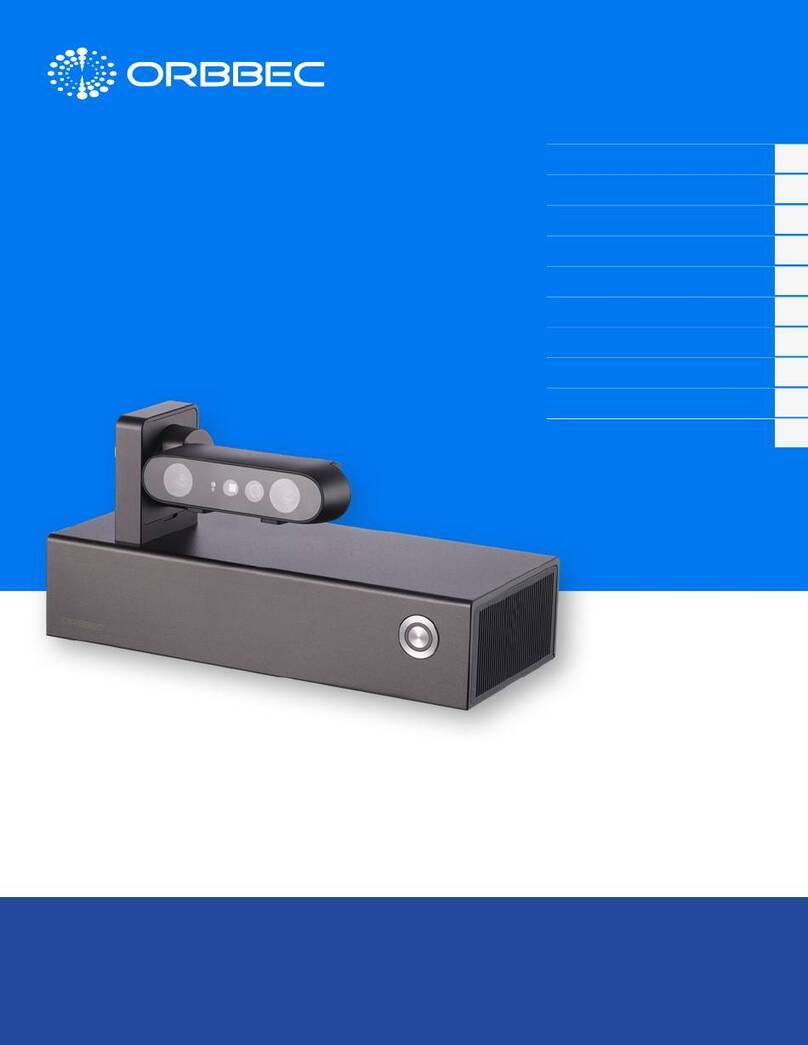
ORBBEC Zora P1 User manual

Zora P1
With System Installation Guide
Copyright 2023. Orbbec Inc. All rights reserved. The product described may contain defects or errors or deviation from published specications.
Contact your sales representative to obtain the latest Orbbec 3D product specications. Orbbec is not responsible for any users infringing on third party
copyright or other rights in use of Orbbec products. In addition, Orbbec does not assume any liability for damages or any losses resulting from the use of
this product. All information provided here is subject to change without notice.
Zora P1 (A311D-4G-01)
Development Board Introduction
Preparation for System Installation
Installation Guide for
Android/Ubuntu System
Set ADB debugging (Android)
EMMC Module Instructions
PoE Module Introduction
02
04
06
08
08
09
System Download
Development Board Accessories
Product Certications
11
11
11

1. Zora P1 (A311D-4G-01)
Development Board Introduction
Zora P1 | With System Installation Guide
ORBBEC. All Rights Reserved. https://orbbec3d.com/
Note: Orbbec reserves the right to change any information in the document without prior notice.
1.1 Front View
1.2 Back View

Zora P1 | With System Installation Guide
Zora P1 (A311D-4G-01) Development Board Introduction (continued from previous page):
ORBBEC. All Rights Reserved. https://orbbec3d.com/
Note: Orbbec reserves the right to change any information in the document without prior notice.
1.3 Hardware Interface Specications 1.4 42 Pin GPIO Guide (from 01 to 42)
Processor Amlogic A311D, Quad A73+ Dual A53
RAM 4GB DDR4
Storage 32GB EMMC
Interchangeable EMMC module (16GB, 32GB, 64GB)
Micro SD Up to 128GB
MIPI-CSI 1 x MIPI-CSI + 8M HDR ISP
MIPI-DSI 1 x MIPI-DSI
USB 2xUSB 3.0 + 2xUSB 2.0 + 1xUSB XHCI OTG 2.0
HDMI HDMI 2.1
Wi/BT WIFI 802.11a/b/g/n/ac, 2x2 MIMO; Bluetooth 5.0
Ethernet RJ45 Gigabit Ethernet
PoE Pin + PoE Module (Available As Accessory)
Microphone On-board
PDM PDM Interface Microphone Supported
Debug Micro USB
Buttons Power, Reset, ADC, Update
Antenna IPEX Wi-Fi + Bluetooth Antenna
LED Power Status Indicator
42Pin GPIO Detail in 42Pin GPIO Introduction
DC-IN 12V/2A, 2.1mm
OS Android 9.0, Ubuntu 18.04
System Swap By Replacing the EMMC Module
Upgrade mode USB Update
TX (01) SDA
RX SCL
GND SDA2
S_M0 SCL2
S_M1 GND
S_CS P_D1
S_CK P_D0
GND P_SY
I_MCK P_CK
I_SCK GND
I_LR GCLK
I_DO 32K
GND GND
GPIO1 GPIO5
GPIO2 GPIO6
GPIO3 GPIO7
GPIO4 GPIO8
GND GND
PWM2 PWM1
5V 3.3V
5V 3.3V (42)

Zora P1 | With System Installation Guide
Zora P1 (A311D-4G-01) Development Board Introduction (continued from previous page):
ORBBEC. All Rights Reserved. https://orbbec3d.com/
Note: Orbbec reserves the right to change any information in the document without prior notice.
1.5 UART Guide (from 01 to 04)
3.3V (01)
RX
TX
GND (04)
1.6 PMD Guide (from 01 to 04)
3.3v (01) 3.3v GND PDM_DCK GND PDM_DIN0 PDM_DIN1 GND (07)
1.7 RTC Guide
GND (01) VBAT (02)
2.1 Method 1: Long Press “Update” Button to Enter Update Mode (Recommended)
2. Preparation for System Installation
a.
Connect the development board’s OTG to a Windows
computer through micro USB cable
b.
Long press update button

Zora P1 | With System Installation Guide
ORBBEC. All Rights Reserved. https://orbbec3d.com/
Note: Orbbec reserves the right to change any information in the document without prior notice.
Preparation for System Installation (continued from previous page):
2.2 Method 2: Use ADB Tool to Enter Update Mode (For Pre-Installed Android Only)
c.
Connect power adapter through DC-in port
d.
Successfully linked to the USB Burning Tool
Note: Please make sure the USB Burning Tool is launched from the
computer, ‘Update’ button is pressed, and the board is connected to the
computer through a micro-USB cable before plugging in the power supply.
a.
.Power on the development board by connecting the power adapter
b.
Open the computer CMD console
c.
Connect the computer and development board through the micro USB port
d.
In CMD console, type in “adb reboot update “
e.
Successfully linked to the USB Burning Tool
Note: Please make sure the USB Burning Tool is launched from the computer, the board is connected to the computer through a micro-USB cable with functional
Android system installed, power supply is connected and the computer has the adb environment congured.
Click to Download USB Burning Tool

3. Installation Guide for Android/Ubuntu System
Zora P1 | With System Installation Guide
ORBBEC. All Rights Reserved. https://orbbec3d.com/
Note: Orbbec reserves the right to change any information in the document without prior notice.
3.1 Conguration requirements for computers:
a.
Windows 10 operating system
b.
Antivirus software may need to be turned off
c.
High-speed USB 2.0 or USB 3.0 interface
3.2 Updating the System: Method 1
a.
Long press the update button on development board
b.
Use a micro USB cable to connect OTG to the computer
c.
Open the software “USB Burning Tool V2.2.x”
d.
Connect power adaptor to the board
e.
USB Burning Tool successfully connected to the
development board
f.
Import System Image (x.img)
g.
Click the start button to start the update process
h.
Complete system installation, click the stop button then
close the software

Zora P1 | With System Installation Guide
ORBBEC. All Rights Reserved. https://orbbec3d.com/
Note: Orbbec reserves the right to change any information in the document without prior notice.
Installation Guide for Android/Ubuntu System (continued from previous page):
3.3 Burn rmware with ADB tool
(For Pre-Installed Android Only)
a.
Power on the development board by connecting the
power adapter
b.
Open the computer CMD console
c.
Connect the computer and development board via the
micro USB port
d.
In CMD console, type in “adb reboot update”
e.
Successfully linked to the USB Burning Tool
f.
Import system image (x.img), and repeat steps f to h from
method 1 to nish the update
3.4 Burn rmware to multiple development
boards at the same time
1.
Connect boards to the computer through a powered
USB hub
2.
Use the same operation as step 3.2
3.
Supports two or more development boards to be updated
at the same time
3.5 Ubuntu 18.04 Login Information
The default username of the system is ‘orbbec’, default
password: ‘orbbec’

4. Set ADB Debugging (Android)
Zora P1 | With System Installation Guide
ORBBEC. All Rights Reserved. https://orbbec3d.com/
Note: Orbbec reserves the right to change any information in the document without prior notice.
a.
The development board supports ADB debugging by default.
b.
Connect directly through OTG interface.
(Before connecting, please make sure the computer has the ADB driver installed)
c.
Open terminal window and type in ‘adb shell’
5. EMMC Module Instructions
EMMC pluggable expansion module
(Optional capacity: 16GB, 32GB, 64GB)
Picture shows the EMMC module installed

6. PoE Module Introduction
Zora P1 | With System Installation Guide
ORBBEC. All Rights Reserved. https://orbbec3d.com/
Note: Orbbec reserves the right to change any information in the document without prior notice.
6.1 Introduction and Product Images
a.
Top and bottom view
b.
Side views
6.2 Connecting the PoE Module
a.
Connect the PoE adaptor to the connector on the bottom
of the board as shown below
The PoE module supports IEEE 802.3at and is compatible with
the IEEE 802.3at standard.

Zora P1 | With System Installation Guide
ORBBEC. All Rights Reserved. https://orbbec3d.com/
Note: Orbbec reserves the right to change any information in the document without prior notice.
PoE Module Introduction (continued from previous page):
After the installation is completed, please ip the
development board to its recommended position, as shown in
the picture below:
b.
Select a switch or router with PoE function.
Note: To ensure normal GPIO output and network
bandwidth, select a Gigabit Ethernet switch or router
that supports the 802.3at standard
c.
Connect the board’s RJ45 (Gigabit Ethernet) port to the
switch or router’s LAN port that supports the 802.3at
standard.
d.
Power and network access will be delivered to the board
without additional power supply

Zora P1 | With System Installation Guide
ORBBEC. All Rights Reserved. https://orbbec3d.com/
Note: Orbbec reserves the right to change any information in the document without prior notice.
7. System Download
Android:
Click to Download Latest Android System Image
Ubuntu
Click to Download Latest Ubuntu System Image
8. Development Board Accessories
• PoE Module
• RTC Battery (Coming Soon)
• Touch module and LCD display (Coming Soon)
• Microphone array (Far eld pickup with noise reduction algorithm) (Coming Soon)
9. Product Certications
Certications Availability Comments
FCC ID YES
PSE YES
CE YES
RoHS YES
Available accessories:

Copyright Orbbec Inc. All rights reserved. The product described may contain defects or errors or deviation from published specications. Contact your
sales representative to obtain the latest Orbbec 3D product specications. Orbbec is not responsible for any users infringing on third party copyright or
other rights in use of Orbbec products. In addition, Orbbec does not assume any liability for damages or any losses resulting from the use of this product.
All information provided here is subject to change without notice.
Table of contents
Other ORBBEC Computer Hardware manuals
Popular Computer Hardware manuals by other brands

ekwb
ekwb EK-Pro CPU Water Block SP5 user guide

Thermalright
Thermalright Macho Zero manual

Nvidia
Nvidia Jetson AGX Xavier Series Design guide

Kontron
Kontron COM-HPC user guide

Cypress Semiconductor
Cypress Semiconductor Perform CY14B102L manual

audiowerkstatt
audiowerkstatt midi-clock-multiplier v2 quick start guide