5
liniLED® Handrail | US / European quality & manufacturing
1. Introduction
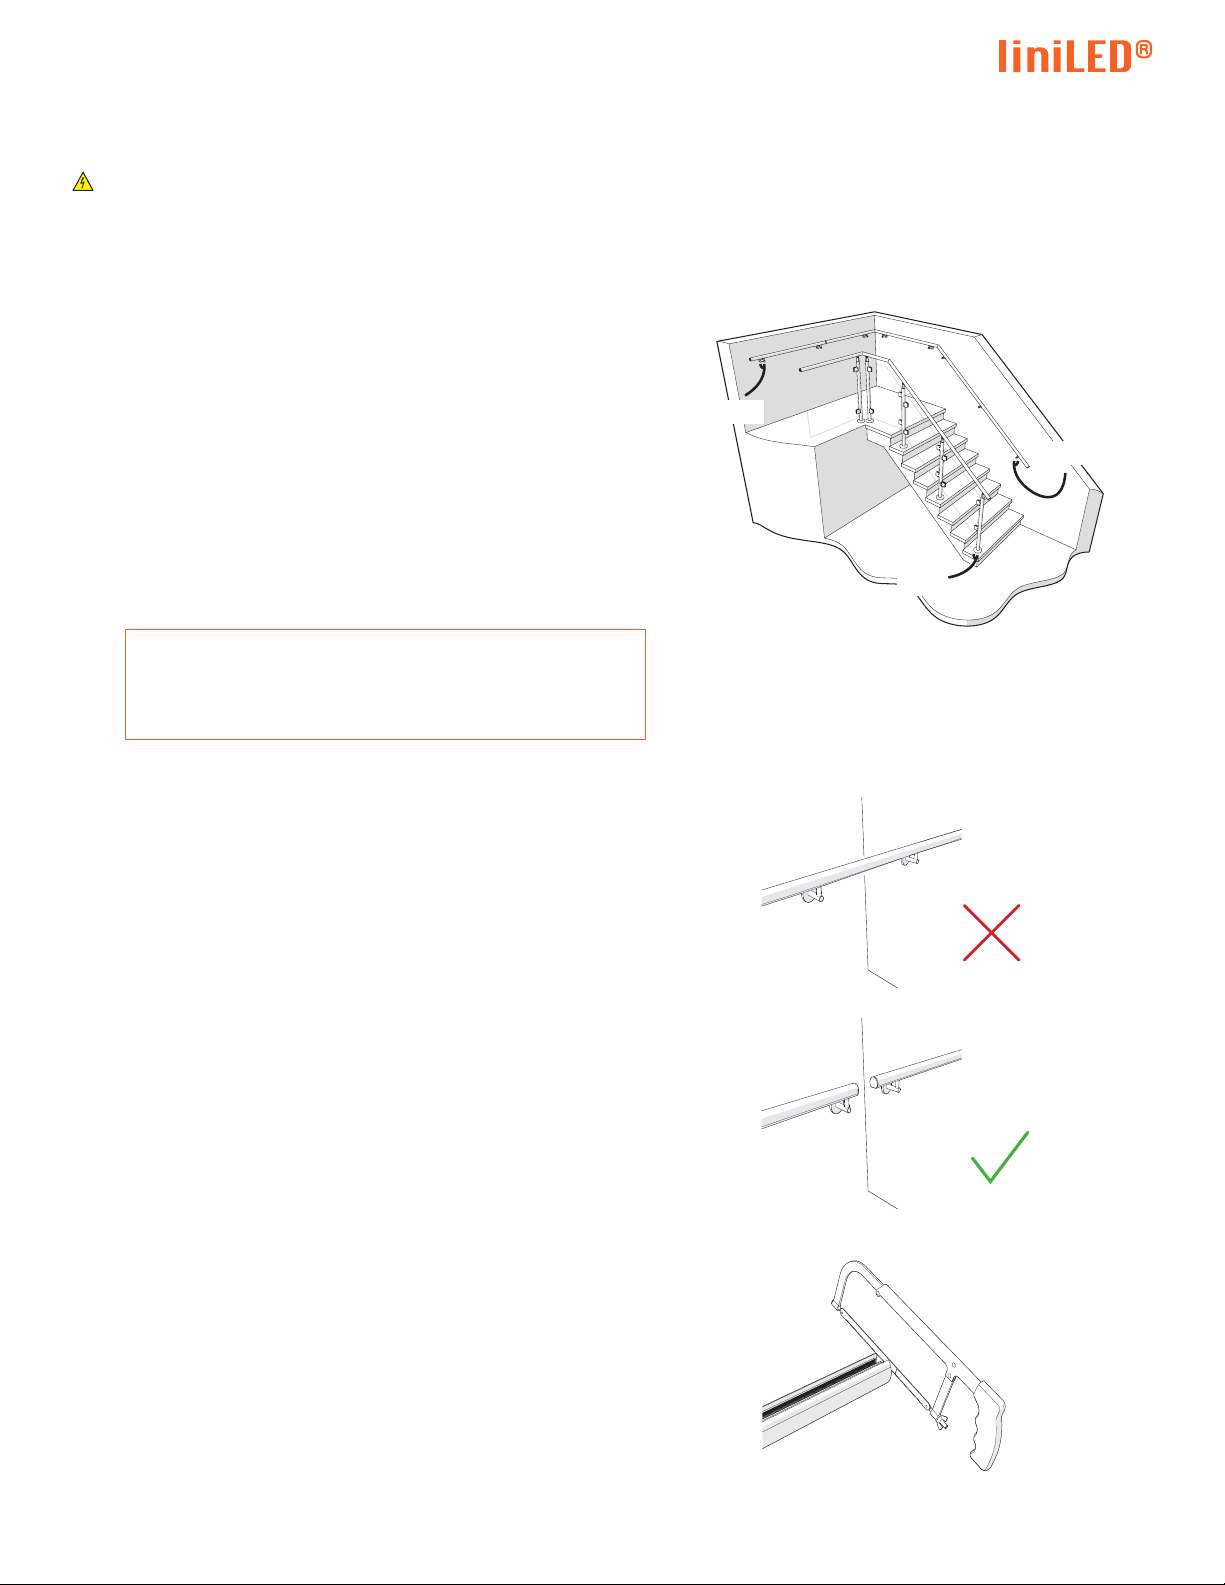
1.1 What is the liniLED® Handrail?
The liniLED® Handrail is a revolutionairy LED based handrail system that provides continuous functional lighting
for a safe indoor and outdoor environment. The liniLED® Handrail can be wall mounted or post mounted. By
integrating the liniLED® Top LED strips (24 V DC) in the stainless steel liniLED® Handrail, the product is ideal for
high-end indoor and outdoor projects in various sectors, such as: architecture, infrastructure, construction, health
and the entertainment industry. The liniLED® Handrail has the same light benets as a LED xture: energy ecient
with an expected lifetime of more than 50.000 hours.
This original installation manual contains important information and is meant for the certied (handrail)
installer of the liniLED® Handrail. For the latest manual visit the website: www.organiclighting.com.
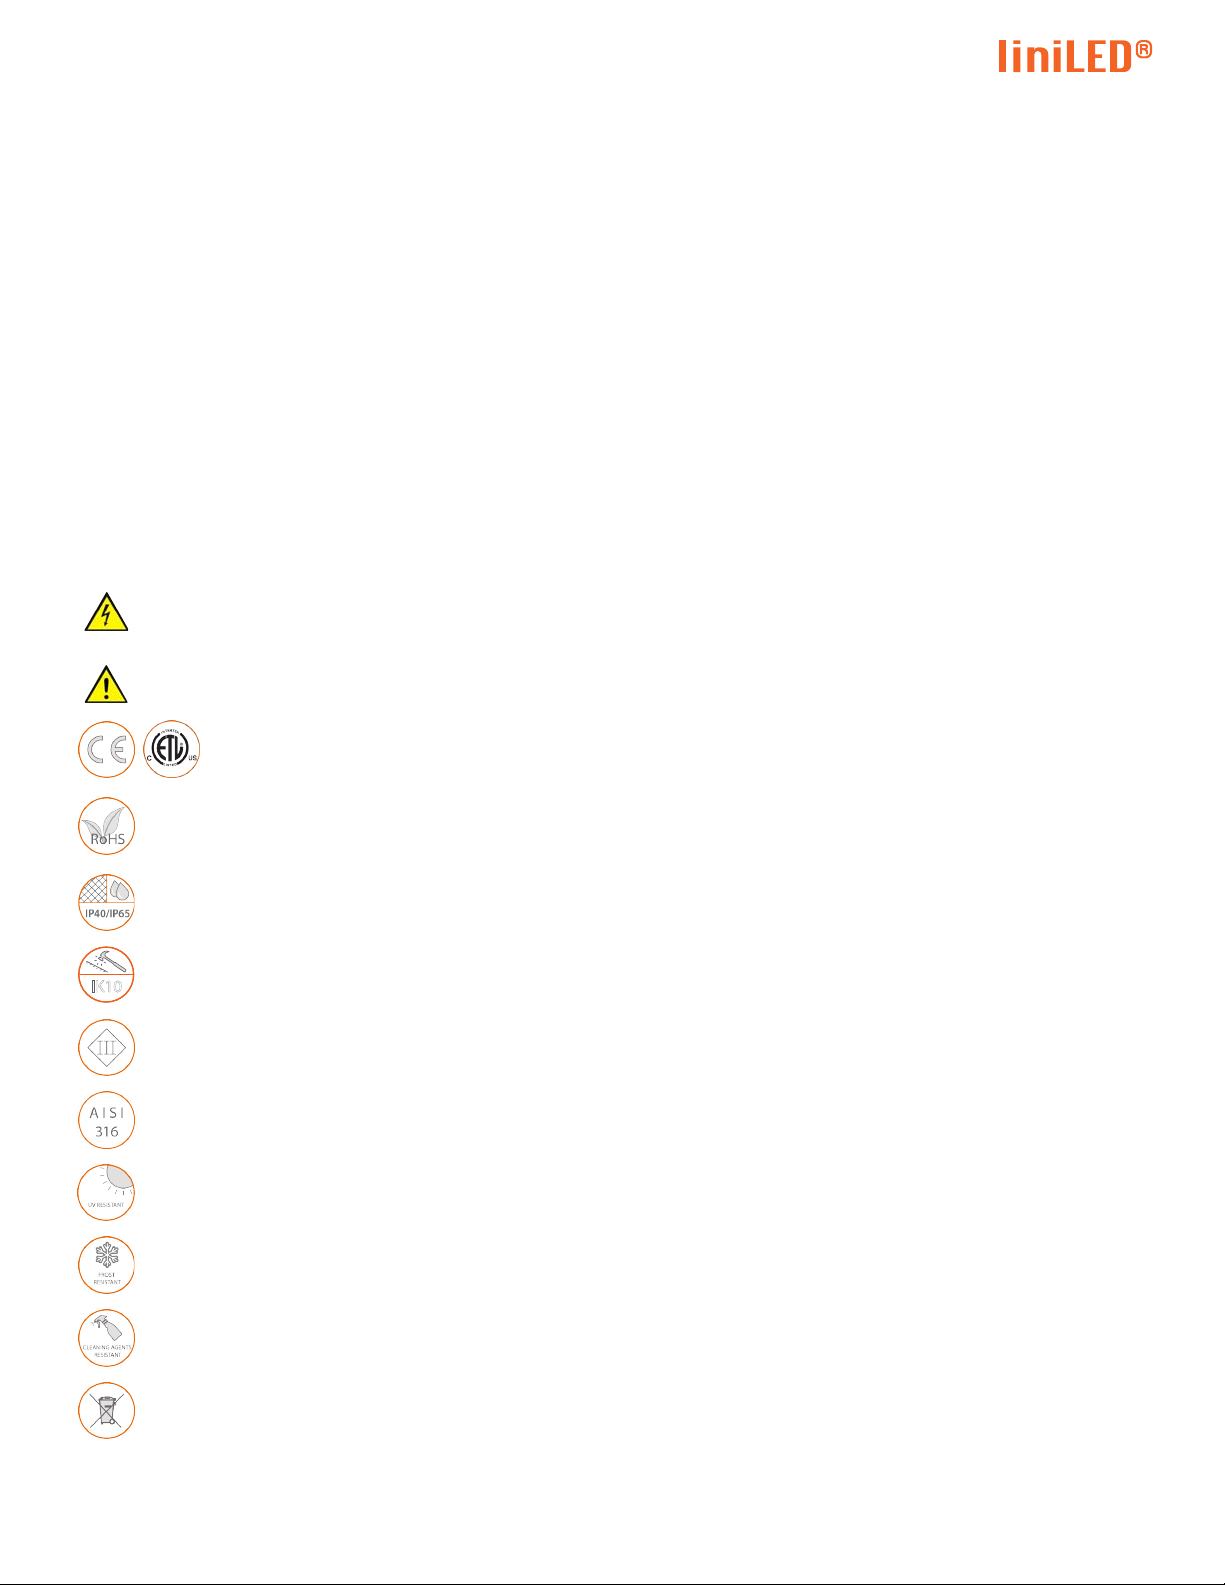
1.2 Symbols
Danger! Danger electric shocks! Whenever this sign is shown, the user should be aware of dangerous
situations, which can cause electric shocks. Follow the safety instructions to prevent physical injuries
or life-threatening situations.
Warning! In some cases the user can injure himself or damage the product. The warning sign points
out such damage, when the user does not follow the procedures.
Safety approvals.
Restriction of Hazardous Substances (RoHS): product complies with the RoHS directive and each
homogeneous material does not exceed the limits for the materials mentioned under the RoHS
directive (Pb, Hg, Cd, Cr6+, PBB and PBDE).
This product can be both IP40 and IP65 depending on the conguration and application.
See the documentation for the exact IP rating.
IK10 Protected against impact energy of 20 joules.
Electrical appliance class III: this product is designed to be supplied from an extra-low voltage
(≤ 60.0 V DC or ≤ 42.4 V AC).
Very high quality stainless steel type 316.
Product is resistant against ultraviolet (UV) light or sunlight.
Non-UV resistant products can degrade or discolor fast when exposed to UV light.
This product can be stored and used below 0 degrees Celsius. Verify the minimum storage and
operation temperature in the datasheet for the lowest temperature allowed.
Product can be cleaned with normal cleaning agents as specied in the datasheet under
‘chemical compliances’.
This product needs to be disposed of separately from normal household waste so it can be recycled.