4
also to move the head in the horizontal plane. The tensioner for the horizontal axis
is the large knob on the side of the pan head.
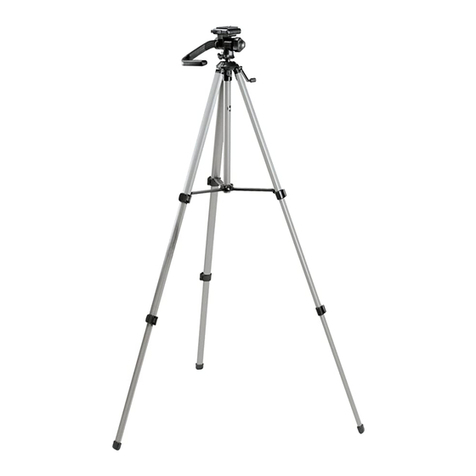
Note that with your instrument mounted normally – pointed away from the long
pan handle -- you cannot achieve a zenith (straight up) orientation. However, it is
possible to point to the zenith by mounting the instrument so that the front of it is
pointing in the same direction as the long pan handle (Figure 5). This way the han-
dle will not contact the tripod itself and hinder the tilt. The ability to point straight up
is especially useful when using the tripod for astronomical observation.
The removable mounting shoe allows quick attachment and removal of your instru-
ment. The shoe has a 1/4"-20 threaded post and a cork grip mat, and is retained by
both a detent pin and a quick-release lock lever. When mounting an optical instru-
ment, you must rst remove the shoe from the head by releasing the lock lever and
pressing the shoe release button (Figure 1A). Attach the shoe to the instrument
by turning the D-ring of the ¼"-20 post under the plate, then replace the shoe on
the head. Make certain the shoe is locked securely in place before releasing the
instrument from your grip.
Raising and Lowering the Pan Head
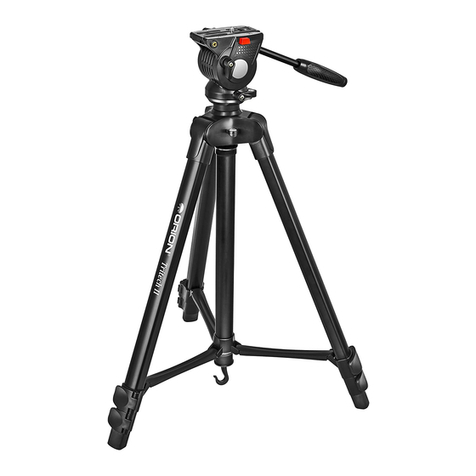
The Tritech CFX has a center column that allows up to 10-1/4" of additional height.
To raise or lower the pan head you must loosen the center column lock knob
(Figure 1A).
Secondary Mounting Base
One of the nifty features of the Tritech CFX tripod is the secondary mounting base
at the bottom end of the center column (Figure 5). Particularly for photographers, it
allows attachment of an optional ball head mount to its 3/8" threaded post in order
to position a camera low to the ground, as shown in Figure 6. It can be removed for
easier camera attachment and removal by pressing the two spring-loaded detent
pins inward, then pulling off the base piece (Figure 7).
Another way the secondary mounting base can be used is as a replacement for
the entire center column and pan head, when a low (but upright) instrument posi-
tion is desired. This removes the center column from getting in the way when you
need to get really low. Basically, you remove the secondary base as described
above, then pull the pan head and center column out of the tripod. Then insert the
secondary mounting base in the tripod where the center column had been (Figure
8).You can mount the pan head directly onto the secondary mounting base (by rst
unthreading it from the center column), or attach an optional ball head, as shown
in Figure 9. Now with the center column removed, you can widen the tripod stance
to achieve a very low position of your camera or instrument.
Ballast Loop
You’ll notice that the Tritech CFX tripod has an eyebolt at the top of the tripod
(Figure 1A). It is a “ballast loop,” which allows you to hook or hang a heavy object
on the tripod to help stabilize it in windy conditions.
