User manual
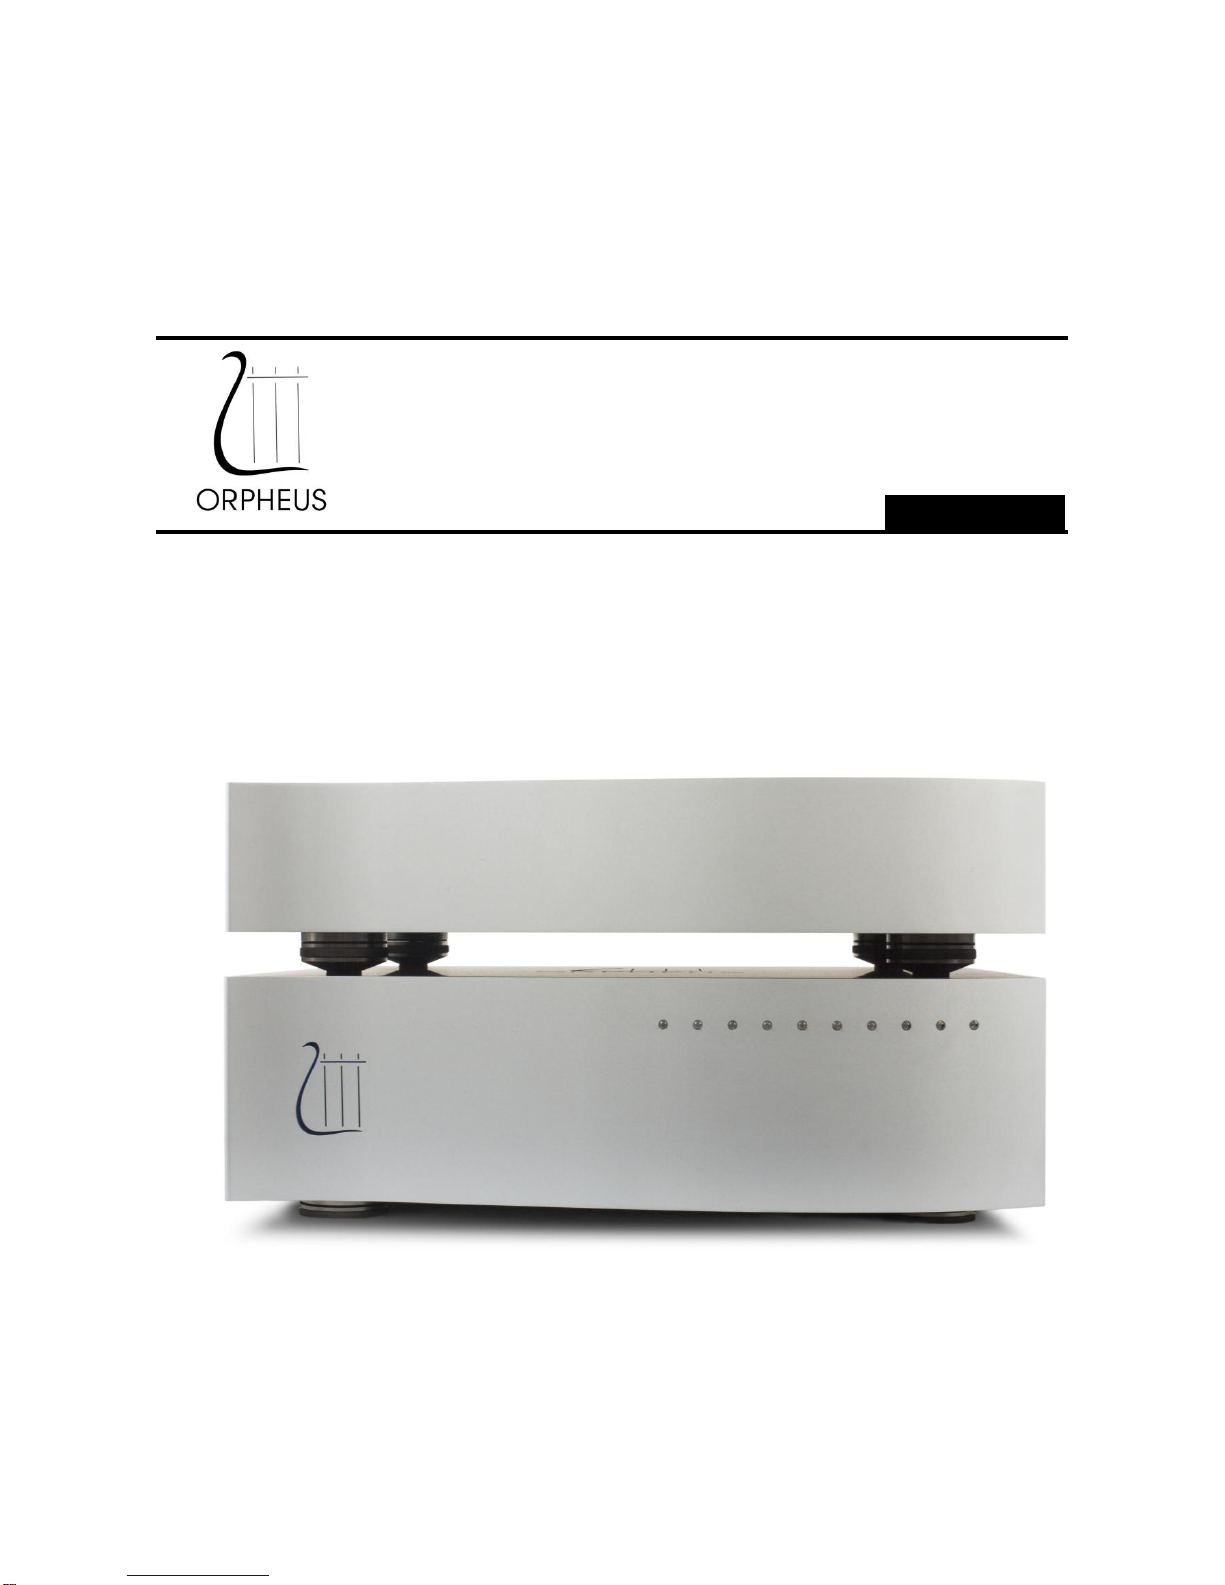
Heritage D/A CONVERTER III
4/13
UNPACKING
First check and identify the contents of your D/A Converter package, as listed below:
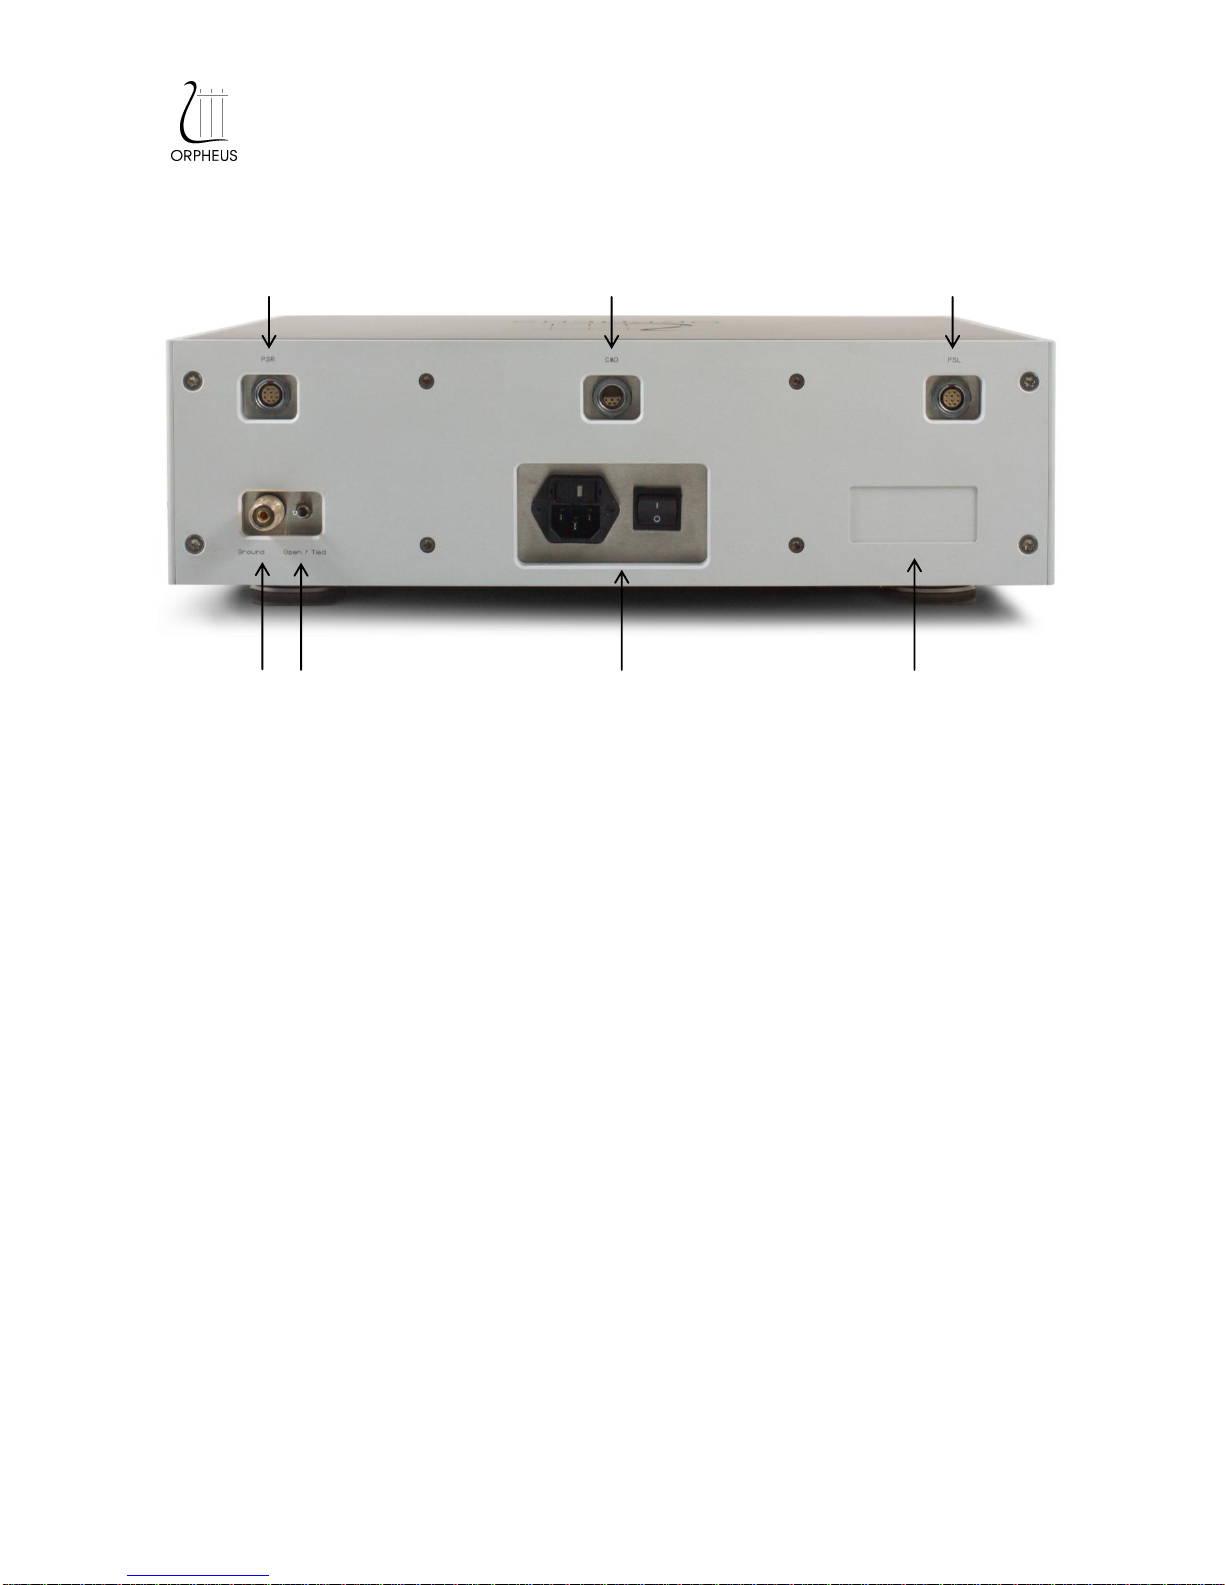
Orpheus Heritage D/A CONVERTER PSU (Power Supply Unit)
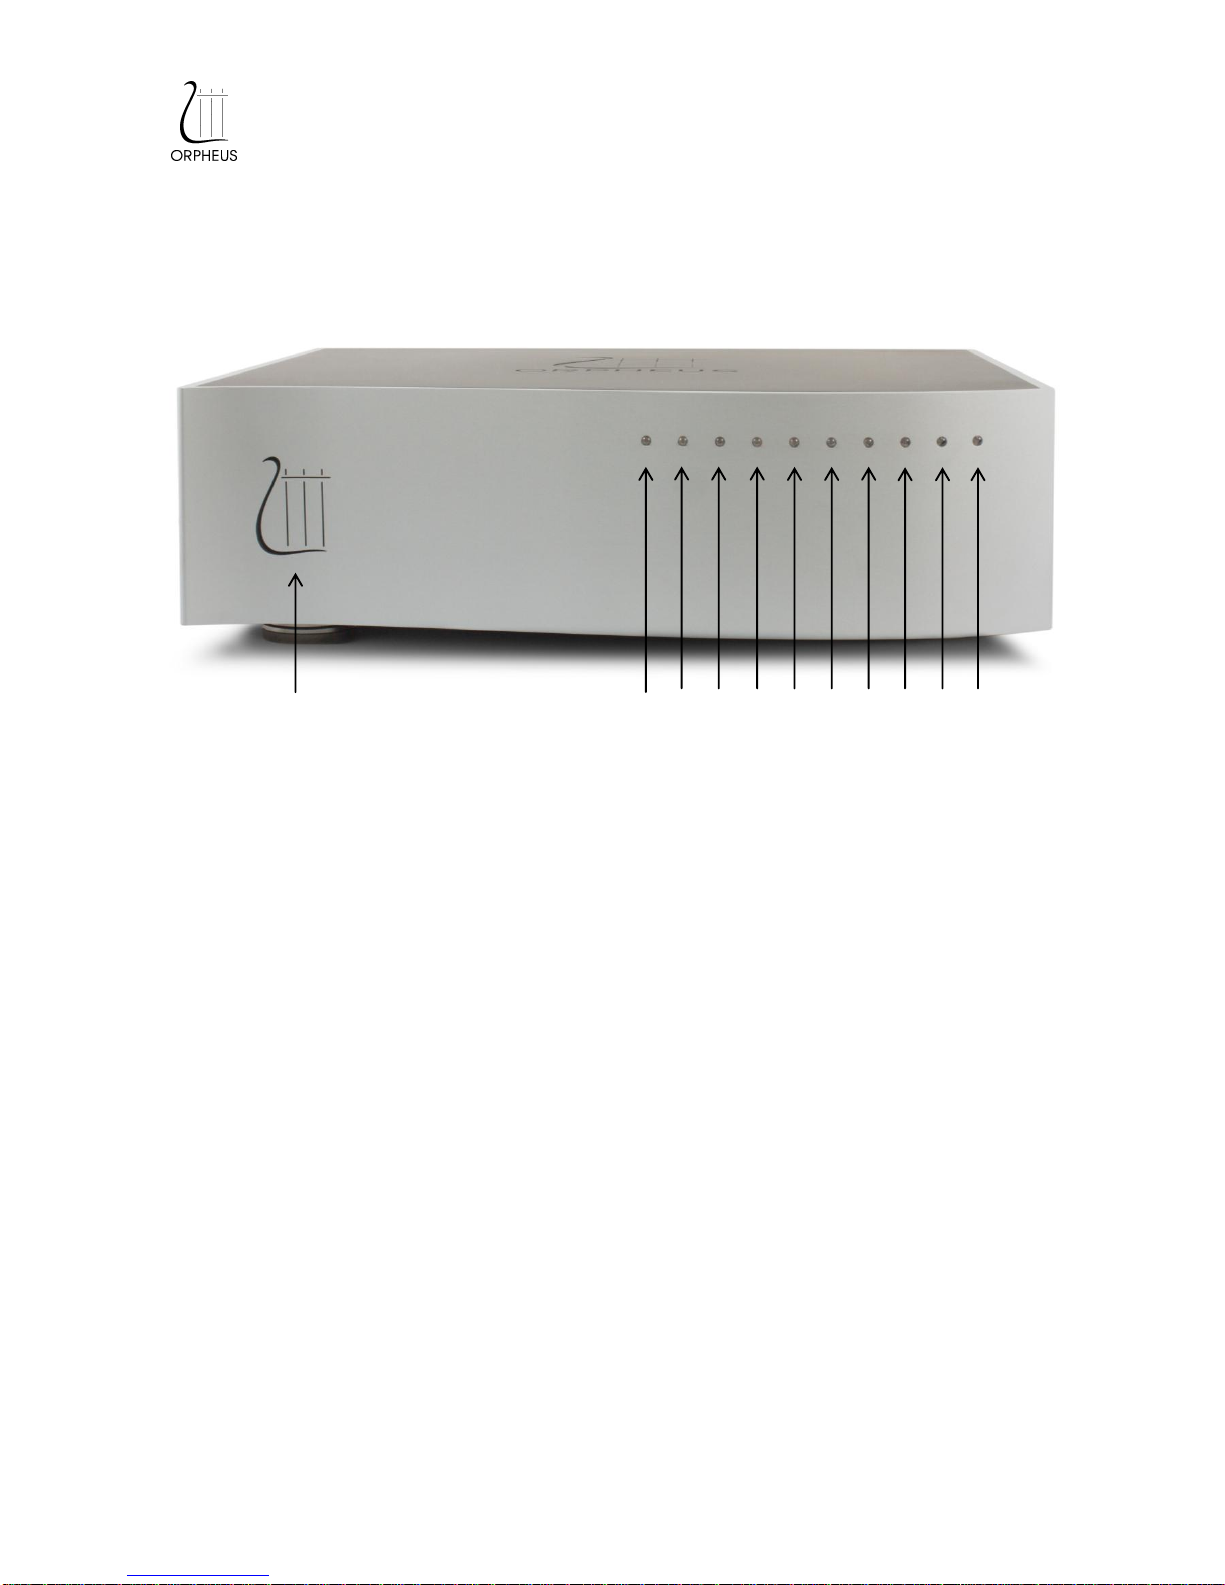
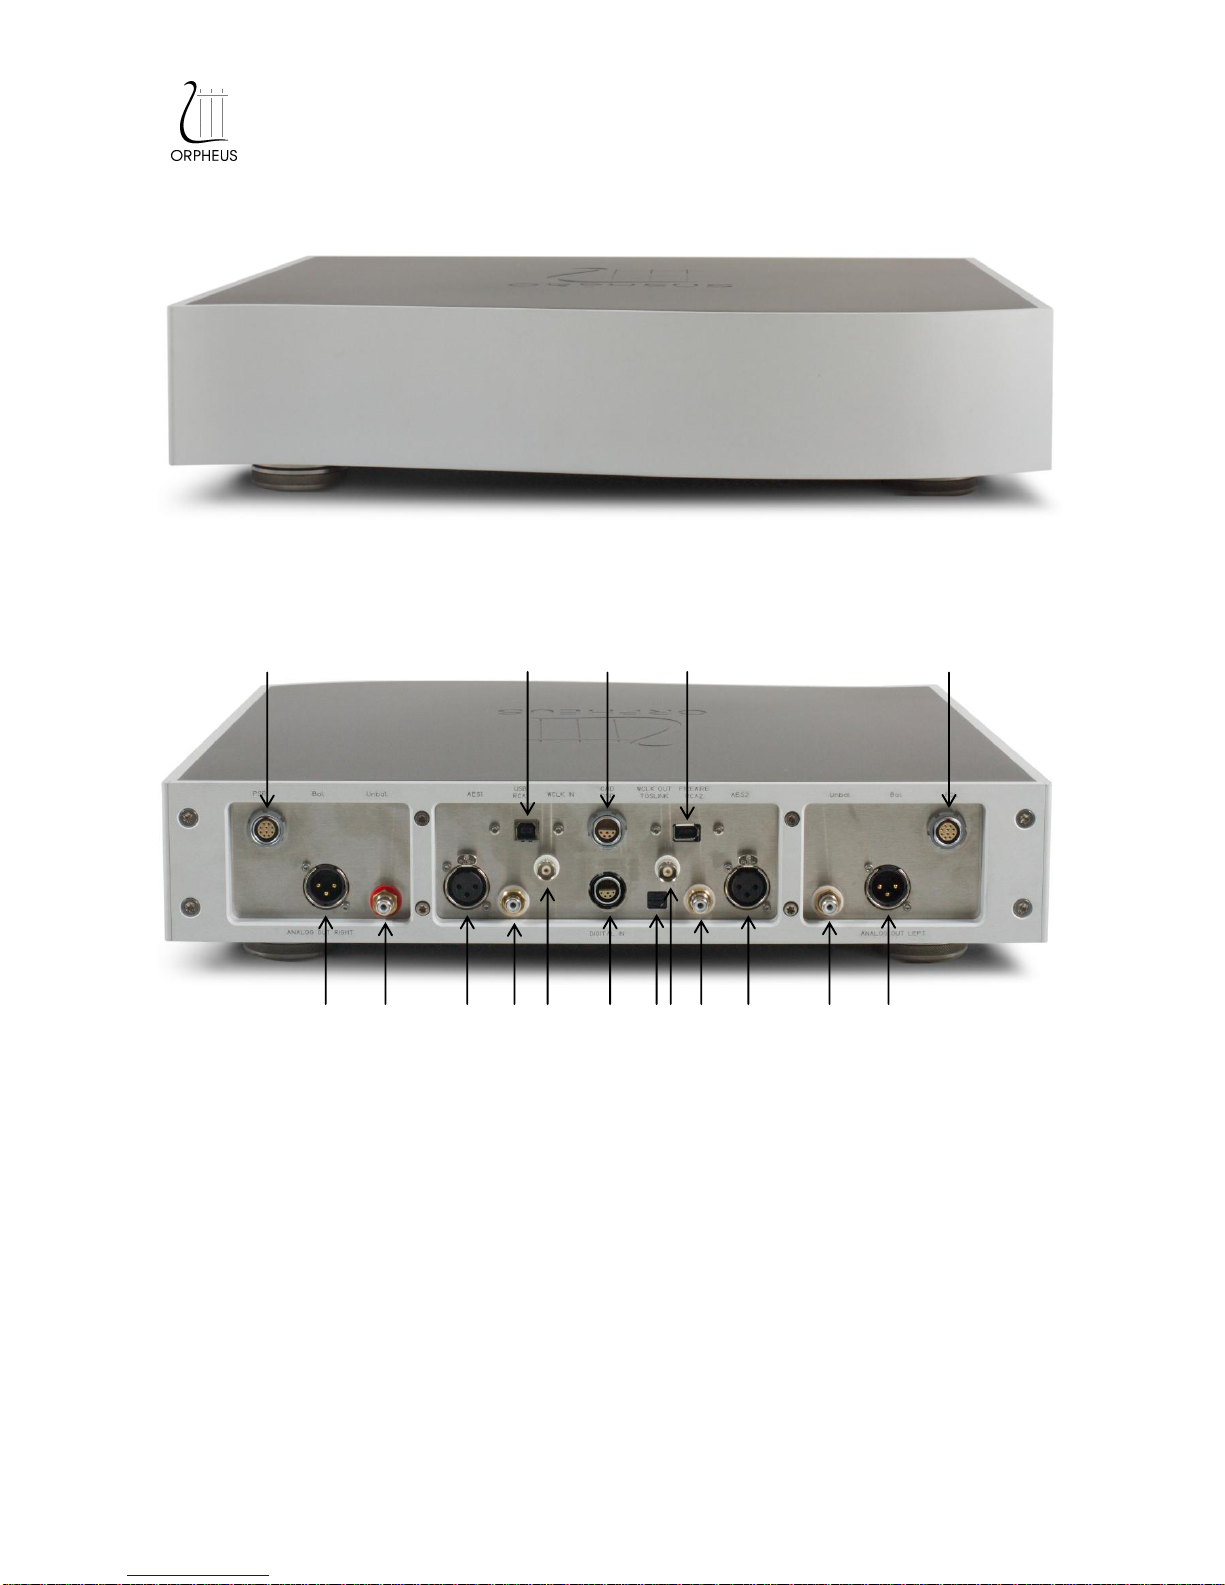
Orpheus Heritage D/A CONVERTER APU (Audio Processing Unit)
2 inter unit power cords (PSR and PSL)
1 inter unit command cord (CMD)
User manual CD-ROM (included Drivers PC / MAC)
Certification
READ THIS BEFORE OPERATING YOUR UNIT
Please read this manual carefully, to assure proper operation and the possible performance.
Switch off the unit before connecting or disconnecting any input or output cables.
Do not touch the inner pins of rear panel connectors, electrostatic discharge may cause permanent
damage to the unit.
Choose the installation location for the unit carefully. Avoid placing it in direct sunlight or close to a
source of heat. Avoid also locations subject to vibration and excessive dust, heat, cold or moisture.
To reduce the risk of fire or electric shock, do not expose the unit to rain or moisture.
Do not use force when operating switches, knobs and other controls.
Do not open the chassis or attempt repairs by yourself, as this may result in damage to the unit or
electrical shock. If a foreign object should get into the unit, contact your local dealer.
When planning not to use the unit for a long period of time, it is advisable to disconnect the power
plug from the wall outlet.
To prevent lightning damage, disconnect the power plug when there is an electrical storm.
When moving the unit, be sure to first disconnect the power plug and all wires connected from the
unit to other equipment.
When disconnecting the power plug from the wall outlet, always pull directly on the plug, never pill
the cord itself.
Do not attempt to clean this unit with water or chemical solvents, as this may damage the unit or the
finish. Use a clean, dry cloth.
Keep this manual in a safe place for future reference.