Oru Kayak Beach LT User manual
Other Oru Kayak Boat manuals

Oru Kayak
Oru Kayak BAY ST User manual
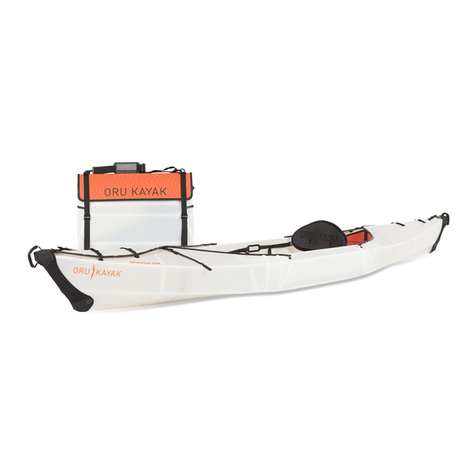
Oru Kayak
Oru Kayak Beach LT User manual

Oru Kayak
Oru Kayak Beach LT Installation instructions

Oru Kayak
Oru Kayak Beach LT Sport Installation instructions

Oru Kayak
Oru Kayak BAY User manual
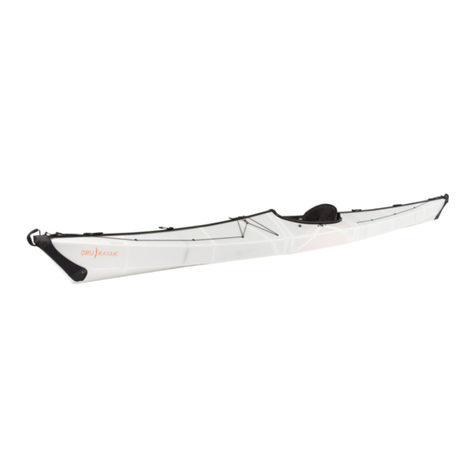
Oru Kayak
Oru Kayak The Coast User manual

Oru Kayak
Oru Kayak INLET User manual

Oru Kayak
Oru Kayak COAST XT User manual

Oru Kayak
Oru Kayak HAVEN TT User manual

Oru Kayak
Oru Kayak BAY ST Installation instructions

Oru Kayak
Oru Kayak BAY ST User manual
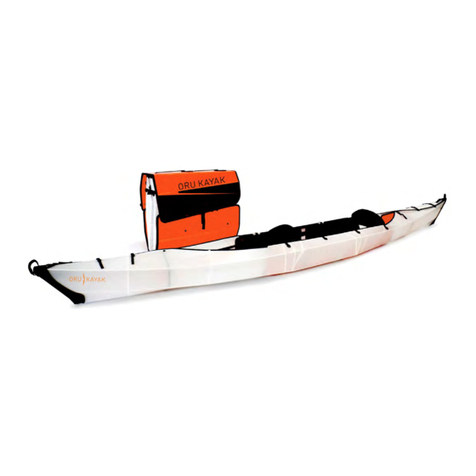
Oru Kayak
Oru Kayak HAVEN User manual

Oru Kayak
Oru Kayak HAVEN TT User manual

Oru Kayak
Oru Kayak COAST XT User manual

Oru Kayak
Oru Kayak Beach LT User manual

Oru Kayak
Oru Kayak LAKE User manual

Oru Kayak
Oru Kayak INLET User manual

Oru Kayak
Oru Kayak COAST XT Installation instructions
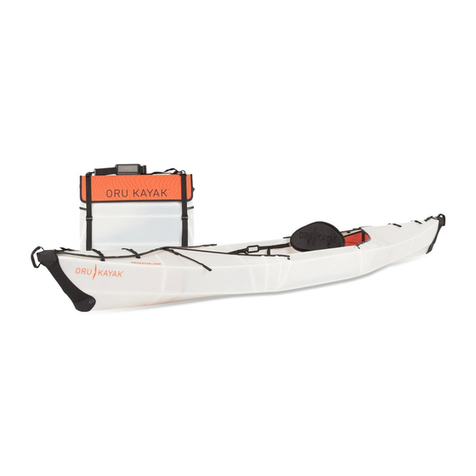
Oru Kayak
Oru Kayak Oru Beach User manual
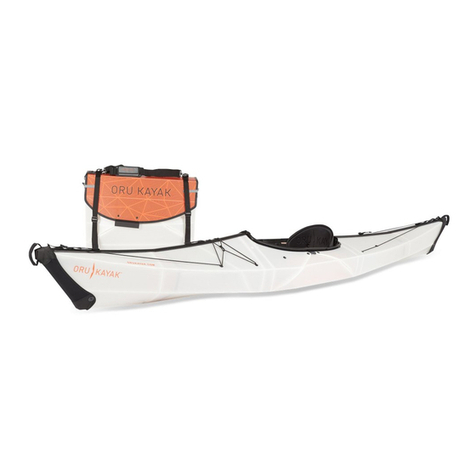
Oru Kayak
Oru Kayak BAY+ User manual
Popular Boat manuals by other brands

Jeanneau
Jeanneau SUN ODYSSEY 41 DS owner's manual

Meridian
Meridian 490 Pilothouse owner's manual

Advanced Elements
Advanced Elements AdvancedFrame Expedition AE1009 owner's manual

Robo Marine Indonesia
Robo Marine Indonesia GEOMAR user manual

Swallow Boats
Swallow Boats BayRaider owner's manual

X SHORE
X SHORE EELEX 8000 owner's manual


