10 11
Do you still have questions? You can call us toll-free at the Oster™Consumer Service Department
1-800-667-8623 or you can visit us at www.oster.ca
THE COFFEE
GROUNDS
PRODUCED
ARE
INSUFFICIENT
•Grindersettingisincorrect
•Insufcientamountofwholebeansin
hopper
•Groundcoffeechambermovedoutof
position during operation
•TopBurrMillisnotinproperposition
•UnitandBurrMillarenotclean
•Thereisaforeignobjectbetweenthe
two Burr Mills
•SET GRINDER SETTING CORRECTLY
•ADD BEANS TO HOPPER
•PLACE CHAMBER IN PROPER POSITION
•UNPLUG UNIT, PLACE TOP BURR MILL IN
PROPER POSITION
•CLEAN UNIT, UNPLUG IT AND CLEAN BURR
MILL
•UNPLUG UNIT AND CAREFULLY DISLODGE
FOREIGN OBJECT
THE SIZE OF
GROUND
COFFEE
PARTICLES
IS NOT
CONSISTENT
•UnitandBurrMillarenotclean
•There’saforeignobjectbetweenthe
two Burr Mills
•Grindsettingisnotcorrect
•CLEAN UNIT, UNPLUG IT AND CLEAN BURR
MILL
•UNPLUG UNIT AND CAREFULLY DISLODGE
FOREIGN OBJECT
•TURN HOPPER TO CORRECT GRIND SETTING
THE UNIT
STOPS
GRINDING
•Grindsettingisincorrect
•Groundcoffeechamberisnotin
correct position
•Start/Stopbuttonhasbeenpressed
•Theunithasbeenunplugged
•There’sapoweroutage
•Groundcoffeechamberisfullandis
clogging the Burr Mill compartment
•Motorhasoverheated,thermalfuse
is open
•SET GRIND SETTING CORRECTLY
•PLACECHAMBERINPROPERPOSITION
•PRESS AND HOLD BRIEFLY START/STOP
BUTTON AGAIN
•PLUGUNITIN
•WAITFORPOWERTOBERESTORED
•REMOVECHAMBER,EMPTYAND
REPLACE; UNPLUG UNIT AND CLEAN
BURR MILL COMPARTMENT IF NEEDED
•UNPLUGUNITFORATLEASTANHOUR
THEN PLUG BACK IN AND USE AS
NEEDED
THE CUP
SELECTION DIAL
DOES NOT TURN
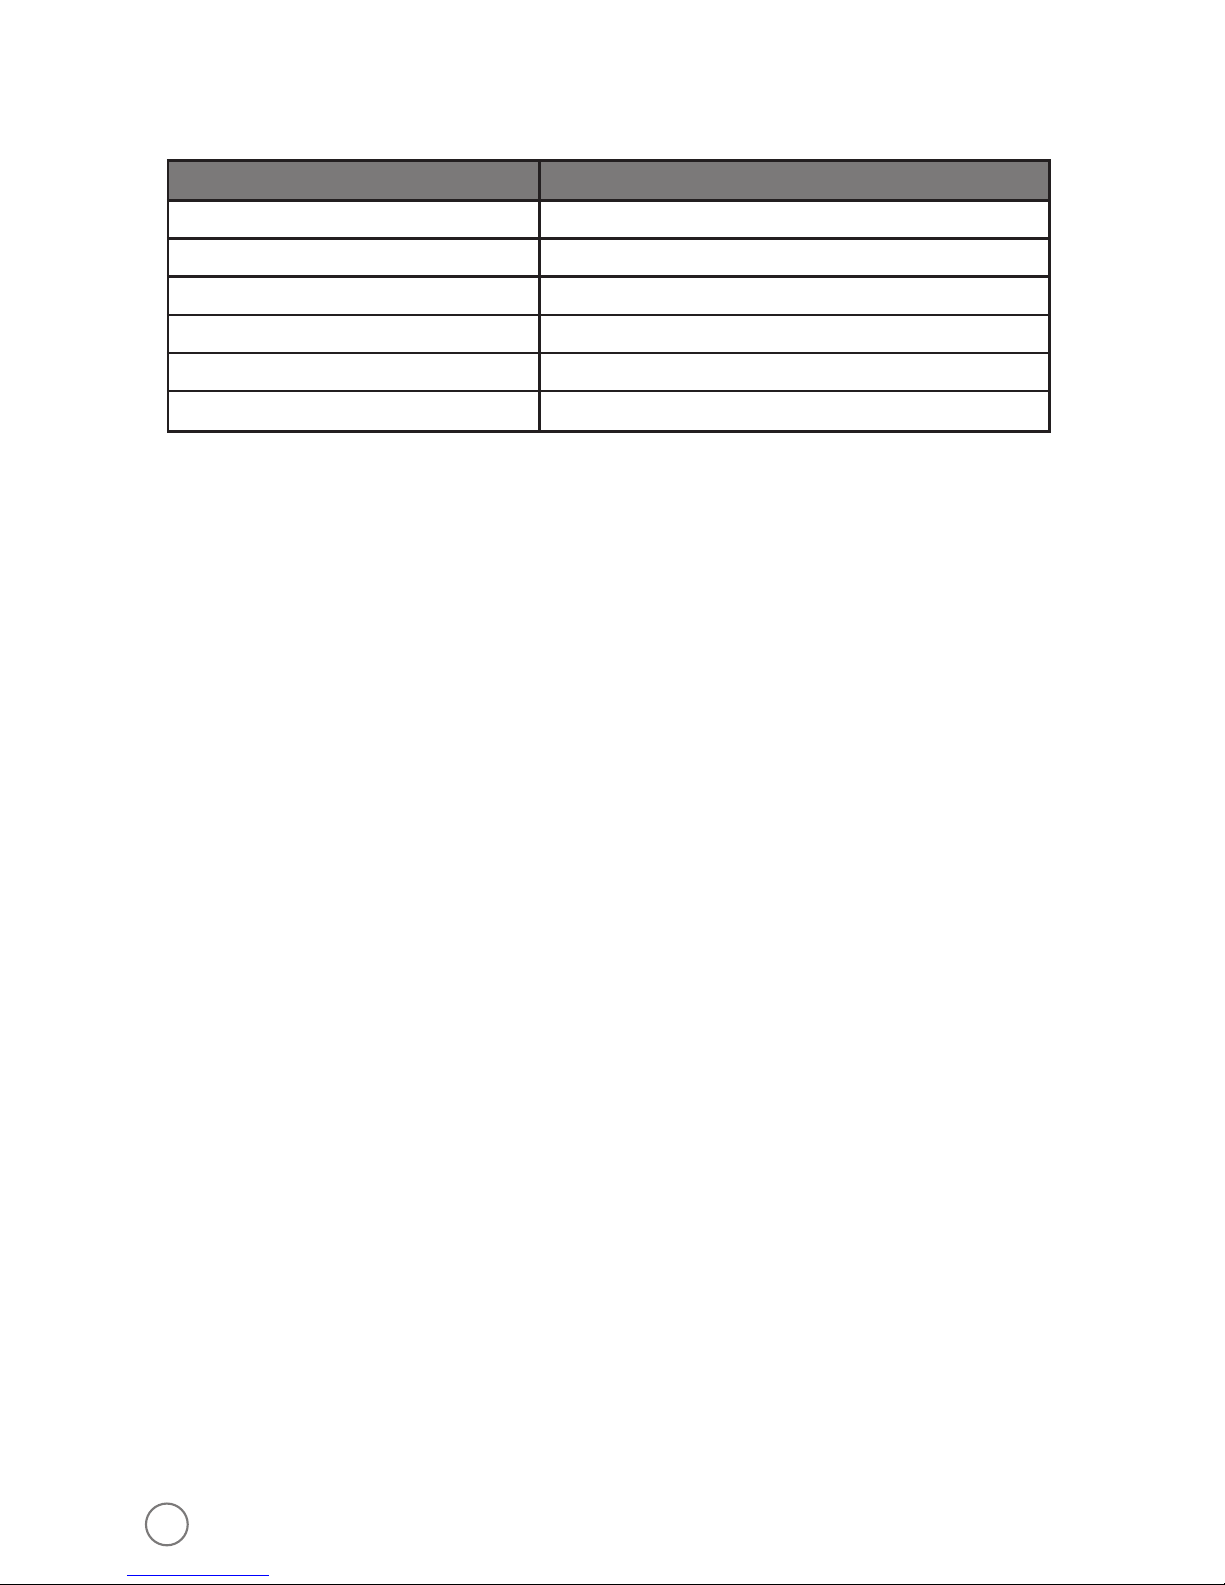
•Timerisat2cupsetting,cannotturn
counterclockwise anymore
•Timerisat18cupsetting,cannotturn
clockwise anymore
•Cupselectiondialisbroken
•TURN CLOCKWISE TO SET DESIRED
NUMBER OF CUPS
•TURN COUNTER CLOCKWISE TO SET
DESIRED NUMBER OF CUPS
•CALL OSTER™CONSUMER SERVICE
DEPARTMENT NUMBER BELOW
THE GRIND
SETTING HOPPER
DOES NOT TURN
•HopperisattheFineSetting,cannot
turn clockwise anymore
•UnitandBurrMillarenotclean
•There’saforeignobjectbetweenthe
two Burr Mills
•TURNCOUNTERCLOCKWISEFOR
DESIRED GRIND SETTING
•CLEANUNIT,UNPLUGITANDCLEAN
Burr Mill
•UNPLUGUNITANDCAREFULLY
DISLODGE FOREIGN OBJECT
Troubleshooting cont.
Your Oster™Burr Mill coffee grinder has been carefully designed to give you many years of
trouble-free service. In the unlikely event that your new Burr Mill does not operate satisfactorily,
please review the following potential problems and try the steps recommended BEFORE you call
an Authorized Sunbeam Service Center.
TROUBLESHOOTING YOUR Oster™BURR MILL
COFFEE GRINDER
PROBLEM POSSIBLE CAUSE SOLUTION
THE UNIT DOES
NOT GRIND
•Hopperisnotsecurelyintact
•Hopperlidisnotontight
•Groundcoffeechamberisnotin
position
•Startbuttonhasnotbeenpressed
•Unitisunplugged
•There’sapoweroutage
•Motorhasoverheated,thermalfuse
is open
•HopperChuteClogged(orBlocked)
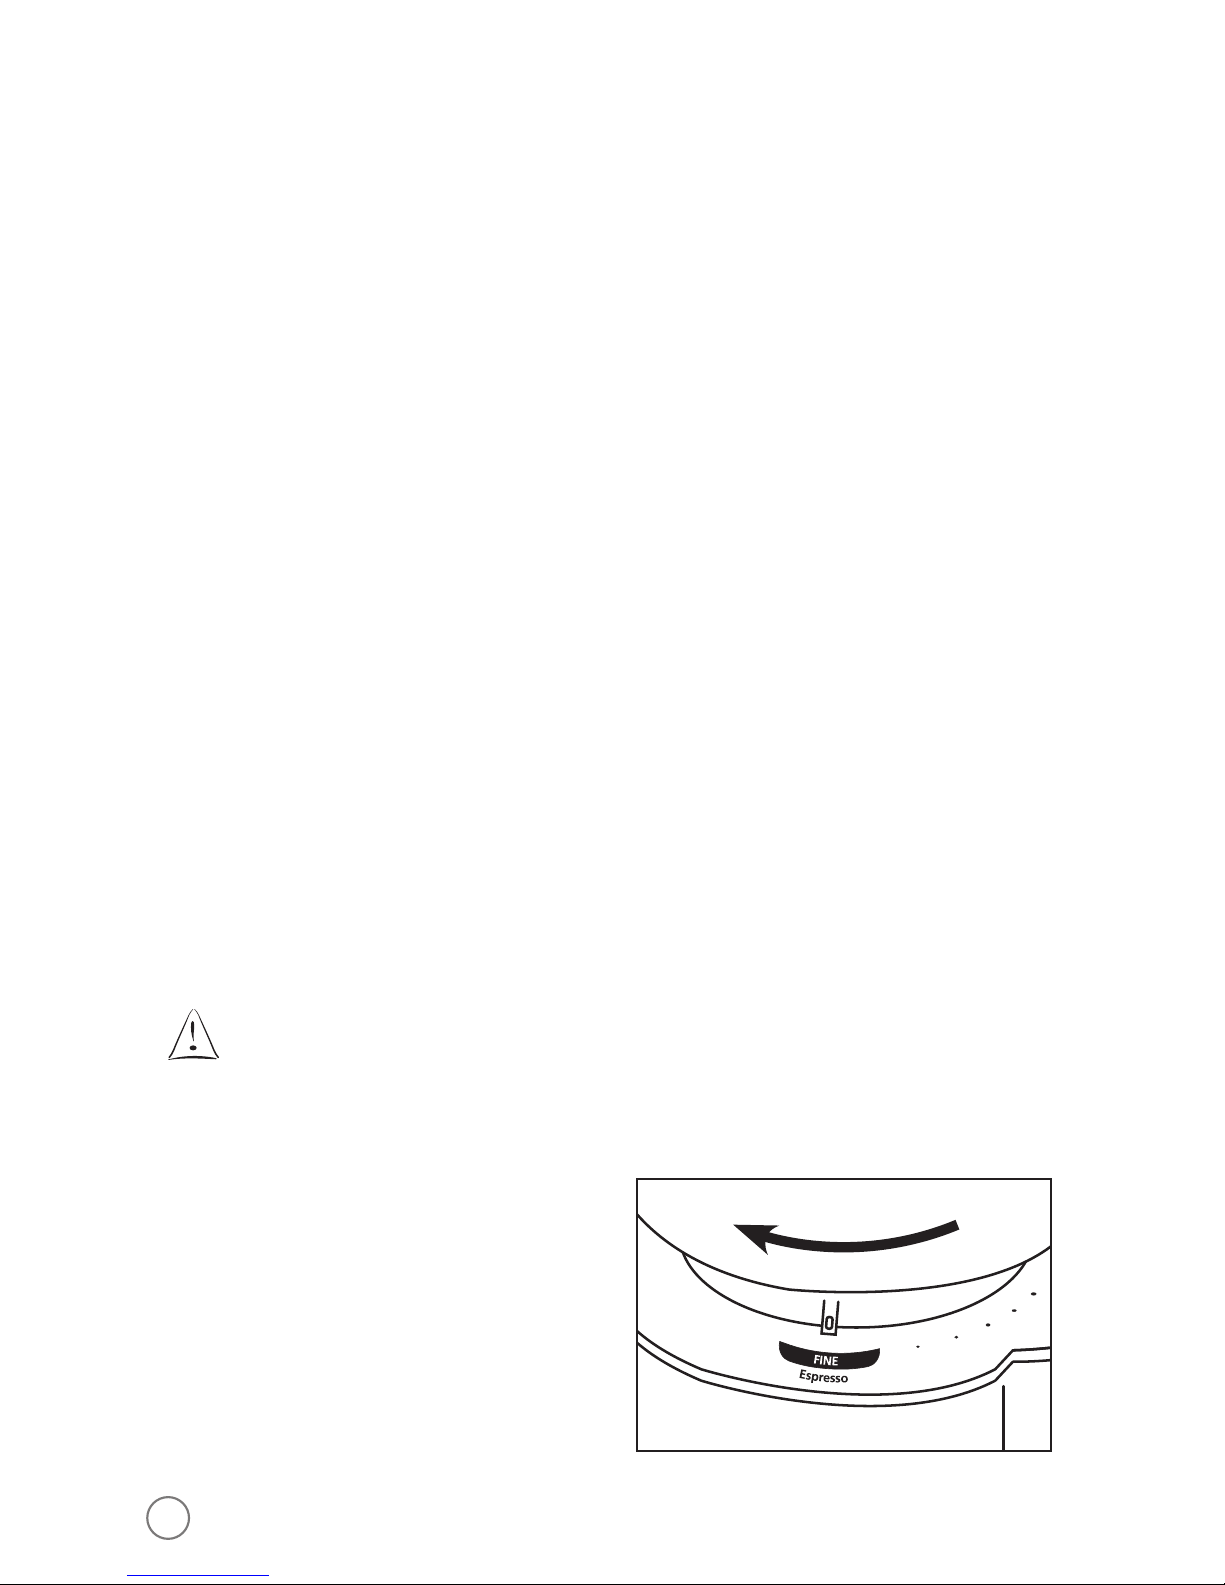
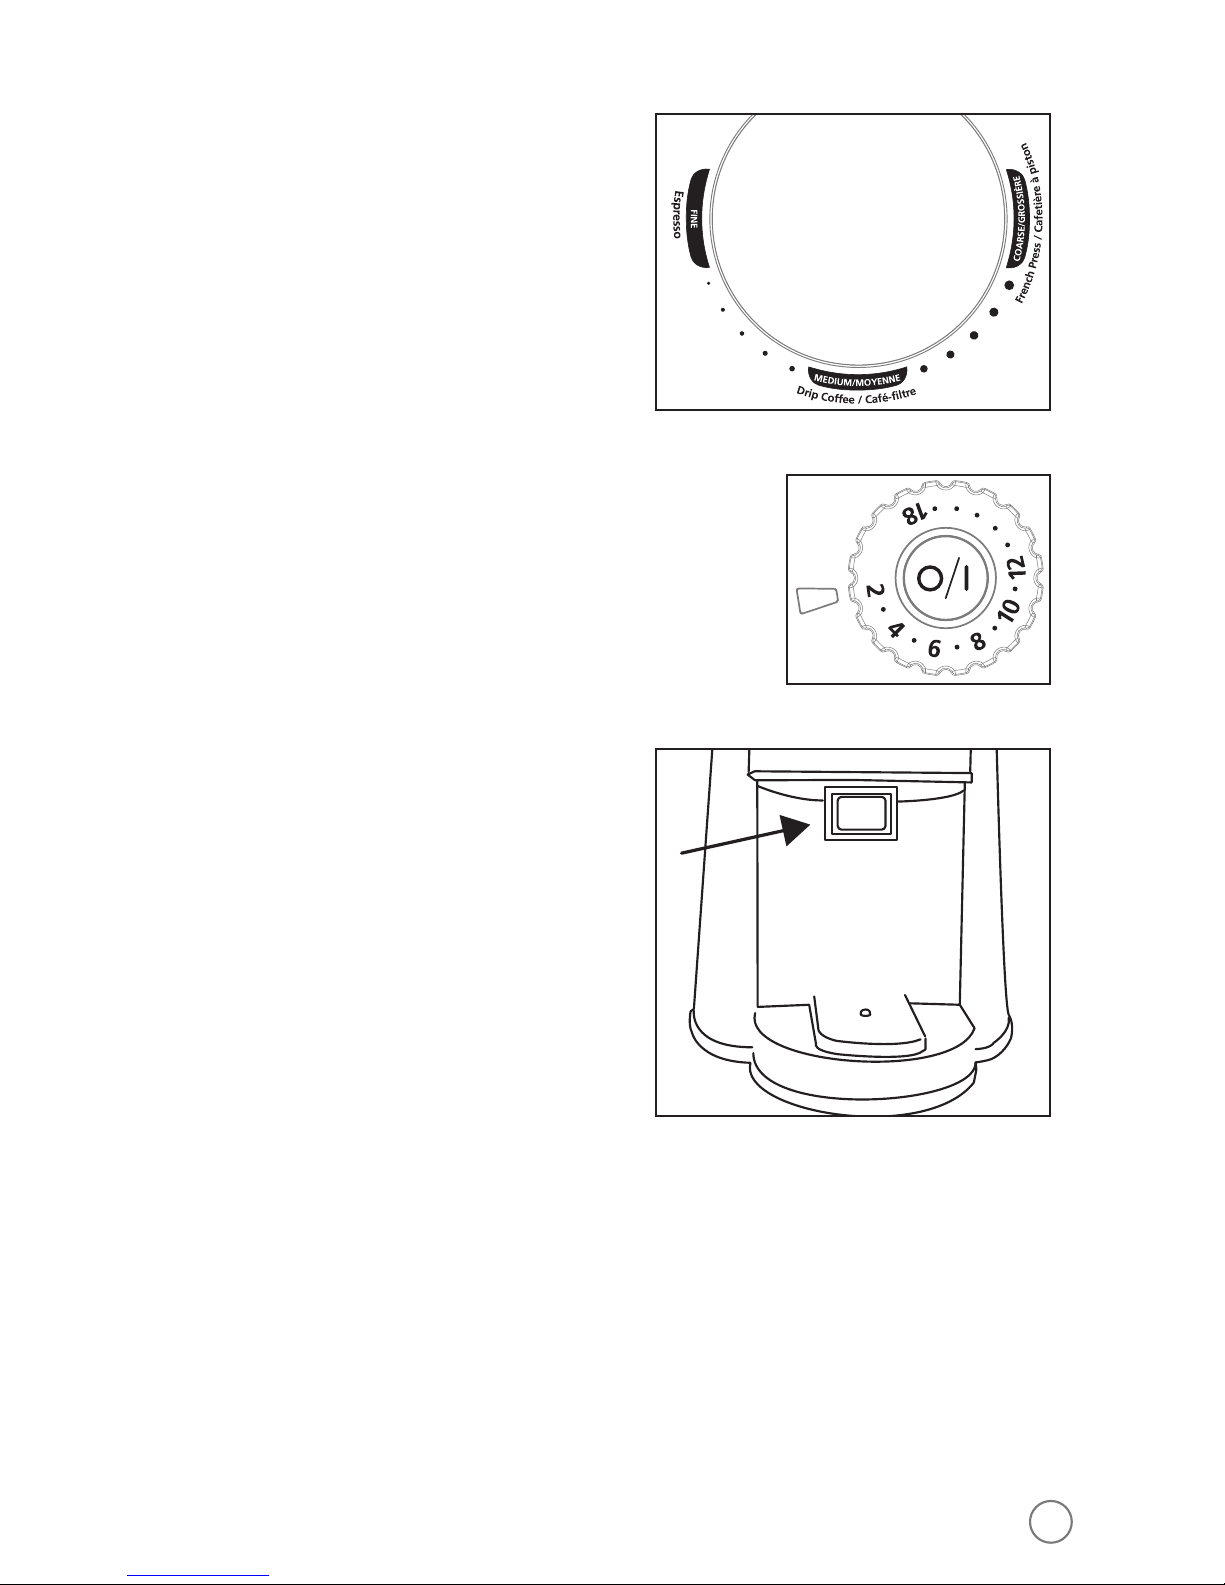
•TURN HOPPER CLOCKWISE UNTIL STOPS, THEN
MOVE INDICATOR COUNTERCLOCKWISE, BACK
TILL YOU HAVE INDICATOR LINED UP WITH
DESIRED GRIND SETTING
•SECURE HOPPER LID
•PLACE CHAMBER IN PROPER POSITION
•PRESS AND HOLD BRIEFLY START/STOP BUTTON
•PLUG UNIT IN
•WAIT FOR POWER TO BE RESTORED
•UNPLUG UNIT FOR AT LEAST AN HOUR THEN
PLUG BACK IN AND USE AS NEEDED
•REMOVE HOPPER & EMPTY TO CLEAR
BLOCKAGE
11. Clean after every third use for best performance.
12. After using, open the grinder to the coarsest setting and run empty to clear the
grinding path.
NOTE: For optimum freshness of your coffee beans, do NOT store in the bean hopper
for extended periods of time.
CLEANING INSTRUCTIONS
Remember to always clean your Burr Mill before using it for the first time. Then, to
ensure optimal mill function and durability, clean it regularly following these simple
steps:
1. Always unplug your Burr Mill after use and before cleaning.
2. Wash the bean hopper and coffee chamber parts with warm soapy water. (Never
use abrasive cleansers, steel wool pads or other abrasive materials. UNIT IS NOT
DISHWASHER SAFE)
CAUTION! Never immerse the Burr Mill itself in water, in any other liquid or place
in the dishwasher.
3. Dry all pieces thoroughly.
4. Install the Bean Hopper onto the unit and turn clockwise (several rotations-will hear
clicking as unit gets tighter) until it stops with the grind size indicator on Fine.
5. Place chamber lid back on grinder chamber and then install into unit, tightly locking
into place.
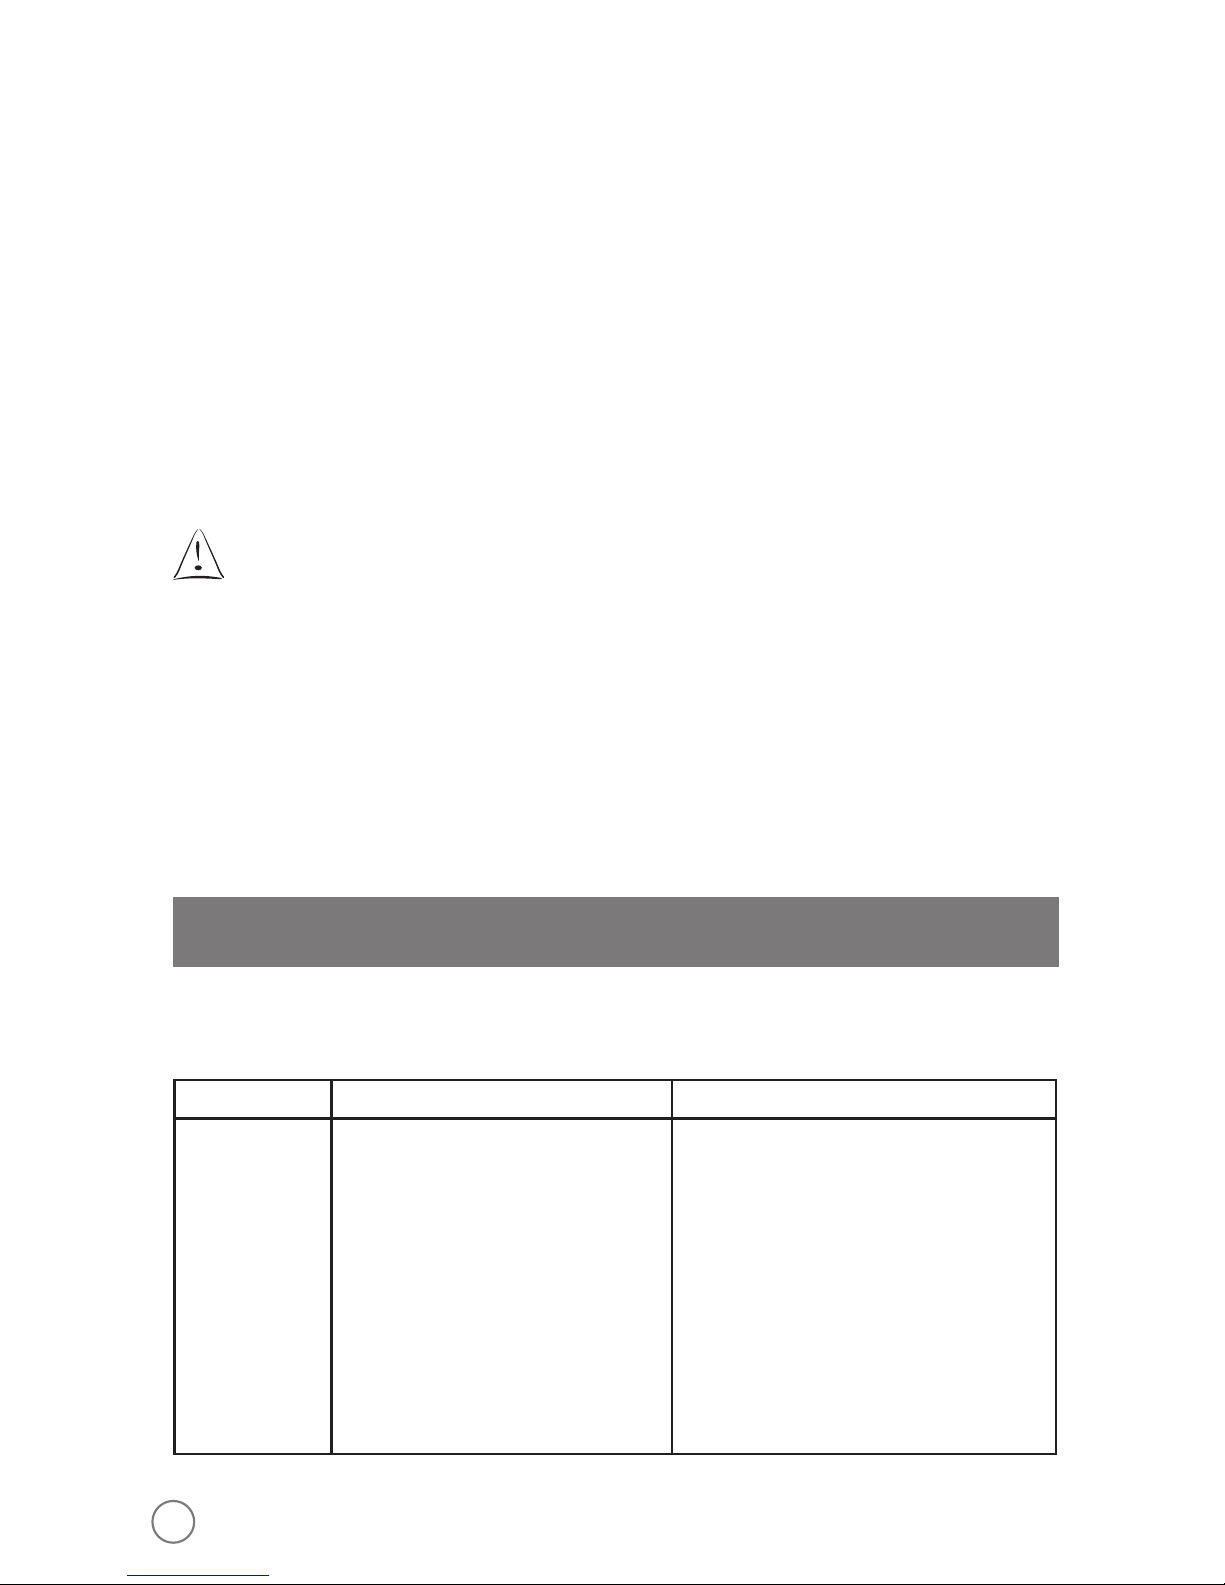
NOTE: If all Bean Hopper and Grinding Chamber parts are not tightly in place correctly,
the safety switches within the machine will not allow the grinder to work. You
MUST have all parts in place to safely use the Burr Mill.
BVSTBMH23-033_12EFM1.indd 11-12 9/12/12 8:02 PM