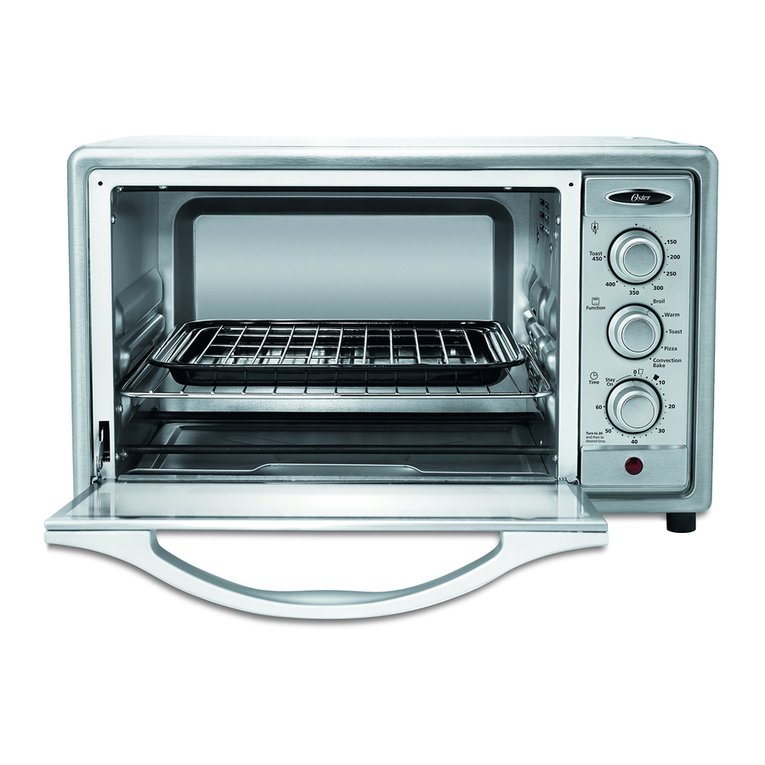
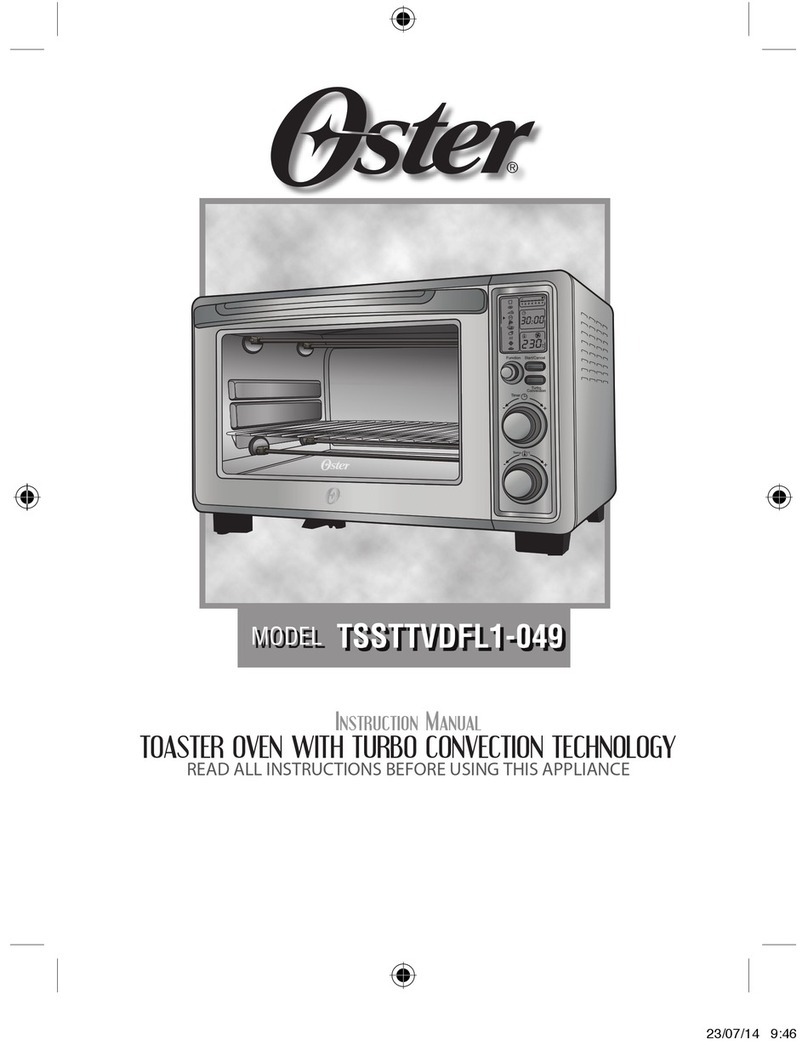
Oster 6056 User manual

MODEL/MODÈLE
MODELO
MODEL/MODÈLE
MODELO 6056
Instruction Manual
MULTI-FUNCTION OVEN
READ ALL INSTRUCTIONS BEFORE USING THIS APPLIANCE
Manuel d’Instructions
FOUR A MULTI-FONCTIONS
LIRE TOUTES LES INSTRUCTIONS AVANT D ’ UTILISER CET APPAREIL
Manual de Instrucciones
HORNO MULTI-FUNCION
LEA TODAS LAS INSTRUCCIONES ANTES DE USAR ESTE APARATO
Manual de Instruções
FORNO MULTI-FUNÇÃO
LEIA TODAS AS INSTRUÇÕES ANTES DE USAR ESTE APARELHO
6056

1
IMPORTANT SAFEGUARDS
When using electrical appliances, basic safety precautions should always be followed
including the following:
READ ALL INSTRUCTIONS, PRODUCT LABELS AND WARNINGS BEFORE USING
THE MULTI-FUNCTION OVEN.
DO NOT touch hot surfaces. Always use oven mitts when handling hot materials and
allow metal parts to cool before cleaning. Allow the unit to cool thoroughly before
putting in or taking off parts. Always use the oven handles when moving the unit.
Note: Make sure the oven is turned off before unplugging.
other liquids.
DO NOT operate this appliance with a frayed or damaged cord or plug or after the
appliance malfunctions or is dropped or has been damaged in any manner. Return
appliance to the nearest authorized service facility for examination, repair, or
adjustment.
DO NOT use attachments not recommended by the manufacturer; they may cause fire,
electric shock or personal injury.
DO NOT use outdoors or for commercial purposes.
DO NOT use this appliance for other than its intended use.
DO NOT let the cord dangle over the edge of a tabletop or countertop or touch hot
surfaces.
DO NOT place the appliance near a hot gas or electric burner or in a heated oven.
than metal or glass.
curtains, draperies, walls, etc., when in operation. Do not store any items on top of the
appliance when in operation.
on all sides. Remove cords from other products from behind the oven.
DO NOT store any materials, other than manufacturer’s recommended accessories, in
this unit when not in use.
DO NOT place any flammable materials in oven, such as paper, cardboard, plastic or
any materials that may catch fire or melt.
DO NOT

2
create a fire or risk of electrical shock.
electrical parts involving a risk of electrical shock.
THIS UNIT IS FOR HOUSEHOLD USE ONLY.
SAVE THESE INSTRUCTIONS
(For 120 & 127 Volts Only)
feature intended to help reduce the risk of electrical shock. If the plug does not fit fully
into the outlet, reverse the plug. If it still does not fit, contact a qualified electrician. Do not
attempt to defeat this safety feature.
SHORT POWER SUPPLY CORD INSTRUCTIONS
A short power-supply cord is provided to reduce the risk resulting from becoming entan-
gled in or tripping over a longer cord. An extension cord may be used if care is exercised
in its use. If an extension cord is used, the electrical rating of the cord must be at least as
that it will not drape over the countertop or tabletop where it can be pulled on by children
or tripped over unintentionally.

3
DESCRIPTION OF THE APPLIANCE
7. Glass Door
234
8
7
9

4
LEARNING AbOUT YOUR MULTI-FUNCTION OVEN
PREPARING TO USE YOUR MULTI-FUNCTION OVEN
FOR THE FIRST TIME
If you are using your multi-function oven for the first time, please be sure to:
with hot water, a small amount of dishwashing liquid and a non-abrasive sponge or
cleaning pad.
DO NOT IMMERSE THE BODY OF THE UNIT IN WATER.
Dry the unit thoroughly before using.
PLEASE NOTE –
shipping.
1. Removable Wire Rack –
of foods, the oven has a removable wire rack and three
rack positions.
2. Temperature Selector Knob – Adjust the dial thermostat
to the desired temperature.
3. Timer Selector Knob – Allows to adjust the dial to the
shut off when cooking is completed.
4. Function Selector Knob –
turning knob to desired setting.
5. Power Light – Indicates that oven is plugged in and that
the timer is set to begin warming.
6. External Crumb Tray – For crumbs or fallen food particles
7. Glass Door – Allows you to see food cooking.
8. Easy Clean Interior Walls – Allows for easy cleaning.
9. Baking Pan and Broiling Rack – Use for all your baking,
broiling and grilling needs.
10. Three Rack Positions

5
Preheating the Oven
To Use the Warm Function
NOTE:
Arrange food on the wire rack or in the baking pan.
Interior light turns on when timer is on. At the end of the cooking time, a bell signal
desired time; it can then be set for cooking that will only require a few minutes.
When warming is completed, open door fully and remove food carefully.
WARNING:
To Use the Variable Broil Function
Arrange food on broiler rack.
operate.
Interior light turns on when timer is on. At the end of the cooking time, a bell signal
sounds, and the oven turns off automatically.
engage timer switch and then turn it back to desired time; it can then be set for cooking
that will only require a few minutes.
When broiling is completed, open door fully and remove food carefully.
WARNING: Do not leave the oven unattended.
USING YOUR MULTI-FUNCTION OVEN
6
To Use the Convection Bake Function
Arrange food on the wire rack or in the baking pan.
elements will operate.
light turns on when timer is on. At the end of the cooking time, a bell signal sounds and
can then be set for cooking that will only require a few minutes.
NOTE – -
sired temperature. When baking is completed, open door fully and remove food carefully.
WARNING: -
tended.
Defrosting Tip –
food promptly after thawing.
To Use the Toast Function
elect desired oven r
NOTE –
setting.
Arrange food on the wire rack:
heater elements will operate.
back to desired toast setting.
When toasting is completed, open door fully and remove food carefully.
NOTE –
desired temperature.
WARNING:
unattended.
Positioning Rack
commodate a wide variety of foods the oven has three rack positions.

7
removing the rack allow the unit to cool.
PLEASE NOTE – For best toast and pizza results, position the rack in the up position on
the middle rack guide.
CLEANING YOUR MULTI-FUNCTION OVEN
water. Abrasive cleaners, scrubbing brushes and chemical cleaners will damage the
-
recommended cleaning, no further user maintenance should be necessary.
STORING YOUR MULTI-FUNCTION OVEN
Allow the appliance to cool completely before storing. If storing the oven for long periods
location such as on a table or countertop or cupboard shelf.

8
PROBLEM
up.
HELPFUL TIPS/ TROUBLESHOOTING
POTENTIAL CAUSE
setting.
heating elements or in crumb tray.
mark.
determines which heating element
will operate.
SOLUTION
temperature to the desired taste.
your regular oven, it will heat up
faster and generally cook in shorter
periods of time.
Rack may need to be adjusted to
accommodate food type.
appropriate electrical outlet.
knob to the desired setting. Both
must be turned on to operate the
toaster oven.
is not set to broil setting.
desired.

9
PRÉCAUTIONS IMPORTANTES
-
LISEZ TOUTES LES CONSIGNES, AVERTISSEMENTS ET ÉTIQUETTES
RELATIFS À CE FOUR A MULTI-FONCTIONS AVANT DE L’UTILISER.
four dans l’eau ou dans tout autre liquide.
toucher des surfaces chaudes.
ou en verre.
posez rien dessus.
vous n’utilisez pas votre four, n’y ranger pas d’autres accessoires que ceux

10
fondre.
vous sortirez le plat de cuisson contenant de la graisse chaude.
est en service.
fiche de la prise de courant murale.
CET APPAREIL NE DOIT ÊTRE UTILISÉ QU’À DES FINS DOMESTIQUES.
THIS UNIT IS FOR HOUSEHOLD USE ONLY
CONSERVEZ CES INSTRUCTIONS
(Uniquement pour 120 & 127 volts)
INSTRUCTIONS CONCERNANT LES CORDONS ÉLECTRIQUES COURTS

11
DESCRIPTION DE L’APPAREIL
234
8
7
9

12
CONNAÎTRE LES CARACTÉRISTIQUES
DE VOTRE FOUR A MULTI-FONCTIONS
AVANT D’UTILISER VOTRE FOUR A MULTI-FONCTIONS
POUR LA PREMIÈRE FOIS
D’enlever tous les autocollants de sa surface.
De nettoyer les grilles et le plat de cuisson à l’eau chaude dans laquelle vous aurez
abrasif.
N’IMMERGEZ PAS VOTRE FOUR DANS L’EAU.
Branchez-le dans une prise.
REMARQUE :
.
1. Grille amovible –
d’aliments.
2. Bouton de réglage de la température –
3. Bouton de réglage de la minuterie –
4. Bouton de sélection des fonctions –
5. Voyant d’alimentation –
6. Tiroir à miettes externe –
facile.
7. Porte vitrée –
quise cuit.
8. Paroi intérieure facile à nettoyer –
un nettoyage facile.
9. Plat de cuisson et grille pour la cuisson au gril –
À utiliser pour tous vos besoins de cuisson et grillade.
10. Trois positions pour la grille

13
Préchauffage du four
A
Pour utiliser la fonction Réchauffer
REMARQUE :
Disposez les aliments sur la grille ou sur le plat de cuisson.
en marche.
-
AVERTISSEMENT :
Pour utiliser la fonction cuisson au gril variable
chauffant du haut fonctionnera.
-
AVERTISSEMENT:
UTILISATION DE VOTRE FOUR A MULTI-FONCTIONS

14
Pour utiliser la fonction Cuisson par convection
Disposez les aliments sur la grille ou sur le plat de cuisson.
-
-
site que quelques minutes.
REMARQUE –
sortez prudemment les aliments.
AVERTISSEMENT :-
dence. Ne laissez pas votre Four a Multi-Fonctions sans surveillance.
Pour utiliser la fonction Rôties
REMARQUE –
REMARQUE –
AVERTISSEMENT :-
dence. Ne laissez pas votre Four a Multi-Fonctions sans surveillance.
Positionnement de la grille

15
Avant d’enlever la grille, laissez le four refroidir.
REMARQUE –
grille au centre.
POUR NETTOYER VOTRE FOUR A MULTI-FONCTIONS
-
autre entretien.
POUR RANGER VOTRE FOUR A MULTI-FONCTIONS
longtemps, assurez-vous qu’il est propre et qu’il ne contient aucune particule d’aliments.
par exemple.

16
INCIDENTS
sez cuits.
CONSEILS UTILES/DÉPANNAGE
CAUSES PROBABLES
bonne position.
ou dans le tiroir à miettes.
quel element chauffant fonctionnera.
alternativement pour garder la
SOLUTIONS
Multi-Fonctions est plus petit qu’un
four ordinaire, il chauffera plus vite
plus rapidement.
fonction des aliments à cuire, vous
devrez peut-être modifier la position
de la grille.
nettoyer votre Four a
Multi-Fonctions dans une prise.
touches pour que votre Four a Multi-
Fonctions fonctionne.

17
PRECAUCIONES IMPORTANTES
incluyendo las siguientes:
LEA TODAS LAS INSTRUCCIONES, LAS ETIQUETAS DEL PRODUCTO Y LAS
ADVERTENCIAS, ANTES DE UTILIZAR SU HORNO MULTI-FUNCION.
NO
asas del horno cuando mueva la unidad.
limpiarla. NOTA:
NO
artefacto haya fallado o si se cae al suelo o se daña de cualquier otra manera.
NO utilice accesorios o aditamentos no recomendados por el fabricante, ya que
NO
NO
NO permita que el cable cuelgue sobre el borde de la mesa o mostrador o toque
superficies calientes.
NO
dentro de un horno caliente.
de metal.
etc. NO
material que no sea un accesorio recomendado por el fabricante.
NO
cualquier material que se pueda incendiar o derretir.

18
NO cubra la bandeja para migas o ninguna parte del horno con papel aluminio o
NO
grasa caliente.
funcionamiento.
el enchufe del tomacorriente.
ESTA UNIDAD ESTA DISEÑADA SOLO PARA USO DOMESTICO.
CONSERVE ESTAS INSTRUCCIONES
(Para 120 y 127 Voltios Solamente)
diseñada como medida de seguridad.
USO DE UN CABLE ELECTRICO CORTO
cuelgue del mostrador o de la mesa, donde pueda causar tropiezos accidentalmente.

19
DESCRIPCION DEL ARTEFACTO
234
8
7
9
Other manuals for 6056
1
Table of contents
Languages:
Other Oster Oven manuals

Oster
Oster 6057 User manual

Oster
Oster TSSTTVXXLL-049 User manual

Oster
Oster OS-BOV701LK User manual

Oster
Oster TSSTTV7030 User manual

Oster
Oster TSSTTVLS25NS User manual

Oster
Oster TSSTTVFDDG User manual

Oster
Oster TSSTTVVG01 User manual

Oster
Oster TSSTTV7052 User manual

Oster
Oster TSSTTVXXLL User manual

Oster
Oster TSSTTVXLDG-001 User manual

Oster
Oster TSSTTVSKBT User manual

Oster
Oster TSSTTVRB04 User manual

Oster
Oster TSSTTVCG02 User manual

Oster
Oster TSSTTVDFL1-049 User manual

Oster
Oster TSSTTVVGS1 User manual

Oster
Oster TSSTTVCF01 User manual

Oster
Oster TSSTTVCG03 Assembly instructions

Oster
Oster 6081 User manual

Oster
Oster TSSTTVFDDG User manual

Oster
Oster TSSTTVRB05 User manual