www.outcastboats.com 800-966-0976
6 3
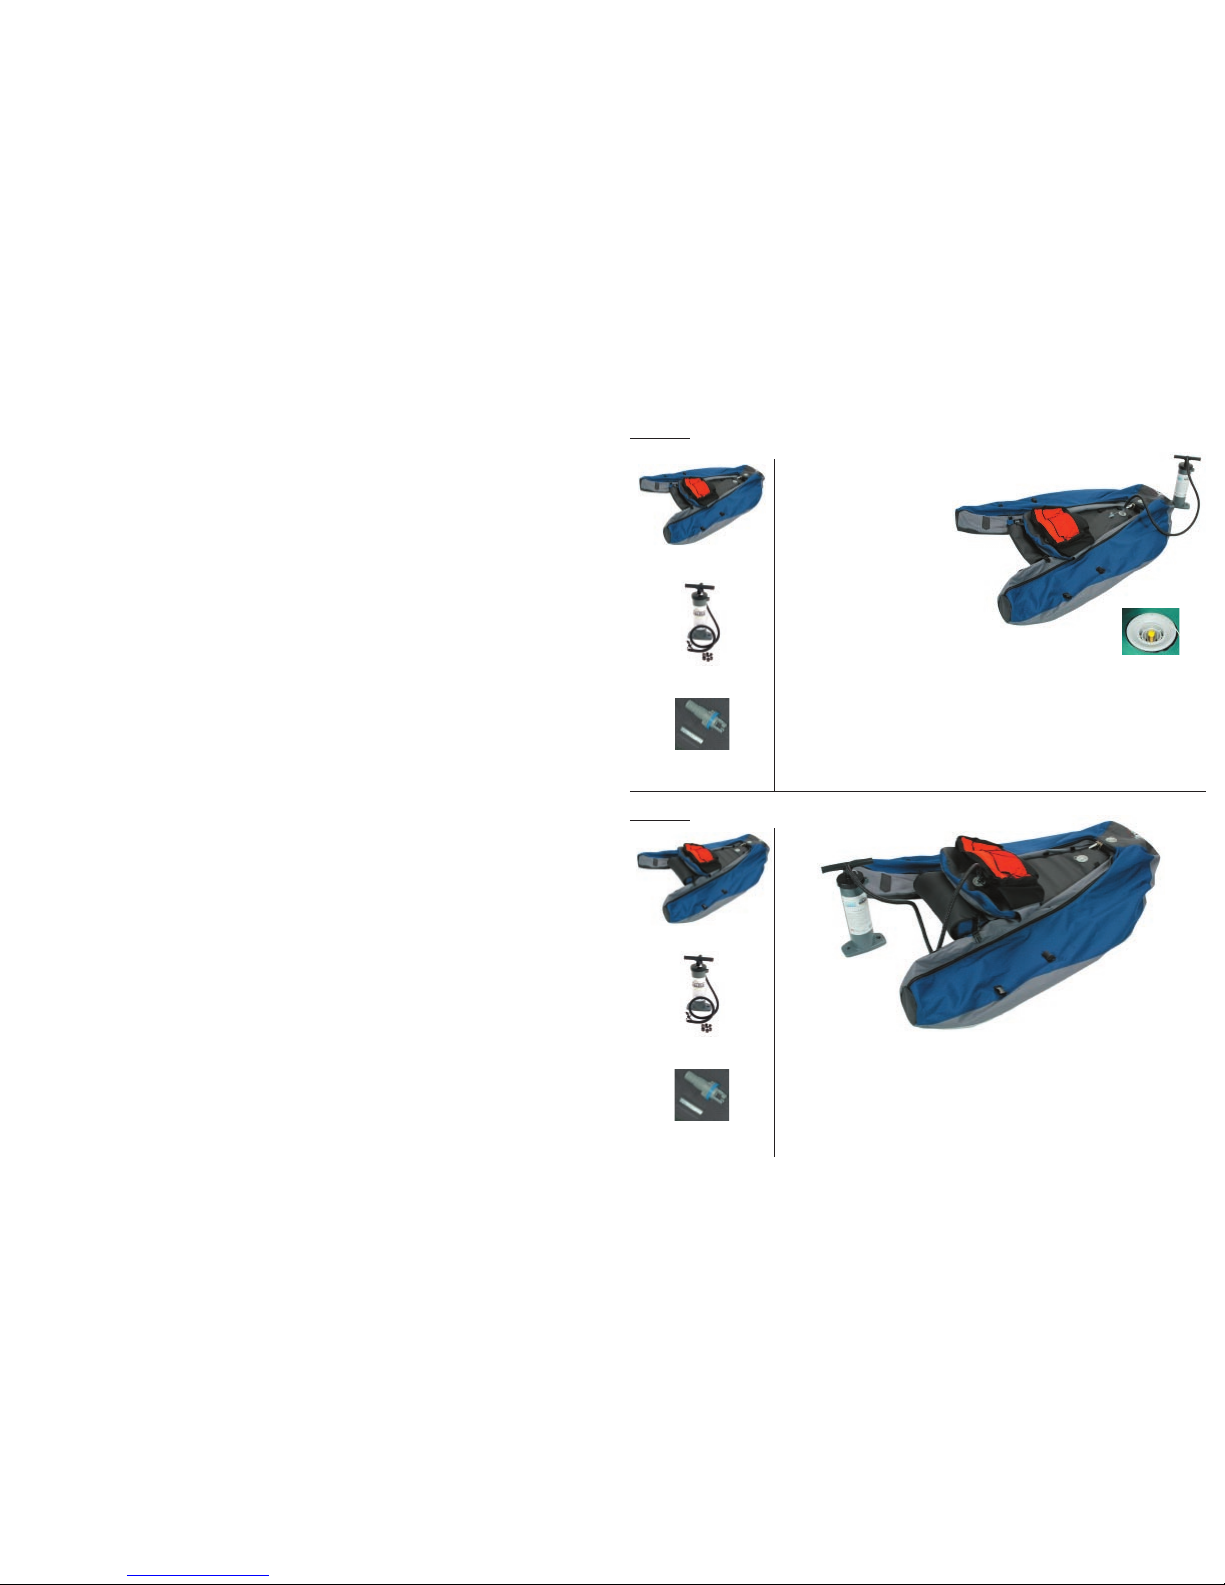
Seat Back Inflation
Items needed:
1 - Prowler
1 - Prowler
1. Place the deflated Prowler
on a flat surface.
2. Close the Summit 2 valve by
pressing and turning the
valve stem 1/4 turn
clockwise. This will position
the valve stem in the up or
closed position.
3. Using the Hand Pump, vinyl
tube adapter and the
Summit 2 valve adapter,
inflate the float tube until the cover fills out firm and
evenly, approximately 1.8 psi.
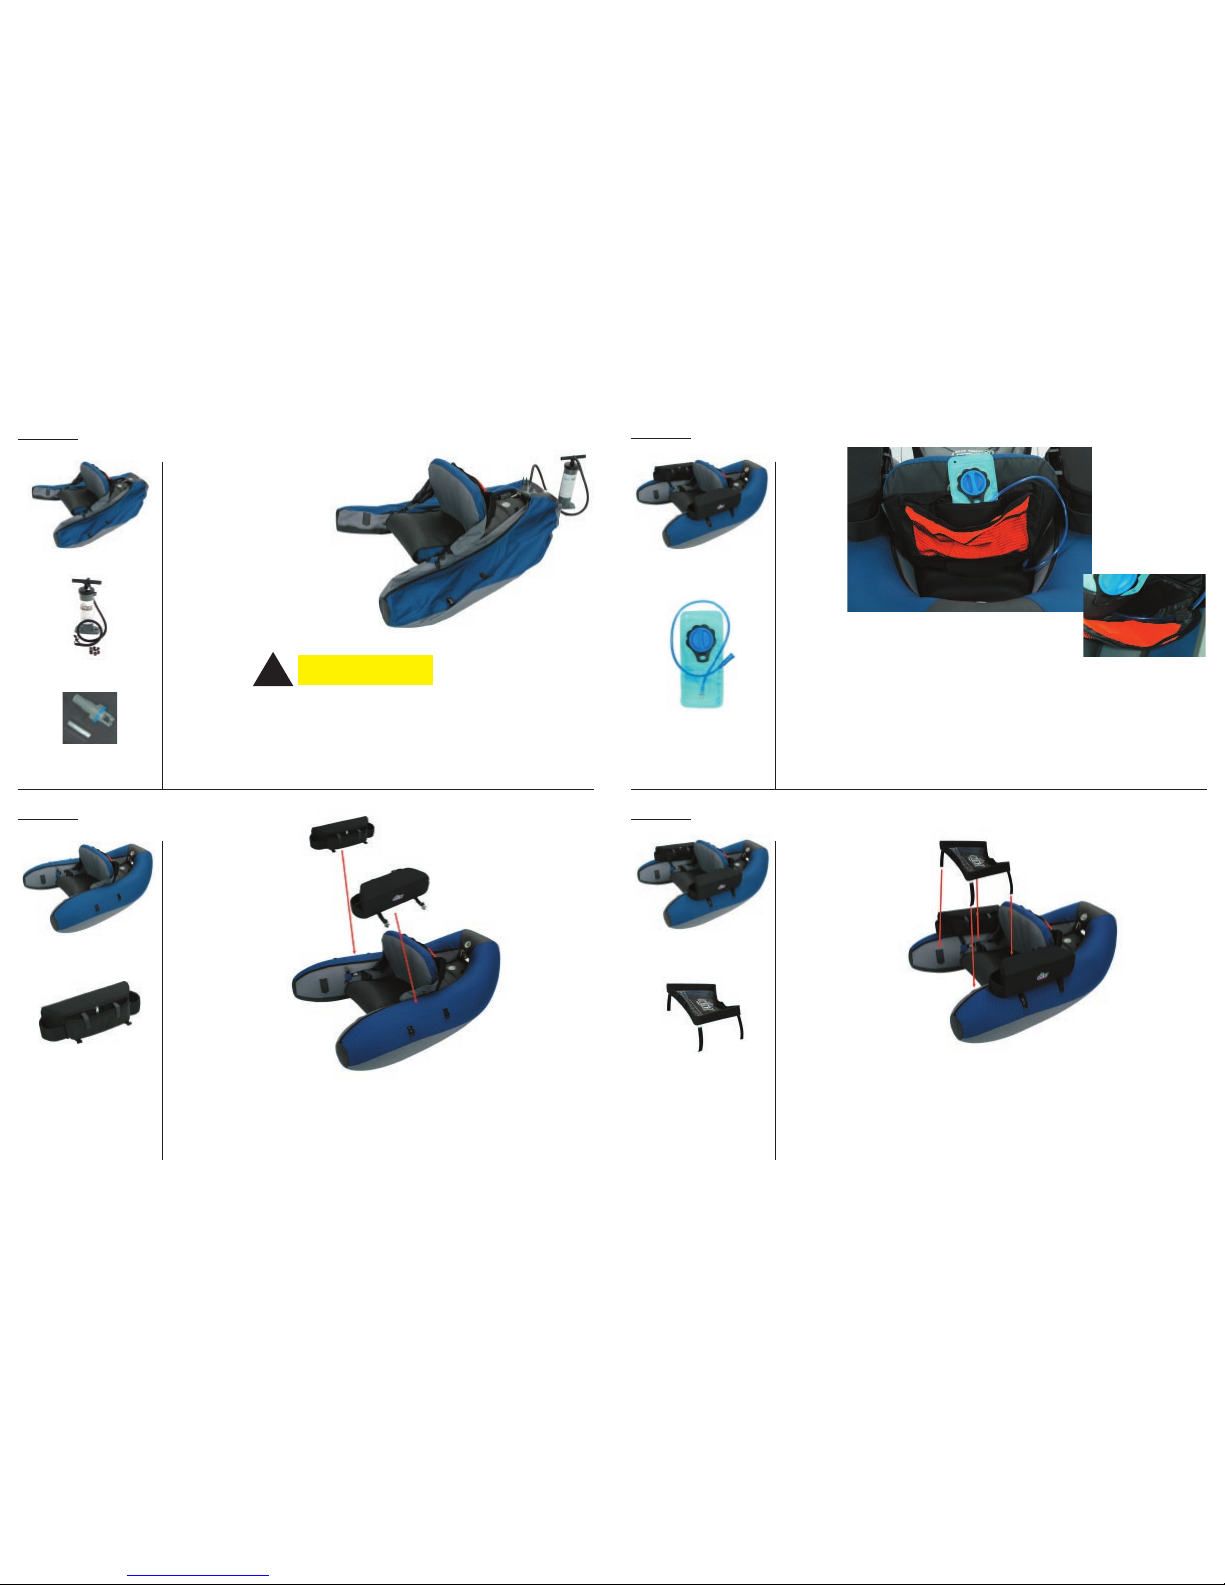
If at any point during the inflation process the float tube appears to look
disfigured, stop and release the air from the float tube, then unzip the float tube
and straighten the interior bladder. Once adjustment to the bladder has been
completed, carefully close the zipper and re-inflate.
Floor Inflation
Items needed:
1 - Hand Pump
Vinyl Tubing and
Summit 2 Adapter
Owner’s Manual
Transporting
To avoid excessive wear and extend the life of this craft we recommend transporting this craft in a Outcast
Sporting Gear boat bag or cover with clean, dry tarp. Do not load other equipment, particularly heavy or sharp
objects, on top of the craft. If you transport your boat in an open truck bed please make sure all sharp objects are
removed because more boats are damaged in transport than on the water.
**VALVE CAPS SHOULD ALWAYS BE IN PLACE WHENEVER TRANSPORTING YOUR BOAT.**
Cleaning and Maintenance
Your inflatable boat is constructed with high quality materials and superior workmanship however, as with all
outdoor equipment proper cleaning and maintenance will extend the use of the product and allow it to perform
better. Most damaging to your inflatable boat are extended UV exposure, insect repellents, plus mold and mildew.
To keep your boat performing its best please following these simple instructions.
• Do not set your boat on sharp objects. • Do not over inflate your boat.
• Keep the zippers clean. • Clean the boat with soap and water.
• Allow the boat to drain properly so it can be stored dry.
Storage
Short Term Storage - Allow to air dry, deflate and roll loosely
Long Term Storage - Store your boat dry and clean. After use, rinse off all debris and allow the boat to air dry
on soft pressure and out of direct sunlight. Residual water inside the bladders/airecells will not damage the boat.
Store the boat in a cool, dry place out of sunlight and away from exhaust fumes. If you store your boat inflated
you should be able to pinch an inch of material, but not to operating pressure is the best.
Basic Trouble Shooting
1.
Valve does not retain air when pump is removed.
• Make sure that the valve stem is in the up or closed position.
• Clear any debris that might be preventing the valve from sealing. This can be accomplished by either
pumping quick bursts of air into the valve or removing the core valve assembly and cleaning the edge of
the rubber diaphragm with a cotton swab and denatured alcohol.
• Make sure that the core valve assembly is tight. Tighten with valve wrench if necessary.
2.
Tube becomes soft after inflation process.
• Determine which air chamber is soft. Make sure the valve is functioning correctly, with no signs of
leaking. (See above)
• Find the hole in the airecell and patch with the Tear Aid patch.
3.
Tube is puckered or shows a void when inflated.
• The airecell might be misaligned. Deflate the tube(s) and as they are brought back up to pressure,
manipulate the tube(s) to free the airecell as it inflates. If this does not fix the problem, deflate the boat,
open the zipper and adjust the airecell.
4.
Zipper is difficult to operate.
• Use a combination of soap, water and an old toothbrush to clean and clear the zipper of debris.
5.
Tear Aid patch does not stick to airecell.
• Make sure the area to be patched is dry and clean. Use the alcohol pad to prep the area, if necessary.
Summit 2 Valve in
closed position
4. Locate and connect the pump/valve adapter pump to the valve in the seat
back and inflate to 1.8 psi.
A guideline for gauging the proper pressure is to push down with your thumb at the
center of the tube. If you can deflect about a half an inch from the top plane of the
tube, it will be close to 1.8 psi.
1 - Hand Pump
1 - Vinyl Tubing and
Summit 2 Adapter