manuals.online logo
Brands
  1. Home
  2. •
  3. Brands
  4. •
  5. OVE
  6. •
  7. Bathtub
  8. •
  9. OVE CONTEMPORARY User manual

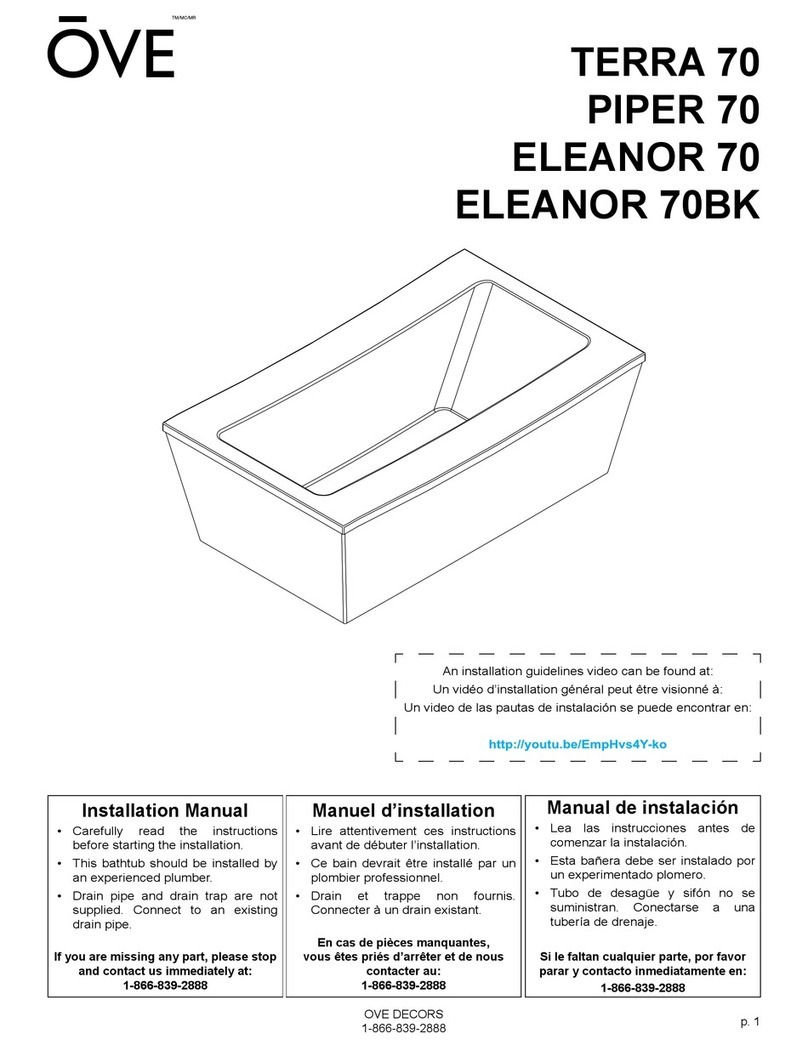
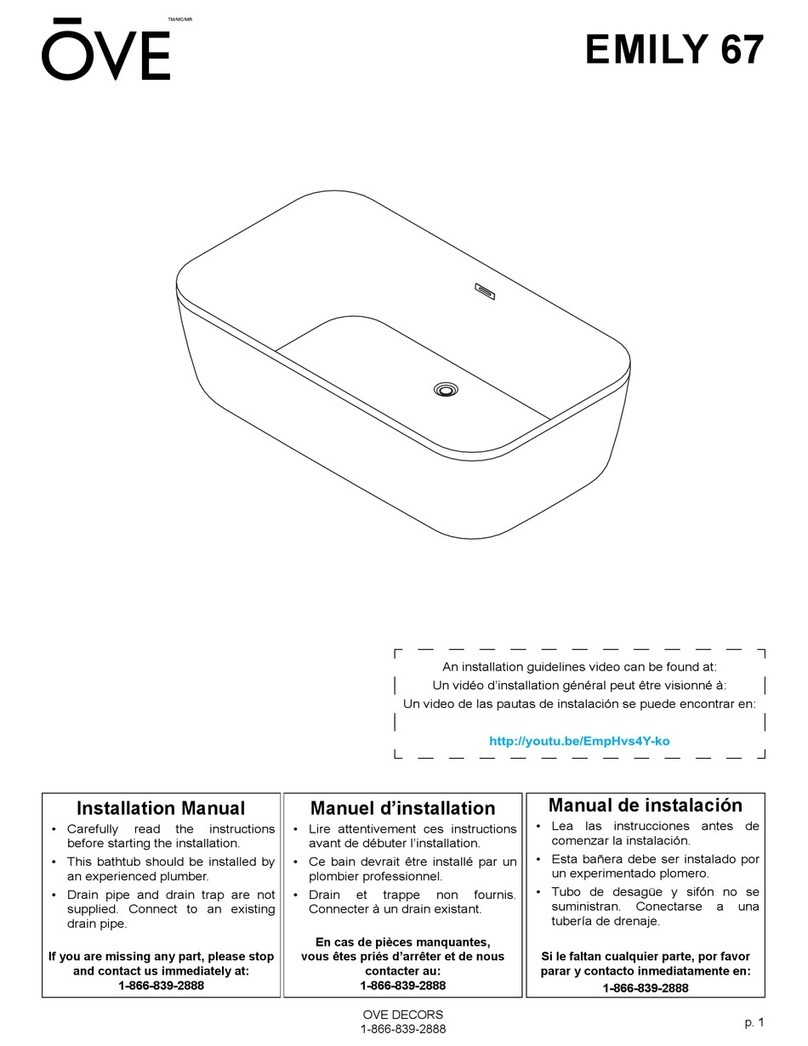
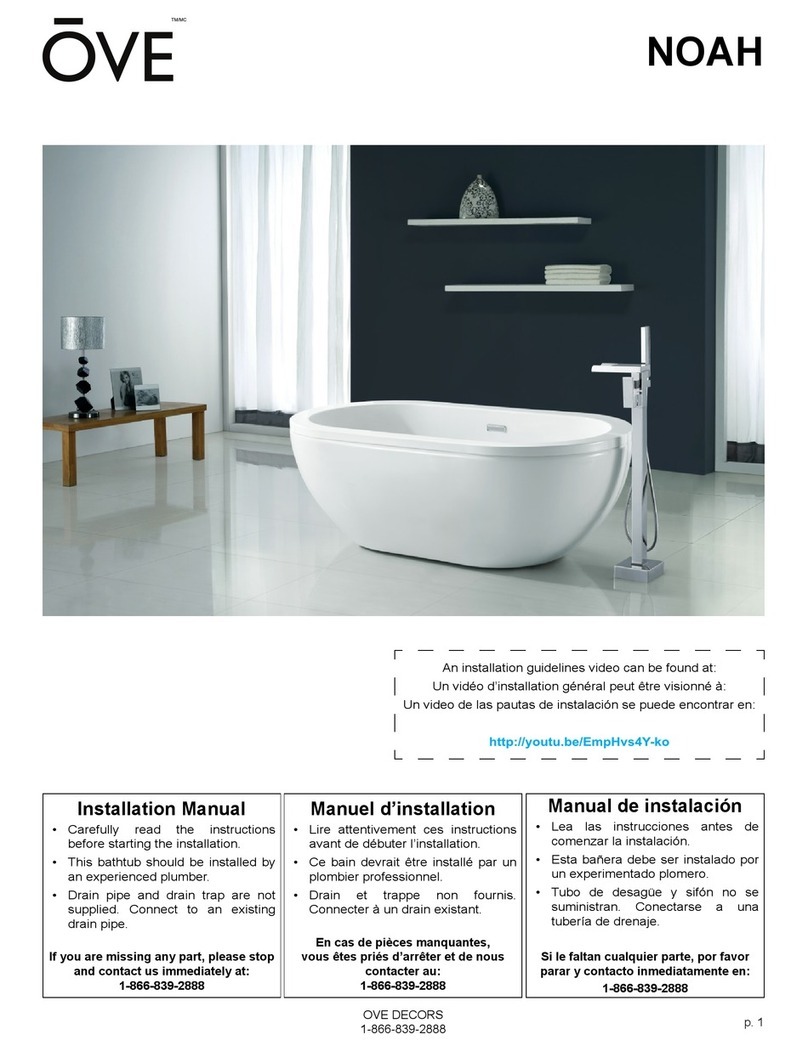
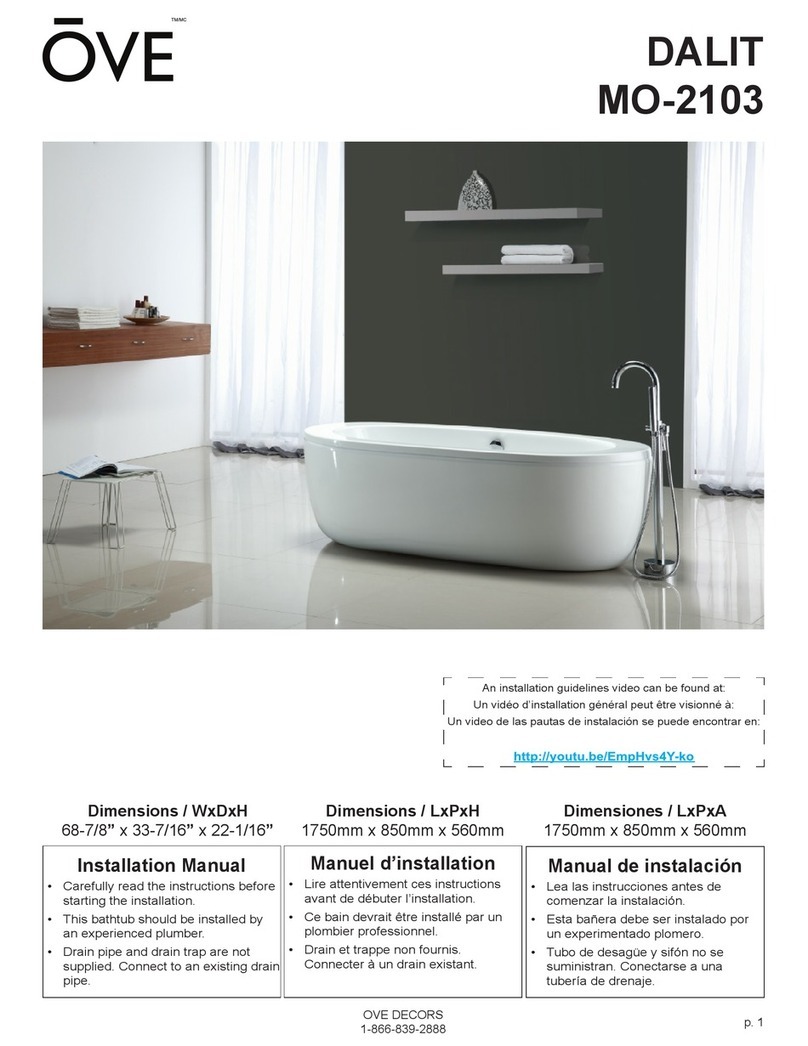
OVE CONTEMPORARY User manual

p. 1
OVE DECORS
1-866-839-2888
Installation Manual
• Carefully read the instructions
before starting the installation.
• This bathtub should be installed by
an experienced plumber.
• Drain pipe and drain trap are not
supplied. Connect to an existing
drain pipe.
If you are missing any part, please stop
and contact us immediately at:
1-866-839-2888
Manual de instalación
• Lea las instrucciones antes de
comenzar la instalación.
• Esta bañera debe ser instalado por
un experimentado plomero.
• Tubo de desagüe y sifón no se
suministran. Conectarse a una
tubería de drenaje.
Si le faltan cualquier parte, por favor
parar y contacto inmediatamente en:
1-866-839-2888
Manuel d’installation
• Lire attentivement ces instructions
avant de débuter l’installation.
• Ce bain devrait être installé par un
plombier professionnel.
• Drain et trappe non fournis.
Connecter à un drain existant.
En cas de pièces manquantes,
vous êtes priés d’arrêter et de nous
contacter au:
1-866-839-2888
An installation guidelines video can be found at:
Un vidéo d’installation général peut être visionné à:
Un video de las pautas de instalación se puede encontrar en:
CONTEMPORARY
p. 2
TOOLS REQUIRED / OUTILS REQUIS / HERRAMIENTAS NECESARIAS
CAUTION
You will need at least two people to
install this product properly.
In order to reduce the risks of personal
injuries, do not support or lift the
bathtub by the rim. Provide adequate
support under the feet.
The distributor is not responsible for any
damage to the unit or personal property
caused by improper installation. If you
disregard instructional warnings, you
will void your warranty and possibly
deal with water damage.
• Unpack and inspect the bathtub for
damage. Return the bathtub to the
carton until you are ready to install.
• Install the bathtub on an adequately
supported,leveloor.
• Before installation, ensure proper
access to the nal plumbing
connections.
ATENCIÓN
Se necesitan al menos dos personas para
instalar este producto correctamente.
Riesgo de lesiones personales. No
sostenga ni levante la bañera por el
borde. Coloque un soporte adecuado
debajo de los pies.
El distribuidor no se responsabiliza de
ningúndaño a la unidad ni a propiedades
personales causados por la instalación
inadecuada. Si usted ignora las
advertencias de instalación, perderá la
garantía y podría sufrir daños causados
por fuga de agua.
• Desempaque e inspeccione la bañera
para detectar cualquier daño. Vuelva
a colocar la bañera en el cartón hasta
que esté listo para instalarla.
• Instale la bañera sobre un piso con
soporte adecuado y nivelado.
• Antes de la instalación, asegúrese
de que tenga suciente acceso a las
conexionesnalesdeplomería.
ATTENTION
L’installation de ce produit requiert la
participation d’au moins deux personnes.
And’éviterlesrisquesdeblessures,ne
pas soulever la baignoire par les rebords.
Fournissez un support adéquat sous les
pieds du bain.
Le distributeur se dégage de toute
responsabilité pour tout dommage au
bain ou à la propriété résultant d’une
installation inadéquate. Si vous ignorez
les recommandations, votre garantie sera
nulle et vous pourriez subir des dégâts
d’eau.
• Déballez la baignoire et examinez-
la soigneusement pour déceler tout
dommage. Remettre la baignoire
dans son emballage de protection en
attendant de commencer l’installation.
• Cette baignoire doit avoir le support
nécessaire sur un sol mis à niveau.
• Avant l’installation, assurez-vous
d’avoir sufsamment d’accès pour
toutelaplomberienale.
Pencil
Crayon
Lápiz
Level
Niveau
Nivel
Silicone
Silicone
Silicona
Measuring Tape
Ruban à mesurer
Cinta medidora
Drill
Perceuse
Taladro
Adjustable key
Clé ajustable
Llaves ajustables
Hole saw
Scieemportepièce
Sierra perforadora
Plus:
Fabric cloth to protect the bath.
Plus :
Tissu pour protéger le bain.
Más:
Tela para proteger la bañera.
p. 3
SPECIFICATION / SPÉCIFICATIONS / ESPECIFICACIONES
35.7gal
0.135m3
77bs
35kg
Measures: inch [millimeter]
Mesures: pouce [millimètre]
Medidas: pulgadas [milímetros]
63” [1600]
42 15/16” [1090]
28 3/8” [720]
16 9/16” [420]
Drain / Drenaje
9 1/4” [235]
11 13/16” [300]
20 1/2” [520]
14 15/16” [380]
Overow/Trop-plein/Desborde
p. 4
PART / PIÈCE / PIEZA DESCRIPTION / DESCRIPCIÓN
Flexible Tube (NOT SUPPLIED) or Standard P-Trap (NOT SUPPLIED)
Tube Flexible (NON FOURNI) ou Siphon-en-P standard (NON FOURNI)
Tubo Flexible (NO INCLUIDO) o P-trampa estándar (NO INCLUIDO)
P-Trap (NOT SUPPLIED)
Siphon-en-P (NON FOURNI)
P-trampa (NO INCLUIDO)
Adapter (SUPPLIED)
Adaptateur (FOURNI)
Adaptador (INCLUIDO)
IMPORTANT
• Drawings are for reference ONLY.
This guide illustrates installation
best practices.
• Carefully read the instructions
before starting the installation.
• This bathtub should be installed by
an experienced plumber.
• Makesuretheoordrainisalready
installed and is compliant with your
local regulations.
• Piping and drain trap are not
supplied.
IMPORTANT
• Les illustrations sont pour
référence SEULEMENT. Ce
guide illustre les bonnes pratiques
d’installation.
• Attentivement lire ces instructions
avant de commencer l’installation.
• Ce bain devrait être installé par un
plombier professionnel.
• S’assurer que le drain du
plancher est préinstallé suivant la
réglementation locale.
• La tuyauterie et le drain ne sont pas
fournis.
IMPORTANTE
• Los dibujos son SÓLO para
referencia. Esta guía ilustra las
mejores prácticas de instalación.
• Lea cuidadosamente las
instrucciones antes de comenzar la
instalación.
• Esta bañera debe ser instalada por
unplomerocalicado.
• Asegúrese de que el desagüe
del piso esté ya instalado de
conformidad con los reglamentos
locales.
• La tubería y el sifón de desagüe no
están incluidos.
1. Place the bathtub in the desired
positionontheoorandlevelitusingthe
adjustable feet.
2. Trace its outline on the oor with an
erasable marker.
3. Remove the bathtub and put it on a
throw rug to prevent damages.
1. Placer le bain à l’endroit désiré sur le
plancher, puis le mettre à niveau grâce
aux pattes ajustables.
2. Tracer le contour sur le plancher grâce
à un crayon effaçable.
3. Retirer le bain et le mettre sur un tapis
andenepasl’endommager.
1. Coloque la bañera en la posición
deseada sobre el piso y nivélelo con las
patas ajustables.
2. Marque el contorno sobre el piso con
un marcador borrable.
3. Retire la bañera y colóquela sobre una
manta de cama para evitar daños.
PARTS / PIÈCES / PIEZAS
PREPARATION / PRÉPARATION / PREPARACIÓN
p. 5
Option #1
1. Install the P-Trap by screwing it to
the preinstalled bathtub drain outlet.
Use Teon tape and/or sealant. Then,
as shown in the illustration, connect the
P-Trap to the Flexible Tube.
2. Connect the Flexible Tube to your
existing oor drain as illustrated, using
PVC pipe sealant to join the parts together.
Option #1
1. Installer le Siphon-en-P en le vissant
sur le drain du bain. Utiliser du ruban et/ou
du scellant téon. Ensuite, tel qu’illustré,
connecter le Siphon au Tube Flexible.
2. Connecter le Tube Flexible à votre
drain de plancher existant, tel qu’illustré.
Utiliser du scellant à tuyau PVC an de
xerlesparties.
Opción #1
1. Instale el P-trampa atornillando en el
desagüe de la bañera. El uso de la cinta y
/oselladordeteón.Entonces,comose
ilustra, conectar el P-trampa para el tubo
exible.
2.Conectareltuboexibleparaeldrenaje
de suelo existente como se muestra. El
uso de PVC sellador de tuberías para
asegurar las partes.
Installation using a standard PVC P-Trap
is done similarly.
L’installation avec un siphon en P en PVC
se fait de façon similaire.
La instalación con sifón en P de PVC se
hace de manera similar.
INSTALLATION (Option #1) / INSTALACIÓN (Opción #1)
GUIDELINES FOR BATHTUB DRAIN INSTALLATION
DIRECTIVES POUR INSTALLATION DU DRAIN DU BAIN
DIRECTRICES PARA LA INSTALACIÓN DE DESAGÜE DE BAÑERA
p. 6
Installation using a standard PVC P-Trap
is done similarly.
L’installation avec un siphon en P en PVC
se fait de façon similaire.
La instalación con sifón en P de PVC se
hace de manera similar.
INSTALLATION (Option #2)/ INSTALACIÓN (Opción #2)
Option #2
1. Screw the supplied Adapter to the
preinstalledbathtubdrain.UseTeontape
and/or sealant.
2. Connect the P-Trap to the Adapter
using PVC pipe sealant to adequately join
the two parts.
3. Then, as shown in the illustration,
connect the P-Trap to the Flexible Tube.
4. Connect the Flexible Tube to your
existing oor drain as illustrated, using
PVC pipe sealant to join the parts together.
Option #2
1. Visser l’Adaptateur fourni sur le drain
du bain. Utiliser du ruban et/ou scellant
téon.
2. Installer le Siphon-en-P sur
l’Adaptateur. Utiliser du scellant à tuyau
PVCandexerlesparties.
3. Ensuite, tel qu’illustré, connecter le
Siphon au Tube Flexible.
4. Connecter le Tube Flexible à votre
drain de plancher existant, tel qu’illustré.
Utiliser du scellant à tuyau PVC an de
xerlesparties.
Opción #2
1. Atornille el adaptador incluido en el
desagüe de la bañera. El uso de la cinta y

/oselladordeteón.
2. Instale el P-trampa en el adaptador.
El uso de PVC sellador de tuberías para
asegurar las partes.
3. A continuación, como se ilustra, conecte
elP-trampaparaeltuboexible.
4.Conecteeltuboexibleparaeldrenaje
de suelo existente como se muestra. El
uso de PVC sellador de tuberías para
asegurar las partes.
p. 7
24h
BEFORE FIXING YOUR TUB TO
THE FLOOR, MAKE SURE YOU
HAVE INSTALLED YOUR FAUCET
(if applicable) AND THAT YOU
HAVE CHECKED FOR LEAKS.
1. Test for leak by lling up the tub and
let it drain. Then check all plumbing
connections for leaks.
2.Fixthebathtubtotheoorbyapplying
a strong Tub & Tile Adhesive under each
edges of the tub that will be in contact with
theoor:Therim,thelateralbarsandthe
feet.
3.Finally,foraprofessionalnish,drawa
bead of silicone around the base.
4. Let dry 24h.
AVANT DE FIXER VOTRE BAIN,
S’ASSURER D’AVOIR INSTALLER
VOTRE ROBINET (si applicable)
ET S’ASSURER DE TESTER POUR
LES FUITES.
1. Tester pour les fuites en remplissant
votre bain, puis laisser le s’écouler.
Ensuite, inspecter toute la plomberie.
2. Fixer le bain en appliquant un puissant
adhésif pour bain et tuile sous chacune
des parties en contact avec le plancher: le
contour, les lattes latérales, et les pattes.
3.Finalement,pourunniprofessionnel,
appliquer un trait de silicone autour de la
base.
4. Laisser sécher 24h.
ANTES DE ASEGURAR SU BAÑO,
ASEGÚRESE DE QUE PARA LA
INSTALACIÓN DE LA VÁLVULA (si
corresponde) Y ASEGÚRESE DE
QUE PARA BUSCAR FUGAS.
1. Buscar fugas rellenando el baño y
dejar escurrir. A continuación, inspeccione
todas las cañerías.
2. Fijar el baño mediante la aplicación
de un fuerte adhesivo para baldosas
de cuarto de baño y en cada una de
las partes en contacto con el suelo: el
contorno, listones laterales y las piernas.
3. Por último, para un acabado profesional,
aplicar una línea de silicona alrededor de
la base.
4. Dejar secar 24h.
SECUREMENT / FIXATION / ASEGURAMIENTO

Other OVE Bathtub manuals

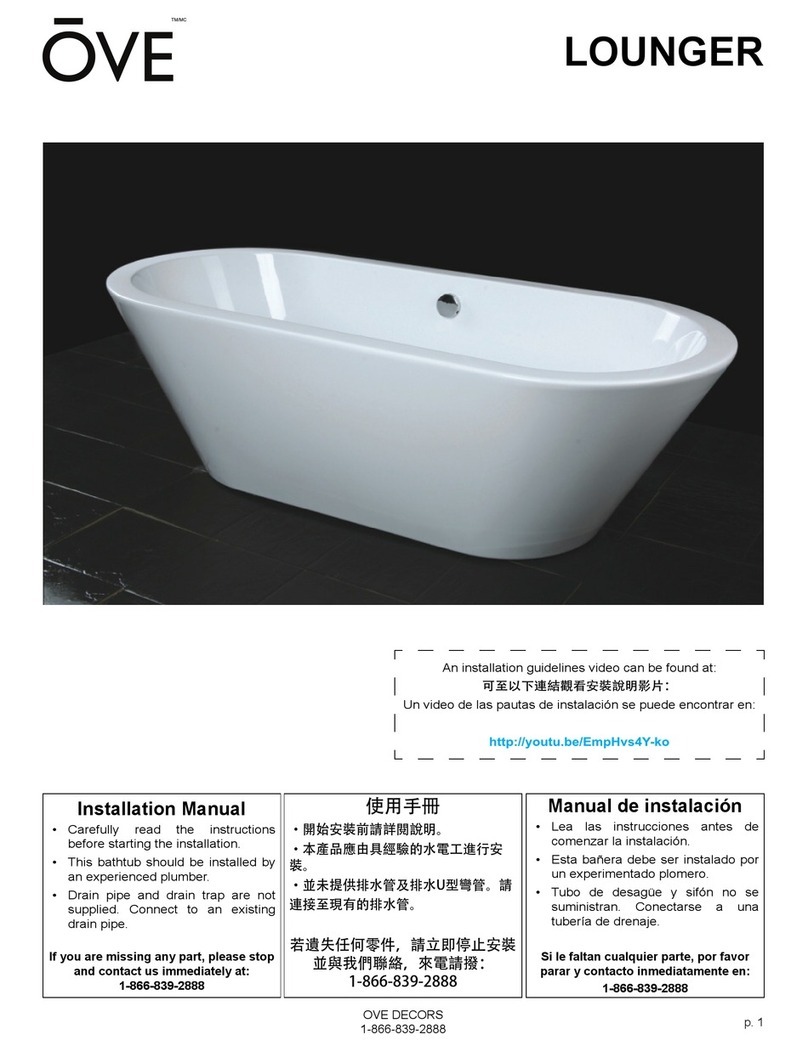
OVE LOUNGER User manual

OVE

OVE LOUNGER User manual

OVE VEGA MO-6086 User manual

OVE

OVE VEGA MO-6086 User manual

OVE BETSY MO-6043 User manual

OVE

OVE BETSY MO-6043 User manual

OVE TERRA 70 User manual

OVE

OVE TERRA 70 User manual

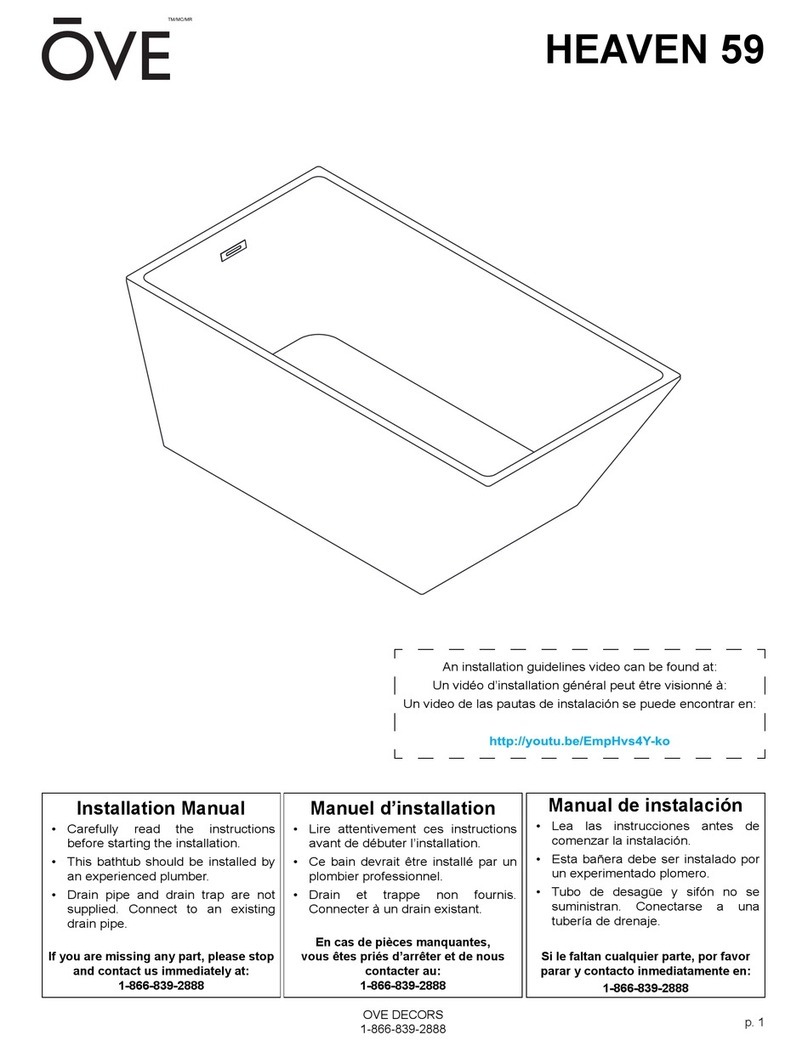
OVE HEAVEN 59 User manual

OVE

OVE HEAVEN 59 User manual

OVE PARK 1219262 User manual

OVE

OVE PARK 1219262 User manual

OVE RACHEL User manual

OVE

OVE RACHEL User manual

OVE KAYLEE 63 User manual

OVE

OVE KAYLEE 63 User manual

OVE SARIN MO-6087 User manual

OVE

OVE SARIN MO-6087 User manual

OVE NOAH User manual

OVE

OVE NOAH User manual

OVE SERENITY MO-6629A User manual

OVE

OVE SERENITY MO-6629A User manual

OVE EMILY 67 User manual

OVE

OVE EMILY 67 User manual

OVE DALIT MO-2103 User manual

OVE

OVE DALIT MO-2103 User manual

Popular Bathtub manuals by other brands

Clou InBe IB/05.40305 installation instructions

Clou

Clou InBe IB/05.40305 installation instructions

Aqualisa QUARTZ DIGITAL SERIES installation guide

Aqualisa

Aqualisa QUARTZ DIGITAL SERIES installation guide

Empava EMPV-67AIS16 manual

Empava

Empava EMPV-67AIS16 manual

BETTE SILHOUETTE installation guide

BETTE

BETTE SILHOUETTE installation guide

Balmani 76921 installation guide

Balmani

Balmani 76921 installation guide

Sterling AFD Bath 71041112 Specifications

Sterling

Sterling AFD Bath 71041112 Specifications

bluBathworks blu-stone Series installation guide

bluBathworks

bluBathworks blu-stone Series installation guide

M-TI DESIGNER COLLECTION Installation and operation

M-TI

M-TI DESIGNER COLLECTION Installation and operation

Delta B23605-6030L-WH manual

Delta

Delta B23605-6030L-WH manual

Clear Water clearspa installation instructions

Clear Water

Clear Water clearspa installation instructions

Aquatica Digital True Ofuro Duo Installation & Care Manual

Aquatica Digital

Aquatica Digital True Ofuro Duo Installation & Care Manual

Kohler K-1418-HC Homeowner's guide

Kohler

Kohler K-1418-HC Homeowner's guide

Renaissance Baths EXCEL 300 user guide

Renaissance Baths

Renaissance Baths EXCEL 300 user guide

repabad Kampen operating instructions

repabad

repabad Kampen operating instructions

Kohler K-1449 Roughing-In Guide

Kohler

Kohler K-1449 Roughing-In Guide

American Standard Bath Kit With Walls, Left Drain 6032Y1K.202 Specifications

American Standard

American Standard Bath Kit With Walls, Left Drain 6032Y1K.202 Specifications

Jacuzzi AMIGA PLUS manual

Jacuzzi

Jacuzzi AMIGA PLUS manual

glass 1989 astor 160/70 manual

glass 1989

glass 1989 astor 160/70 manual

manuals.online logo
manuals.online logoBrands
  • About & Mission
  • Contact us
  • Privacy Policy
  • Terms and Conditions

Copyright 2025 Manuals.Online. All Rights Reserved.