6
2. CONTROL ELEMENTS
2.1 Getting started / switching the system on and off
The only control elements of the fully automatic satellite system "Oyster® TV" Premium are the receiver integrat-
ed in the "Oyster® TV" Premium system and the remote control. The remote control buttons are only operational
when the "Oyster® TV" Premium system is switched on and the initialisation has been completed.
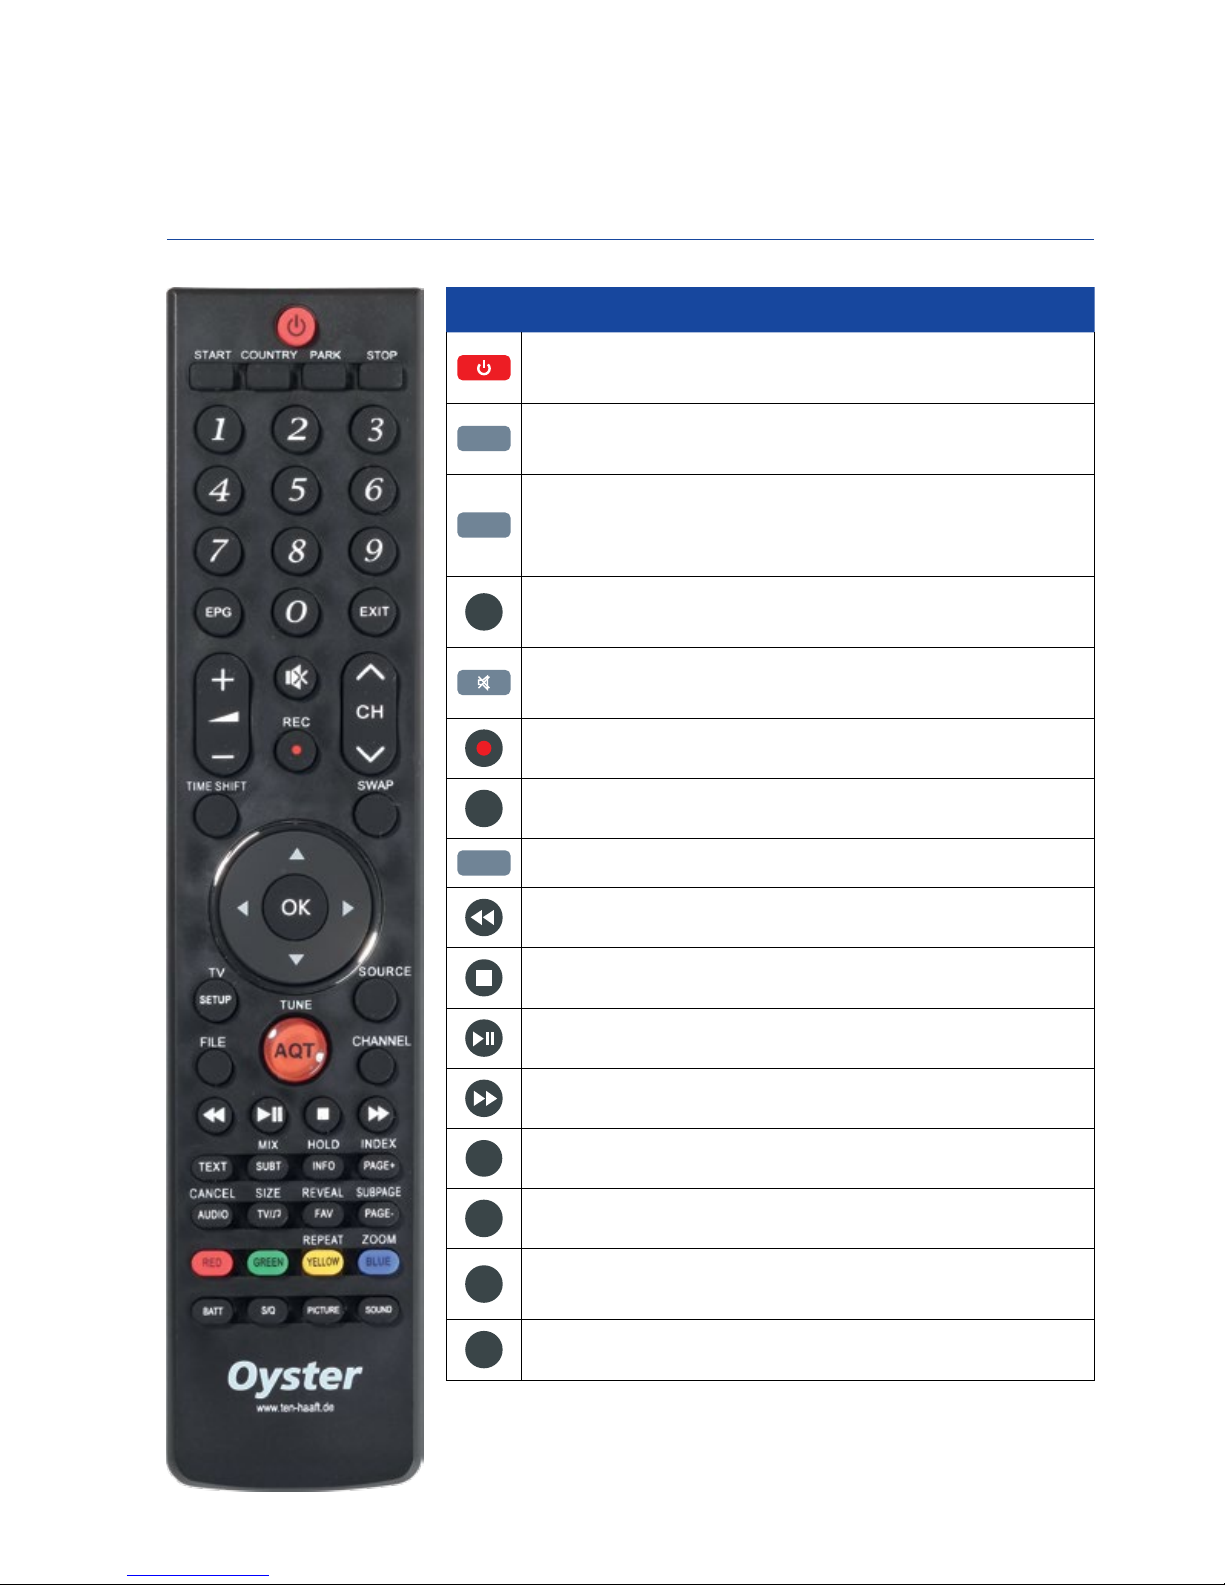
SWITCHING THE SYSTEM ON / OFF
The system is switched into standby mode or completely off at the switch on the underside of the "Oyster® TV" Pre-
mium system (see page 11, element 10). Operation is started by pressing the POWER button on the remote control.
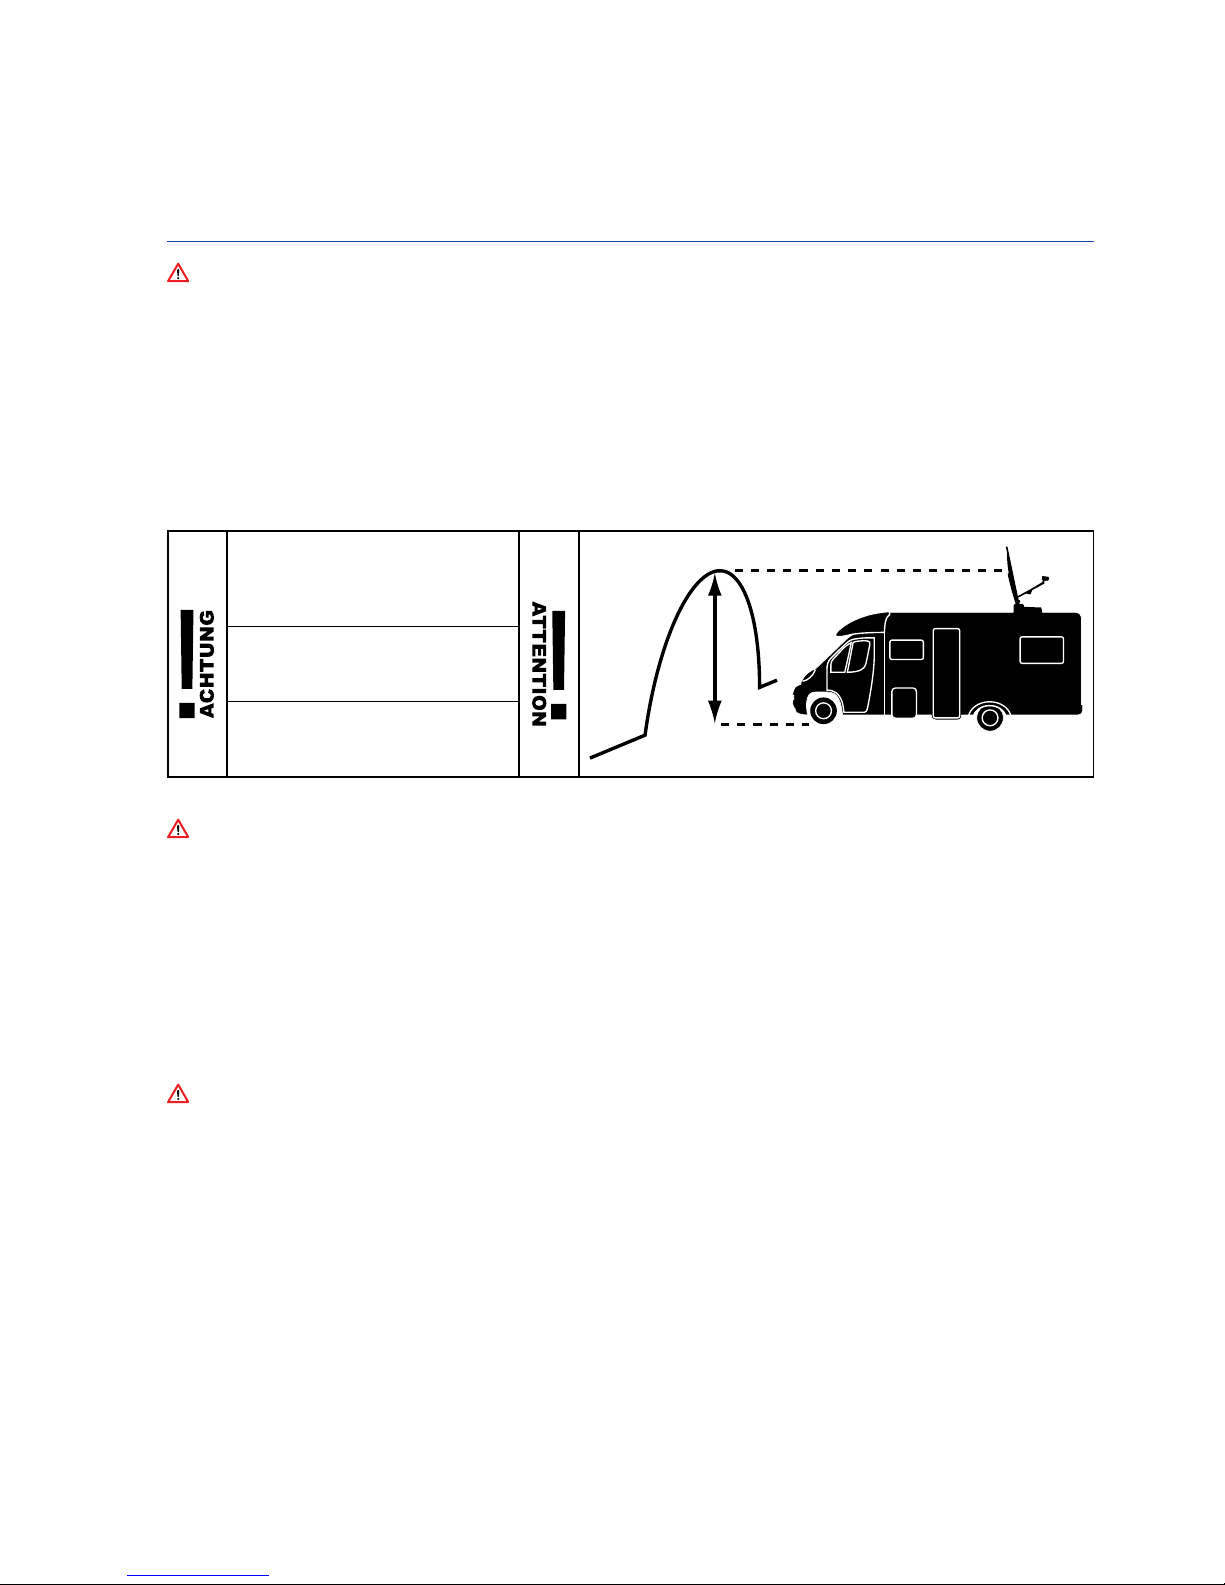
Caution!
When switching on the "Oyster® TV" Premium system, the antenna will start the automatic satellite search. The
receiver integrated in the Oyster® TV" Premium system needs up to one minute to initialise after being switched
on. The antenna then folds up and starts the automatic satellite search.
Note: Unless specified otherwise, all information refers to the buttons of the remote control.
Caution!
When switching on the "Oyster® TV" Premium with integrated receiver, the antenna will unfold and start the
automatic satellite search.
1. Operate the switch on the underside of the device. The standby LED on the front illuminates red.
2. Press the POWER button on the remote control. The standby LED will illuminate blue.
SWITCHING THE DEVICE OFF
To switch the device into standby mode, press POWER. The standby LED will illuminate red. If you will not be
using your TV set for an extended period, e.g. during the night, you may switch it off at the toggle switch on
the rear (below). Note that the system will first retract and then unfold to perform a satellite search when you
switch it back on.
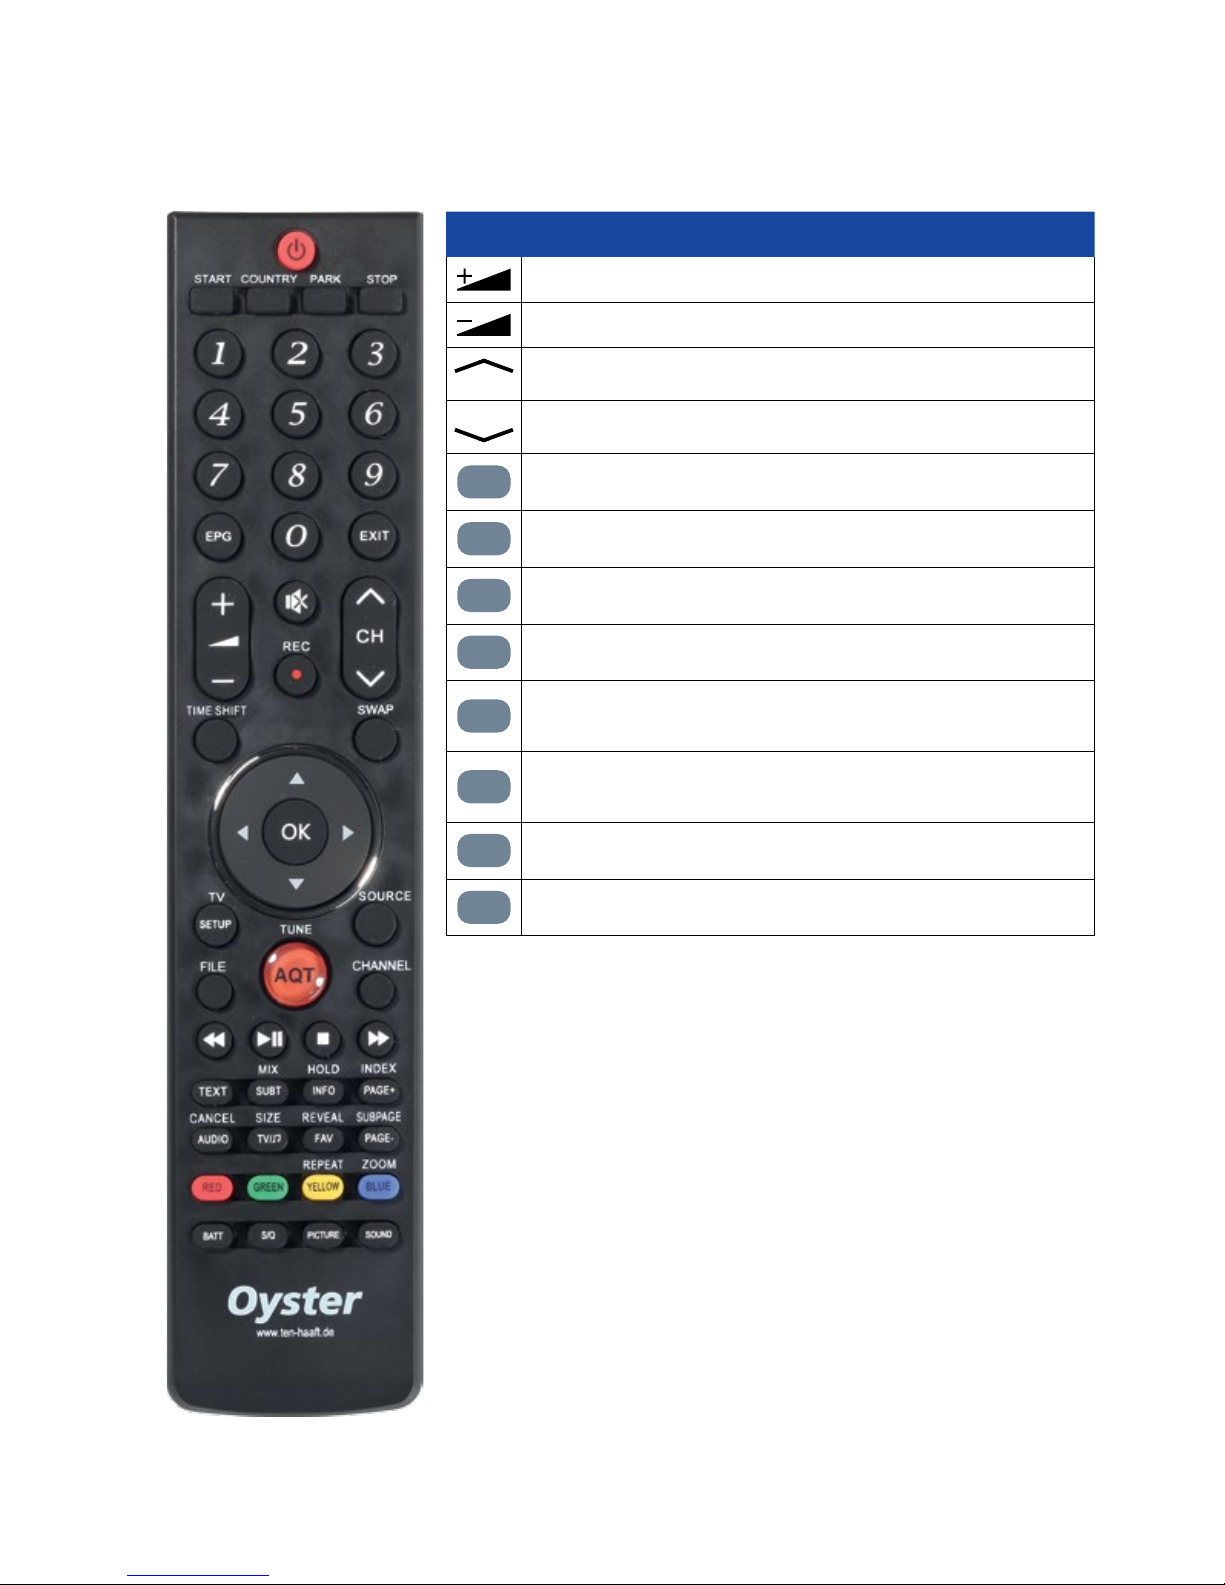
2.2 Operating the antenna
If the antenna system is set up in the normal manner, it is not necessary to operate the antenna. The system
will find the corresponding satellite automatically. If the position has changed significantly since last use, it is
recommended to use the COUNTRY button to enter the current position.
The antenna function is controlled by the following 4 remote control buttons:
Country button: For the entry of the current position in order to optimise the satellite search. Stop button; Start
button; Park button – for the direct operation of the antenna. When the receiver integrated in the "Oyster® TV"
Premium device is switched off, the antenna buttons are not operational. The other buttons on the remote con-
trol can be used to control the receiver integrated in the "Oyster® TV" Premium system. See point 2.3 "Remote
control". The "Oyster® TV" Premium system is configured at the factory to control the antenna.