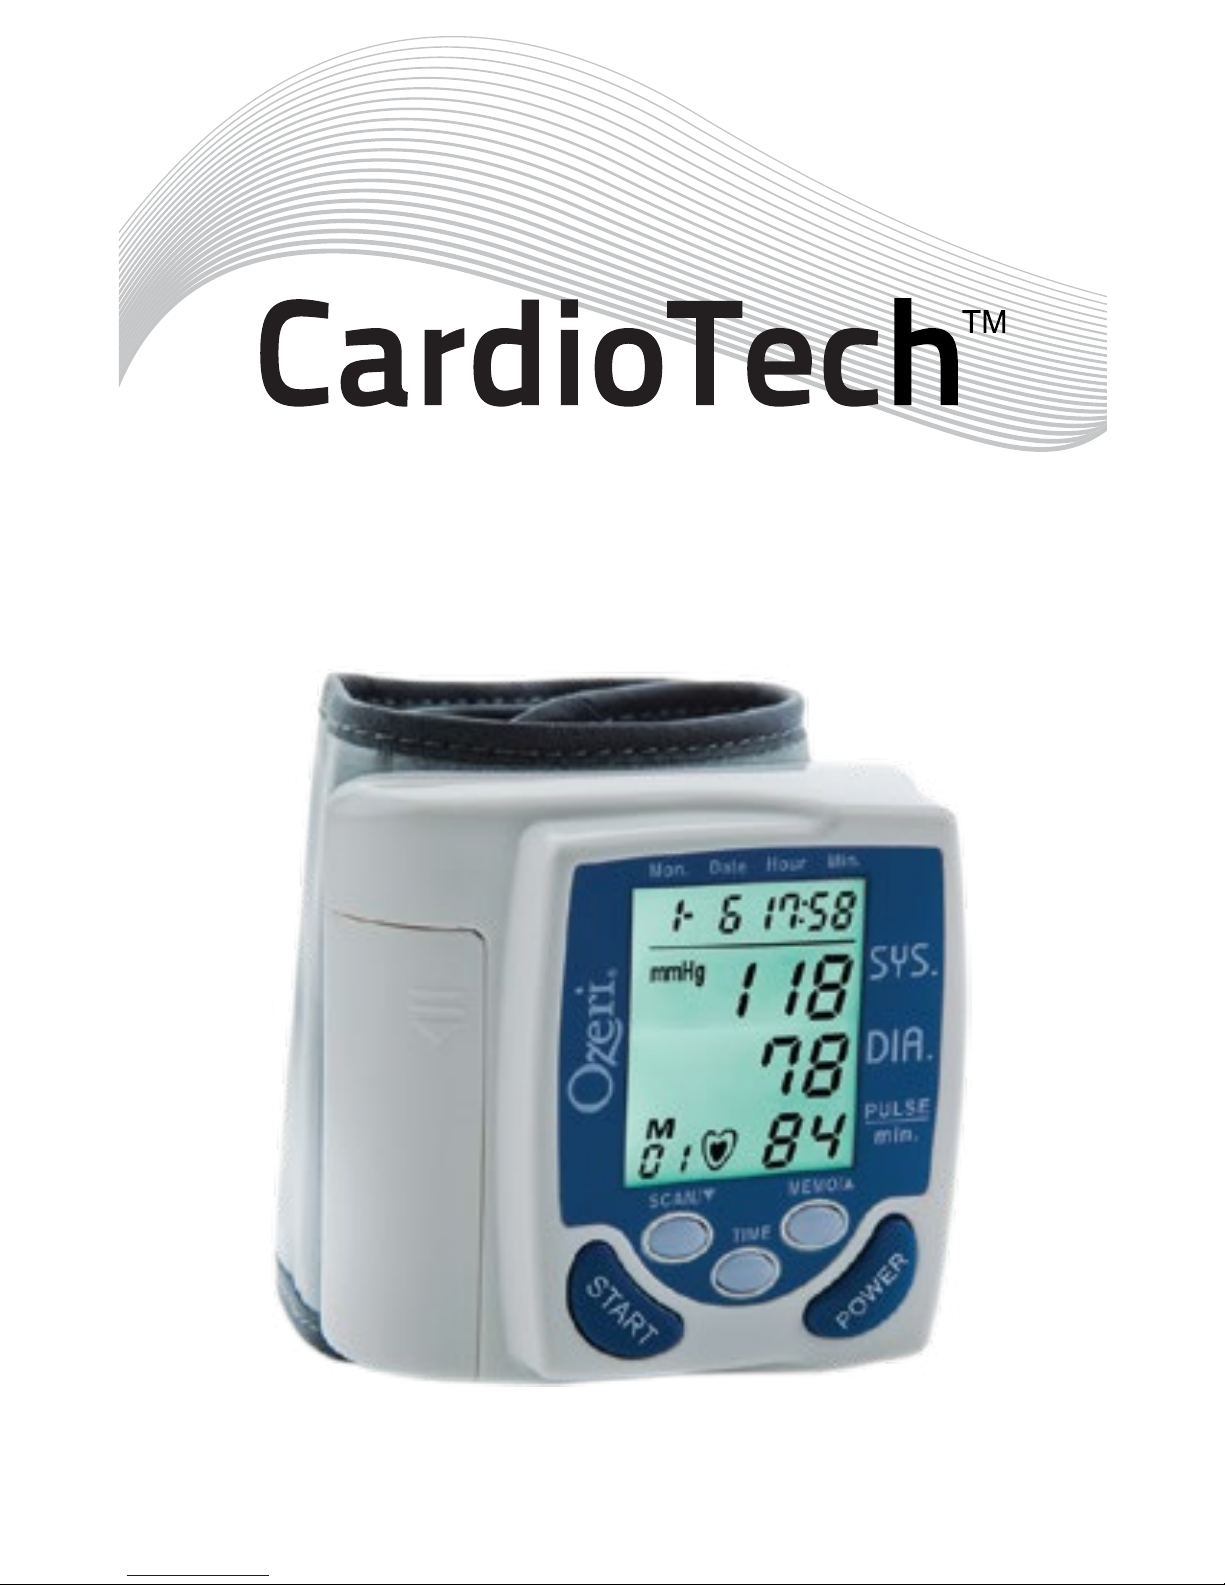
Ozeri CardioTech BP2M User manual

DIGITAL BLOOD PRESSURE MONITOR
Premium Series
Model BP2M

Table of Contents
Introduction 3
Important Safety Information 3
Health and Blood Pressure Values 4
Suggestions Before Measuring
Blood Pressure 5
Device Description 6
Description of Control Buttons 6
Description of LCD Display Symbols 7
Installing/Replacing Batteries 7
Programming Date and Time 8
Using the Wrist Cuff 9
Correct Measurement Position 10
Measuring your Blood Pressure 12
About Blood Circulation 13
Irregular Heartbeat? 14
What is Arrhythmia? 15
Using the Memory Feature 15
Recall/Review previous measurements 16
Using the Average Feature 17
Deleting Individual Measurements 17
Deleting All Measurements 18
Troubleshooting 18
Error Messages 22
23
Care and Maintenance 26
Warranty Information 27
2

Introduction
Thank you for purchasing an Ozeri Fully
Automatic Wrist Blood Pressure Monitor.
The device uses the oscillometric method of
blood pressure measurement. This method
detects the movement of your blood through
your brachial artery, and converts your blood
pressure into a digital reading. The unit is
simple to use because no stethoscope is
needed while using an oscillometric monitor.
This device automatically stores 1197 sets of
measurement values with date and time data
for 3 users (1197 measurements total). You can
access the stored data simply by pressing the
MEMO button.
Important Safety Information
To assure the correct use of this product, basic
safety measures should always be followed,
including the precautions listed below:
• Read all information in the instruction manual
and any other literature included in the box
before using this device.
• Consult your physician before measuring
blood pressure, especially if you have any
of the following conditions: hypertension,
diabetes, arteriosclerosis, kidney or
vascular disease, or any conditions
affecting circulation.
3

• Operate this device only as it is intended. Do
not use this device for any other purpose.
•This device is intended for use in measuring
blood pressure and heart rates for adults only.
Do not use on infants or persons who cannot
express their intentions.
• Do not use a cellular phone near this device.
Cell phones may inhibit the accuracy of this
device.
• Do not disassemble or attempt to repair this
device or any of its components. Doing so will
void the warranty.
•
gases (such as anesthetic gas, oxygen or
alcohol) are present.
Understanding Blood Pressure Values
This device refers to a blood pressure
Organization (WHO) and the International
Society of Hypertension (ISH).
4
WHO
Red
Systolic Blood Pressure (mmHg)
Optimal
blood pressure
(target value)
Normal blood pressure
Normal systolic value
Mild hypertension
Moderate hypertension
Severe hypertension
Diastolic Blood Pressure (mmHg)
Orange
Green

Suggestions before Measuring Blood
Pressure
1. Rest for at least 5-10 minutes before taking
your blood pressure.
2. Avoid eating, smoking, exercising, bathing
and drinking (especially alcohol, caffeine or
tea) for at least 20-30 minutes before taking
a measurement, and avoid talking while
measuring your blood pressure.
3. Make sure the wrist cuff is at heart level.
4. Stress raises blood pressure. Try to keep
calm before and during the measurement
process.
5. Wait 2-3 minutes before retaking your blood
pressure measurement.
6. Keep the records for your physician and
refer to your physician for guidance.
Remember that one reading does not
provide a true blood pressure value;
only long-term records will reveal a more
accurate picture of your blood pressure. Try
to take your measurement at the same time
each day to stay consistent.
5

Device Descriptions
Description of Control Buttons
POWER: Turns the unit on or off.
START:
pressure and pulse measurement.
TIME:
MEMO/▲: Displays the previously recorded
blood pressure reading. This button is also
used to change the Date & Time during
programming.
SCAN/▼: Displays all previously measured
record(s) in 10 measurement increments from
the device’s memory. This button is also used
to change the Date & Time during programming.
6

7
Description of LCD Display Symbols
Installing/Replacing Batteries
To prevent the accidental deletion of the blood
pressure readings stored in Memory, make
sure the device is turned off before installing /
replacing the batteries.
1. Remove the battery cover by sliding it in the
direction indicated by the arrow.
2. Install 2 new AAA alkaline batteries, following
the +/- polarity indicators marked inside.
3. Replace the battery cover.

8
Note:
a. When (Low Battery Indicator) appears on
the display, the batteries are low in charge.
Change the batteries as soon as possible.
A low battery charge can affect the ability of
this device to take correct measurements.
b. Replace old batteries with new ones
immediately.
c. Replace with new ALKALINE batteries for
best performance and longevity.
d. Remove and store the batteries if this device
will not be used for an extended period of
time (i.e., 3 months). The batteries can leak
chemicals which can destroy electronic
components in this device.
Programming Date and Time
1. Press and hold TIME button for 2 seconds
until the display shows 2012 and starts to
2. Press MEMO/▲ button or SCAN/▼ button
until the number representing the current
Year appears on the screen. Note: pressing
and holding the MEMO/▲ or SCAN/▼
button for about 2 seconds will cause Year to
increase or decrease at a faster speed.

9
3.
setting. The number representing the Month
4. Follow the same instructions as above to set
the Month, Date, Hour and Minute settings.
Note: After replacing batteries, always
proceed to use the blood pressure monitor.
Using the Wrist Cuff
1. Remove all clothes from
your arm allowing the
cuff to make direct
contact on your skin.
2. Hold your left arm in front
of you with your palm
facing up. Apply the wrist
cuff so that the monitor is on the inside wrist
facing upwards towards you so that the
screen is in clear view.
3. As shown in the image below, enclose the
wrist cuff leaving 1/4”~1/2” (0.6 cm - 1.3 cm)
between the edge of the cuff and the palm
of your hand.

4. Hold the bottom part of the cuff
and wrap it comfortably around
your wrist. The top and bottom
edges of the cuff should be
tightened evenly around your
wrist. (Do not pull strongly on
the cuff. Do not apply the wrist
cuff too tightly.)
5. When the cuff is positioned correctly, secure
it in place by pressing the two sides of the
Correct Measurement Position
In order to get an accurate reading, sit upright
in a chair and rest your left elbow on the table.
If needed use a cushion, pillow or your other
wrist for support. Keep your palm facing up
and make sure the monitor is at heart level.
Take a few deep breaths and relax your body,
10

resting position:
Wrist should also be relaxed and in a natural
resting position:
11

Measuring Your Blood Pressure
1. Press the POWER button to turn on the
device.
seconds during boot up. The screen will then
Press UP or DOWN to choose user 1, 2 or
3. If no specific user is chosen, the default
user is always “1”. Note, a user can only
be selected while the User icon and 0 are
that the device is ready to be used.
2. Then press the START button to take a
measurement. The cuff will automatically
3. Upon completion, the systolic pressure,
diastolic pressure and pulse rate will be
shown simultaneously on the screen. The
values are automatically stored in memory.
The screen uses a 3-color light system to
indicate systolic and diastolic blood pressure
health according to the World Health
screen are green, orange and red.
12
time.
few

a. Green indicates a normal blood
pressure level
b. Orange indicates prehypertension.
c. Red indicates hypertension.
4. The blood pressure and pulse reading will
remain on the screen for 1 minute before the
device automatically powers off.
About Blood Circulation
The blood circulation is responsible for
supplying the body with oxygen. Blood
pressure is the pressure exerted on the
arteries.
The systolic blood pressure value (higher
pressure or top value) represents the blood
pressure produced by contraction of the heart
muscle.
The diastolic blood pressure value (lower
pressure or lower value) represents the blood
pressure produced by relaxation of the heart
muscle.
13
Lower pressure
Relaxation of the
heart muscle
Pressure decreased
on arteries
Blood returns to heart
Higher pressure
Contraction of
the heart muscle
Pressure increased
on arteries
Blood outflow
Diastolic Blood PressureSystolic Blood Pressure

Irregular Heartbeat?
that varies by 25% from the average of all
heartbeat intervals while the unit is measuring
the systolic and diastolic blood pressure.
If an irregular rhythm is detected more than
twice during measurement, the irregular
will appear on the display along with the
measurement results.
Note: If the irregular heartbeat symbol
appears on the screen, it is recommended
you consult your physician for further
testing. Do not use this device as a
substitute for proper medical diagnosis and
check-ups by your physician.
14

What is Arrhythmia?
A heartbeat is stimulated by electrical signals
that cause the heart to contract. Arrhythmia
is a condition where the heartbeat rhythm is
system that drives the heartbeat. Typical
symptoms are skipped heartbeats, premature
contraction, an abnormally rapid (tachycardia)
or slow (bradycardia) pulse. This can be
caused by heart disease, aging, physical
predisposition, stress, lack of sleep, fatigue etc.
The appearance of an irregular heartbeat
symbol does indicate arrhythmia. Arrhythmia
and other heart conditions can only be properly
diagnosed by a doctor through a medical
examination.
Using the Memory Feature
The measured blood pressure and pulse
readings are automatically stored in the
memory. This blood pressure monitor will save
the most recent 1197 measurements in memory
(399 measurements for 3 users). If more than
399 measurements per user are taken, the
earliest measurement is erased and replaced
by the most recent measurement.
15

Recall/Review previous measurements
Note: The memory feature does not require
following instructions apply whether the
device is on or off.
Press the MEMO/▲ button to recall/review the
most recent measurement.
Continue to press the MEMO/▲ button to
review each previous measurement. If there
are any measurements stored in the memory,
the latest measurement (M 01) will appear
when you press the MEMO/▲ button.
The Systolic blood pressure, Diastolic
blood pressures, pulse, and Date/Time
of measurement will display for each
measurement.
Press the MEMO/▲ button repeatedly to
cycle through previous measurements. The
measurement number will be displayed as
M 01, M 02, M 03, M 04, … etc. The screen will
also illuminate according to the device’s 3-color
light system to indicate systolic and diastolic
blood pressure health.
16

Using the Average Feature
The blood pressure monitor provides an
average blood pressure reading calculated
based on the total measurements stored in
memory. To activate the average feature, press
the MEMO/▲ button. The symbol AVG will
appear on the screen along with your average
systolic, diastolic and pulse readings.
Deleting Individual Measurements
You can delete an individual blood pressure
reading immediately after completing a
measurement. Simply press the SCAN/▼ as
soon as the results of a measurement are
displayed on the screen. Press SCAN/▼ button
blood pressure reading.
Note: This feature only works immediately
after completing a measurement.
Deleting All Measurement
17
Scanning previous measurements in 10
measurement increments: press SCAN/down to
recall/review the measurements in 10
measurement increments: from M10, M20,
M30, ... etc.

Deleting All Measurements
TROUBLESHOOTING
Condition Cause Solution
With batteries
installed,
the device
is turned on
and nothing
appears on
the screen.
•Batteries
are not
installed
properly.
•Batteries
are
dead.
• Ensure batteries
were installed
with correct +/-
polarity.
• Replace with
new batteries.
18
To delete all measurements for a user, first turn
on the device and press the MEMO/UP button
to select user 1, 2 or 3. Then turn off the device.
Once off, press and hold the SCAN/▼ button
until the symbol “dEL ALL” appears and flashes
on the screen. Press SCAN/▼ button again to
confirm the deletion of all measurements stored
in memory. The screen will then display “00
ALL” confirming that measurements have been
deleted.

Condition Cause Solution
fails or does
properly.
Cuff is not
properly
attached
to the
wrist
Ensure proper
wrist position
and that the
applied to wrist
leaving 1/4”~1/2”
(0.6 cm - 1.3 cm)
between the edge
of the cuff and the
palm of hand.
The Low
Battery
Indicator
displays
when the
batteries
are weak
and
require
changing
Replace batteries
taking care to
ensure device
and batteries are
replaced within
30 seconds so
as not to erase
memory. Replace
with new “AAA”
Alkaline batteries.
19

When
attempted
to measure
blood
pressure, the
LCD screen
displays an
error message
and fails to
complete
measurement.
• Ensure proper
wrist position
and that the
applied to left
wrist leaving
1/4”~1/2”
(0.6 cm - 1.3 cm)
between the
edge of the cuff
and the palm of
hand. Sit down
and rest elbow
• Keep your
wrist at heart
level during the
measurement
process.
• Keep silent
and still during
measurement.
Note: some heart
irregularities may
cause this device
to fail during
measurement
process or
display inaccurate
results
20
Table of contents
Other Ozeri Blood Pressure Monitor manuals