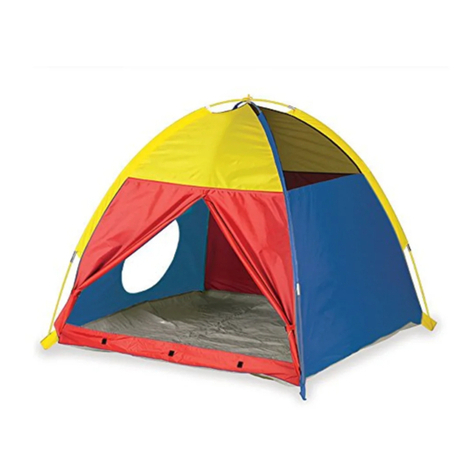
Pacific Play Tents Tee Pee Series
Item # 30601, 30610, 30611
Thank you for purchasing the “Giant Tee-Pee” Play Tent. This Giant Tee-Pee will provide hours of fun both indoors or out.
Let’s get started!
PLEASE READ ALL OF THE DIRECTIONS PRIOR TO ASSEMBLY. DO NOT APPLY EXCESS
FORCE TO THE POLES DURING ASSEMBLY.
Parts List
4 - Short shock-corded “G3” poles (black) floor base.
4 - Long shock-corded “G3” poles (gray) wall.
4 - Short shock-corded “G3” poles (yellow) wall (horizontal).
1. Assemble the 4 black short G3 poles for floor base.
2. Using the 4 short poles connect the poles together at the corners using the attached connectors to form a square.
(fig. A)
3. Place the assembled base into the body of the Tee-Pee and make sure all 4 corners are aligned with the corner
seams of the Tee-Pee.
4. Insert the 4 long gray G3 poles into the Tee-Pee through the door and fix to the pocket on the top of the Tee-Pee.
5. Insert the bottom and each long pole into each of the corner connectors. Press securely into place. (fig. B)
6. Using the 4 short yellow poles, fix all poles horizontally at the inner pockets with Velcro closer. (fig. C)
7. Finally, the Tee-Pee Tent is ready to use.
8. If the Tee-Pee is used outdoors then peg it to the ground for more stability.
FIG. A
Pacific Play Tents, Inc.
FIG. B FIG. C
Short pole
(black G3) Short pole
(yellow G3)
Long pole
(gray G3)
Short pole
(black G3)


