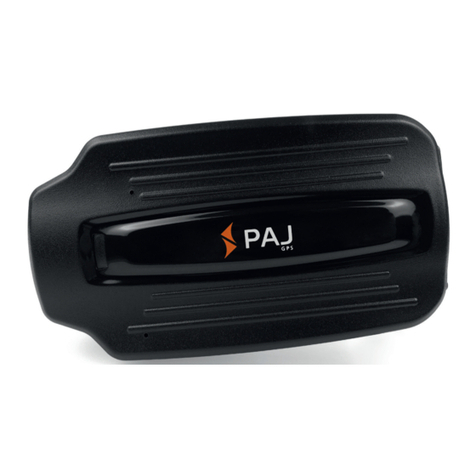
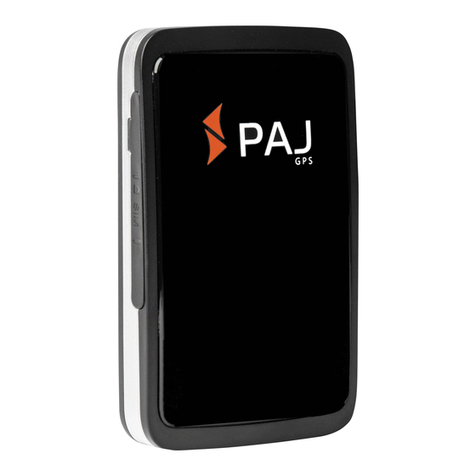
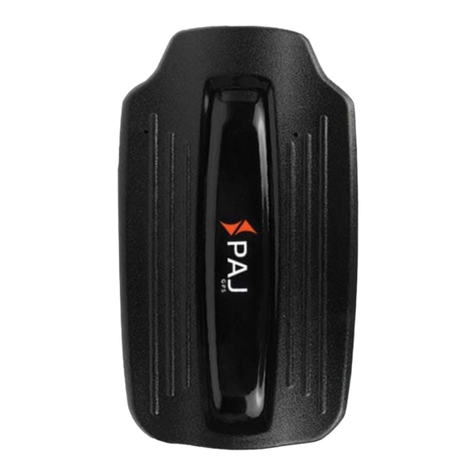
PAJ GPS EASY User manual

USER MANUAL
EASY FINDER
Comment:
Thank you for the purchase of our finder. This
guidance will show you the handling and
operation of the product. Please keep this
manual for future reference purposes.

EASY Finder v.1.1ENG
© PAJ UG (haftungsbeschränkt)
2
Is this manual too small for you?
For this guidance, we have chosen a
particularly small print format, so that you will
be able to put it in your pocket or in your car,
without requiring too much space.
If this manual is too small for you, it is possible
to find a current version of it as a PDF here:
www.paj-gps.de/downloads-anleitungen.de
You can display the file in any size
and even search for individual
keywords. Ist Ihnen diese
Anleitung zu klein?

EASY Finder v.1.1ENG
© PAJ UG (haftungsbeschränkt)
3
Still not satisfied?
Then contact us! We will take care of your
problem as soon as possible, so that you can
be satisfied!
Contact:
Phone: +49 (0) 2292 39 499 59
We would be pleased if you did not directly
open a case or leave a negative feedback, but
give us first the opportunity to find a solution to
your problem. This would be of benefit to both
parties. Contact us and we will gladly help you!

EASY Finder v.1.1ENG
© PAJ UG (haftungsbeschränkt)
4
Satisfied?
If you are satisfied with our product, then we
would be very happy to get a positive feedback
or 5 stars from you!
Best regards and many thanks, your PAJ-team
Artikel wie
beschrieben
Kommunikation
Versandzeit
Versand- und
Verpackungskosten
Kriterien Bewertungen

EASY Finder v.1.1ENG
© PAJ UG (haftungsbeschränkt)
5
1 Quick guide EASY Finder
1. PREPAIR SIM CARD
Insert your SIM Card in a common
mobile phone
Turn off the PIN code check
Switch the mobilebox off
Remove the SIM card from the mobile
phone

EASY Finder v.1.1ENG
© PAJ UG (haftungsbeschränkt)
6
2. MAKE YOUR EASY FINDER READY
Insert the SIM
card from the
top into the
EASY Finder
golden contacts
face inwards
The chamfered
edge points to
the upper left
Fully charge the
EASY Finder's
battery using the
charger

EASY Finder v.1.1ENG
© PAJ UG (haftungsbeschränkt)
7
Insert the fully charged battery into the
EASY Finder
3. START EASY FINDER
Place the EASY finder in an uncovered
place, e.g. garden or terrace
After inserting the battery, the EASY
Finder turns on automatically.
4. MEANING OF THE LED LIGHTS
LED lights
Meaning
flashes every 2-3
seconds
GSM signal
available
flashes twice, short
pause, flashes again
2x, short pause, etc.
GSM and GPS
reception
available
lights constantly
No signal
available

EASY Finder v.1.1ENG
© PAJ UG (haftungsbeschränkt)
8
5. LOCATION QUERY
Call Easy Finder
The call is automatically turned off
The EASY Finder sends an SMS to the
calling mobile phone
The link in the SMS leads directly to the
location query in Google Maps
If you do not have an internet-enabled
mobile phone, enter the coordinates
manually via a PC or similar on Google
Maps
For more detailed information, please read the
full instructions on the following pages.
The team of PAJ-GPS wishes you lots of
fun with your EASY Finder!

EASY Finder v.1.1ENG
© PAJ UG (haftungsbeschränkt)
9
Table of contents
1Quick guide EASY Finder.......................................... 5
2Scope of delivery..................................................... 10
3Grounds................................................................... 11
4Starting up ............................................................... 13
4.1 Deactivation of the PIN Code/Mailbox.....................13
4.2 Insertion of the SIM Card ........................................14
4.3 SD card compartment .............................................16
4.4 Loading...................................................................16
4.5 Launching the product for the first time....................16
5Commands............................................................... 19
5.1 Location request .....................................................19
5.2 No GPS Signal........................................................22
5.3 IMEI check..............................................................24
5.4 Time adjustement....................................................24
5.5 Resetting to the factory defaults..............................26
5.6 Installation instructions for the KZF charger cable...27
5.7 The most important commands in the overview.......31
6Frequently Asked Questions (FAQ)........................ 32
7Safety ....................................................................... 35
8Notes for the disposal of waste batteries .............. 37
8.1 Free withdrawal of used batteries............................37
8.2 Meaning of the battery icons ...................................38

EASY Finder v.1.1ENG
© PAJ UG (haftungsbeschränkt)
10
2 Scope of delivery
EASY Finder
Two 3.7V 1000mAH Li-ion batteries
Charging cable
Charging cradle
Bag with holder for protection against splashing water
Second cover with inserted magnets
User Manual
We are constantly improving our products.
Therefore, the contents of the manual may
change. The latest version can be found on our
website at:
www.paj-gps.de/downloads-anleitungen

EASY Finder v.1.1ENG
© PAJ UG (haftungsbeschränkt)
11
3 Grounds
Based on the GSM mobile network and the GPS
satellites, this product can transmit its location
via SMS or GPRS.
SIM cards with contract term can also be used.
However, we recommend using a prepaid SIM
card for the GPS tracker. Please do not use
SIM cards that charge automatically as soon as
they reach a specific account balance. This
prevents you from incurring increased costs
due to an incorrect setting.

EASY Finder v.1.1ENG
© PAJ UG (haftungsbeschränkt)
12
Recommended for the first start of the EASY
Finder are places that are not covered, such as
the garden or terrace (not in the apartment,
garage, cellar or similar). Please note that the
GSM signal is not supplied in some locations by
the respective network provider.
ATTENTION:
Please note that the commands are case-
sensitive. In addition, the quotes in the SMS are
not to be sent. These are only for the purpose
of the command.

EASY Finder v.1.1ENG
© PAJ UG (haftungsbeschränkt)
13
4 Starting up
4.1 DEACTIVATION OF THE PIN CODE/MAILBOX
(1.) Insert the SIM card into an ordinary mobile
phone and then deactivate the PIN code
request of the SIM card. You usually have to
do this under the menu item Settings or
security settings of your mobile phone. A
single input of the PIN code when switching
on the mobile phone is not enough.
For a detailed description of how to disable
the PIN code request, please refer to the
manual of your mobile phone. Please also
note that the PIN code query is not the screen
number lock on your phone.
(2.) Turn off the mailbox to avoid any incurring
costs for the calling mobile phone. By most
providers, the mailbox can be deactivated by
calling "## 002 #".

EASY Finder v.1.1ENG
© PAJ UG (haftungsbeschränkt)
14
(3.) Please note that you can only receive a
confirmation from the EASY Finder when you
are providing your call number with a call.
Switch on the number transmission (also
caller ID) of your mobile phone
4.2 INSERTION OF THE SIM CARD
Insert the SIM card into the EASY Finder. The
contacts of the SIM card must face inwards. If
the GPS Tracker is located in front of you as
shown below, the chamfered edge of the SIM
card (as shown) must be at the bottom left.
In order to insert the SIM Card deeply enough,
please use a sharp object. Please ensure that
the contacts are correctly positioned.

EASY Finder v.1.1ENG
© PAJ UG (haftungsbeschränkt)
15
The SIM card must be in the standard size
Insert the SIM card from the left side
(The contacts must face inwards and the
oblique edge should be on the bottom left)
Please ensure the correct position of the
SIM card
Nano
Standard
Mikro

EASY Finder v.1.1ENG
© PAJ UG (haftungsbeschränkt)
16
4.3 SD CARD COMPARTMENT
This has no function in the EASY finder. The
EASY Finder has the same hardware as the
GOLD Finder, but a different software.
4.4 LOADING
Before the first use, charge the battery for about
eight to twelve hours. Please do not leave the
battery completely empty and charge it in time.
A longer lifetime of the batteries can be
guaranteed only in this way.
4.5 LAUNCHING THE PRODUCT FOR THE FIRST
TIME
Make sure that the battery and the SIM card are
correctly inserted.
The EASY Finder takes approximately 90
seconds to establish contact with the GPS and
GSM signals for the first time. The LED light will
begin to flash.

EASY Finder v.1.1ENG
© PAJ UG (haftungsbeschränkt)
17
LED lights
Meaning
flashes every 2-3
seconds
GSM signal
available
flashes twice, short
pause, flashes again 2x,
short pause, etc.
GSM and GPS
reception
available
lights constantly
No signal
available
If GSM and GPS signals are available, continue
with point 5.
If the EASY finder does not receive a signal, first
check the functionality of your SIM card. You
should also change the location if the signal
condition does not change after a long wait.

EASY Finder v.1.1ENG
© PAJ UG (haftungsbeschränkt)
18
For the first start of the EASY Finder, we
recommend places that are not covered, such
as the garden or terrace (not in the apartment,
garage, cellar or similar).
Please note that in some locations, there is not
enough GSM signal from the respective
network provider.

EASY Finder v.1.1ENG
© PAJ UG (haftungsbeschränkt)
19
5 Commands
Please note that all commands sent to the EASY
Finder are written in lowercase. If you receive an
error message, the command was not accepted.
Please check the entries carefully and then
repeat the procedure.
5.1 LOCATION REQUEST
Call the EASY Finder by selecting the mobile
phone number of the SIM card, which you have
already inserted as described in section 3.2. It
answers the call
and automatically
ends the call.
Subsequently, he
sends an SMS to
the caller in this
format:

EASY Finder v.1.1ENG
© PAJ UG (haftungsbeschränkt)
20
Lat:50.798885
Latitude
lon:7.611802
Longitude
speed:0.24
Speed in which the EASY
finder moves. Due to the
rotation of the earth and
the influence of the
weather, small deviations
are possible. In addition,
this may cause the GPS
tracker to stop and
display a speed between
0-5 km / h. This is
completely normal.
T:15/06/10 15:55
The date will be displayed
in the English format
(10th June 2005).
bat.100%
Battery Status
http://maps.google.com/
maps?f=q&q=50.798885
,7.611802&z=16
Direct link to the search
using Google Maps
Table of contents
Other PAJ GPS Camera Accessories manuals