Top Jamb Installation-Push Side
14.3
22
31.7
A
1-14
78
916
C
OF HINGE PIVOT
11 18 (282.5mm)
136.5
5 38
14.3
916
44
1-34
Left hand door illustrated .Same dimensions apply to Right hand door
Measured from hinge Dimensions are in
Do not scale drawing
Cinches
(mm)
Door /wall/hardware/jamb conditions permitting
Opening Dim.A
TO 120°
120°-180° 3-15 16(100mm)
7-332(180mm)
Screw and washer
Frame
Door
Leaf
Pinion cap
Power
Nut
Foot
1. Select degree of door.Use dimensions shown in chart to mark
location of attaching screws on door leaf and frame.
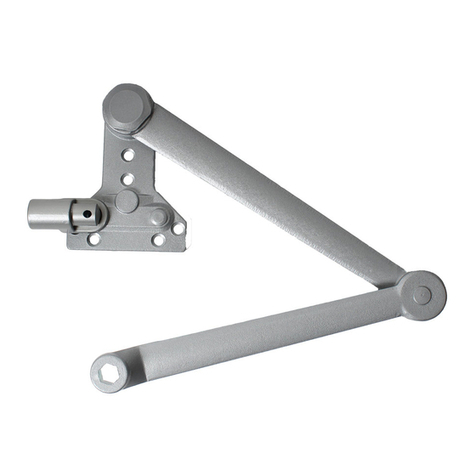
2. Assemble main arm to closer spindle
3. Attach closer body to frame with speed regulating valves toward
hinge.
4. Attach the foot of the forearm to door leaf.
Note:The nut is on the top for LH door and bottom for RH
Door.
5. Adjust length of forearm to position forearm at right angle to door
leaf. Then tighten the screw of forearm.
6. Snap pinion cap over spindle on top of closer.
7. Adjust door closer speed,Backcheck /Delayed action.
8. Loosen the Hex nut at the elbow of the forearm by wrench.
Open the door to the angle you need, and then tighen the hex Nut
to hold the door open.
Installation sequence:
Parallel Arm Installation-Push Side
Frame
Door
leaf
1. Select degree of door.Use dimensions shown in chart to
mark location of attaching screws on door leaf and frame.
2. Attach closer body to door with speed regualting
valves BACK of hinge.
3. Attach main arm as follows:
(a) Place open end wrench on bottom shaft and turn toward
hinge about 30°.
(b) Place main arm on top shaft, and insert arm screw into
top of shaft and tighten.
4. Attach P.A.B to top frame as shown.
5. Attach foot of forearm to P.A.B.
Note:The nut is on the top for RH door and bottom for LH
Door.
6. Adjust length of forearm to position main arm at parallel to
frame when connected to main arm.Use washer and screw
provided to secure pivot connection.
7. Snap pinion cap over spinle at bottom of the closer.
8. Adjust door closer speed,Backcheck /Delayed action.
9. Loosen the Hex nut at the elbow of the forearm by wrench.
Open the door to the angle you need, and then tighen the
hex Nut to hold the door open.
Installation sequence:
B
76
A
3
2-34
2
70
50.5
C
OF HINGE PIVOT
s
L
30°
516 8
1116 18
P.A.B
R
11 18 (282.5mm)
14.3
916
14.3
916
Opening Dim.A
TO 120°
120°-180°
9-1/2
(241mm)
5-7/8
(149.2mm)
5-3/16
(131mm)
1-9/16
(40mm)
Dim.B
Right hand door illustrated .Same dimensions apply to left hand door
Measured from hinge Dimensions are in
Do not scale drawing
Cinches
(mm)


