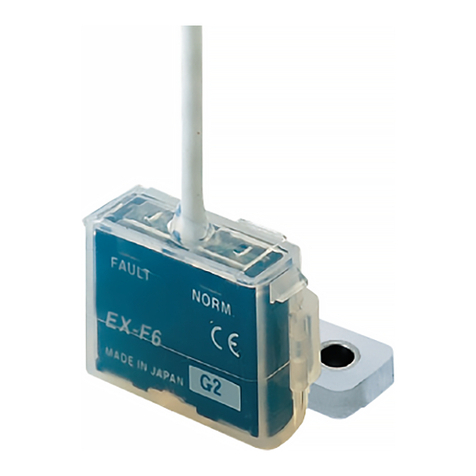
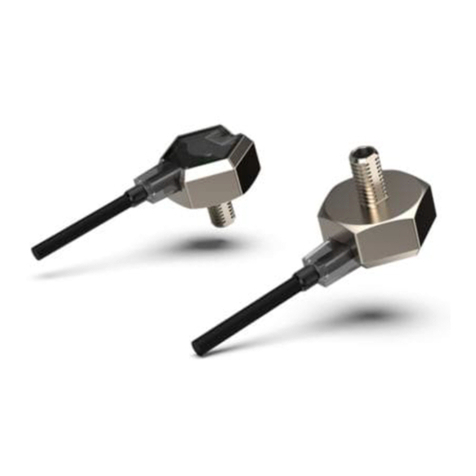
Reflective type
This method is used to detect objects in the presence of a background body
or to detect small objects.
In teaching mode:
●For the thru-beam type, press <OFF>. Press <OFF> again after the
reference intensity light is displayed in green and the red LED is blink-
ing.
The shift amount is xed above this value.
●For the reective type, press <ON>. Press <ON> again after the ref-
erence intensity light is displayed in green and the red LED is blinking.
The shift amount is xed below this value.
When you complete these settings, the threshold value is displayed in
green, and the shift amount is displayed briey in red, e.g. 15P = 15%.
When the margin is 200% or more, is displayed. You can specify the
shift amount in PRO MODE.
When you select “Auto” ( ) for the emission level, proper light intensity will
be set automatically.
Full auto-teaching
Full auto-teaching is used when you want to set the threshold value without
stopping the assembly line.
In teaching mode, press and hold <ON> or <OFF>. After 2s, “Auto” is dis-
played in green and the sensor starts sampling incident light intensity. The
threshold value is set when you release <ON> or <OFF>.
9PRO MODE
In RUN mode, press <MODE> for 4s to select PRO mode.
Item Factory
setting Description
Shift
For limit teaching (+, -) or the threshold value
follow-up cycle, you can shift, i.e. offset, the
threshold value by 0 to 80%.
When shift value is set to 0%, the present inci-
dent light intensity = threshold value.
External input
For external input you can select:
●Emission halt
●2-point teaching
●Limit teaching
●Full-auto teaching
●ECO (note 1)
●Incident light intensity test
* For differences between the conventional
and modied units, see UNIT VERSIONS
on page 7.
If you have selected incident light intensity test
, the output turns ON/OFF every 100ms
when the difference between the incident light
intensity and threshold value is less than half of
the shift amount.
For example, the shift amount is set to 20%. The
difference between incident light intensity (e.g.
1000) and threshold value (e.g. 1050) is less
than 10%.
Threshold value-
storage (note 2)
The threshold value set during 2-point teaching,
limit teaching, full-auto teaching by external
input is stored. If you select “Auto” for the emis-
sion level, the emission level is also stored.
Threshold value
follow-up cycle
(note 3)
The incident light intensity can be monitored for
the cycle specied, for example when variations
in incident light intensity are expected.
When the threshold value follow-up cycle is
set, the threshold value is adjusted according
to the shift based on the incident light intensity
detected.
However, the threshold value is not stored.
GETA function
(note 4, 5)
Variations can be reduced by setting the present
incident light intensity for each amplier to a
certain value. For example, if this value is set to
2,000 and the incident light intensity is 1,500,
activating the GETA function sets the incident
light intensity to 2,000.
You can set values in steps of 100 from 0 to
2,000.
Item Factory
setting Description
ECO mode When ECO mode is ON, the display turns off af-
ter 20s in RUN mode. To reactivate the display,
press any key for 2s.
Invert digital
display Invert the digital display.
Alert for insuf-
cient threshold
margin
The amplier can issue an alert if the margin
between the threshold value and the incident
light intensity is too small.
●, green blinks.
●, red blinks.
●, red and green blink.
●, when conducting limit teaching or
2-point teaching by external input, the output
turns ON/OFF every 100ms if:
- the ratio between the reference incident
light intensity and threshold value is less
than half of the shift amount
- the threshold value is out of range, i.e.
above 4000 or below 0 (note 6).
* For differences between the conventional
and modied units, see UNIT VERSIONS
on page 7.
Copy function The settings of the master amplier can be
copied to the slave amplier.
See COPY FUNCTION on page 6.
Reset Resets to default (factory) settings.
1. When ECO is selected for the external input setting, key operation on the main
body is invalid during external input.
2. , , or must set for the external input in order to select thresh-
old value storage.
3. If the incident light intensity becomes 300 or less, the follow-up operation stops
and the threshold value (green) blinks. Do not use the reective type ber for this
function.
4. When the GETA function is set, pressing <MODE> in RUN mode indicates the
actual incident light intensity in red for 2s.
5. The GETA function will not take effect if the incident light intensity is saturated
(4,000). is indicated in red.
6. , or must be set for the external input in order to select this option.
Flowchart for PRO mode
RUN mode
Press for 4s.
PRO mode
Automatic
Shift setting
(15%)
:
Shift range, 0 to 80%
External input
20ms
20ms 20ms
20ms 20ms
20ms 20ms 20ms
20ms 20ms 20ms 20ms
20ms 20ms
20ms 20ms
(Note 3)
(note 2)
(note 5)
(note 2)
Emisson halt
(note 1)
External input signal
Limit
teaching
2-point
teaching
Full-auto
teaching
(note 4)
ECO mode
High
Low
Emission halt
Teaching in progress
Normal operation
Normal operation
Normal operation
ECO in progress
Emission
Teaching in progress
25ms or more
20ms or more
Teaching in progress
Normal operation
First point
Second point
Sampling in
progress
(NPN output type: High)
(NPN output type: Low)
