manuals.online logo
Brands
  1. Home
  2. •
  3. Brands
  4. •
  5. Panasonic
  6. •
  7. Cordless Telephone
  8. •
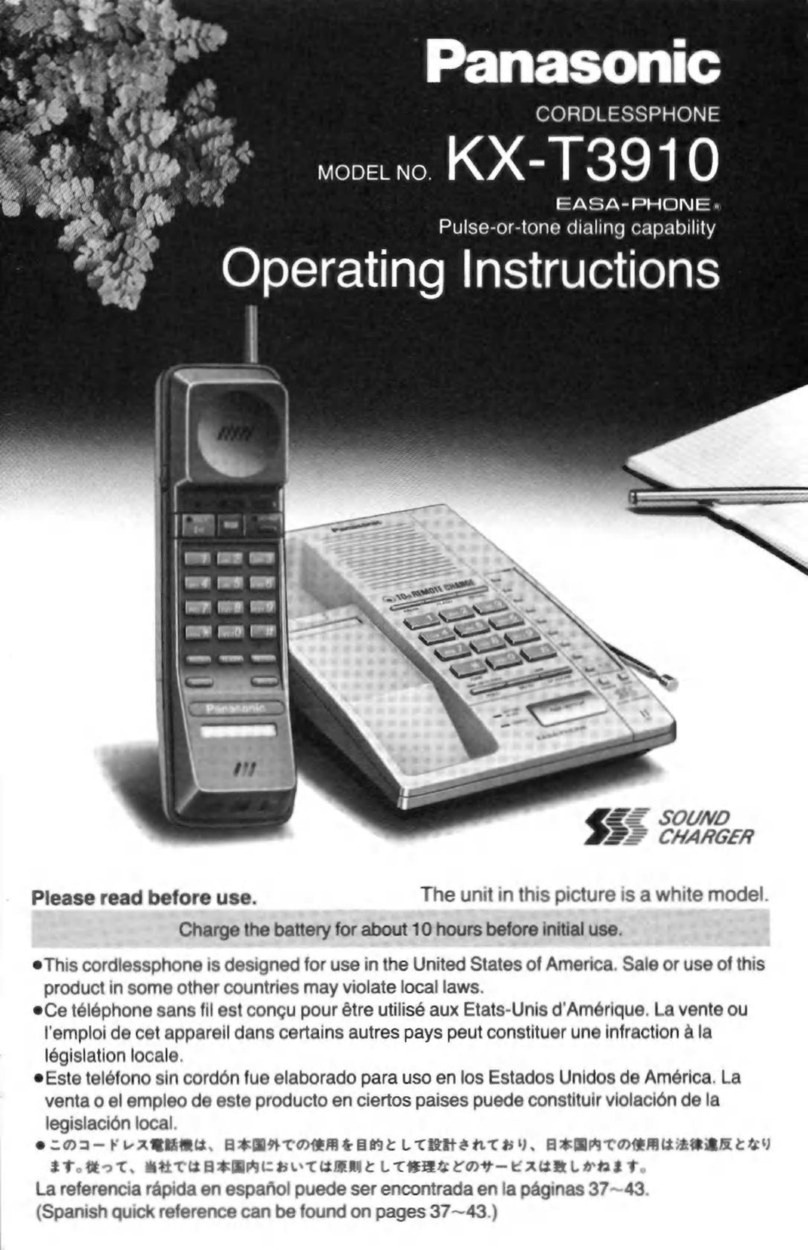
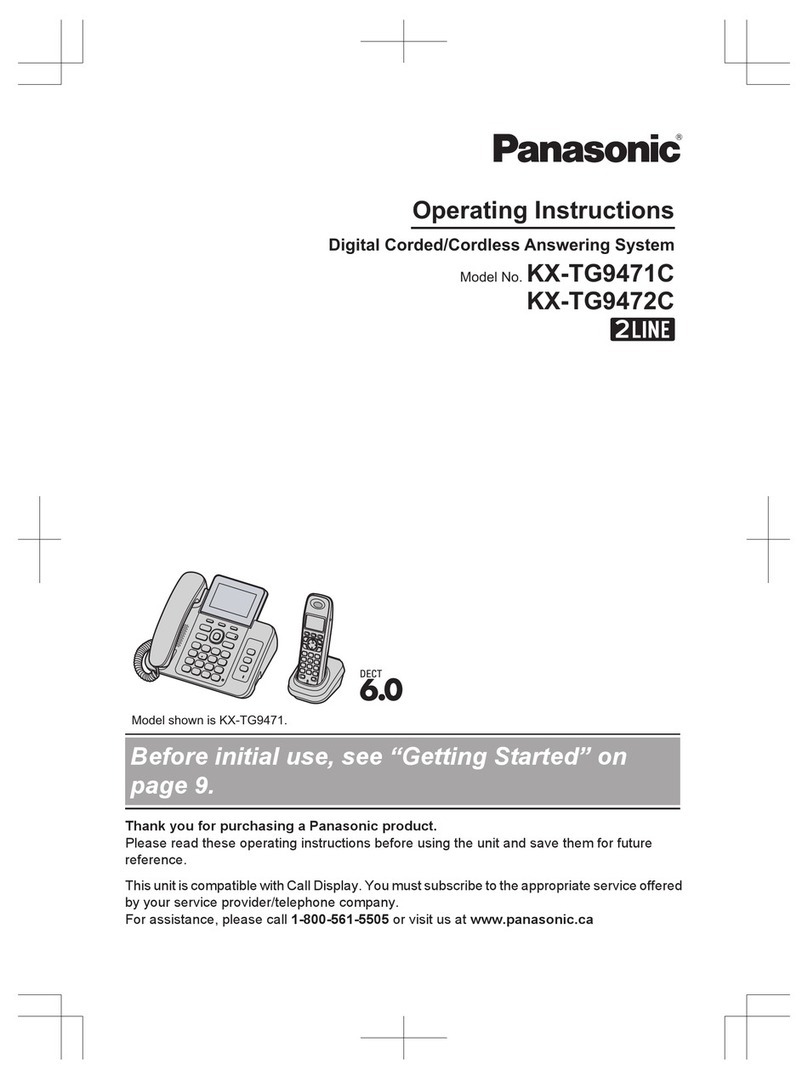
  9. Panasonic KX-TCD430FXB User manual

Panasonic KX-TCD430FXB User manual

This manual suits for next models

5

Other Panasonic Cordless Telephone manuals

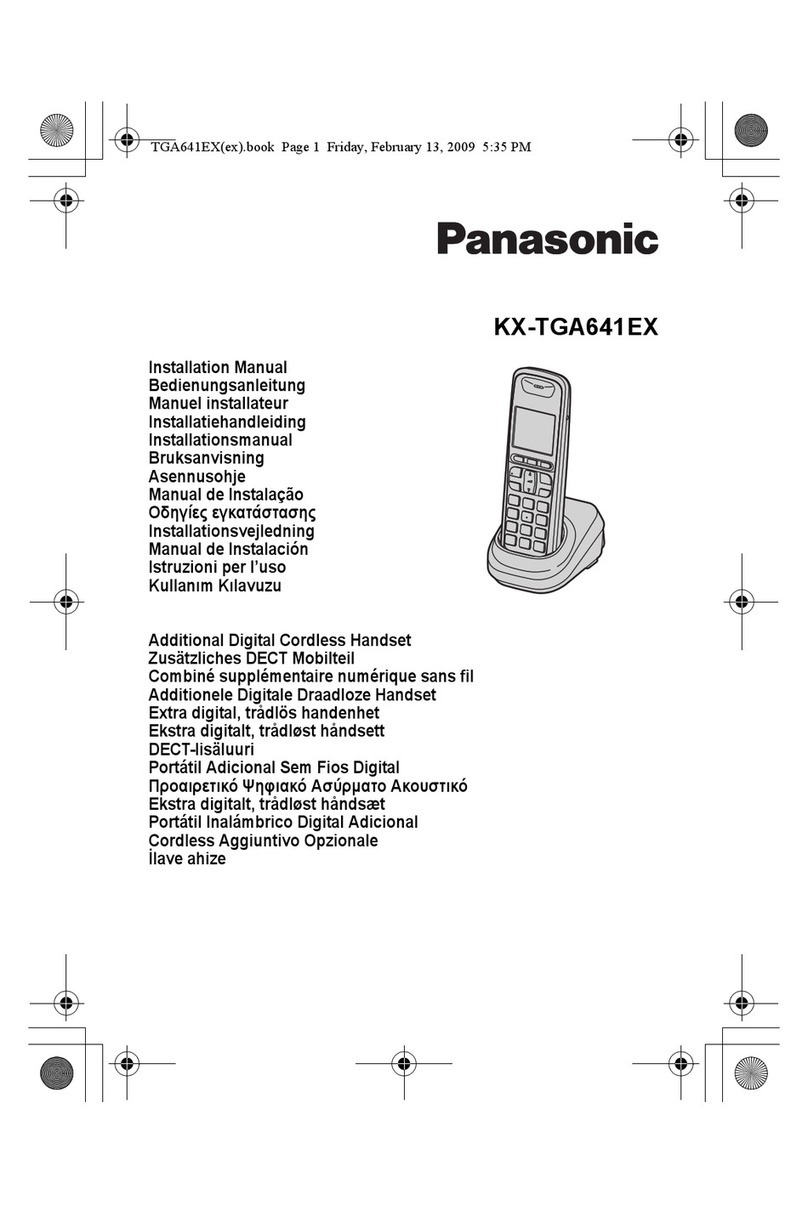
Panasonic KX-TG6411E User manual

Panasonic

Panasonic KX-TG6411E User manual

Panasonic KX-TG1311AL User manual

Panasonic

Panasonic KX-TG1311AL User manual

Panasonic KX-TGP500 Service manual

Panasonic

Panasonic KX-TGP500 Service manual

Panasonic KX-TCD150E User manual

Panasonic

Panasonic KX-TCD150E User manual

Panasonic KX-TG2433BX User manual

Panasonic

Panasonic KX-TG2433BX User manual

Panasonic KX-FPG175 User manual

Panasonic

Panasonic KX-FPG175 User manual

Panasonic KX-TC1831W User manual

Panasonic

Panasonic KX-TC1831W User manual

Panasonic KX-TGE663 User manual

Panasonic

Panasonic KX-TGE663 User manual

Panasonic KX-TG8231 User manual

Panasonic

Panasonic KX-TG8231 User manual

Panasonic KXT4168B - TELEPHONE EQUIPMENTS User manual

Panasonic

Panasonic KXT4168B - TELEPHONE EQUIPMENTS User manual

Panasonic KX-TG7170FX User manual

Panasonic

Panasonic KX-TG7170FX User manual

Panasonic KX-TG6511E User manual

Panasonic

Panasonic KX-TG6511E User manual

Panasonic KX-TG200-B User manual

Panasonic

Panasonic KX-TG200-B User manual

Panasonic KX-TC907B User manual

Panasonic

Panasonic KX-TC907B User manual

Panasonic KX-TG7200E User manual

Panasonic

Panasonic KX-TG7200E User manual

Panasonic KX-TD7695 - Wireless Digital Phone User manual

Panasonic

Panasonic KX-TD7695 - Wireless Digital Phone User manual

Panasonic KX-TC1723B User manual

Panasonic

Panasonic KX-TC1723B User manual

Panasonic KX-TW501NZ User manual

Panasonic

Panasonic KX-TW501NZ User manual

Panasonic KX-TG8231 User manual

Panasonic

Panasonic KX-TG8231 User manual

Panasonic KX-TG6312 User manual

Panasonic

Panasonic KX-TG6312 User manual

Panasonic KX-TGD510HK User manual

Panasonic

Panasonic KX-TGD510HK User manual

Panasonic KX-TG1034B User manual

Panasonic

Panasonic KX-TG1034B User manual

Panasonic KX-TG9581 User manual

Panasonic

Panasonic KX-TG9581 User manual

Panasonic KX-TC903W User manual

Panasonic

Panasonic KX-TC903W User manual

Popular Cordless Telephone manuals by other brands

Sony SPP-SS965 - Cordless Telephone operating instructions

Sony

Sony SPP-SS965 - Cordless Telephone operating instructions

Telstra Orb user guide

Telstra

Telstra Orb user guide

Mitel DT390 Quick reference guide

Mitel

Mitel DT390 Quick reference guide

GE 25830 user guide

GE

GE 25830 user guide

Uniden EXR2460 owner's manual

Uniden

Uniden EXR2460 owner's manual

BT DIVERSE 1010 user guide

BT

BT DIVERSE 1010 user guide

BT Graphite 1500 quick start guide

BT

BT Graphite 1500 quick start guide

3Com NBX Guide

3Com

3Com NBX Guide

BT FREESTYLE 3200 user guide

BT

BT FREESTYLE 3200 user guide

AUDIOLINE Splash 10x operating instructions

AUDIOLINE

AUDIOLINE Splash 10x operating instructions

Sanyo CLT-J70 instruction manual

Sanyo

Sanyo CLT-J70 instruction manual

Amplicomms BigTel 201 user manual

Amplicomms

Amplicomms BigTel 201 user manual

GE 26992 user guide

GE

GE 26992 user guide

AT&T E1812B user manual

AT&T

AT&T E1812B user manual

Sanyo CLT-670 instruction manual

Sanyo

Sanyo CLT-670 instruction manual

AEG Voxtel D235 user guide

AEG

AEG Voxtel D235 user guide

GE 15432970 user guide

GE

GE 15432970 user guide

Curtis TC595 owner's manual

Curtis

Curtis TC595 owner's manual

manuals.online logo
manuals.online logoBrands
  • About & Mission
  • Contact us
  • Privacy Policy
  • Terms and Conditions

Copyright 2025 Manuals.Online. All Rights Reserved.

ORDERNO. KM40402351C2
Telephone Equipment
KX-TCD430FXB / KX-TCD430FXC / KX-TCD430FXW / KX-
A143EXB / KX-A143EXC / KX-A143EXW
Digital Cordless Phone
Black Version
Dark Blue Version
White Version
(for NordicCountries)
SPECIFICATIONS
1
2004 PanasonicCommunications Co., Ltd. All rights reserved.
Unauthorized copying and distribution isaviolation of law.
1. ABOUT LEAD FREE SOLDER (PbF: Pb free)
Note:
Inthe information below, Pb, the symbol forleadinthe periodic table of elements, will referto
standardsolderorsolderthat contains lead.
We will use PbF solderwhendiscussing the leadfree solderusedinourmanufacturing process
whichis made fromTin(Sn), Silver(Ag), and Copper(Cu).
This model, and others like it, manufacturedusing leadfree solderwill have PbF stampedon
the PCB. Forservice and repairwork we suggest using the same type of solderalthough, with
some precautions, standardPbsoldercanalsobe used.
Caution
-PbF solder has amelting point that is50°F ~70°F (30°C~ 40°C)
higher than Pb solder. Please use asoldering iron with
temperature control and adjust itto 700°F ± 20°F (370°C± 10°C). In
2
case of using high temperature soldering iron, please be careful
not to heat too long.
-PbF solder will tend to splash ifitisheated much higher than its
melting point, approximately1100°F (600°C).
-Ifyou must use Pb solder on aPCB manufactured using PbF
solder, remove as much of the original PbF solder as possibleand
be sure that anyremaining ismelted prior to applying the Pb
solder.
-When applying PbF solder to doublelayered boards, please check
the component side for excess which mayflow onto the opposite
side (See the figure below).
1.1. Suggested PbF Solder
There are several types of PbF solderavailable commercially. While this product is
manufacturedusing Tin, Silver, and Copper
(Sn+Ag+Cu), you canalsouse Tinand Copper(Sn+Cu) orTin, Zinc, and Bismuth(Sn+Zn+Bi).
Please check the manufac
turer’s specific instructions forthe melting points of theirproducts and anyprecautions for
using theirproduct withother
materials.
The following leadfree (PbF) solderwire sizes are recommendedforservice of this product:
0.3mm, 0.6mm and 1.0mm.
3
1.2. How to recognize that Pb Free solder isused
1.2.1. Base Unit PCB
(Component View)
(FlowSolderSide View)
Note:
The location of the “PbF“ mark is subject tochange without notice.
1.2.2. Handset PCB
(Component View)
(FlowSolderSide View)
Note:
The location of the “PbF“ mark is subject tochange without notice.
1.2.3. ChargerUnit PCB
Note:
The location of the “PbF“ mark is subject tochange without notice.
2. FOR SERVICE TECHNICIANS
ICs and LSIs are vulnerable tostatic electricity.
Whenrepairing, the following precautions will helpprevent recurring malfunctions.
1. Cover the plasticparts boxes with aluminum foil.
2. Ground the soldering irons.
3. Use aconductive mat on the worktable.
4. Donot touch ICor LSI pins with bare fingers.
4
3. CAUTION
Dangerof explosion if batteryis incorrectlyreplaced. Replace onlywiththe same orequivalent
type recommendencedbythe manufacturer.
Dispose of usedbatteries according tothe manufacture’s Instructions.
4. BATTERY
4.1. BatteryInstallation
1. Insert the batteries negative (-) terminal first.
2. Close the batterycover.
Note:
-Use onlyrechargeableP03P (Ni-MH)/P03H(Ni-Cd) batteries.
4.2. BatteryCharge
Place the handset on the base unit forabout 7 hours before initial use.
Whenthe batteries are fullycharged, flashes. Whencharging, the batteryicon is
shownas follows.
5
Cleanthe charge contacts of the handset and base unit witha soft, drycloth, otherwise the
batteries maynot charge properly. Cleanif the unit is exposedtogrease, dust orhigh humidity.
If the handset is turnedoff, it will be turnedon automaticallywhenit is placedon the base unit.
Note forService:
The batterystrengthmaynot be indicatedcorrectlyif the batteryis disconnectedand connected
again, evenafterit is fullycharged.
Inthat case, byrecharging the batteryas mentionedabove, you will get a correct indication of
the batterystrength.
4.3. BatteryLife
AfteryourPanasonic batteries are fullycharged, you canexpect the following performance:
6
Note:
-The included batteries are Ni-MHbatteries.
-Batteryoperating time maybe shortened depending on usage
conditions and ambient temperature.
4.4. BatteryReplacement
If flashes evenwhenthe handset batteries have beenfullycharged, bothbatteries
must be replaced.
Important:
-Please use onlythe Panasonicbatteries P03P (Ni-MH)/P03H(Ni-Cd).
-Use onlyrechargeablebatteries. Ifyou install non-rechargeable
batteries and start charging, the batteries mayleak electrolyte.
-Donot mixoldand new batteries.
-Use only2nickel metal hydride (Ni-MH)batteries or 2nickel
cadmium (Ni-Cd) batteries. Donot mixbatterytypes.
-Ensure that the correct batterytype isselected.
1. Press the notch on the cover firmlyand slide itinthe direction of
the arrow.
2. Remove the batteries positive (+)terminal first. Replace both
batteries.
7
5. LOCATION OF CONTROLS
5.1. Base Unit
5.2. Handset
8
6. SETTINGS
General
-Donot connect the AC adaptor to anyAC outlet other than a
standard 220-240 VAC outlet.
-Thisproduct isunableto make callswhen:
-The portablehandset batteries need recharging or have failed.
-There isapower failure.
-The keylock feature isturned on.
-The call bar feature isturned on (onlynumbers stored as
emergencynumbers can be called).
-Donot open the base unitor handset (other than to change the
batteries).
-Thisproduct shouldnot be used near emergency/intensive care
medical equipment and shouldnot be used bypeoplewith
pacemakers.
-Care shouldbe taken that objects do not fall onto, and liquids are
not spilled into, the unit. Donot subject thisproduct to excessive
smoke, dust, mechanical vibration or shock.
Environment
-Donot use thisproduct near water.
-Thisproduct shouldbe kept awayfrom heat sources such as
radiators, cookers, etc. Itshouldalso not be placed inrooms
where the temperature isless than 5°Cor greater than 40°C.
-The AC adaptor isused as the maindisconnect device. Ensure that
the AC outlet islocated/installed near the unitand iseasily
accessible.
Location
Formaximumdistance and noise-free operation, place yourbase unit:
- Awayfromelectrical appliances suchas TVs, radios, personal computers orotherphones.
- Ina convenient, high and central location.
6.1. Connection
6.1.1. Base Unit
9
-Ifthe handset isnot charged, you cannot make or answer calls.
-Never install telephone wiring during alightning storm.
-The AC adaptor must remainconnected at all times. (Itisnormal
for the adaptor to feel warm during use.)
-Use onlythe AC adaptor PQLV19CEZ.
6.1.2. ChargerUnit
-The AC adaptor must remainconnected at all times (Itisnormal for
the adaptor to feel warm during use).
-Use onlythe AC adaptor PQLV200CEZ.
6.2. Ringer Volume
6.2.1. Base Unit
10