4
INSTALLATION REQUIREMENTS
REQUISITOS DE INSTALACIÓN
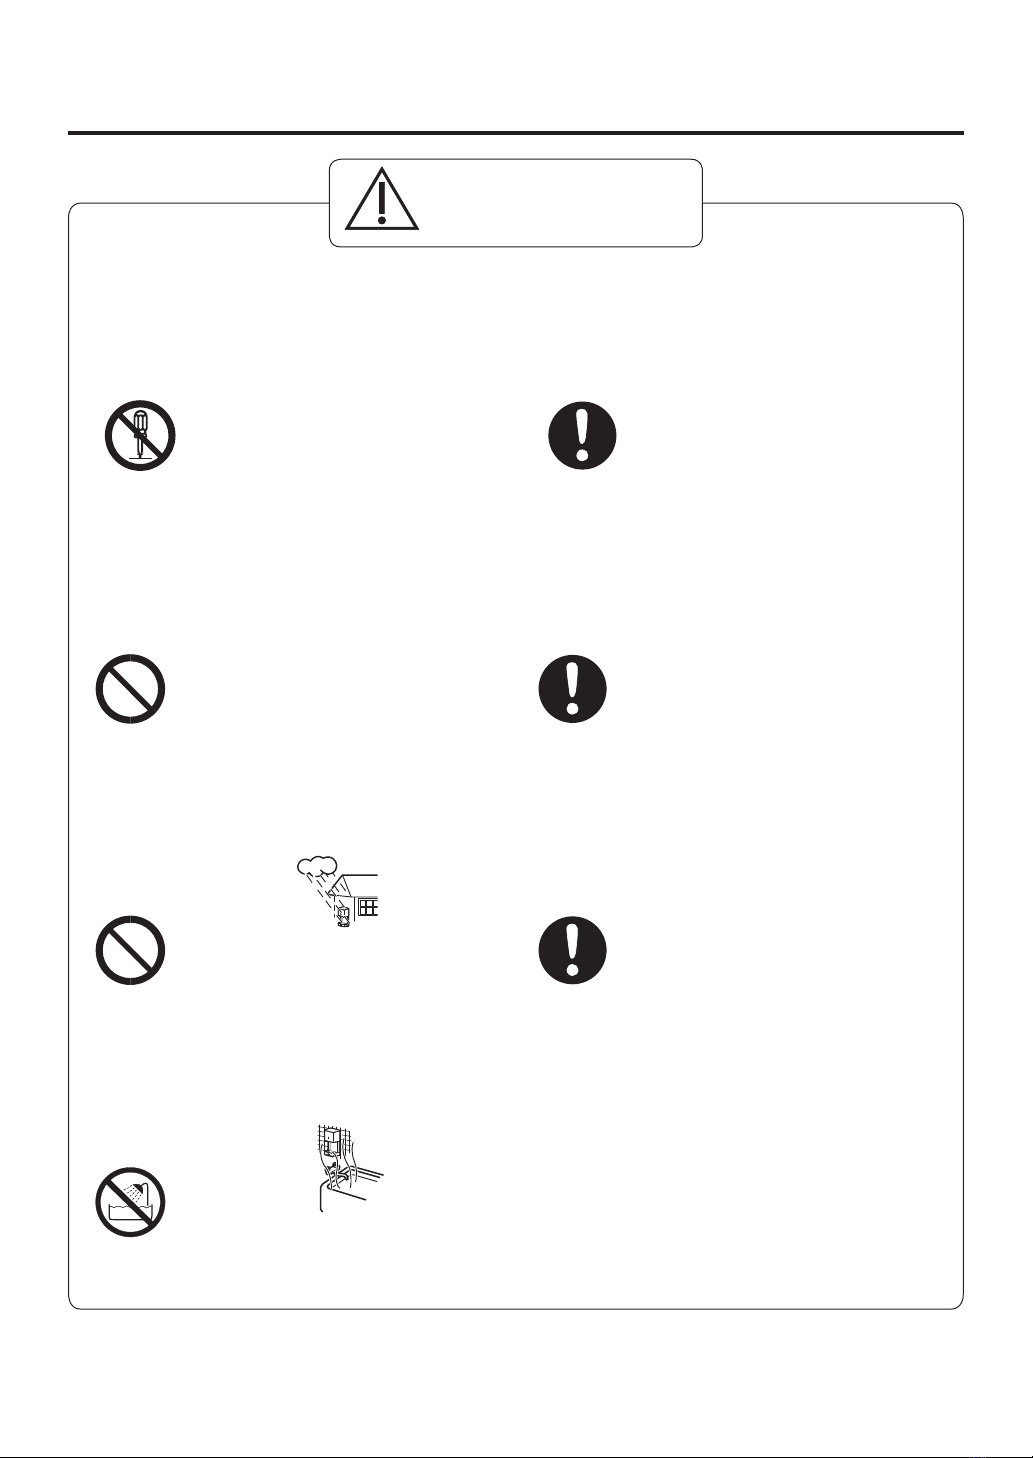
Do not install the unit in the following places; otherwise the main unit may malfunction, the product may work
improperly, or the service life may be shortened.
No instale la unidad en los siguientes lugares; de lo contrario la unidad principal puede funcionar incorrectamente, el
producto puede funcionar de forma incorrecta, o la vida útil puede acortarse.
Places below 0°C
Lugares con temperaturas
inferiores a 0°C
0
Places above 40°C
Lugares con temperaturas
superiores a 40°C
40
Places exposed to direct sunlight
and strong light
Lugares expuestos directamente
a una fuerte luz solar
Places where too much smoke is
present
Lugares con mucho humo
Outdoors
En exteriores
Places where water may be
spilled over it
Lugares donde se puede
derramar agua sobre el producto
Dusty places
Lugares con polvo
Places where corrosive, neutral,
or reductive gases are present
Lugares donde haya gases
corrosivos, neutros o reductivos
Places where condensation is
likely to occur
Lugares donde pueda ocurrir
condensación
CAUTION
PRECAUCIÓN
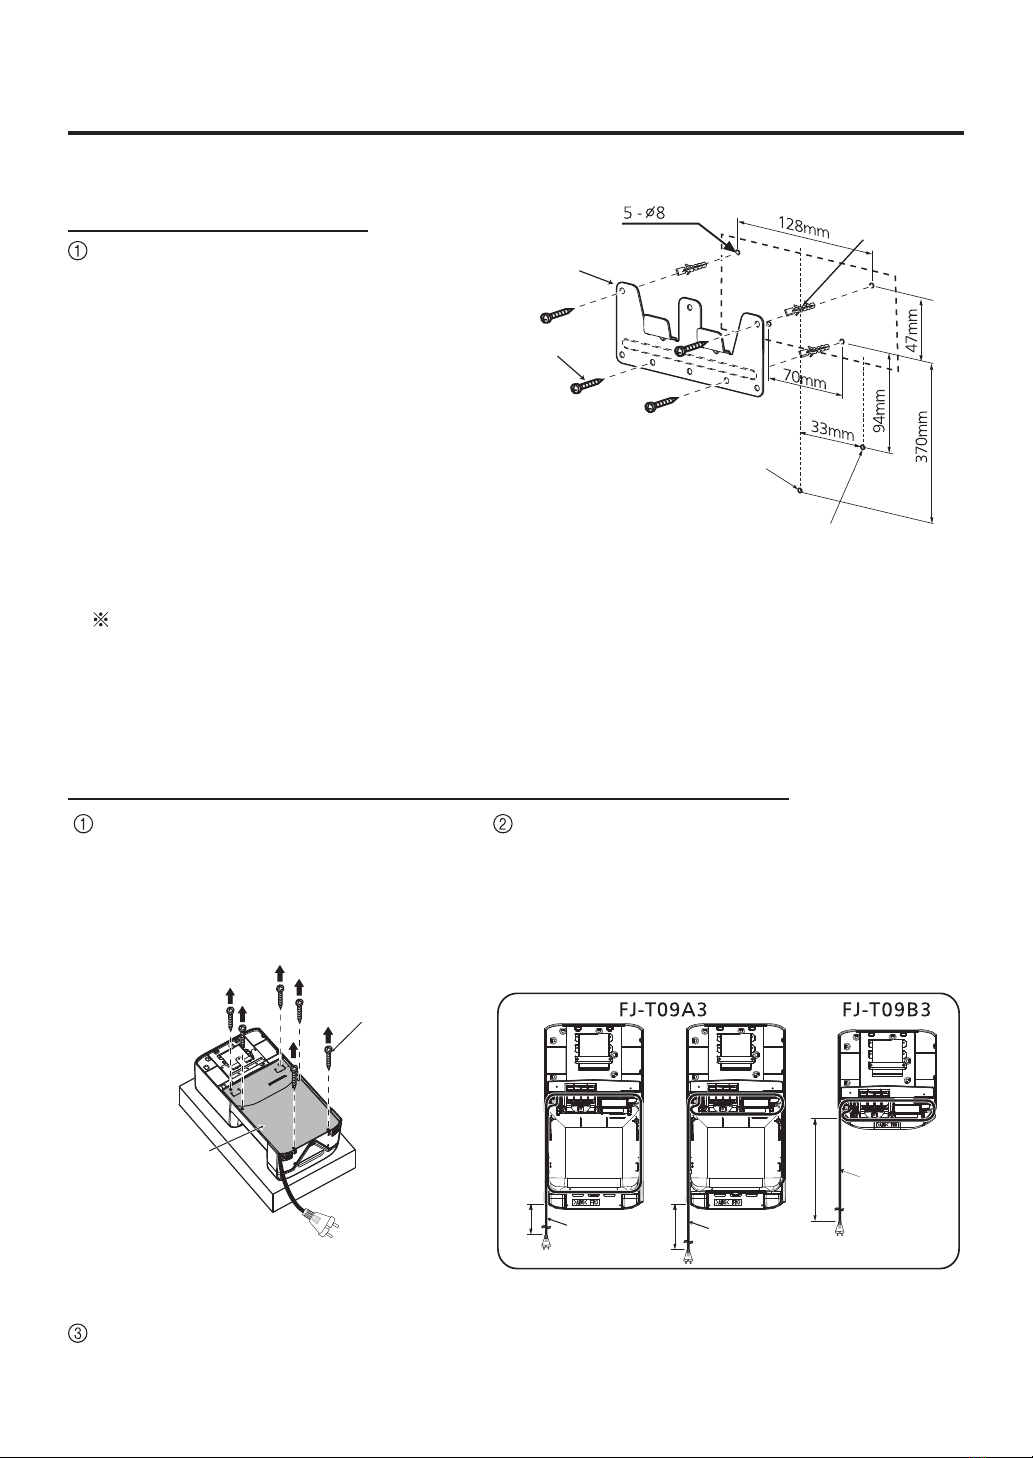
Do not install it on walls without sufficient strength.
It must be subjected to 5 times the weight of the
product (a bearing capacity higher than 20 kgfor
FJ-T09A3 and higher than 17.5 kgfor FJ-T09B3). If
you cannot ensure the installation strength, be sure to
adopt reinforcement measure.
No lo instale en paredes sin la fuerza suficiente. Debe
ser sometido a 5 veces el peso del producto (una
capacidad de carga superior a 20 kg para FJ-T09A3
y superior a 17,5 kg para FJ-T09B3). Si no se puede
asegurar la fortaleza de la instalación, asegúrese de
tomar medidas de refuerzo.
5
FJ-T09A320
FJ-T09B3
Do not carry product by holding the water tray.
No cargue el producto sosteniéndolo por la bandeja
de agua.
It may cause injuries or
damages.
Puede provocar lesiones o
daños.
Otherwise the product falls off, it will cause
injuries or damages.
De lo contrario, si el producto se cae, puede
causar lesiones o daños.
Be sure to use any special components that are
supplied, such as fixation board.
Asegúrese de utilizar cualquiera de los componentes
especiales que se proporcionan, tales como placa de
fijación.
Product should be installed on smooth wall.
El producto se debe instalar en una pared lisa.
Otherwise, unreliable installation may be
caused and thus the product may fall off.
De lo contrario, puede realizarse una
instalación inestable por lo que el producto
se caerá.
If it is installed on a rugged wall, it may result
in vibration, noise and a shorter service life.
Si se instala en una pared rugosa, pueden
provocarse vibraciones, ruido y una vida útil
más corta.
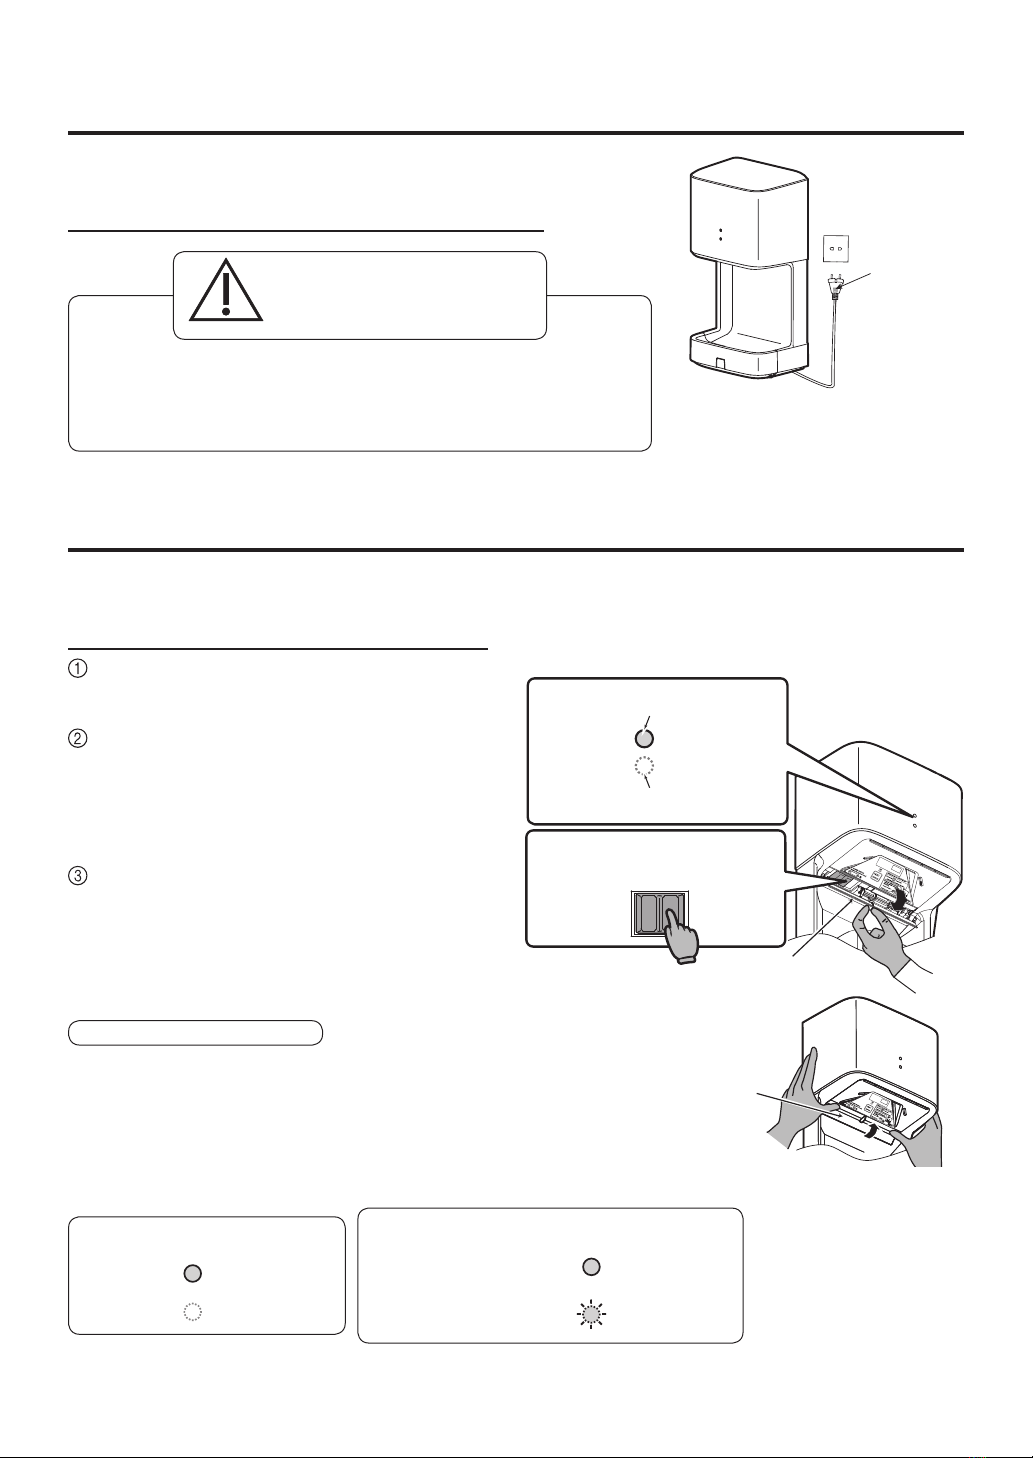
INSTALLATION CAUTIONS
PRECAUCIONES DE INSTALACIÓN