manuals.online logo
Brands
  1. Home
  2. •
  3. Brands
  4. •
  5. Panasonic
  6. •
  7. Fax Machine
  8. •
  9. Panasonic KX-FP121 User manual

Panasonic KX-FP121 User manual

Other manuals for KX-FP121

2

Other Panasonic Fax Machine manuals

Panasonic Panafax UF-127M User manual

Panasonic

Panasonic Panafax UF-127M User manual

Panasonic KX-FT901CX-B User manual

Panasonic

Panasonic KX-FT901CX-B User manual

Panasonic UF-780 - Panafax B/W Laser User manual

Panasonic

Panasonic UF-780 - Panafax B/W Laser User manual

Panasonic UF 890 - Panafax B/W Laser User manual

Panasonic

Panasonic UF 890 - Panafax B/W Laser User manual

Panasonic Panafax DX-800 Installation and maintenance instructions

Panasonic

Panasonic Panafax DX-800 Installation and maintenance instructions

Panasonic KX-FLM661 User manual

Panasonic

Panasonic KX-FLM661 User manual

Panasonic KX-FC265GR-T User manual

Panasonic

Panasonic KX-FC265GR-T User manual

Panasonic KX-PW30CL User manual

Panasonic

Panasonic KX-PW30CL User manual

Panasonic UF 885 - Panafax B/W Laser User manual

Panasonic

Panasonic UF 885 - Panafax B/W Laser User manual

Panasonic KX-FPG176 User manual

Panasonic

Panasonic KX-FPG176 User manual

Panasonic Panafax UF-311 User manual

Panasonic

Panasonic Panafax UF-311 User manual

Panasonic KX-FLB753HK User manual

Panasonic

Panasonic KX-FLB753HK User manual

Panasonic KX-FT901BX User manual

Panasonic

Panasonic KX-FT901BX User manual

Panasonic KX-PW608DL User manual

Panasonic

Panasonic KX-PW608DL User manual

Panasonic KX-FP80 User manual

Panasonic

Panasonic KX-FP80 User manual

Panasonic KX-FC175AL User manual

Panasonic

Panasonic KX-FC175AL User manual

Panasonic KX-F900 User manual

Panasonic

Panasonic KX-F900 User manual

Panasonic KX-PW32CL User manual

Panasonic

Panasonic KX-PW32CL User manual

Panasonic KX-FLB853FX User manual

Panasonic

Panasonic KX-FLB853FX User manual

Panasonic KX-FL501 Quick reference guide

Panasonic

Panasonic KX-FL501 Quick reference guide

Panasonic KX-PD750DL User manual

Panasonic

Panasonic KX-PD750DL User manual

Panasonic KX-F550 User manual

Panasonic

Panasonic KX-F550 User manual

Panasonic Panafax UF-490 Quick start guide

Panasonic

Panasonic Panafax UF-490 Quick start guide

Panasonic KX-FL611AL User manual

Panasonic

Panasonic KX-FL611AL User manual

Popular Fax Machine manuals by other brands

Sharp FO-P610 Operation manual

Sharp

Sharp FO-P610 Operation manual

Samsung SF-515 user manual

Samsung

Samsung SF-515 user manual

Brother MFC 640CW - Color Inkjet - All-in-One user guide

Brother

Brother MFC 640CW - Color Inkjet - All-in-One user guide

Radio Shack TFX-1031 owner's manual

Radio Shack

Radio Shack TFX-1031 owner's manual

imagistics 2030 Operator's guide

imagistics

imagistics 2030 Operator's guide

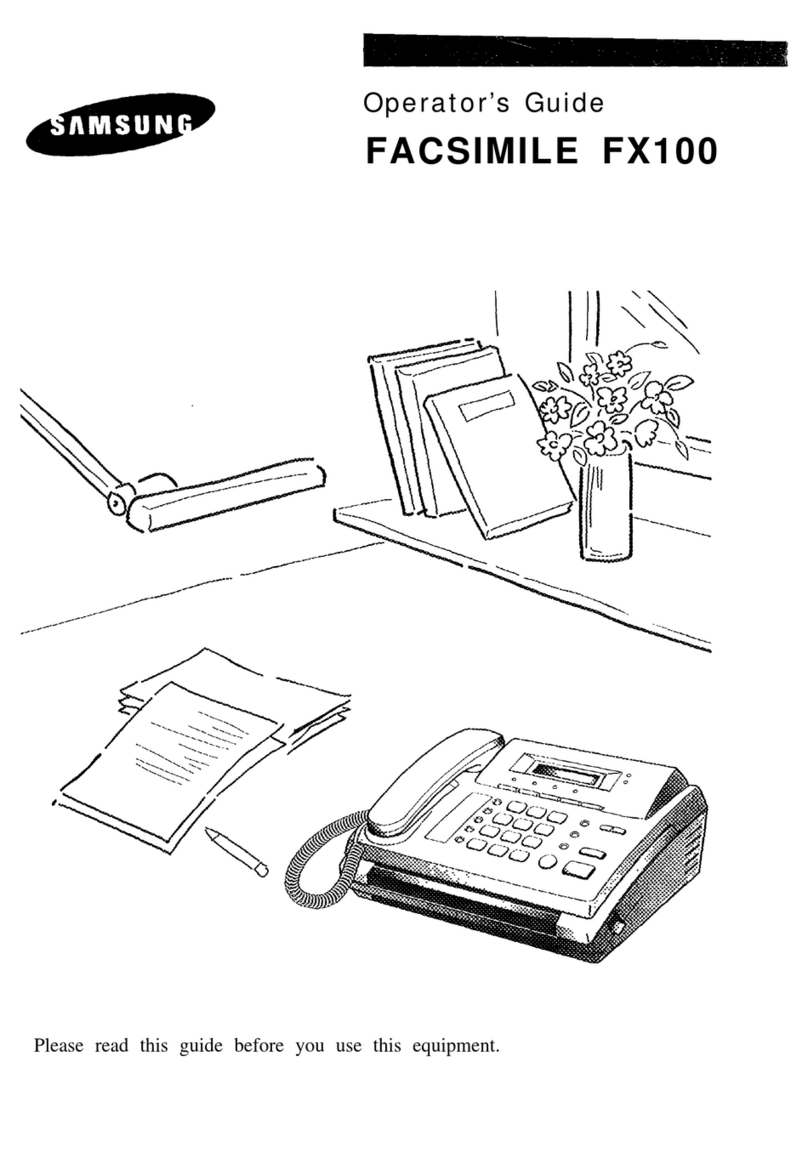
Samsung FX100 Operator's guide

Samsung

Samsung FX100 Operator's guide

Furuno FAX-30 Operator's manual

Furuno

Furuno FAX-30 Operator's manual

Savin 3740 Setup

Savin

Savin 3740 Setup

Sharp FO-51 Operation manual

Sharp

Sharp FO-51 Operation manual

Muratec MFX-C3035 user guide

Muratec

Muratec MFX-C3035 user guide

Canon FAX-L400 Facsimile guide

Canon

Canon FAX-L400 Facsimile guide

Ricoh 1000L Field service manual

Ricoh

Ricoh 1000L Field service manual

Sharp FO-3150 Operation manual

Sharp

Sharp FO-3150 Operation manual

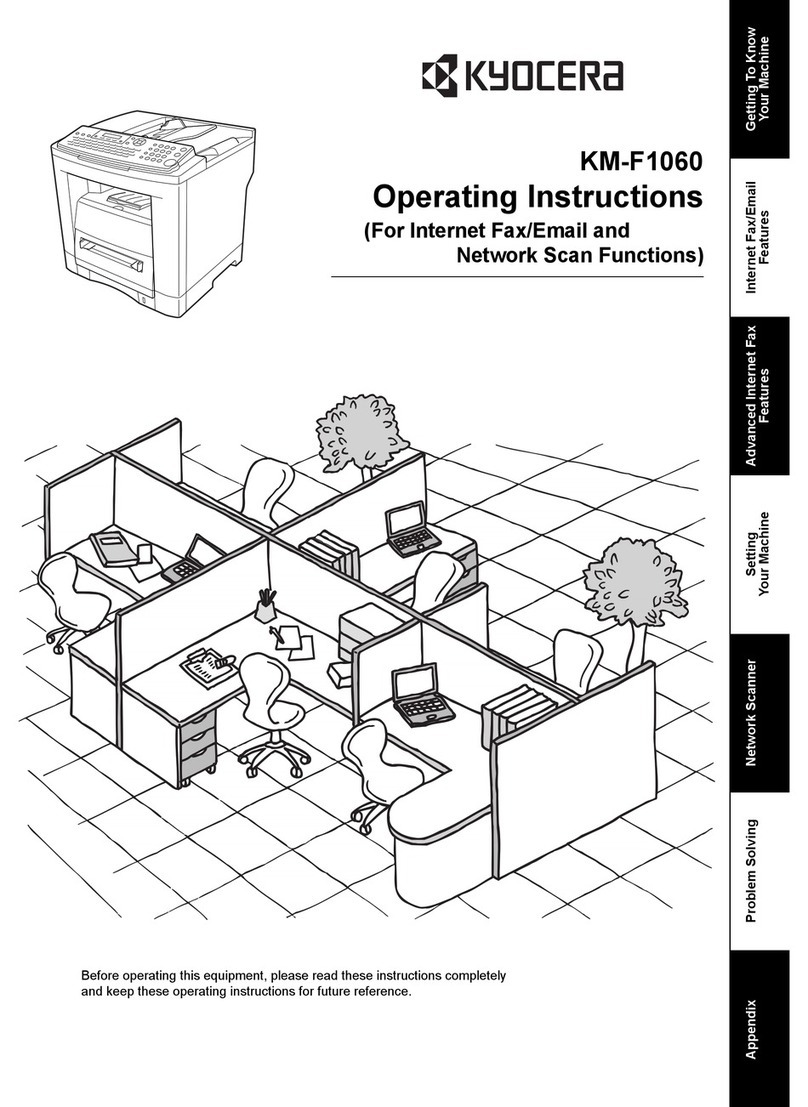
Kyocera KM-F1060 operating instructions

Kyocera

Kyocera KM-F1060 operating instructions

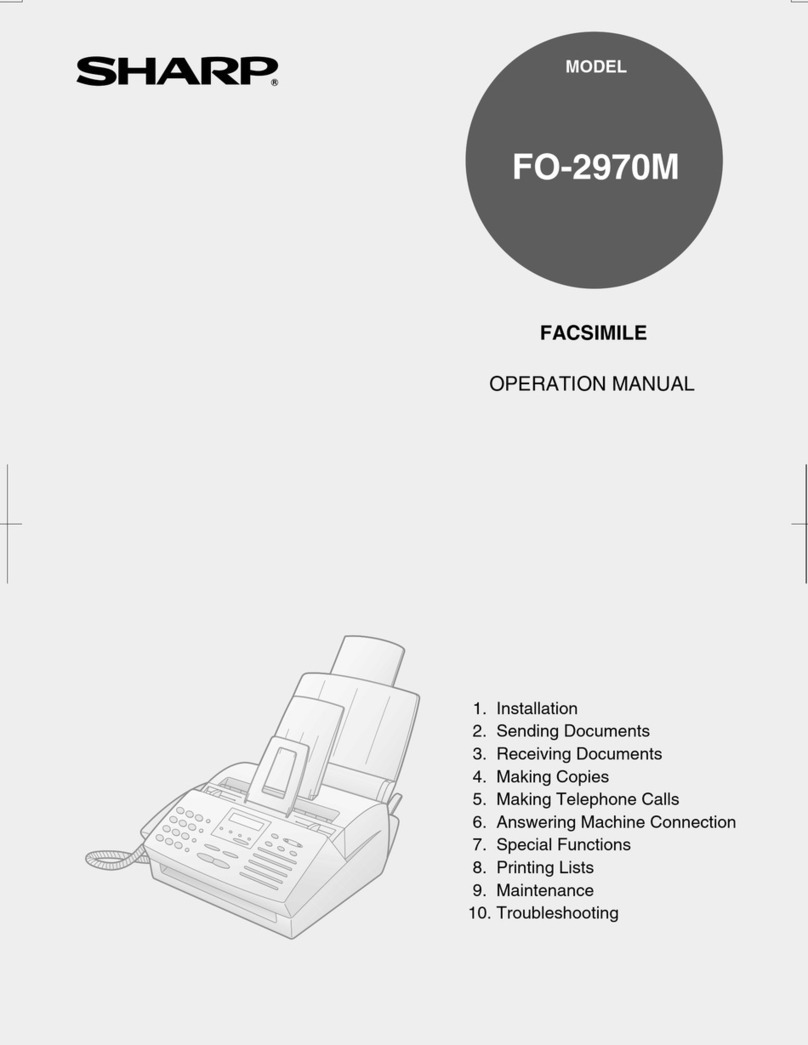
Sharp FO-2970M Operation manual

Sharp

Sharp FO-2970M Operation manual

Canon JX510P instruction manual

Canon

Canon JX510P instruction manual

Triumph Adler FAX 942 Instruction handbook

Triumph Adler

Triumph Adler FAX 942 Instruction handbook

Triumph Adler FAX 940 Instruction handbook

Triumph Adler

Triumph Adler FAX 940 Instruction handbook

manuals.online logo
manuals.online logoBrands
  • About & Mission
  • Contact us
  • Privacy Policy
  • Terms and Conditions

Copyright 2025 Manuals.Online. All Rights Reserved.

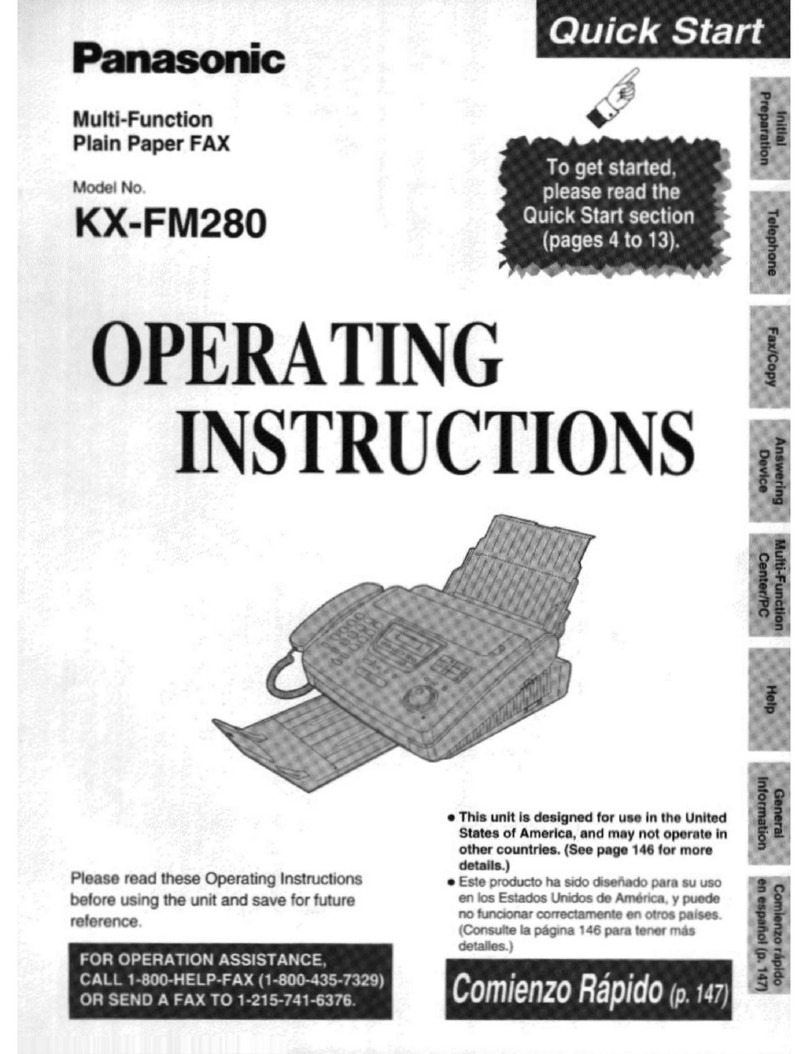
Panasonic
Compact Plain Paper FAX
Model No.
11 .
INSTRUCTIONS
before using the unit asnd save tor future
reference..
•Tftla unit is deigned for uee &n the United
Staites of America, and may not operate in
other DQiintries, (See page' 123 for more
details.)
*Est© producto ha sftfo disenado para su usq
en los Estate Umdos America, ypuecte
no funcfonar conrBctamente en otrcrs pals^s.
(Consuite Ja pagfoa ^23 para tener mas
Thank you for purchasing aPanasonic facsimile.
Welcome to the world of Panasonic facsimiles.
This product combines the facsimile, telephone, telephone answering device and copier
features to provide you with more efficient office or home use. By utilizing these convenient
features, you can maximize the effectiveness of this unit.
Things you should keep record of
i
•Attach your sales receipt here
For your future reference
Date of purchase Serial number
(found on the rear of the unit)
Dealer's name and address
Dealer's telephone number
Caution:
•The Telephone Protection Act of 1991 requires the following information to be clearly stated either at the top
or bottom margin of the first message page when transmitting messages via telephone facsimile;
—Date and time of transmission,
—Identification of the business, entity or person(s) sending the facsimile, and
—Telephone number of the business, entity or person(s).
To program this information into your unit, complete all the instructions on pages 25 to 28.
•Note that the images of copied or received documents will remain on the used film. Use discretion when
disposing of the used film cartridge.
•Do not rub or use an eraser on the printed side, as the print may smear.
•If you have not applied to the faxsiN® sen/ice, you will not be able to use the IQ-FAX function (p. 50-52).
Trademarks
ftiXSAV is aregistered trademark of FaxSav Incorporated.
Hammermill® is aregistered trademark of INTERNATIONAL PAPER in the United States and/or other
countries.
All other trademarks identified herein are the property of their respective owners.
Copyright:
This manual is copyrighted by Kyushu Matsushita Electric Co., Ltd. {KME) and its licensee. Under the
copyright laws, this manual may not be reproduced in any form, in whole or part, without the prior written
consent of KME and its licensee.
©Kyushu Matsushita Electric Co., Ltd. 1999
2
Important safety instructions
When using this unit, basic safety precautions
should always be followed to reduce the risk of fire,
electric shock, or personal injury.
1. Read and understand all instructions.
2. Follow all warnings and instructions marked on
this unit.
3. Unplug this unit from AC outlets before
cleaning. Do not use liquid or aerosol
cleaners. Use adamp cloth for cleaning.
4. Do not use this unit near water, for example
near abath tub, wash bowl, kitchen sink, or
the like.
5. Place the unit securely on astable surface.
Serious damage and/or injury may result if the
unit falls.
6. Do not cover slots and openings on the unit.
They are provided for ventilation and
protection against overheating. Never place
the unit near radiators, or in aplace where
proper ventilation is not provided.
7. Use only the power source marked on the unit.
If you are not sure of the type of power
supplied to your home, consult your dealer or
local power company.
8. For safety purposes this unit is equipped with
athree prong grounded plug. If you do not
have this type of outlet, please have one
installed. Do not use any type of adaptor plug
to defeat this safety feature.
9. Do not place objects on the power cord. Install
the unit where no one can step or trip on the
cord.
10. Do not overload wall outlets and extension
cords. This can result in the risk of fire or
electric shock.
11. Never push any objects through slots in this
unit. This may result in the risk of fire or
electric shock. Never spill any liquid on the
unit.
12. To reduce the risk of electric shock, do not
disassemble this unit. Take the unit to an
authorized servicenter when service is
required. Opening or removing covers may
expose you to dangerous voltages or other
risks. Incorrect reassembly can cause electric
shock when the unit is subsequently used.
13. Unplug this unit from the wall outlet and refer
servicing to an authorized servicenter when
the following conditions occur:
A. When the power supply cord or plug is
damaged or frayed.
B. If liquid has been spilled into the unit.
C. If the unit has been exposed to rain or
water.
D. If the unit does not work normally by
following the operating instructions. Adjust
only controls covered by the operating
instructions. Improper adjustment may
require extensive work by an authorized
servicenter.
E. If the unit has been dropped or physically
damaged.
F. If the unit exhibits adistinct change in
performance.
14. During thunderstorms, avoid using telephones
except cordless types. There may be aremote
risk of an electric shock from lightning.
15. Do not use this unit to report agas leak, when
in the vicinity of the leak.
SAVE THESE
INSTRUCTIONS
INSTALLATION
1. Never install telephone wiring during alightning
storm.
2. Never install telephone jacks in wet locations
unless the jack is specifically designed for wet
locations.
3. Never touch uninsulated telephone wires or
terminals unless the telephone line has been
disconnected at the network interface.
4. Use caution when installing or modifying
telephone lines.
WARNING
•To prevent the risk of fire or electrical shock, do
not expose this product to rain or any type of
moisture.
OTHER INFORMATION
•Keep the unit away from electrical noise
generating devices, such as fluorescent lamps
and motors.
•The unit should be kept free from dust, high
temperature and vibration.
•The unit should not be exposed to direct sunlight.
•Do not place heavy objects on top of this unit.
•Do not touch the plug with wet hands.
For assistance, call 1-800-435-7329.
Quick Start
Installation =====
Before installation <P20
A. Remove the shipping tape. B. Open the cover, remove the leaflet under the
film cartridge and close the cover.
Paper tray <P21)
Insert the two tabs on the paper tray
into the slots on the back of the unit.
Recording paper
(p. 22, 23)
A. Fan the stack of paper to
prevent apaper jam.
B. Pull the tension bar forward
and hold open while inserting
the paper.
For assistance, call 1-800-435-7329.
Quick Start
Connections
Handset cord
A. Connect to the unit.
B. Connect to the handset.
Telephone line cord
A. Connect to "LINE" on the unit.
B. Connect to asingle telephone line jack.
0
(Line surge \
protector "/
Power cord
Wall jack
(RJ11C)
A. Connect to the unit.
B. Connect to apower outlet.
(Power surge \
protector /
120 V, 60 Hz
For further details, see page 24.
For assistance, call 1-800-435-7329.
Quick Start
Voice calls -making/answering
Voice calls -making
Lift the handset
Dial the number
When finished talking,
freplace the handset.
For further details, see page 30.
If you are having trouble, see page 106.
Voice calls -answering
When the unit rings,
lift the handset.
wS^k When finished talking,
|£§P replace the handset.
For further details, see page 31.
If you are having trouble, see page 106.
For assistance, call 1-800-435-7329.
Quick Start
Faxes -sending/receiving
Faxes -sending
hOpen the document feeder tray.
Adjust the width of the
document guides to
the size of the document.
Insert the document until
asingle beep is heard and
the unit grabs the document
Dial the fax number
Press (START/SET/COPY)
•For further details, see page 47.
•If you are having trouble, see page 107.
For assistance, call 1-800-435-7329.
Quick Start
Faxes -receiving
oWhen the unit rings, lift the handset
When:
—document reception is required,
—afax calling tone (slow beep) is heard, or
—no sound is heard,
press [START/SET/COPYl
oReplace the handset.
•For further details, see page 66.
•You can select the way to receive calls according to your needs (p. 64, 65).
•If you are having trouble, see page 107.
8For assistance, call 1-800-435-7329.
Quick Start
Copy -making
Enter the number of copies. *
Press [START/SET/COPY) .
•For further details, see page 82.
•If you are having trouble, see page 108.
For assistance, call 1-800-435-7329.
Quick Start
Operating the answering device
Setting the unit to receive voice and fax messages
automatically
oPress (AUTO ANSWER].
The AUTO ANSWER light comes on
TAD/FAX ON
Make sure the display
shows the following message
TAD/FAX MODE
If the display does not show this
message, the setting needs to be
changed to the TAD/FAX mode (p. 67).
•For further details, see page 84.
10 For assistance, call 1-800-435-7329.