PANTHERA MOTORSPORTS
YZ250-YZ250X Electric starter - Installation guide
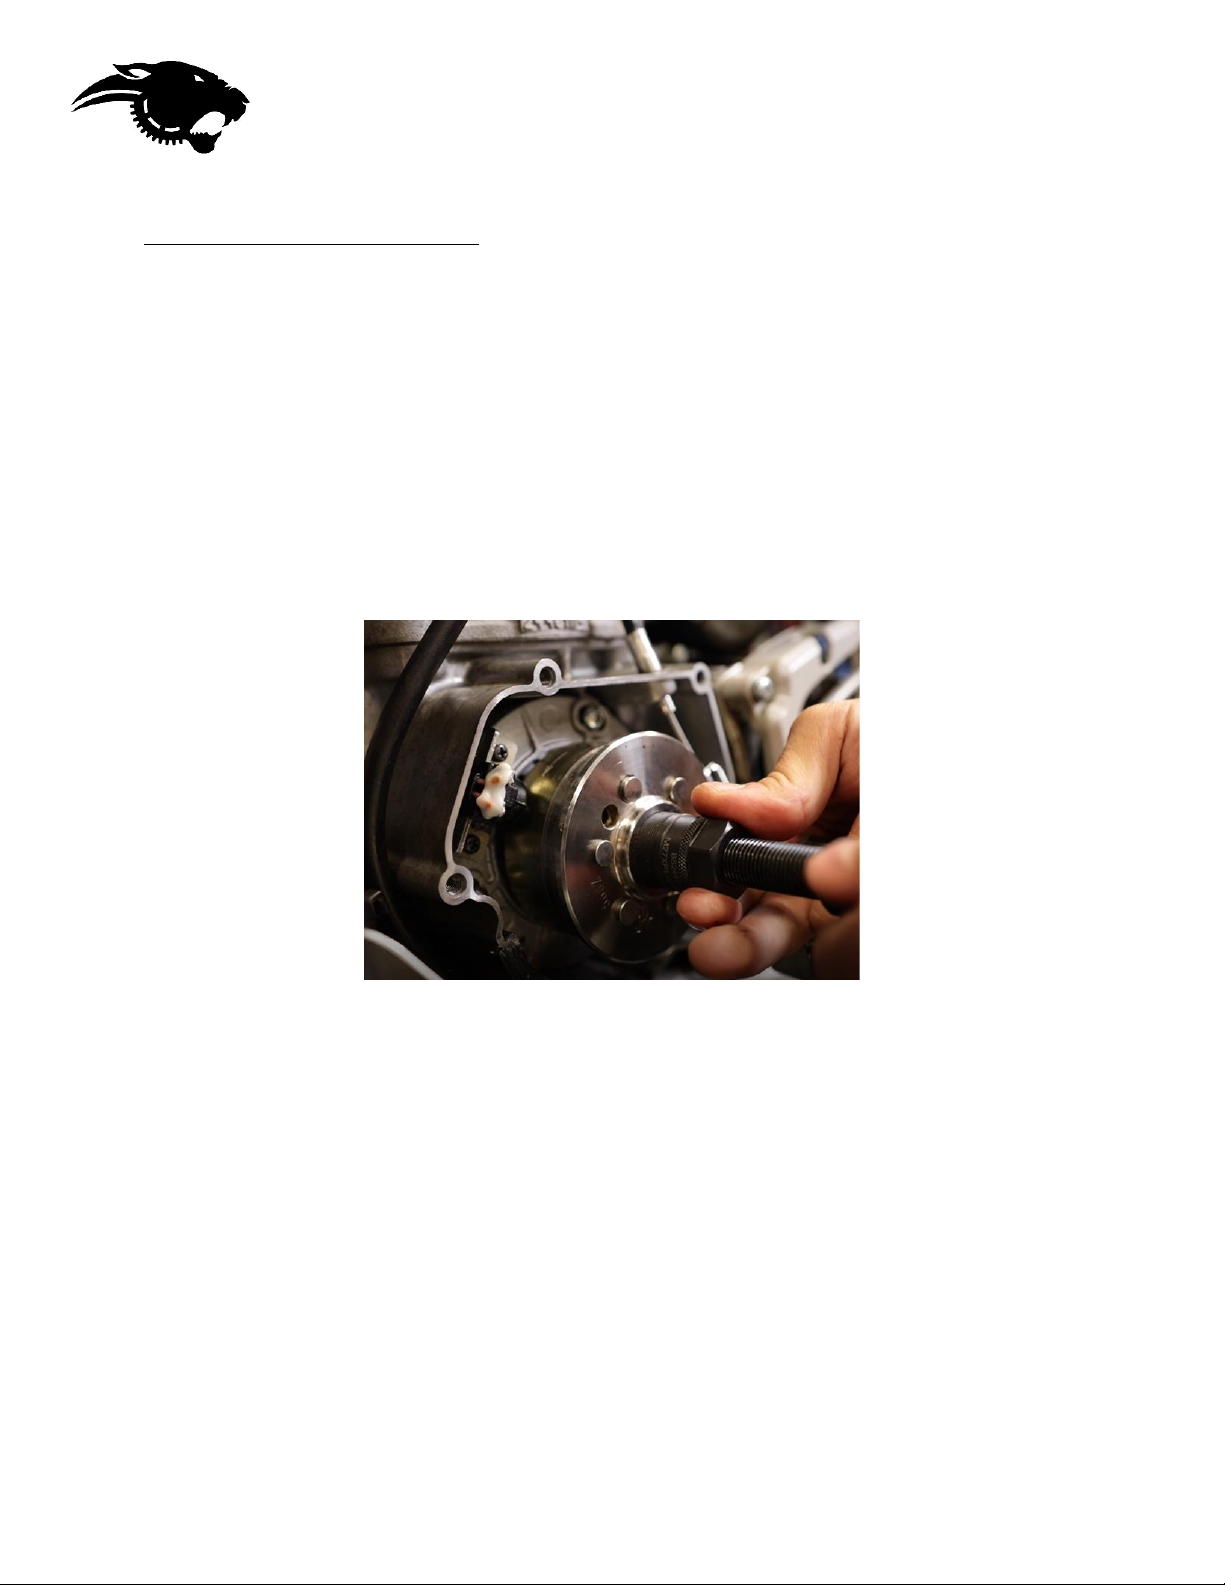
Using the gear holding tool supplied and a 1/2in torque wrench, torque the bolting unit to 40 ft-lb.
Make sure the main gear is still rotation freely clockwise and locking counterclockwise.
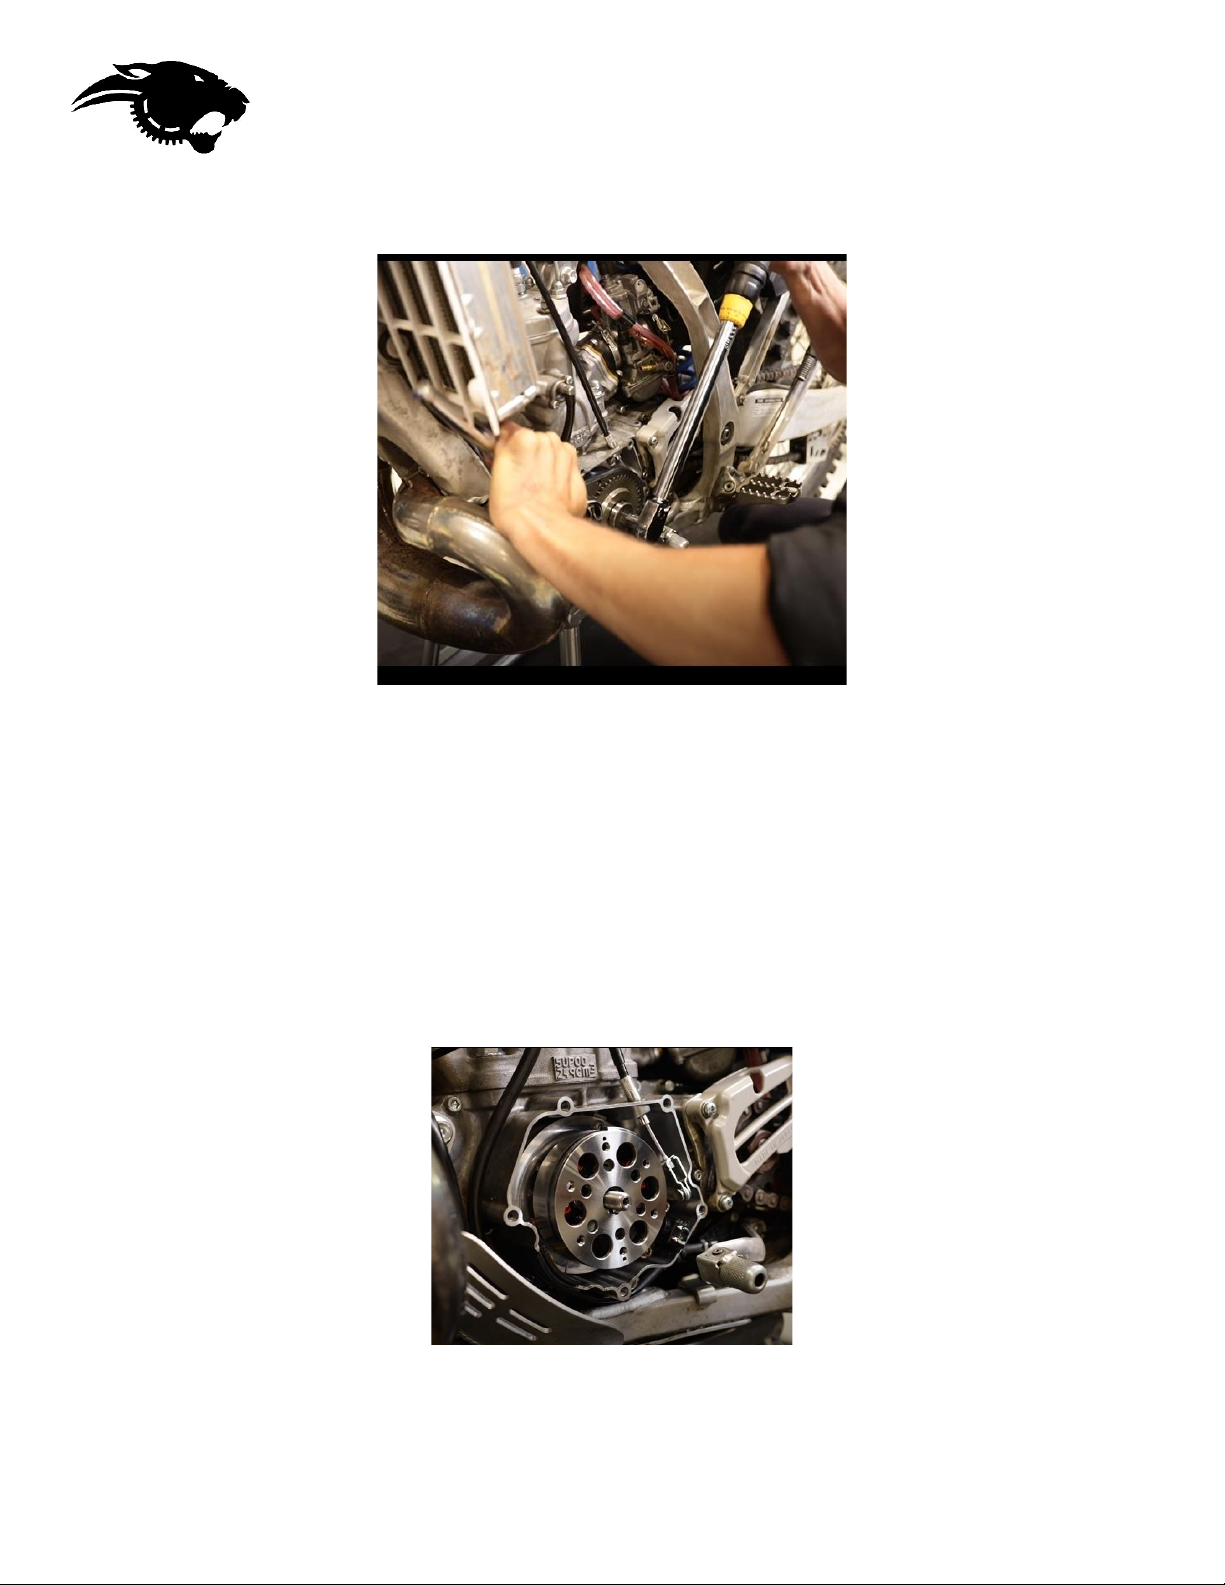
To ensure proper installation, measure the distance of the ring gear face to the gasket surface on the
engine. Some cranks can be out of specifications or have been re-machined due to previous damages to
crankshaft taper. If the flywheel doesn’t sit at proper distance, is could damage the stator or prevent the
starter gears from spinning. Push the gear toward the engine as mush as it can and measure distance to
engine gasket surface. The tolerance for the gear distance is 19.0 to 20.8mm.
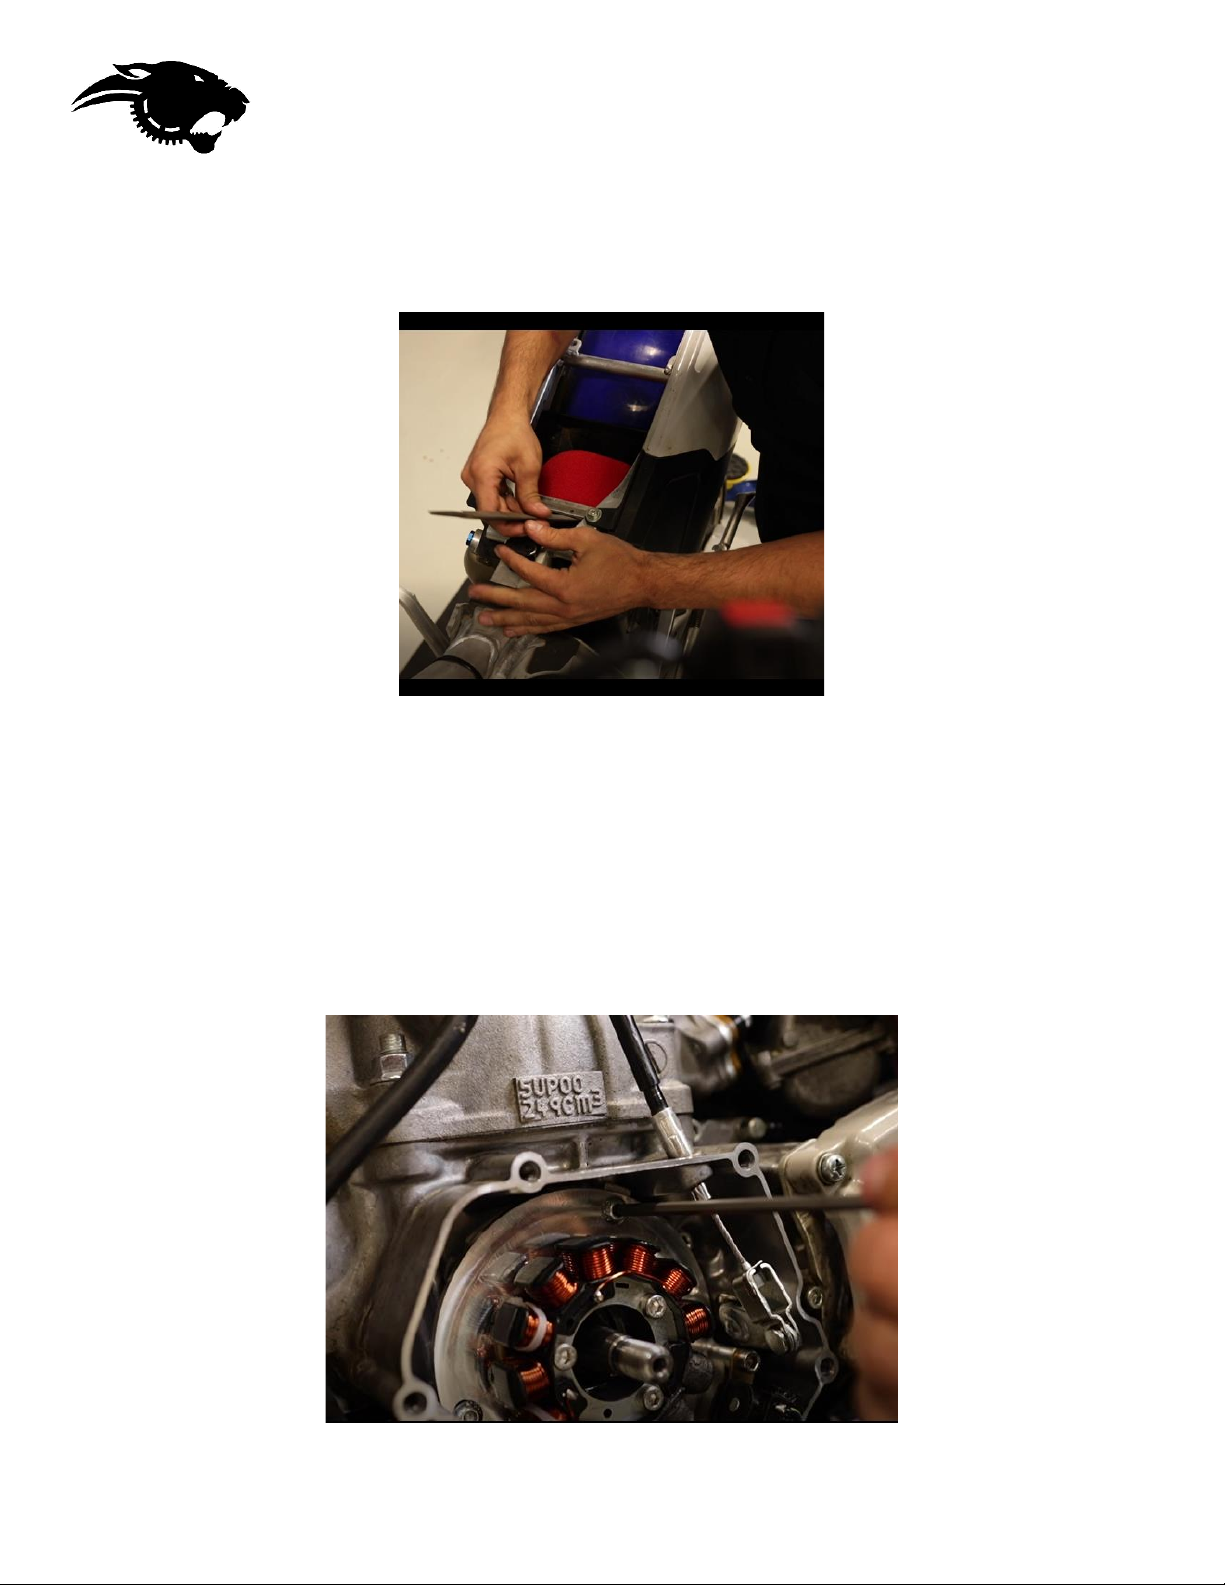
Flywheel and main gear installation (for starter kit with charging system)
Slide the Panthera flywheel on the crankshaft and assure the keyway aligns with the woodruff key on
the crank. Verify that the pick up coil to trigger bump distance is between 0.25-0.40mm. Bend the pick
up coil bracket if needed to reach that value.
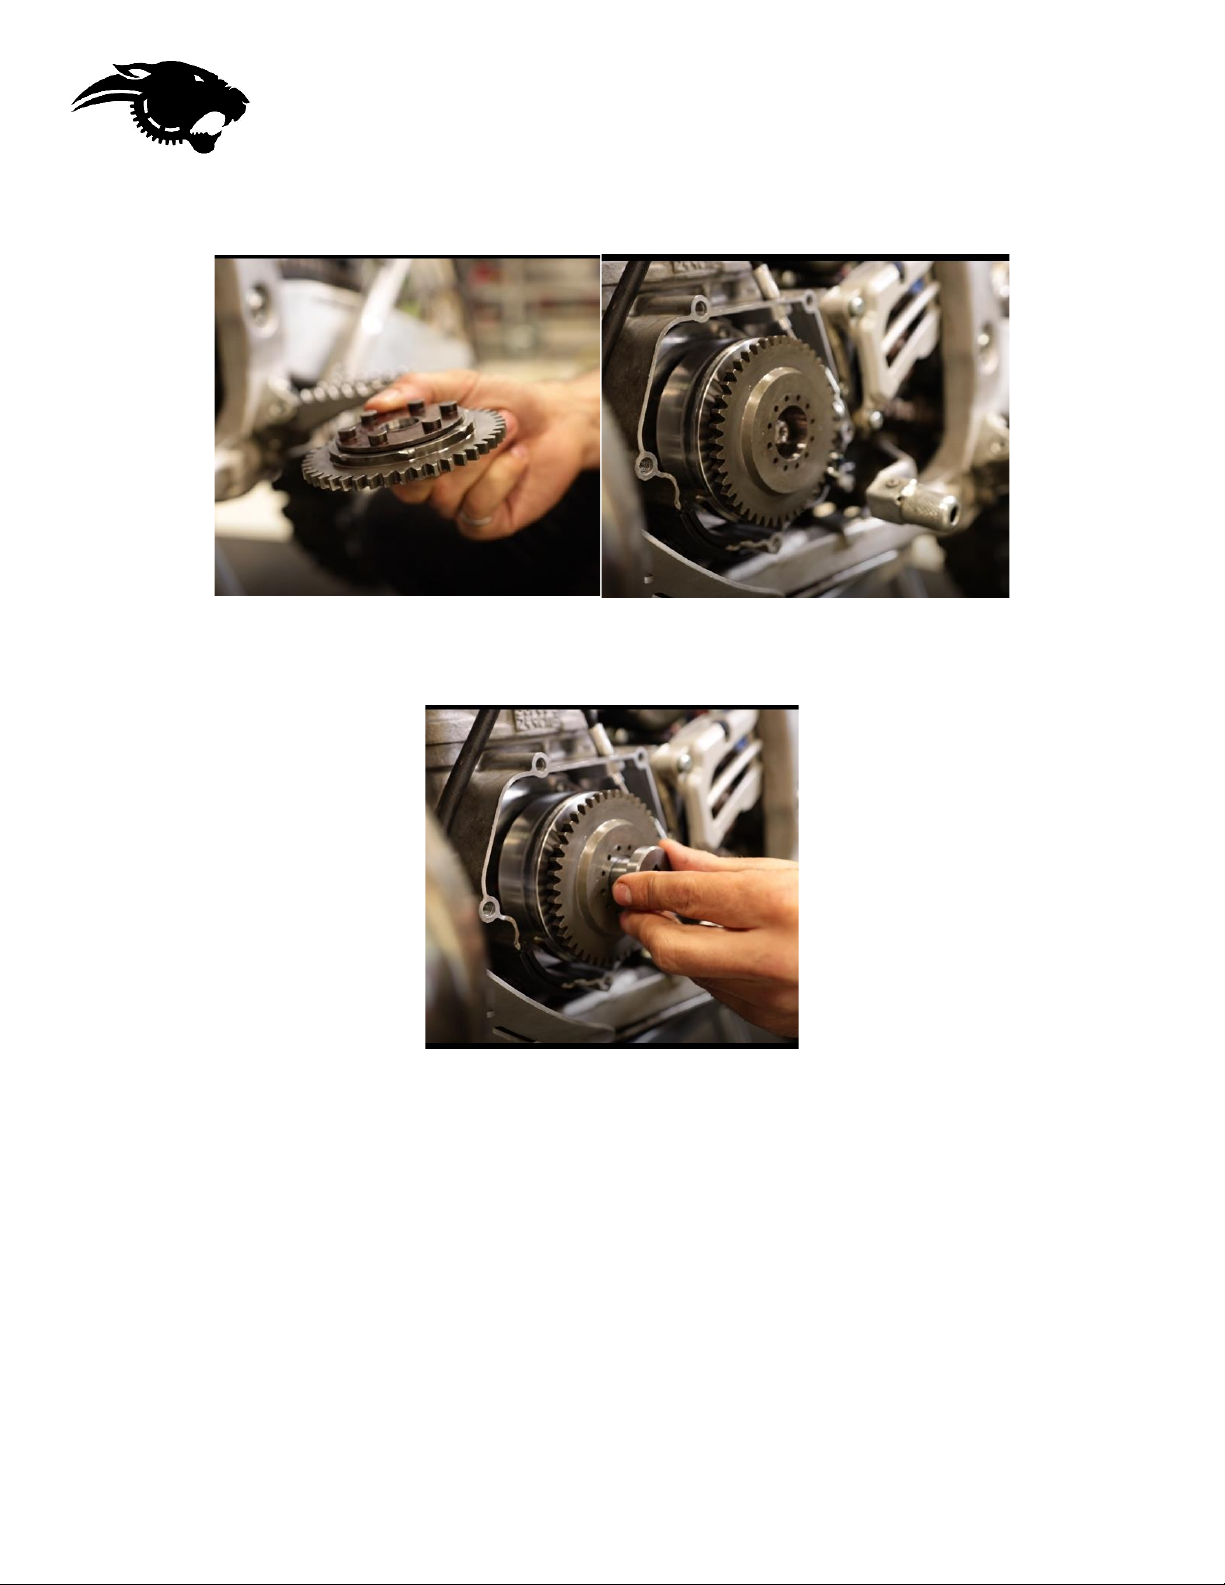
It is a good practice to temporarily bolt the flywheel and make sure you have a spark while kicking. If
not, check for bad connection. Them remove the nut.