INSTALLATION INSTRUCTIONS
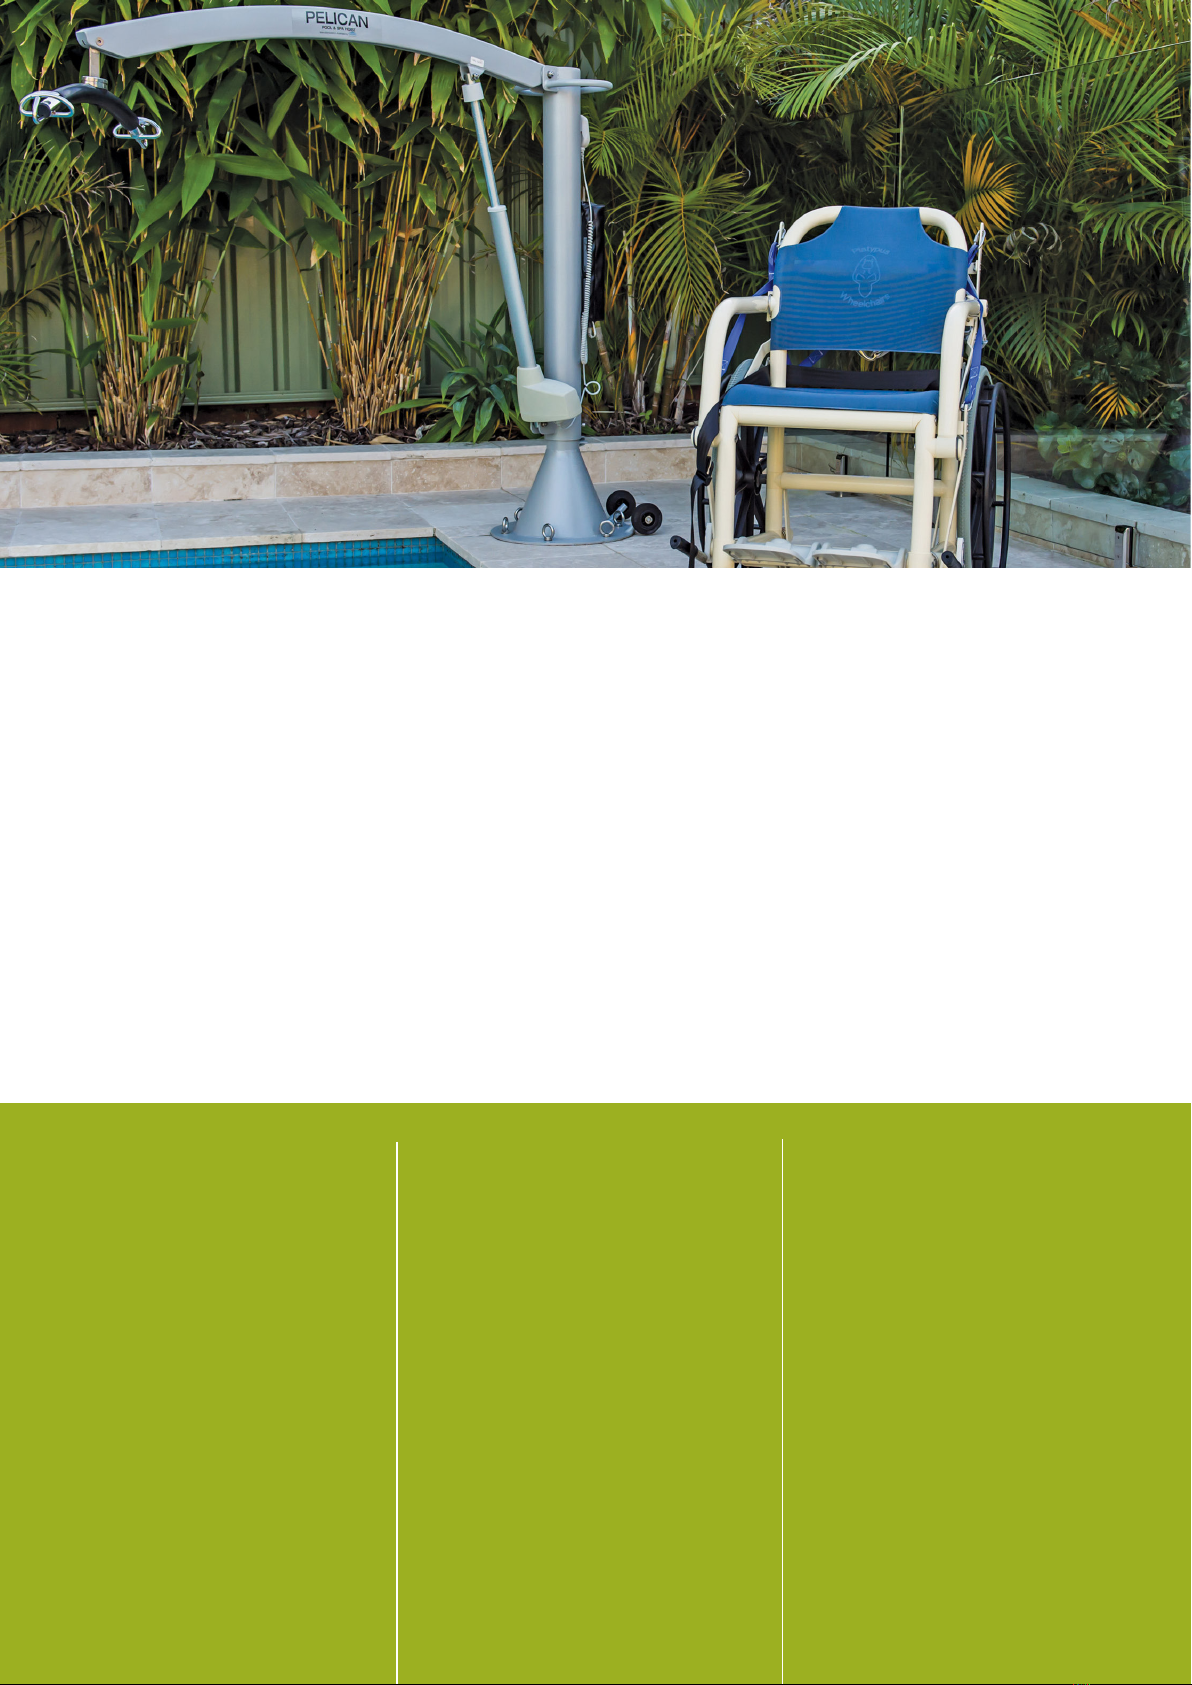
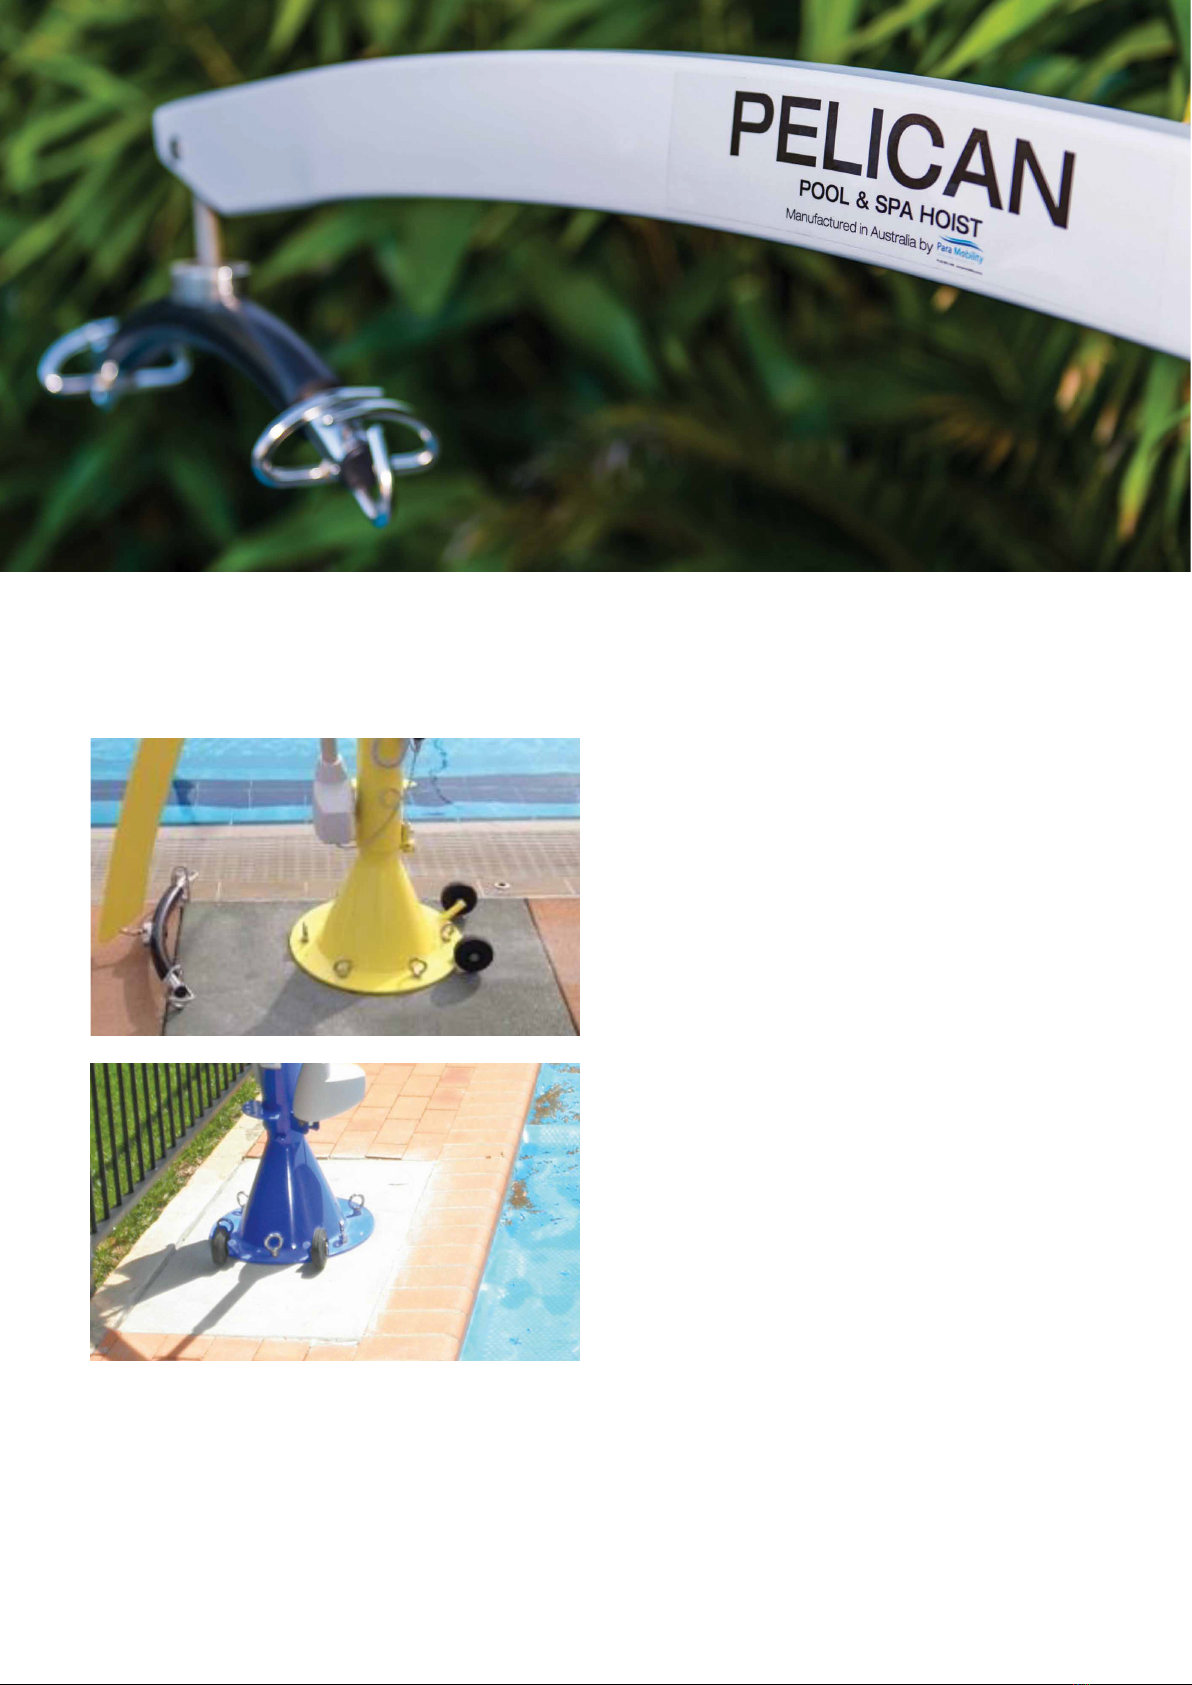
PELICAN POOL HOIST
EARTHING: As per AS3000 of the
wiring rules standards - “In certain
circumstances” it may be necessary
to have all conductive metal objects
equally potentially bonded (earthed),
this includes Pool Hoists.
We recommend you seek the advice
and opinion of a qualied
electrician.
TOOLS REQUIRED
• Hammer Drill
• 16mm masonry bit
• Hole Cleaning Pump
• Hole Cleaning Brush
• Cartidge gun - for adhesive
• Adhesive (included)
• Acetone
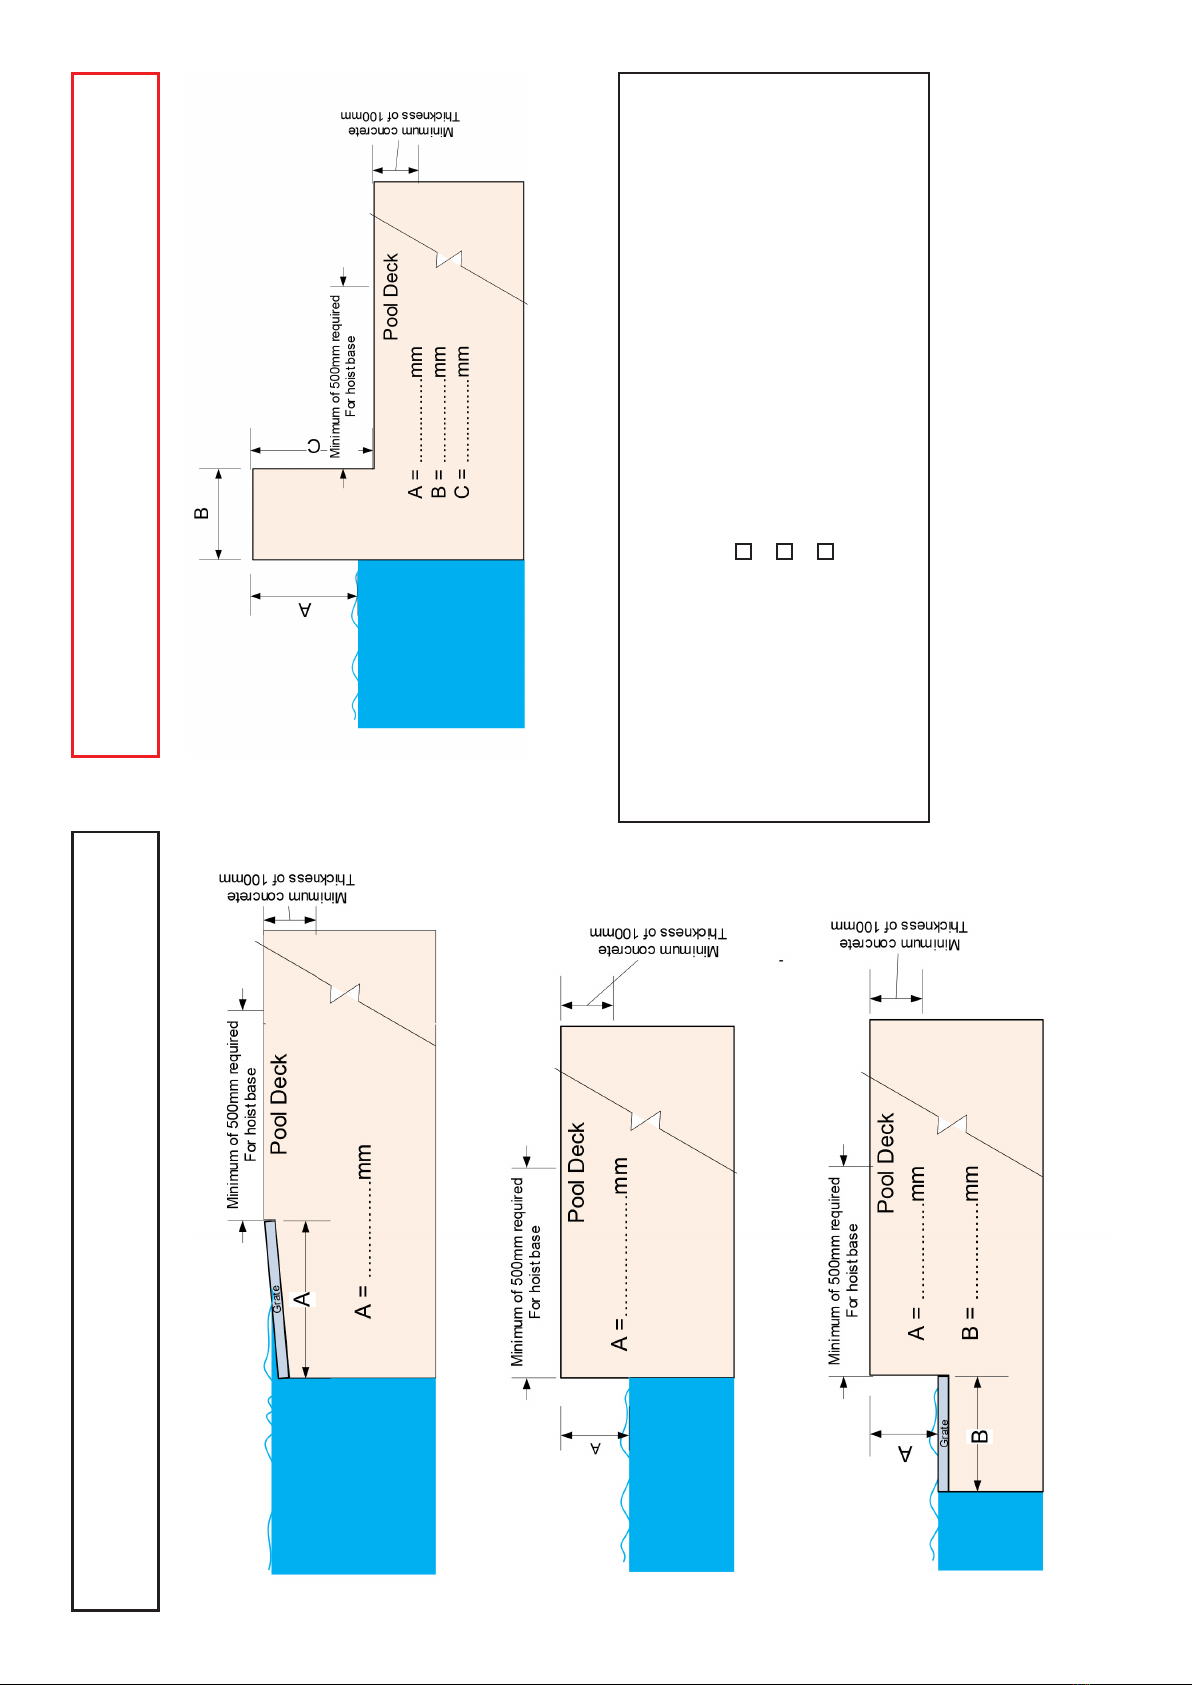
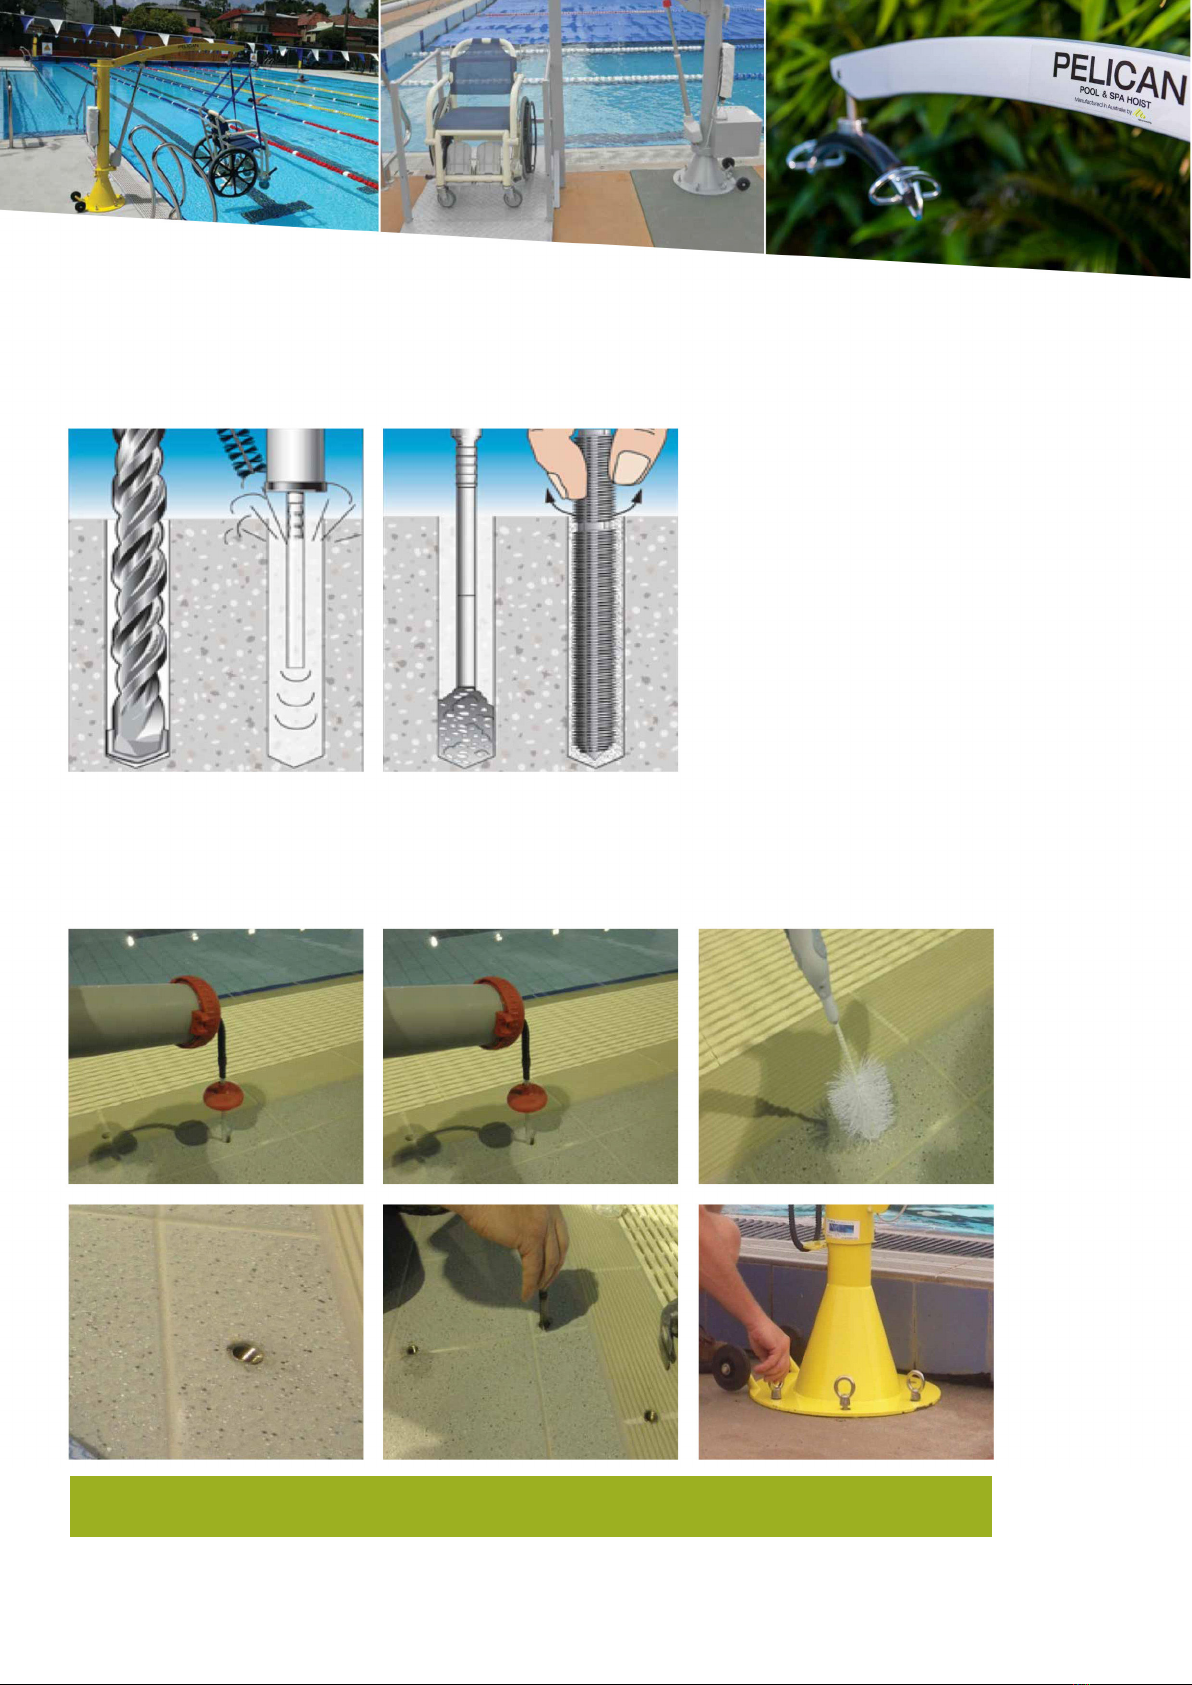
To safely install the Pelican Pool Hoist you will need a solid
concrete pad to anchor it to. We recommend that approximately
1/3 of cubic metres of concrete is used when pouring your pad.
This can be made up as a logical size, for example: 1000 x 1000 x
300 or 650 x 650 x 650. The ideal location is placed up against the
pool edge. It’s highly recommended to use a minimum of 20MPa
concrete strength.
Place hoist in position, ideally around 100 to 500mm from
edge of pool (can be further but check that lifting arm will reach
into pool far enough to lower person into water). Check for
obstructions when arm of hoist is rotated. Use the hoist base as a
template.
NB Anchors must be set into the concrete NOT into the tile
bed or pavers. If there are pavers surrounding the pool a
concrete pad must be laid – contact Active Mobility Systems for
instructions.
Drill 16mm diameter hole to a minimum of 100mm into
concrete substrate. (Example: 100mm below any tile bed).
Remove dust and debris by brushing and blowing 3 times each
(If hole is wet or ooded, remove water with wet/dry vacuum). Hole
may be damp but must not be ooded.
Prepare all holes and socket studs before continuing onto next
step.
Screw mixing nozzle onto Adhesive cartridge (supplied) and
dispense 2-3 trigger pulls of adhesive to waste until colour is grey
with no streaks.
Insert tip of nozzle to bottom of hole and dispense adhesive.
Fill hole to about 2/3 full.
Insert threaded stud socket, with M12 threaded socket on top,
with a rotating motion to release trapped air. Finish the top of the
M12 threaded socket ush with nished oor, making sure that
there is no adhesive in the threaded socket.
Wait until adhesive has fully cured before loading.
Clean up with acetone.
1.
2.
3.
4.
5.
6.
7.
8.
9.
10.
11.
12.
Pelican Pool Hoist | 9